
Subtitle 1: Tools and Supplies Required
When it comes to installing a new head unit in your vehicle, having the right tools and supplies is essential. This will ensure a smooth and hassle-free installation process. Here’s a list of the tools and supplies you’ll need:
- Screwdriver set: A set of screwdrivers with various sizes and types will come in handy during the installation process. It is recommended to have both Phillips and flathead screwdrivers.
- Trim removal tools: These tools are designed to safely remove trims and panels without damaging them. They will be useful when removing the old head unit and installing the new one.
- Wire strippers: You’ll need wire strippers to remove the insulation from the wires of the new head unit and connect them properly.
- Crimping tool: This tool is essential for securely crimping the wires together for a stable and reliable connection.
- Electrical tape: Electrical tape will help insulate and protect the connected wires to prevent any potential short circuits.
- Multimeter: A digital multimeter will come in handy for testing the electrical connections and ensuring everything is properly wired.
- Wiring harness adapter: Depending on the make and model of your vehicle, you may need a wiring harness adapter to connect the new head unit to the existing wiring system.
- Antenna adapter: If your vehicle has a separate antenna connection, you may require an antenna adapter for proper functionality of the new head unit.
- Mounting kit: A mounting kit will be needed to securely install the new head unit into the dashboard of your vehicle.
Make sure you have all these tools and supplies ready before starting the installation process. This will ensure that you can work efficiently and complete the installation without any unnecessary delays or complications. Remember to take your time and follow the instructions provided with your new head unit for a successful installation.
Subtitle 2: Disconnecting the Old Head Unit
Before you can install a new head unit, you’ll need to disconnect the old one. Follow these steps to safely remove the old head unit:
- Begin by disconnecting the negative terminal of your vehicle’s battery. This will ensure that you’re working with a safe and de-energized electrical system.
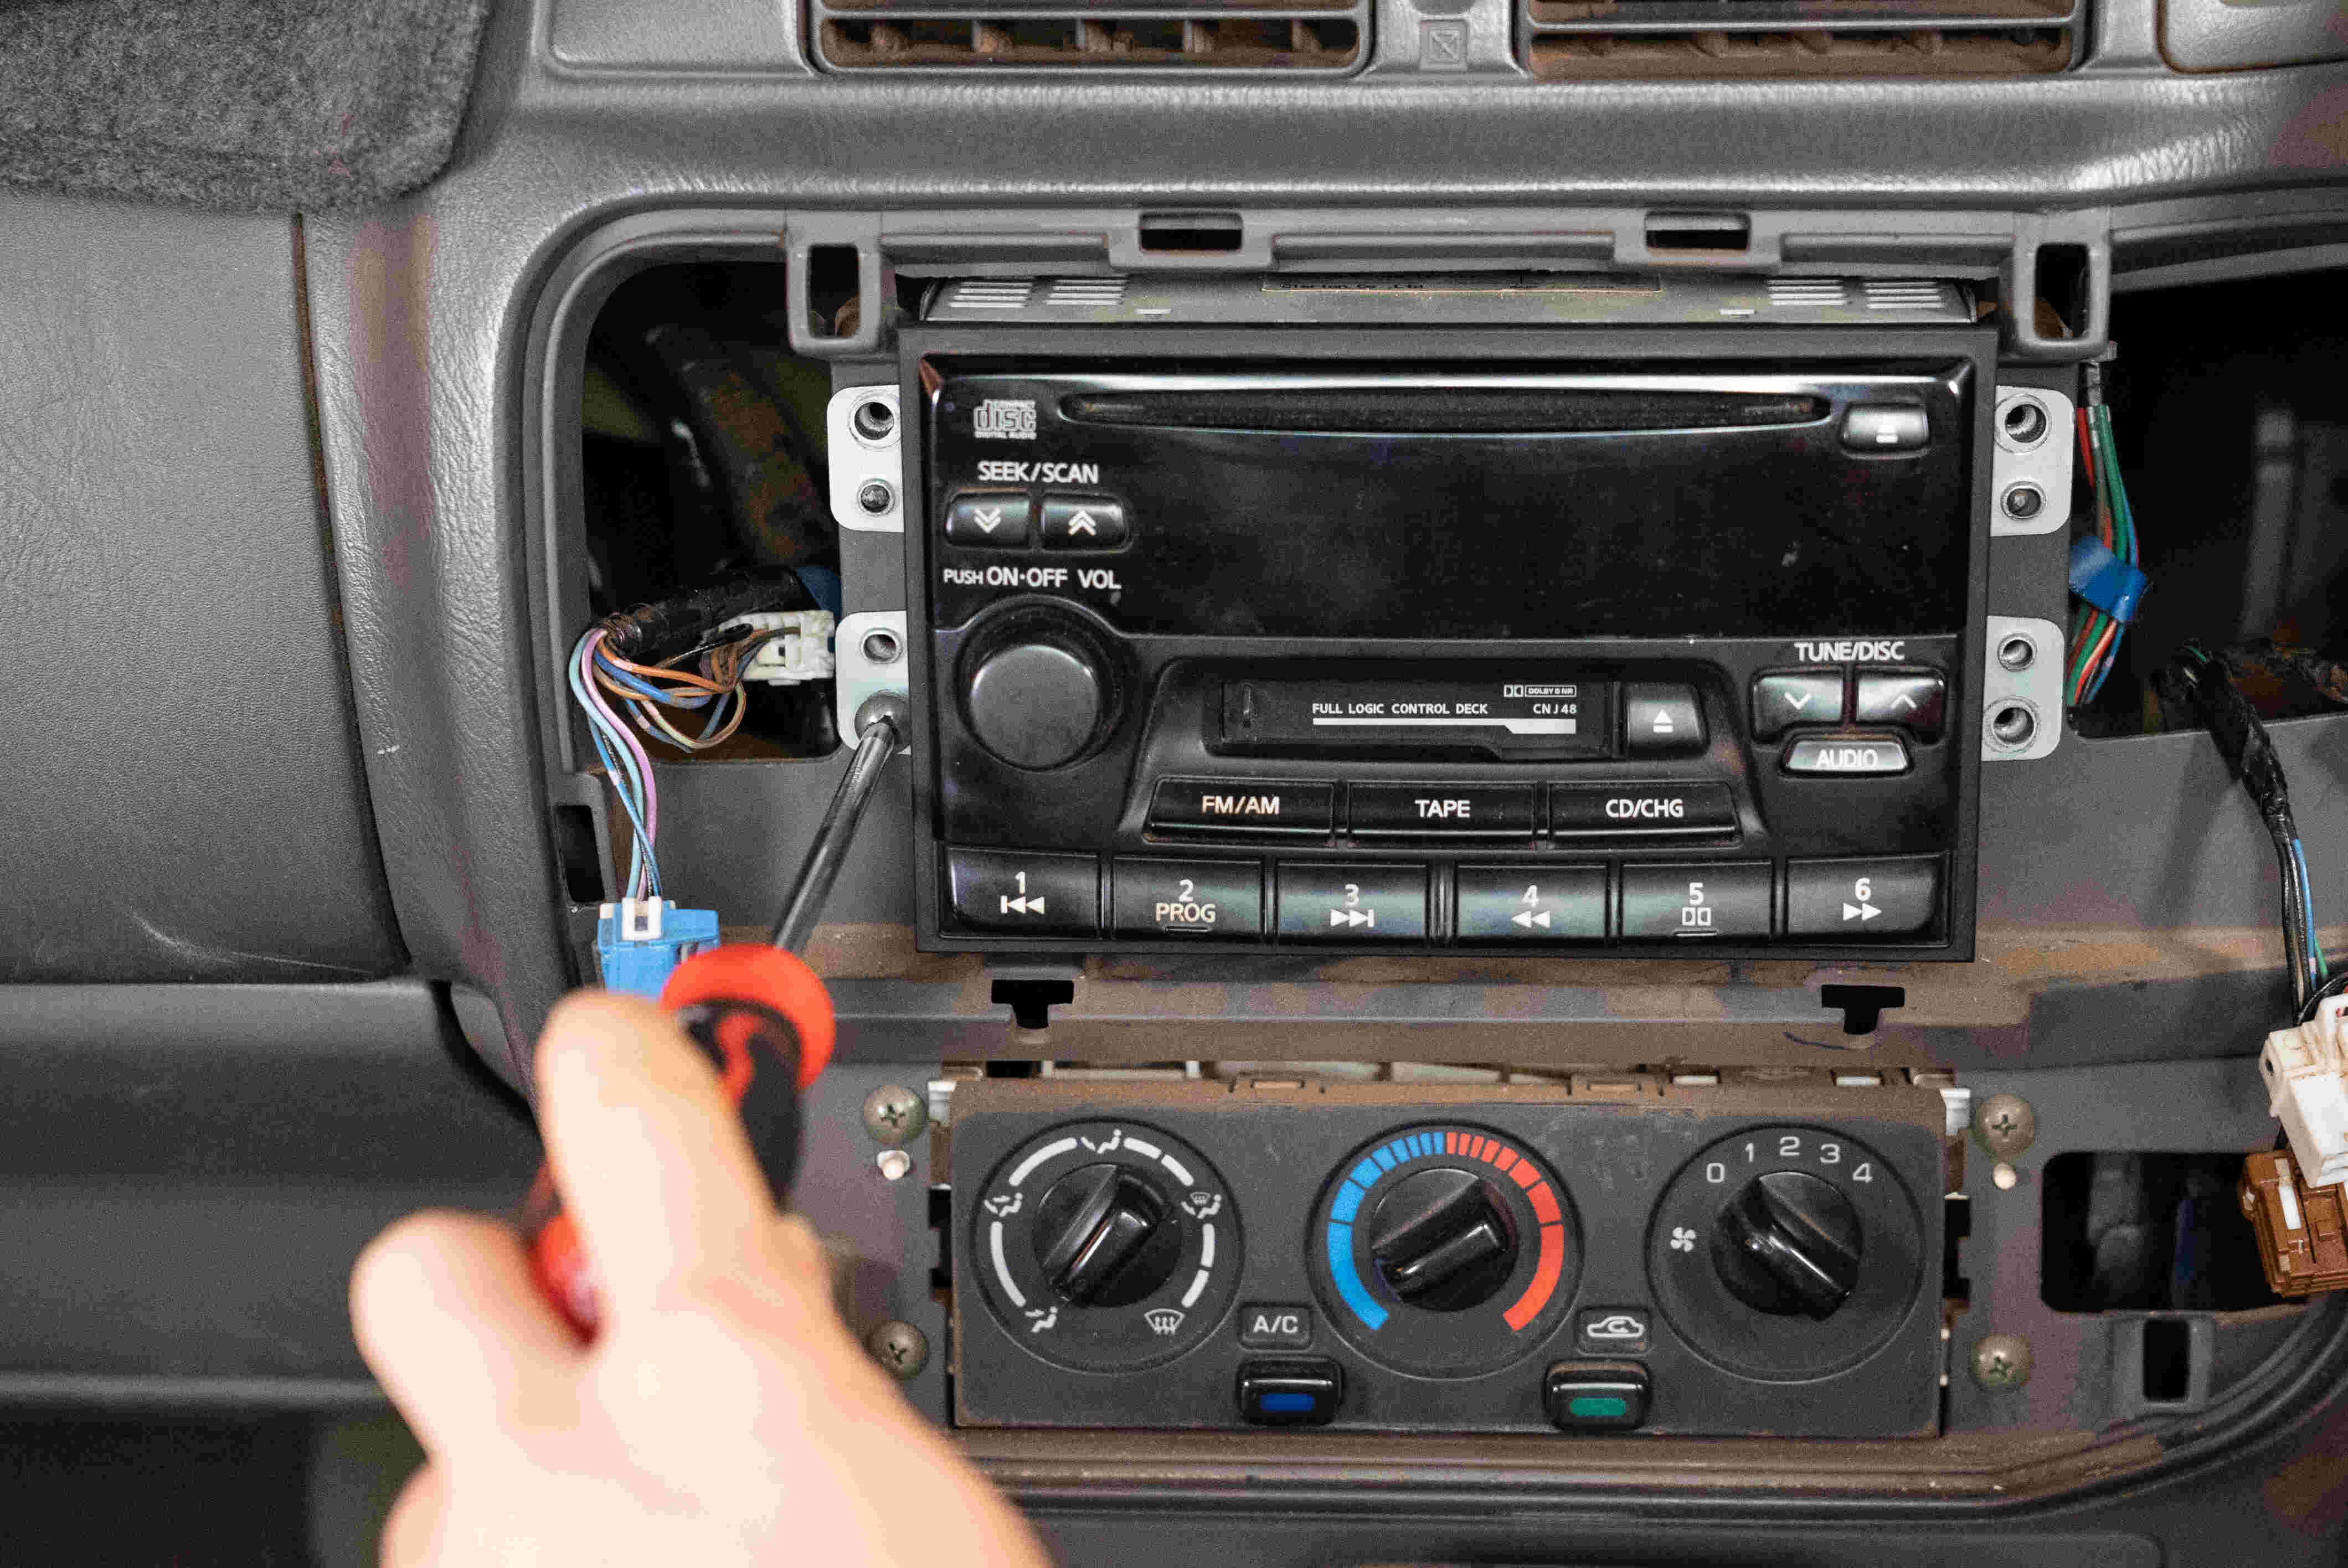
- Using the appropriate screwdriver, remove any screws or bolts securing the old head unit in place. Keep these screws in a safe place, as you may need them to install the new head unit later.
- Gently pull the old head unit out of the dash. Be careful not to force it or pull on any wires.
- Once the old head unit is out, locate the wiring harness at the back of the unit. Disconnect the harness by carefully pressing down on the release tabs and pulling the connectors apart.
- If there are any other connections, such as antenna or auxiliary inputs, disconnect them as well.
- Remove any other mounting brackets or trim pieces attached to the old head unit.
- With the old head unit fully disconnected, set it aside or remove it from the vehicle.
By following these steps, you’ll be able to disconnect the old head unit without causing any damage to your vehicle or the wiring. Take your time and be gentle when handling the old head unit and its connected components. Once the old head unit is safely disconnected, you can move on to the next steps in installing your new head unit.
Subtitle 3: Preparing the Wiring Harness
Before you can connect the new head unit, you’ll need to prepare the wiring harness. This involves matching the wires from the new head unit to the corresponding wires in the vehicle’s wiring system. Follow these steps to prepare the wiring harness:
- Start by identifying the wiring harness that came with your new head unit. It should have a set of wires with different colors and labels.
- Refer to the wiring diagram provided with your new head unit or the instruction manual to identify the function of each wire. Pay attention to wires for power, ground, speakers, and any other features.
- Using wire strippers, carefully strip off a small portion of insulation from each wire to expose the bare metal.
- With the wires exposed, it’s time to match them with the corresponding wires in your vehicle’s wiring system. Use the included wiring harness adapter if necessary to connect the new head unit to the existing wiring system.
- Start by matching the wire colors. For example, connect the red wire from the new head unit to the red wire in the wiring harness adapter. Repeat this process for all the wires, ensuring proper connections.
- Once all the wires are connected, check the connections to make sure they are secure and properly aligned.
- Use a crimping tool to crimp the wire connectors, ensuring a tight and reliable connection.
- After all the wires are connected and secured, use electrical tape to insulate and protect the connections from any potential short circuits.
By properly preparing the wiring harness, you’ll ensure that the new head unit is connected correctly to your vehicle’s wiring system. Take your time and double-check each connection to ensure accuracy. Once the wiring harness is ready, you can move on to the next steps in installing your new head unit.
Subtitle 4: Mounting the New Head Unit
Now that you have prepared the wiring harness, it’s time to mount the new head unit in your vehicle’s dashboard. Follow these steps to securely install the new head unit:
- Take out the mounting kit that came with your new head unit. This kit may include a metal mounting sleeve or brackets designed to fit your specific vehicle make and model.
- If your new head unit includes a metal mounting sleeve, slide it into the dashboard’s opening. Secure it in place using the screws or bolts that were removed from the old head unit.
- If your mounting kit includes brackets, attach them to the new head unit using the screws provided.
- Once the mounting kit is securely attached to the new head unit, carefully slide the head unit into the mounting sleeve or brackets in the dashboard.
- Ensure that the head unit is aligned properly and sits flush with the dashboard. Make any necessary adjustments to achieve a snug fit.
- If there are any trim pieces or panels that need to be reinstalled, do so carefully around the new head unit. Follow the specific instructions in your vehicle’s manual to ensure correct placement and attachment.
During this process, it’s important to be cautious and gentle to avoid damaging both the new head unit and your vehicle’s dashboard. Take your time to ensure the head unit is securely mounted and properly aligned. Once the new head unit is mounted, you can proceed to the next steps of connecting the wiring harness and completing the installation of your new head unit.
Subtitle 5: Connecting the Wiring Harness
With the new head unit securely mounted in your vehicle, it’s time to connect the wiring harness. Follow these steps to ensure a proper connection:
- Take the prepared wiring harness that you matched and connected earlier.
- Align the connectors of the wiring harness with the corresponding connectors on the back of the new head unit.
- Carefully insert the connectors into each other, ensuring they fit together snugly. You may need to gently wiggle or push them to make a secure connection.
- Double-check that all the connectors are properly aligned and inserted.
- If your vehicle has additional connections, such as an antenna or auxiliary inputs, connect them to the appropriate ports on the new head unit as well.
- Once all the connections are made, ensure that no wires are pinched or obstructed by any surrounding components.
It’s essential to handle the wiring harness and connectors with care to avoid damaging the wires or creating loose connections. Take your time to ensure each connector is fully inserted and securely connected. Once you have completed the wiring harness connections, you’re ready to move on to the next steps of installing and testing your new head unit.
Subtitle 6: Installing the New Head Unit
With the wiring harness connected, it’s time to install the new head unit into your vehicle. Follow these steps to complete the installation:
- Ensure that all the necessary connections and wiring have been secured and properly connected.
- If there are any trim pieces or panels that were removed during the process, carefully reinstall them around the new head unit.
- Take a moment to check the alignment and positioning of the new head unit to ensure it sits flush with the dashboard.
- If the head unit has adjustable settings or removable faceplates, adjust them according to your preferences or the manufacturer’s instructions.
- Reconnect the negative terminal of the vehicle’s battery to restore power to the electrical system.
- Turn on the vehicle’s ignition to test the new head unit. Make sure all the features and functions are working correctly.
- If the head unit fails to turn on or functions improperly, double-check the wiring connections and ensure they are correct and secure.
- If everything is working correctly, securely fasten any remaining screws or bolts to fully secure the new head unit in place.
It’s important to take your time and pay attention to detail during the installation process. Ensure that all connections are secure and the head unit is mounted properly in the dashboard. Testing the functionality of the new head unit is crucial to confirm a successful installation. If any issues arise, refer to the instruction manual or seek professional assistance for troubleshooting.
Subtitle 7: Testing and Troubleshooting
Once the new head unit is installed, it’s important to test its functionality and troubleshoot any potential issues. Follow these steps to ensure a smooth and successful installation:
- Turn on the vehicle’s ignition and power up the new head unit.
- Test all the basic functions of the head unit, such as power, display, volume control, and source selection.
- Check the speaker output by playing audio through each speaker individually.
- Verify that the head unit properly interacts with any connected devices, such as smartphones or music players.
- Test any additional features, such as Bluetooth connectivity, navigation, or hands-free calling, if applicable.
- If you encounter any issues or abnormalities during testing, refer to the instruction manual for troubleshooting steps.
- Double-check all the wiring connections to ensure they are secure and properly connected.
- Consult online forums or reach out to the manufacturer’s customer support for further assistance if needed.
- If necessary and within your skill set, consider seeking professional help to diagnose and resolve any complex issues.
Testing and troubleshooting are crucial steps to ensure that the new head unit functions properly and meets your expectations. Addressing any issues early on will prevent potential frustrations down the road. Remember to take your time, follow the necessary steps, and seek assistance when needed to achieve optimal performance from your new head unit.
Subtitle 8: Tips and Precautions
When installing a new head unit in your vehicle, it’s important to keep a few tips and precautions in mind. These will ensure a smooth and safe installation process. Consider the following:
- Read the instruction manual: Before starting the installation, thoroughly read the instruction manual provided with the new head unit. This will familiarize you with the specific installation steps and any unique requirements for your model.
- Take photos before disconnecting: Before disconnecting the old head unit, take photos or make notes of the wiring connections. This will serve as a helpful reference during the installation of the new head unit.
- Label the wiring harness: To avoid confusion, use adhesive labels or masking tape to label the wires of the wiring harness. This will help ensure that you connect the right wires to their corresponding ports in the new head unit.
- Secure loose wires: During the installation process, be mindful of loose wires and ensure they are properly secured and not interfering with any other components or moving parts in the vehicle.
- Test everything before finalizing: Before fully securing the new head unit and reinstalling any trim pieces, test all the functions and features to ensure proper functionality.
- Double-check connections: After connecting the wiring harness and installing the new head unit, double-check all the connections to ensure they are secure and properly aligned.
- Use a professional if uncertain: If you are unsure about any step of the installation process, it’s always a good idea to seek assistance from a professional car audio installer to avoid any potential damage or errors.
- Follow safety precautions: Always disconnect the vehicle’s battery before starting any electrical work to prevent accidental short circuits or electrical shocks. Also, exercise caution when using tools to avoid injury.
- Keep the warranty intact: If your new head unit comes with a warranty, make sure to follow the installation instructions provided by the manufacturer. Improper installation may void the warranty.
By following these tips and precautions, you’ll ensure a successful and hassle-free installation of your new head unit. Remember, taking your time and being meticulous will result in a clean and professional installation.
Subtitle 9: Additional Resources and Support
Installing a new head unit in your vehicle can be a complex task, especially if you’re unfamiliar with car audio systems. Fortunately, there are various additional resources and support options available to assist you throughout the process:
- Instruction manual: Always refer to the instruction manual that comes with your new head unit. It will provide step-by-step guidance specific to your model.
- Online tutorials and videos: The internet is a valuable resource for DIY car audio installations. Look for comprehensive tutorials and videos that provide visual guidance and tips.
- Car forums and communities: Join online forums and communities dedicated to car audio enthusiasts. These platforms are a great place to seek advice, ask questions, and find guidance from experienced installers.
- Manufacturer’s customer support: If you encounter any issues or have specific questions about your new head unit, contact the manufacturer’s customer support. They can provide specialized assistance and address any concerns you may have.
- Professional installers: If you’re uncertain about any aspect of the installation or prefer a hands-off approach, consider consulting a professional car audio installer. They have the expertise and experience to ensure a seamless installation and can assist with troubleshooting any problems that may arise.
- Online car audio communities: Joining online communities and social media groups dedicated to car audio enthusiasts can provide a wealth of information and support. These communities often share installation tips, product recommendations, and troubleshooting advice.
- Local car audio shops: Visit local car audio shops and consult with the technicians. They are well-versed in car audio installations and can offer guidance or even perform the installation if you prefer professional assistance.
Remember, there is a wealth of knowledge and support available to help you successfully install your new head unit. Utilize these resources to ensure a smooth installation process and to address any challenges that may arise. With the right support, you can enjoy the benefits of a new head unit and an enhanced car audio experience.