
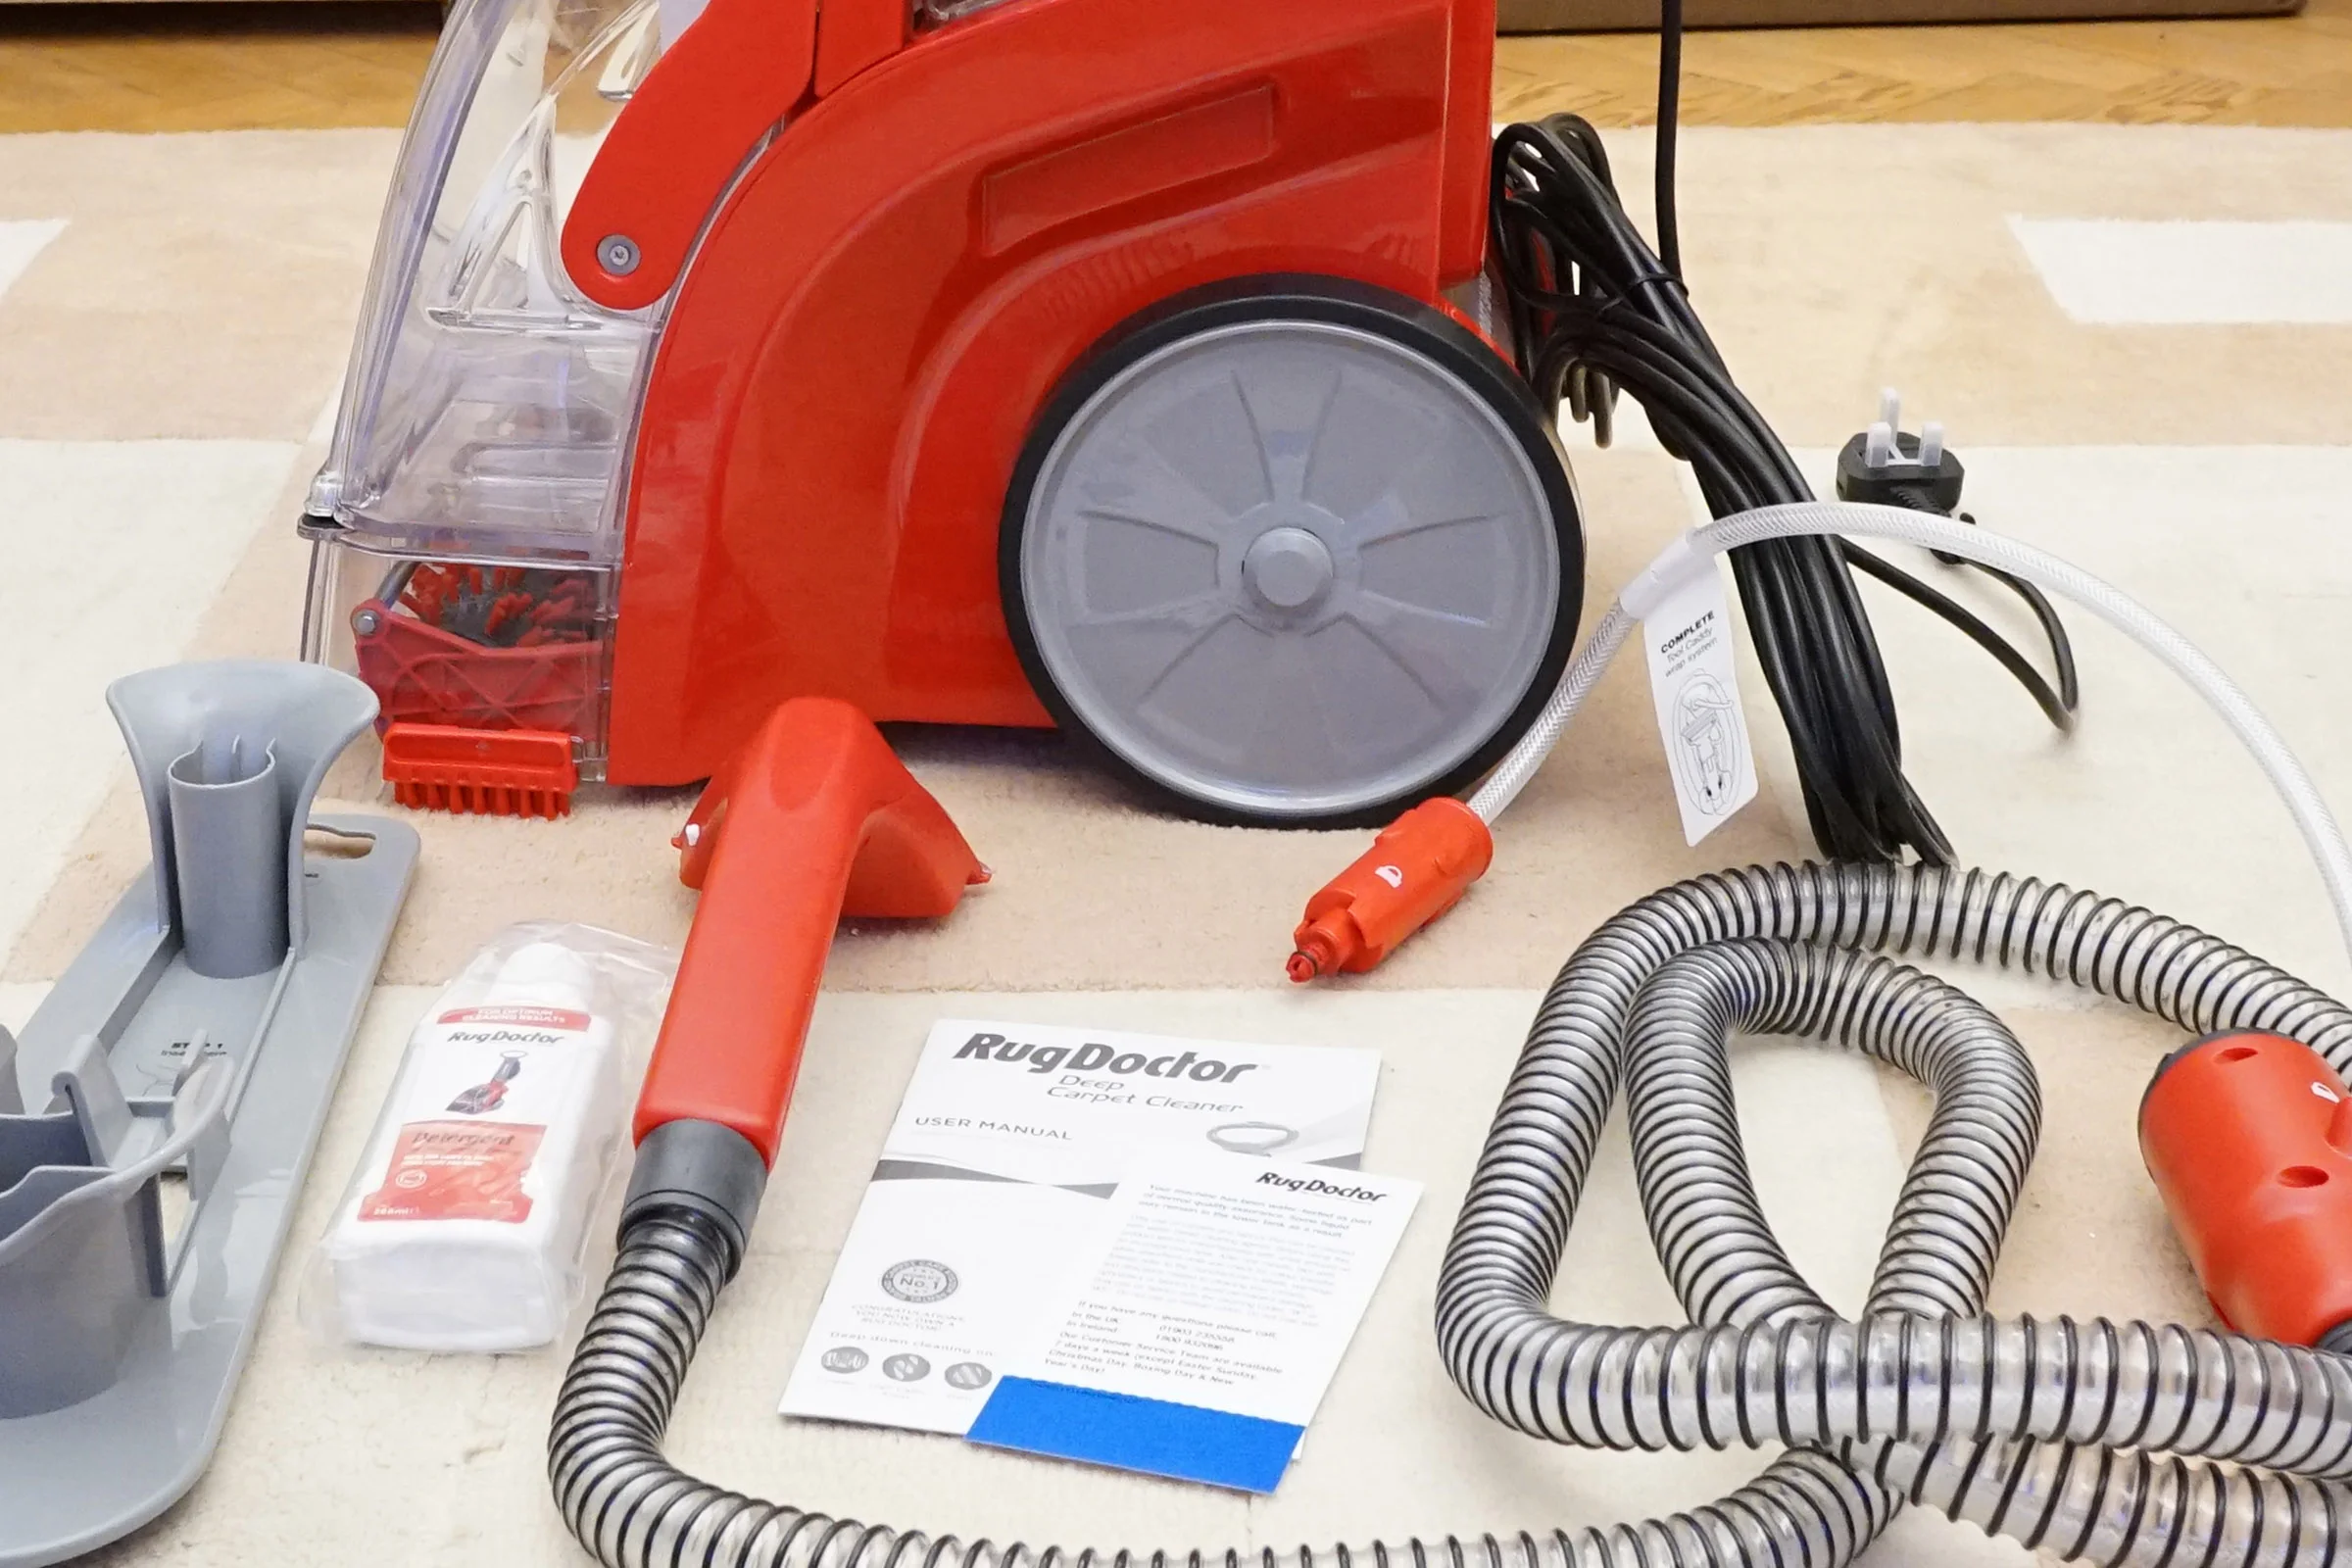
Common Causes of Leaking in Rug Doctor
Using a Rug Doctor can be an effective way to clean your carpets and upholstery, but it can be frustrating when you encounter issues such as leaking. Leaking can occur for various reasons, and understanding the common causes can help you troubleshoot and fix the problem. Here are some common causes of leaking in Rug Doctors:
- Damaged or worn out gaskets: Gaskets play a vital role in preventing leaks in the Rug Doctor. Over time, the gaskets can become damaged or worn out, leading to water leakage. Inspect the gaskets and replace any that show signs of wear or damage.
- Loose connections: Another common cause of leaking is loose connections. Check all the connections between the hoses, tanks, and tools to ensure they are securely attached. Tighten any loose connections to prevent water from escaping.
- Cracked or damaged tanks: The tanks in the Rug Doctor can develop cracks or other forms of damage over time. Inspect the tanks for any signs of cracks or leaks. If you find any, replace the affected tank immediately.
- Faulty seals: Seals are crucial in preventing water from leaking out during operation. If the seals on your Rug Doctor are worn out or damaged, they may need to be replaced. Inspect the seals and replace them if necessary.
- Improper assembly: It’s essential to ensure that all components of your Rug Doctor are correctly assembled. Any assembly errors or missing parts can result in leaks. Make sure you follow the manufacturer’s instructions when setting up your Rug Doctor.
Identifying the common causes of leaking in Rug Doctors can help you pinpoint the issue and take the appropriate steps to fix it. In the next section, we’ll discuss how you can check for leaks in your Rug Doctor.
How to Check for Leaks in Your Rug Doctor
If you notice water pooling or dripping from your Rug Doctor, it’s essential to identify the source of the leak to address the issue effectively. Here are some steps you can take to check for leaks in your Rug Doctor:
- Inspect the tanks: Start by examining the clean water and dirty water tanks for any cracks, damages, or loose fittings. Check the tank lids and ensure they are securely closed. If you find any issues, replace the damaged tank or tighten the fittings accordingly.
- Check the hoses: Next, inspect the hoses for any signs of leaks or damage. Look for cracks, holes, or loose connections. Run your hand along the length of the hose to feel for any moisture or dripping water. If you find any leaks, you may need to replace the hose or repair the damaged area.
- Examine the tool attachment: If the leaking seems to be coming from the tool attachment, check for any visible cracks or worn-out gaskets. Ensure that the attachment is tightly connected to the hose and that all the seals are intact. Replace any damaged parts if necessary.
- Test for leaks: Fill the clean water tank with water, and turn on the Rug Doctor. Slowly push and pull the machine, observing if there are any water leaks from the tanks, hoses, or tool attachment. If you notice any leaks, stop the machine immediately and address the issue before continuing.
- Monitor the machine: During the cleaning process, keep an eye on the Rug Doctor for any signs of leakage. Check the tanks, hoses, and tool attachment periodically to ensure everything remains properly sealed. If you notice any leaks, stop using the machine and fix the problem before proceeding.
Regularly checking for leaks in your Rug Doctor will help you catch any issues early on and prevent further damage. In the next section, we will discuss the steps to fix leaking on the tool of a Rug Doctor.
Steps to Fix Leaking on the Tool of Rug Doctor
If you’re experiencing leaking specifically from the tool attachment of your Rug Doctor, there are steps you can take to fix the issue. Here are some steps to follow:
- Inspect the tool attachment: Carefully examine the tool attachment for any visible cracks, damages, or worn-out gaskets. Ensure that all the seals and connections are secure and intact. If you notice any issues, you may need to replace the damaged parts.
- Remove and clean the tool attachment: Detach the tool from the hose and thoroughly clean it. Rinse off any debris or clogs that may be causing the leak. Pay close attention to the nozzle or brush attachment, as these areas are prone to clogging. Once cleaned, reattach the tool to the hose.
- Inspect the hose: Check the hose for any cracks, damages, or loose connections near the tool attachment. If you find any issues, you may need to replace the hose or repair the damaged area. Tighten any loose connections to ensure a proper seal.
- Replace the gasket: If the gasket on the tool attachment is worn out or damaged, it may be the cause of the leaking. Replace the gasket with a new one that is compatible with your Rug Doctor model. This can help create a tight seal and prevent further leakage.
- Test the tool: After performing the necessary repairs or replacements, test the tool attachment by filling the clean water tank with water. Turn on the Rug Doctor and operate the tool, observing if the leaking has been resolved. Keep an eye on the connection points and the tool attachment to ensure there are no further leaks.
By following these steps, you can effectively fix leaking on the tool attachment of your Rug Doctor. Remember to regularly maintain and inspect your machine to prevent future leaks. In the next section, we will share some cleaning and maintenance tips to help prevent Rug Doctor leaks.
Cleaning and Maintenance Tips to Prevent Rug Doctor Leaks
Proper cleaning and maintenance of your Rug Doctor can go a long way in preventing leaks and prolonging the life of your machine. Here are some essential tips to help you prevent Rug Doctor leaks:
- Regularly inspect and clean the tanks: Before and after each use, inspect the clean water and dirty water tanks for any debris, clogs, or damage. Clean the tanks thoroughly to prevent any blockages. Ensure that the tank lids are tightly closed to create a proper seal.
- Check and clean the hoses: Routinely inspect the hoses for any blockages, cracks, or loose connections. Use a soft cloth or brush to remove any debris that may be trapped inside the hoses. Keep the hose connections securely tightened to prevent leaks.
- Clean the tool attachment: After each use, detach the tool attachment and rinse it thoroughly to remove any residue or clogs. Pay attention to the nozzle or brush attachment and ensure they are clean and free from any blockages. Allow the attachment to dry completely before storing it.
- Replace worn-out parts: Over time, certain parts of your Rug Doctor may become worn out or damaged, leading to leaks. Regularly check the gaskets, seals, and other components for signs of wear and tear. Replace any worn-out parts to maintain a proper seal and prevent leaks.
- Store your Rug Doctor properly: When not in use, store your Rug Doctor in a clean and dry environment. Avoid exposing it to extreme temperatures or excessive moisture, as these conditions can affect the machine’s performance and lead to leaks. Store the machine in an upright position to prevent any water from accumulating inside.
- Follow the manufacturer’s instructions: Always refer to the manufacturer’s instructions for proper usage, cleaning, and maintenance of your Rug Doctor. Each model may have specific recommendations, so make sure to follow them accordingly to avoid any damage or leaks.
By implementing these cleaning and maintenance tips, you can significantly reduce the risk of leaks in your Rug Doctor. However, if you continue to experience persistent leaks despite your efforts, it may be time to seek professional help, as discussed in the next section.
When to Seek Professional Help for Rug Doctor Leaks
While many Rug Doctor leaks can be fixed with simple troubleshooting and maintenance, there are instances when it may be necessary to seek professional help. Here are some situations when it’s recommended to contact a professional for assistance:
- Persistent leaks: If you have tried various troubleshooting steps and the leaks persist, it’s best to consult a professional. They have the expertise to diagnose and address complex issues that may be causing the leaks.
- Major damages: In the event of major damages, such as extensive cracks in the tanks or severe hose damage, it’s advisable to seek professional assistance. They can assess the situation and determine the best course of action, which may involve replacing parts or the entire machine.
- Warranty concerns: If your Rug Doctor is still under warranty, it’s crucial to contact a professional authorized by the manufacturer. Attempting repairs on your own or seeking assistance from unauthorized individuals may void the warranty.
- Lack of knowledge or experience: If you are unsure about how to properly diagnose or fix the leaking issue, it’s advisable to leave it to the professionals. They have the knowledge and experience to handle Rug Doctor repairs safely and effectively.
- Time constraints: If you are short on time or have limited availability to troubleshoot and fix the leak, hiring a professional can save you time and ensure that the issue is resolved promptly.
Remember, professionals have the necessary tools, expertise, and access to genuine parts to repair your Rug Doctor effectively. They can provide guidance, advice, and solutions tailored to the specific issue you are facing.
If you find yourself in any of the above situations, it’s best to contact Rug Doctor customer support or a trusted professional service provider to assess and resolve the leaking issue. They will help restore the functionality of your Rug Doctor and allow you to continue enjoying its cleaning benefits.