
Choosing the Right Strainer
When it comes to straining, selecting the right strainer for your specific needs is crucial. With a wide range of options available on the market, it’s essential to consider various factors to ensure optimal results. Here are some key points to keep in mind when choosing a strainer.
- Size: The size of the strainer plays a vital role in its functionality. Consider the volume of liquid or the amount of solids you typically deal with to determine the appropriate size. If you regularly strain large quantities, opt for a larger strainer to save time and effort.
- Material: Strainers come in various materials, including stainless steel, nylon, and silicone. Stainless steel strainers are durable, easy to clean, and ideal for both hot and cold liquids. Nylon strainers are lightweight and gentle on delicate ingredients. Silicone strainers offer flexibility and easy storage. Consider the specific requirements of your straining tasks to choose the right material.
- Type: There are different types of strainers available, each designed for specific purposes. A fine-mesh strainer is perfect for removing small particles or clarifying liquids. A colander or coarse strainer works well for draining pasta or washing fruits and vegetables. A spider strainer with a wide, shallow basket is suitable for scooping out fried foods from hot oil. Assess your straining needs to determine the type of strainer that will serve you best.
- Handle and Grip: Comfort and ease of use are essential factors when selecting a strainer. Look for models with long handles that provide a secure grip. Rubberized or ergonomic handles help prevent slipping and provide better control while straining.
- Maintenance: Consider the cleaning and maintenance requirements of the strainer. Look for strainers that are dishwasher safe or easy to hand wash. Avoid strainers with complex designs that can trap food particles and make cleaning a tedious task.
By considering these factors, you can choose a strainer that perfectly suits your specific needs and preferences. Keep in mind that having multiple strainers for different tasks can also be advantageous.
Preparing the Strainer
Before using a strainer, it’s important to properly prepare it to ensure optimal performance and hygiene. Taking a few simple steps can help you get the most out of your strainer:
- Clean and inspect: Start by cleaning the strainer thoroughly with warm water and soap. Check for any damage or signs of wear, such as loose mesh or bent handles, which can affect its effectiveness. Replace any damaged parts or invest in a new strainer if necessary.
- Sanitize: It’s crucial to sanitize the strainer before using it, especially if you’ll be straining food items. You can either immerse the strainer in boiling water for a few minutes or use a food-safe sanitizing solution. This step helps eliminate any bacteria or contaminants that may be present and ensures food safety.
- Positioning: Depending on the straining task, position the strainer correctly to make the process more efficient. For instance, if straining liquids, place the strainer over a bowl or container that can catch the liquid. If straining solids, position the strainer on a cutting board or plate to avoid a messy cleanup.
- Line with cheesecloth (optional): If dealing with fine particles or ingredients that can easily slip through the strainer’s mesh, consider lining it with cheesecloth. This extra layer provides an additional barrier to catch small particles, resulting in a smoother and clearer strained liquid or solid.
- Adjust the angle: Tilt the strainer slightly to facilitate the straining process. This angle helps gravity do its work, allowing the liquid or solids to pass through the mesh more efficiently. Experiment with different angles to find the most effective position for your specific straining task.
By following these steps, you’ll ensure that your strainer is clean, properly positioned, and ready for use. Taking the time to prepare your strainer beforehand will not only enhance its performance but also contribute to a better overall cooking or straining experience.
Proper Handling of the Strainer
To make the most of your strainer and prolong its lifespan, it’s essential to handle it with care and follow some best practices. Here are some tips for properly handling your strainer:
- Avoid excessive force: While strainers are designed to strain and filter, it’s important not to apply excessive force or pressure. Pushing or squeezing the strainer too hard can cause the mesh to stretch or tear, compromising its effectiveness.
- Use the right utensils: When working with a strainer, use the appropriate utensils to avoid damaging the mesh. Avoid using metal spoons, knives, or other sharp or abrasive tools that can scratch or puncture the mesh. Opt for lightweight utensils made of silicone, plastic, or wood.
- Be mindful of temperature: Consider the temperature limitations of your strainer. While stainless steel strainers can handle both hot and cold liquids, nylon and silicone strainers may have temperature restrictions. Using a strainer with materials unsuitable for the temperature can lead to warping, melting, or other damage.
- Handle with care: When washing or storing the strainer, handle it gently to prevent unnecessary wear and tear. Avoid tossing or throwing the strainer, as this can bend or misshape the mesh. Store the strainer in a safe place where it won’t get crushed or damaged by other kitchen tools.
- Avoid overloading: While it may be tempting to strain larger quantities in one go, it’s important not to overload the strainer. Putting too much pressure on the mesh can result in clogging or inefficient straining. If you have a large volume to strain, work in batches to maintain the strainer’s effectiveness.
By following these simple guidelines when handling your strainer, you’ll ensure its longevity and maintain its efficiency. Proper care and handling will make your straining tasks easier and prevent costly replacements or repairs.
Understanding Different Types of Strainers
Strainers come in various types and each is designed for specific straining tasks. Understanding the different types of strainers available can help you choose the right one for your specific needs:
- Fine-mesh strainers: These strainers feature a tight mesh screen, usually made of stainless steel, that effectively removes small particles or debris from liquids. They are ideal for straining sauces, stocks, or other liquids where a smooth texture is desired.
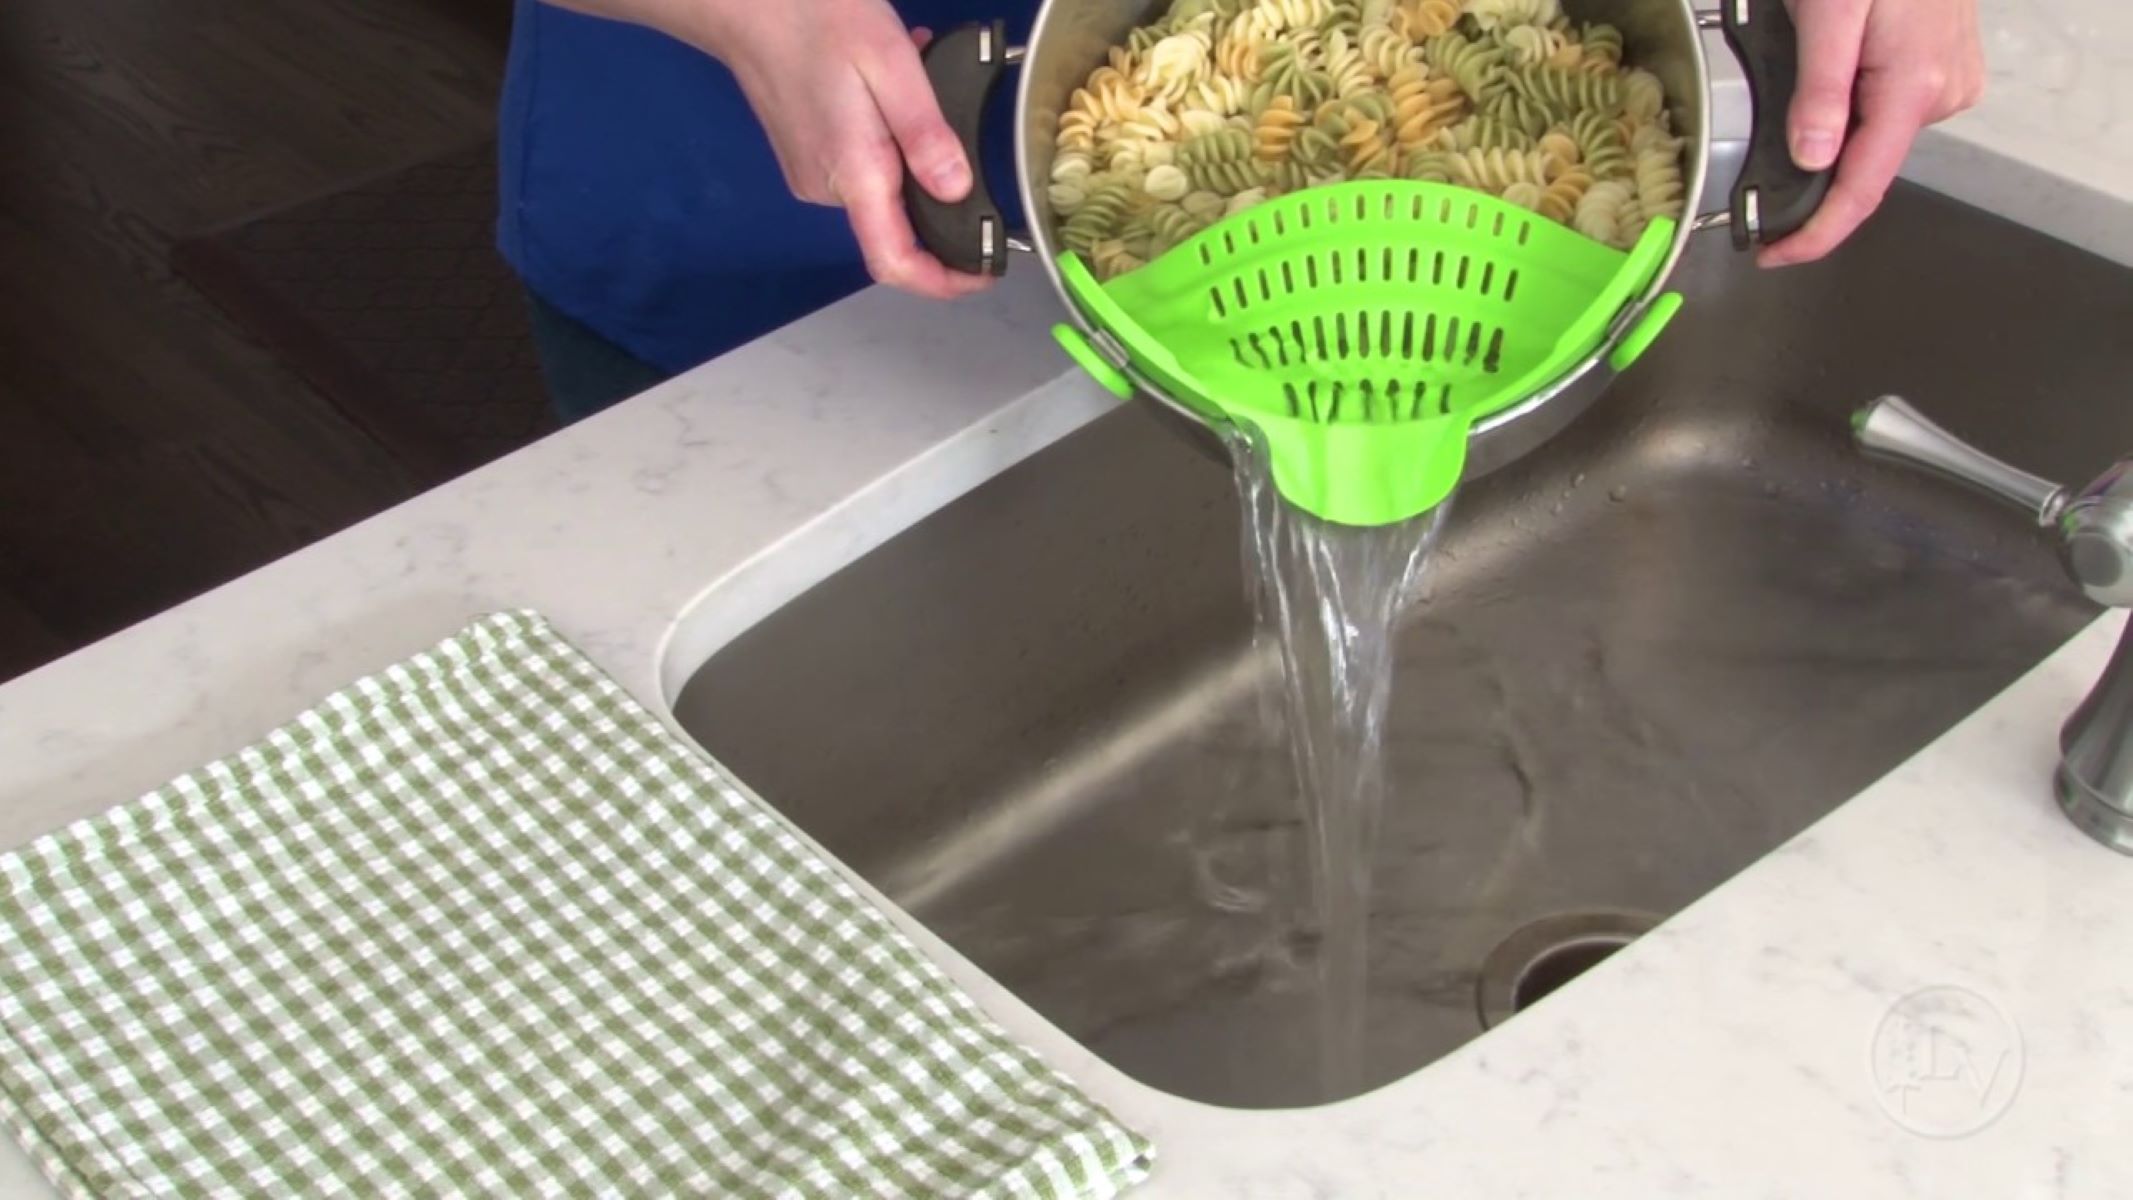
- Colanders or coarse strainers: Colanders are designed with larger holes and are typically used for draining pasta, rinsing fruits and vegetables, or straining larger solids. They are versatile and can handle a variety of straining tasks, making them a must-have for any kitchen.
- Spider strainers: Spider strainers, also known as skimmers or wire mesh strainers, have a wide, shallow basket attached to a handle. They are commonly used for scooping out solid foods from liquids, such as removing fried foods from hot oil or retrieving blanched vegetables from boiling water.
- Tea strainers: These small strainers are designed specifically for brewing loose-leaf tea. They usually have a fine mesh or perforated surface that keeps tea leaves contained while allowing the hot water to flow through, extracting the flavors without any residue.
- Oil strainers: These specialized strainers are designed to separate and filter used oil. They often have a built-in fine mesh filter that captures impurities and food particles, allowing you to reuse the clean oil for frying or cooking.
Each type of strainer serves a specific purpose, so it’s important to have a variety of them in your kitchen to cater to different straining needs. Investing in a selection of strainers will ensure that you have the right tool for every task, resulting in more efficient and precise straining.
Straining Liquids
Straining liquids is a common task in the kitchen, whether you are removing solids from a broth, clarifying a sauce, or separating pulp from juice. To achieve the best results when straining liquids, follow these steps:
- Select the right strainer: Choose a strainer with a fine mesh or sieve for liquids. This will ensure that small particles, such as herbs or sediment, are effectively removed while allowing the liquid to pass through smoothly.
- Position the strainer: Place the strainer over a bowl or container large enough to hold the liquid you are straining. Make sure the strainer is stable and securely positioned to prevent any spills or accidents.
- Pour the liquid: Slowly pour the liquid into the strainer, allowing it to flow through the mesh. Use a spoon or spatula to gently stir or press the solids against the mesh, aiding the straining process.
- Be patient: Straining liquids can take some time, especially if they contain a significant amount of solids. Allow gravity to do its work and avoid forcing the liquid through the mesh to prevent clogging or residue in the strained liquid.
- Discard the solids: Once the liquid has passed through the strainer, discard the solids caught in the mesh. You can either compost them or dispose of them as appropriate.
- Repeat if necessary: If the liquid is not clear or if it still contains solid particles, consider straining it again using a finer mesh or cheesecloth. This additional step can help achieve a smoother and clearer liquid.
Remember to be mindful of the temperature when straining hot liquids, as they can cause burns. Allow the liquid to cool slightly or use heat-resistant gloves or mitts for protection.
By following these steps, you can effectively strain liquids and achieve the desired consistency and clarity for your culinary creations.
Straining Solids
Straining solids involves removing unwanted components from solid ingredients or separating them from liquids. Whether you’re draining cooked pasta, rinsing vegetables, or straining solids from sauces, the following steps will help you strain solids effectively:
- Select the appropriate strainer: Choose a strainer that is suitable for handling solid ingredients. Colanders or coarse strainers with larger holes are ideal for draining pasta, rinsing vegetables, or separating larger solids from liquids.
- Position the strainer: Place the strainer in or over a sink, bowl, or plate, depending on the task. Ensure that the strainer is stable and won’t tip over or shift during the straining process.
- Add the solids: Pour or place the solid ingredients into the strainer. If straining hot substances, use heat-resistant gloves or utensils to protect yourself from burns.
- Rinse or drain: Rinse the solids under cold water to remove starch or excess debris, or allow them to drain in the strainer to remove excess liquid. Gently shake or tap the strainer to facilitate the drainage process.
- Shake or tap: Depending on the type of solids you’re straining, gently shake or tap the strainer to ensure that all excess liquid has been drained. This step is especially important when straining leafy greens or delicate ingredients.
- Transfer or discard: Carefully transfer the strained solids to a serving dish or cooking vessel as needed. If discarding the solids, dispose of them properly based on your local waste management guidelines.
For finer straining of solids, such as removing smaller particles or pulp, consider using a fine-mesh strainer or cheesecloth in addition to the primary strainer to achieve a smoother result.
Remember to clean the strainer promptly after straining solids to prevent any lingering residue or odors. Use a brush or sponge to remove any stuck particles and wash the strainer with warm, soapy water.
By following these steps, you can effectively strain solids and achieve the desired texture and consistency for your culinary creations.
Cleaning and Maintaining Your Strainer
Proper cleaning and maintenance of your strainer are essential to ensure its longevity and optimal functionality. Follow these guidelines to keep your strainer clean and in excellent condition:
- Immediate cleaning: After using the strainer, clean it promptly to prevent food particles from drying and sticking to the mesh. Rinse the strainer under warm water to remove any residue and use a brush or sponge to gently scrub away any trapped debris.
- Hand washing: For most strainers, hand washing is recommended. Use mild dish soap and warm water to clean the strainer thoroughly. Pay attention to the corners, edges, and mesh to ensure all areas are free from buildup.
- Dishwasher safe: Check the manufacturer’s instructions to determine if your specific strainer is dishwasher safe. Some stainless steel or silicone strainers can be safely washed in the dishwasher, making the cleaning process more convenient.
- Drying: After washing, allow the strainer to air dry completely before storing it. Placing a dish towel or paper towel inside the strainer aids in absorbing moisture and speeds up drying time.
- Removing odors: If your strainer develops stubborn odors, soak it in a mixture of warm water and vinegar for a few hours or overnight. Rinse thoroughly afterward to remove any lingering vinegar smell.
- Regular inspection: Periodically inspect your strainer for any signs of damage or wear. Check the mesh for holes, loose threads, or bent wires. If you notice any issues, consider repairing or replacing the strainer to maintain its effectiveness.
- Proper storage: Store your strainer in a dry and clean area. Avoid placing heavy objects on top of the strainer, as this can lead to deformation. Opt for a hanging storage option or stack it with other lightweight kitchen tools to save space.
By following these cleaning and maintenance practices, you’ll keep your strainer in excellent condition, ensure its longevity, and prevent contamination in your future straining tasks.
Troubleshooting Common Strainer Issues
While using a strainer is generally a straightforward process, you may encounter some common issues during straining. Here are some troubleshooting tips to help you overcome these problems:
- Clogging: If your strainer is getting clogged frequently, you may be overloading it with too much material. Try straining in smaller batches to allow for better flow through the mesh. Additionally, gently tapping or shaking the strainer during the straining process can help dislodge any trapped particles.
- Residue or fine particles: If you’re experiencing difficulty removing fine particles or residue from the strainer, consider using a finer mesh strainer or lining it with cheesecloth or a coffee filter. These additional layers can help catch smaller particles and result in a cleaner strained liquid or solid.
- Sagging mesh: Over time, the mesh of your strainer may sag or become loose. This can affect its straining efficiency. To address this issue, try tightening the mesh by gently pressing or squeezing it back into shape. If the mesh is severely damaged, consider replacing the strainer to ensure effective straining.
- Uneven straining: If you notice that the strainer is unevenly straining, it may be due to a warped or misshapen frame. Check the stability of the strainer and ensure that the mesh is properly aligned. If necessary, adjust the strainer or consider replacing it to achieve consistent straining results.
- Rust or corrosion: If you’re using a stainless steel strainer and notice signs of rust or corrosion, it may be due to exposure to moisture or improper storage. To remove rust, scrub the affected areas with a mixture of baking soda and water or use a specialized stainless steel cleaner. Properly dry the strainer after each use and store it in a dry environment to prevent future rusting.
If these troubleshooting tips do not resolve the issue, it may be time to invest in a new strainer. Proper maintenance and regular inspection of your strainer can help identify potential issues early on and prevent them from worsening.
By applying these troubleshooting techniques, you can overcome common strainer problems and ensure optimal straining performance for your culinary endeavors.
Tips and Tricks for Using a Strainer
Using a strainer efficiently can greatly improve your cooking and straining experience. Here are some useful tips and tricks to make the most out of your strainer:
- Prevent splashes: To prevent liquid splashes while pouring, tilt the strainer slightly towards the pouring direction. This will help guide the liquid into the designated container or sink without creating a mess on your countertop.
- Multiple passes: For finer straining, consider using multiple passes. If your initial straining process doesn’t remove all the impurities or achieve the desired consistency, strain the liquid or solids again using a finer mesh or additional layers of cheesecloth.
- Tap or shake to release trapped air: When straining liquids, tap or gently shake the strainer to release any trapped air bubbles. This allows the liquid to pass through the mesh more smoothly and ensures a more efficient straining process.
- Use the back of a spoon: When straining thicker liquids or ingredients like tomato sauce or purees, use the back of a spoon to press the mixture against the mesh. This helps facilitate the straining process and yields a smoother end result.
- Freeze before straining: When straining liquids that contain fat, such as stocks or broths, consider chilling them in the refrigerator or freezing them briefly. This causes the fat to solidify, making it easier to remove and resulting in a cleaner, leaner final product.
- Compost and recycle: If you’re straining organic materials, such as fruit or vegetable scraps, consider composting them instead of throwing them away. Check your local recycling guidelines to determine if your strainer is recyclable at the end of its lifecycle.
- Strain over a bowl: When straining solid ingredients, such as pasta or vegetables, strain them over a mixing bowl. This allows you to reserve some of the cooking liquid, which can be useful for adjusting the consistency of sauces or adding moisture back to the strained solids if needed.
- Get creative: Don’t limit your strainer use to traditional recipes. Experiment with straining cocktails to achieve a smoother texture, strain homemade nut milks for a dairy-free alternative, or strain infused oils for a flavorful addition to your dishes.
By incorporating these tips and tricks into your straining routine, you’ll be able to streamline the process, achieve better results, and explore new culinary possibilities with your strainer.