
Choosing the Right Pasta Pot with Strainer
When it comes to cooking pasta, having the right tools is essential for achieving perfect al dente noodles. A pasta pot with a built-in strainer is a smart investment for any pasta lover. Not only does it simplify the cooking process, but it also eliminates the need for separate colanders or strainers. However, with so many options available, choosing the right pasta pot with a strainer can be overwhelming. Here are some important factors to consider when selecting the perfect pot for your pasta:
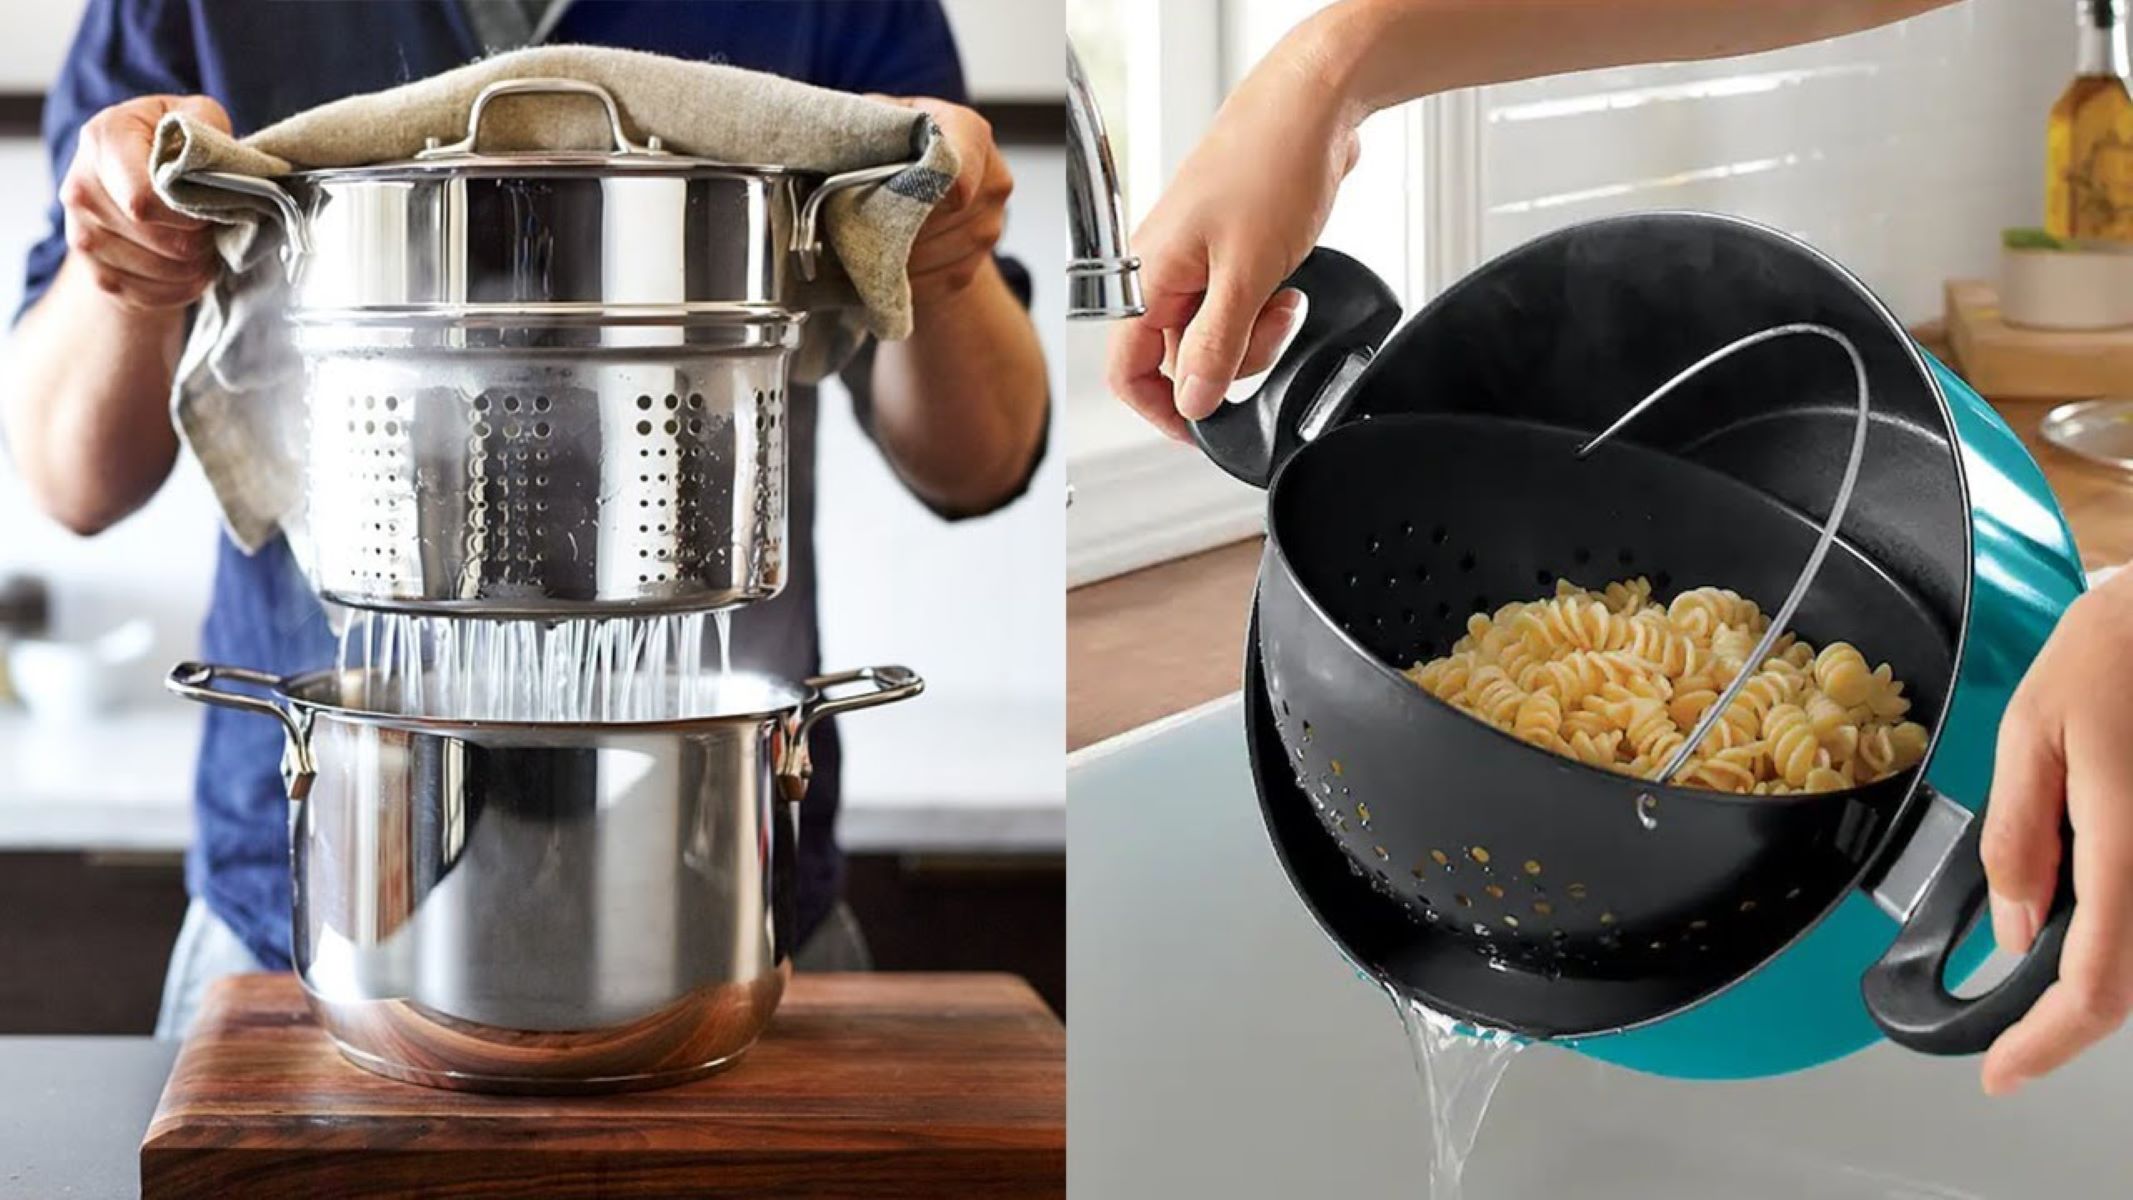
Material: The first thing to consider is the material of the pot. Stainless steel pasta pots are popular for their durability, heat conductivity, and resistance to stains and corrosion. They are also easy to clean and maintain. Non-stick pots are another option, as they prevent the noodles from sticking to the bottom and sides, making cleanup a breeze. However, they may not be as durable as stainless steel.
Size: The size of the pot is another crucial factor. Consider the amount of pasta you usually cook and choose a pot that can accommodate that volume. A pot with a capacity of 6-8 quarts is generally suitable for most households. It should have enough space for the water and the pasta to cook without splashing over.
Strainer Type: The type of strainer in the pot is also important. Look for a pot with a fine-mesh strainer that effectively prevents small pasta pieces from slipping through the holes. Some pots have a hinged strainer lid, while others have a removable basket. Decide which style suits your preference and convenience.
Ergonomics: Comfort and usability should not be overlooked when choosing a pasta pot with a strainer. Opt for a pot that has heat-resistant handles, as it will be easier and safer to handle when draining the hot water. The pot should also have a secure lid that can be easily locked in place to prevent accidents or splashing.
Price: Lastly, consider your budget. While there are premium pasta pots with strainers available on the market, there are also more affordable options that offer similar functionality. Determine your budget and find a pot that meets your requirements without breaking the bank.
By considering these factors, you can choose the perfect pasta pot with a strainer that suits your needs and allows you to cook delicious pasta effortlessly. Now that you have the right pot, let’s move on to preparing it for use.
Preparing the Pasta Pot for Use
Before you start cooking your pasta, it’s important to properly prepare your pasta pot with a strainer. Following these steps will ensure that your pot is clean and ready for cooking:
Step 1: Clean the Pot: Start by washing the pasta pot with warm soapy water. Remove any stickers or tags that might be attached to the pot. Rinse it thoroughly to remove any soap residue.
Step 2: Check the Strainer: Inspect the strainer to make sure there are no dents or damages that could affect its functionality. Ensure that the strainer is securely attached to the pot, whether it’s hinged or removable.
Step 3: Season the Pot: If you have a stainless steel pasta pot, it’s a good idea to season it before its first use. Coat the interior of the pot with a small amount of vegetable oil and heat it on medium-low heat for a few minutes. Allow it to cool and wipe off any excess oil. This process helps prevent food from sticking to the pot.
Step 4: Fill with Water: Fill the pot with an appropriate amount of water for the amount of pasta you plan to cook. It’s usually recommended to use 4-6 quarts of water per pound of pasta. Leave some space at the top of the pot to prevent water from boiling over.
Step 5: Heat the Water: Place the pot on the stovetop and bring the water to a rolling boil over high heat. Stir the water occasionally to prevent the pasta from sticking to the bottom of the pot.
Step 6: Test the Strainer: While waiting for the water to boil, carefully test the strainer to ensure that it’s properly attached or positioned. Gently lift it or press it down to make sure it functions smoothly and securely.
Step 7: Adjust the Heat: Once the water reaches a rolling boil, you can adjust the heat to maintain the boil without causing the water to boil over. A gentle simmer is ideal for cooking pasta evenly.
Step 8: Get the Pasta Ready: While the water is boiling, prepare your pasta by measuring the desired amount and gathering any additional ingredients or sauces you plan to use.
By following these preparation steps, your pasta pot with a strainer is now ready to be used for cooking delicious pasta. In the next section, we will dive into the process of cooking pasta using the built-in strainer.
Cooking Pasta in the Pasta Pot
Now that you have your pasta pot with a strainer ready, it’s time to cook your pasta to perfection. Follow these steps to ensure your noodles come out al dente and flavorful:
Step 1: Add Salt: Once the water is boiling, add a generous amount of salt to the pot. This helps enhance the flavor of the pasta. A general rule of thumb is to add about 1-2 tablespoons of salt per 4-6 quarts of water.
Step 2: Add Pasta: Carefully add the pasta to the boiling water. Make sure the water covers the pasta completely. Give it a gentle stir to prevent clumping.
Step 3: Stir Occasionally: While the pasta is cooking, stir it occasionally to prevent sticking. Use a wooden spoon or pasta tongs to gently move the noodles around.
Step 4: Cook Al Dente: Check the package instructions for the recommended cooking time. However, it’s best to taste the pasta a couple of minutes before the suggested time to ensure it is cooked al dente – slightly firm to the bite.
Step 5: Test for Doneness: Take a strand of pasta and bite into it. It should have a slight resistance, but not be too hard or too soft. Remember that pasta continues to cook after it is drained, so be mindful of reaching the perfect texture.
Step 6: Reserve Pasta Water: Before draining the pasta, reserve a small amount of the cooking water. This starchy liquid can be used to adjust the consistency of your pasta sauce later on.
Step 7: Drain the Pasta: Using the built-in strainer of your pasta pot, carefully hold the pot over the sink or a large bowl. Secure the strainer in place and pour the pasta and water through it. Allow the excess water to drain away.
Step 8: Rinse (optional): Depending on your personal preference, you can rinse the pasta under cold water to stop the cooking process and remove excess starch. This step is particularly useful if you are preparing pasta in advance or for cold pasta salads.
With these steps, you can confidently cook your pasta using your pasta pot with a built-in strainer. In the next section, we’ll explore the process of draining the pasta using the strainer, making the cooking process even more convenient.
Draining the Pasta Using the Built-In Strainer
One of the convenient features of a pasta pot with a built-in strainer is the ability to drain the pasta directly from the pot, eliminating the need for a separate colander or strainer. Follow these simple steps to drain your pasta effortlessly:
Step 1: Ensure Stability: Before you begin draining the pasta, make sure the pot is stable and secure. Hold the handles firmly, ensuring a steady grip to prevent any accidents or spills.
Step 2: Position the Strainer: If you have a hinged strainer lid, lift it and fold it over to form a solid strainer surface. If your pot has a removable basket, lift it up and position it securely at the top of the pot.
Step 3: Secure the Strainer: Ensure that the strainer is securely locked in place. If it’s a hinged strainer lid, make sure it locks onto the pot securely. If it’s a removable basket, check that it fits snugly over the pot, with no wobbling or instability.
Step 4: Hold Steady: With one hand on the pot handles and the other hand supporting the strainer, carefully hold the pot over the sink or a large bowl. Be cautious of the hot steam coming from the pot during this process.
Step 5: Pour Out Water: Slowly and steadily pour the pot’s contents through the built-in strainer. The hot water will drain out while the pasta remains in the strainer, ready to be served or further cooked with sauces or toppings.
Step 6: Shake Gently: After draining the water, give the pot a gentle shake or tap to remove any excess water lingering in the strainer. This helps prevent diluting your pasta sauce or making the noodles soggy.
Step 7: Serve or Proceed with Recipes: Once you have drained your pasta, you can either transfer it directly to a serving dish or proceed with your chosen recipe. Toss the pasta in your desired sauce or mix in complementary ingredients, such as vegetables or proteins.
Step 8: Enjoy: Now that your pasta is drained and ready, it’s time to enjoy your delicious creation. Whether it’s a classic spaghetti marinara or a flavorful pesto linguine, savor each bite and appreciate the convenience of your pasta pot with a built-in strainer.
With the built-in strainer, draining your cooked pasta becomes a hassle-free process. In the next section, we’ll discuss how to properly remove the pasta from the pot, ensuring you get every last strand without making a mess.
Removing the Pasta from the Pot
Once your pasta is drained using the built-in strainer of your pasta pot, it’s time to remove the pasta from the pot and transfer it to your serving dish or plate. Follow these simple steps to remove the pasta without making a mess:
Step 1: Disconnect the Strainer: If your pasta pot has a hinged strainer lid, unlock and disconnect it from the pot. If you’re using a removable basket, lift it off the pot and set it aside temporarily.
Step 2: Shake Off Excess Water: Give the strainer or basket a gentle shake to remove any lingering water trapped between the pasta strands. This will prevent the pasta from becoming too watery or diluting the sauce.
Step 3: Use Tongs or a Pasta Server: Depending on your preference, use tongs or a pasta server to lift the pasta from the strainer or basket. Make sure to use a utensil that can handle the weight of the pasta without breaking or slipping.
Step 4: Transfer to Your Plate or Serving Dish: Carefully transfer the pasta to a plate or serving dish, ensuring even distribution and an appealing presentation. Use the tongs or pasta server to arrange the pasta as desired.
Step 5: Separate Noodles If Needed: If the pasta strands have clumped together, gently separate them using the tongs or your fingers. This will help evenly distribute the sauce and ensure each strand is well-coated.
Step 6: Garnish and Sauce: At this point, you can garnish your pasta with fresh herbs, grated cheese, or any additional toppings of your choice. If you haven’t already, now is the perfect time to add your favorite pasta sauce or toss the noodles with olive oil and desired seasonings.
Step 7: Serve and Enjoy: Your pasta is now ready to be served and enjoyed. Whether it’s a cozy family dinner or a gathering with friends, the pasta you’ve cooked and removed from the pot is the centerpiece of a delicious meal. Serve with a side of garlic bread or a fresh salad, and savor each bite!
By following these steps, you can remove the pasta from your pot without creating a mess and ensure a beautifully presented dish. In the next section, we’ll discuss the importance of cleaning and maintaining your pasta pot with a strainer to keep it in top condition for future use.
Cleaning and Maintaining Your Pasta Pot with Strainer
After enjoying a delicious plate of pasta, it’s important to properly clean and maintain your pasta pot with a strainer to ensure its longevity and continued functionality. Follow these steps to keep your pasta pot in top condition:
Step 1: Let it Cool: Allow the pot to cool down before starting the cleaning process. This will prevent any accidental burns and make it easier to handle.
Step 2: Remove Residue: Using a soft sponge or cloth, gently remove any food residue from the pot. Pay close attention to the strainer area, ensuring it’s free from any trapped food particles.
Step 3: Wash with Mild Detergent: Fill the pot with warm water and a small amount of mild dish detergent. Use a sponge or cloth to wash the pot both inside and out. Pay attention to any stubborn stains or remaining food residue.
Step 4: Rinse Thoroughly: Rinse the pot thoroughly under running water to remove any soap residue. Ensure that all detergent is washed away to prevent it from altering the taste of future pasta dishes.
Step 5: Clean the Strainer: If your pot has a removable strainer or basket, give it a thorough cleaning as well. Use a small brush or sponge to reach into the corners and remove any trapped debris.
Step 6: Dry Completely: After rinsing, carefully dry the pot and strainer with a clean towel or allow them to air dry completely. This helps prevent any moisture from causing rust or other issues.
Step 7: Store Properly: Ensure that the pot and strainer are completely dry before storing them. Store the pot with the strainer attached, or if it’s removable, keep them together to prevent misplacement.
Step 8: Avoid Abrasive Cleaners: Refrain from using harsh or abrasive cleaners on your pasta pot, as this can damage the surface and affect its non-stick properties. Stick to mild dish detergent and non-abrasive cleaning tools.
Step 9: Check for Damages: Regularly inspect your pasta pot for any damages, such as loose handles or scratches. Address any issues promptly to prevent further damage or potential safety hazards.
Step 10: Follow the Manufacturer’s Guidelines: Always refer to the manufacturer’s specific guidance for cleaning and maintaining your pasta pot with a strainer. Different materials and designs may require slightly different care instructions.
By following these cleaning and maintenance steps, you can keep your pasta pot with a strainer in excellent condition, ready for many more delicious pasta meals. In the next section, we’ll provide some additional tips and tricks for using your pasta pot with a strainer to enhance your cooking experience further.
Tips and Tricks for Using a Pasta Pot with Strainer
Using a pasta pot with a built-in strainer can make cooking pasta a breeze. To further enhance your cooking experience, here are some tips and tricks to keep in mind:
1. Use the Right Amount of Water: Be sure to fill your pasta pot with enough water to cover the pasta completely. Using too little water can result in sticky and clumpy noodles.
2. Mind the Cooking Time: Follow the recommended cooking time on the pasta package as a guideline. However, keep in mind that actual cooking times may vary, so it’s always best to taste the pasta a few minutes before the suggested time to ensure it’s cooked to your preferred level of doneness.
3. Stir Occasionally: While the pasta is cooking, give it a gentle stir every now and then to prevent it from sticking together or to the bottom of the pot.
4. Season the Water: Adding salt to the boiling water enhances the flavor of the pasta. Experiment with different herbs and spices to infuse additional flavors into the pasta.
5. Utilize the Pasta Water: The starchy pasta water reserved during the draining process can be used to adjust the consistency of your pasta sauce. Adding a splash of pasta water can help bind the sauce to the noodles, creating a more cohesive and flavorful dish.
6. Preheat the Pot: Before adding the pasta, preheat the pot by filling it with hot tap water. This will help the water come to a boil faster and reduce the overall cooking time.
7. Consider One-Pot Recipes: Take advantage of your pasta pot’s built-in strainer for one-pot pasta recipes. Toss in your ingredients, including vegetables, proteins, and sauce, along with the pasta. Cook it all together, and then use the strainer to drain the cooked pasta and other ingredients without the need for additional pots or pans.
8. Serve Immediately: For the best texture and flavor, serve the cooked pasta immediately after draining. This ensures that the noodles stay hot, al dente, and ready to be enjoyed at their peak.
9. Explore Different Pasta Shapes: Try experimenting with various pasta shapes to add variety and visual appeal to your dishes. Certain shapes may hold sauces and ingredients differently, providing a unique eating experience.
10. Get Creative: Don’t be afraid to get creative with your pasta dishes. Combine different types of pasta, mix in fresh vegetables, proteins, and sauces to create your signature pasta creations.
By applying these tips and tricks, you can make the most out of your pasta pot with a built-in strainer. Enjoy the convenience and versatility it offers while exploring the world of delicious pasta dishes.