
Prepare the necessary tools and materials
Before you begin removing the adhesive from your shower caddy, it’s important to gather all the necessary tools and materials. Having everything prepared beforehand will make the process smoother and more efficient. Here is a list of items you will need:
- Heat source – such as a hairdryer or heat gun
- Lubricant – options include vinegar, cooking oil, or adhesive remover
- Plastic scraper or putty knife – to gently scrape off the adhesive
- Rubbing alcohol – for stubborn adhesive residue
- Cotton balls or soft cloth – for applying rubbing alcohol
- Bucket or container – for holding water and detergent for cleaning
- Mild detergent or dish soap – to clean the shower caddy
- Microfiber cloth or towel – for drying the surface
- Protective gloves – to prevent any skin irritation from the adhesive remover or solvents
Having these tools and materials ready will ensure that you can proceed with the adhesive removal process without interruptions or the need to search for missing items. Set them up in a convenient and easily accessible location near the shower area.
Remember to read and follow the instructions and safety precautions on any adhesive removers, solvents, or cleaning products you plan to use. Proper ventilation is also recommended to prevent inhaling any fumes that may be released during the adhesive removal process.
Step 1: Assess the adhesive type
Before you proceed with removing the adhesive from your shower caddy, it’s essential to assess the type of adhesive you’re dealing with. Different adhesives may require different removal methods, so this step will help determine the most effective approach.
Start by examining the adhesive closely. Look for any labels or markings on the adhesive itself, packaging, or the shower caddy. This information can provide valuable insights into the type of adhesive used.
Common types of adhesives include:
- Water-based adhesives: These are often white or clear and can be softened with water or water-based solvents.
- Silicone-based adhesives: These adhesives are typically clear and rubbery. They can be challenging to remove, requiring specialized silicone-based adhesive removers.
- Epoxy adhesives: Epoxy adhesives are usually two-part mixtures that harden into a strong bond. They may require specific solvents or mechanical methods for removal.
- Acrylic adhesives: These adhesives are often clear and can be softened with rubbing alcohol or acetone-based solvents.
If there are no visible labels, conduct a small test by applying a small amount of your chosen lubricant or adhesive remover to a discreet area of the adhesive. Observe how the adhesive reacts to the product. This will give you an idea of the best approach to take.
By accurately identifying the adhesive type, you can choose the most appropriate removal method, saving you time and effort in the long run. It’s important to proceed with caution and avoid using harsh chemicals or methods that could damage the shower caddy or the surrounding surfaces.
Step 2: Use heat to loosen the adhesive
Using heat is an effective method to loosen stubborn adhesive and make it easier to remove from your shower caddy. Heat helps soften the adhesive, making it more pliable and less sticky. Here’s how you can use heat to loosen the adhesive:
- Plug in a hairdryer or heat gun and set it to a low or medium heat setting.
- Hold the hairdryer or heat gun a few inches away from the adhesive, directing the warm air towards it.
- Move the heat source back and forth across the adhesive, ensuring that the heat is evenly applied. Be careful not to stay in one spot for too long to avoid damaging the surface or the plastic of the shower caddy.
- Continue applying heat for a few minutes until the adhesive becomes softer and starts to loosen.
- Once the adhesive has softened, use a plastic scraper or putty knife to gently scrape off the loosened adhesive. Start from the edges and work your way towards the center to avoid damaging the shower caddy.
If parts of the adhesive are still stubbornly sticking to the shower caddy, apply more heat and repeat the scraping process. The heat will continue to soften the adhesive, making it easier to remove. Take your time and be patient, ensuring that you do not rush the process and cause any damage to the shower caddy.
Using heat to loosen the adhesive is especially effective for water-based or acrylic adhesives. However, it may not be as effective for silicone or epoxy adhesives, as they tend to have higher heat resistance. In such cases, you may need to explore alternative removal methods.
Step 3: Apply a lubricant to help dissolve the adhesive
Applying a lubricant is a useful technique to help dissolve adhesive and facilitate its removal from your shower caddy. The lubricant works by breaking down the adhesive’s bond and making it easier to scrape off. Here’s how you can apply a lubricant to help dissolve the adhesive:
- Choose a suitable lubricant. Common options include vinegar, cooking oil, or adhesive remover specifically designed for the type of adhesive you are dealing with.
- If using vinegar, soak cotton balls or a soft cloth in vinegar and apply them directly to the adhesive. Allow the vinegar to sit on the adhesive for a few minutes to soften it.
- Alternatively, if using cooking oil, apply a small amount of oil directly to the adhesive and let it sit for a few minutes.
- If using an adhesive remover, follow the instructions on the product packaging regarding application. Apply the adhesive remover to the adhesive and allow it to sit for the recommended amount of time.
- Using a plastic scraper or putty knife, gently scrape off the adhesive, starting from the edges and working towards the center. The lubricant will help loosen the adhesive, making it easier to remove.
- Continue applying the lubricant and scraping off the adhesive until the majority has been removed. Be patient and take your time, ensuring that you don’t damage the surface of the shower caddy in the process.
Keep in mind that different lubricants may work better on different types of adhesive. Vinegar is effective on water-based or acrylic adhesives, while cooking oil can work well on certain types of sticky residue. If using an adhesive remover, make sure it is specifically formulated for the adhesive type you are dealing with.
After applying the lubricant and removing the adhesive, you may notice some residue remaining. Don’t worry, as we will address this in the following steps. Take care to thoroughly clean the surface of the shower caddy before proceeding to prevent any remaining adhesive from interfering with the reapplication or causing further issues.
Step 4: Gently scrape off the adhesive residue
Even after applying a lubricant and removing the bulk of the adhesive, there may still be some residue left on your shower caddy. To completely clean the surface, it’s important to gently scrape off the remaining adhesive residue. Here’s how you can do it:
- Take a plastic scraper or putty knife and position it at a low angle against the adhesive residue.
- With gentle pressure, scrape the adhesive residue using short, controlled strokes. Work from one side to the other, gradually removing the residue as you go.
- Be careful not to apply excessive force or use a metal scraper, as it may scratch or damage the surface of the shower caddy.
- If the adhesive residue is particularly stubborn, you can dampen a soft cloth with warm water or rubbing alcohol and gently rub the residue in a circular motion.
- Continue scraping and rubbing until all the adhesive residue is removed. Take your time and be patient to prevent any accidental damage to the shower caddy.
During this step, it is important to maintain a gentle approach to avoid scratching or damaging the surface of the shower caddy. If necessary, you can reapply the lubricant and let it sit on the residue for a few minutes to make it easier to scrape off.
Remember to frequently clean the scraper or putty knife with a cloth or rinse it in warm water to remove the accumulated adhesive residue. This will ensure that you have a clean scraping surface and prevent the residue from smearing back onto the shower caddy.
By generously applying patience and using gentle scraping motions, you should be able to successfully remove all the adhesive residue from your shower caddy, leaving it clean and ready for the next step in the process.
Step 5: Use rubbing alcohol for stubborn adhesive
If you encounter stubborn adhesive residue that is difficult to remove with scraping alone, using rubbing alcohol can be an effective solution. Rubbing alcohol helps break down the adhesive, making it easier to dissolve and wipe away. Follow these steps to use rubbing alcohol for stubborn adhesive:
- Soak a cotton ball or a soft cloth with rubbing alcohol.
- Press the alcohol-soaked cotton ball or cloth onto the stubborn adhesive residue, ensuring it makes good contact.
- Allow the rubbing alcohol to sit on the adhesive residue for a few minutes. This will help dissolve the adhesive and make it easier to remove.
- Gently rub the adhesive residue using the soaked cotton ball or cloth in a circular motion.
- Continue rubbing until the adhesive residue starts to dissolve and lift off the surface of the shower caddy.
- If needed, you can reapply more rubbing alcohol to the stubborn areas and repeat the rubbing process.
- Once the adhesive residue has been fully removed, rinse the area with clean water to remove any residual rubbing alcohol.
Rubbing alcohol is particularly helpful for removing adhesive residues left behind by silicone or epoxy adhesives. It effectively dissolves these types of adhesives and makes them easier to wipe away.
Ensure that the rubbing alcohol does not come into contact with any plastic or painted surfaces on the shower caddy, as it may cause damage. It is always a good idea to perform a patch test in an inconspicuous area to check for any adverse reactions before using rubbing alcohol on the entire adhesive residue.
Using rubbing alcohol for stubborn adhesive residues can be a game-changer in the removal process. It helps ensure a clean and adhesive-free surface for the next steps in reusing or repositioning your shower caddy.
Step 6: Rinse and dry the surface thoroughly
After successfully removing the adhesive and any residue from your shower caddy, it’s crucial to thoroughly rinse and dry the surface. This step ensures that no leftover adhesive or cleaning agents remain, leaving the shower caddy clean and ready for reapplication or further use. Follow these steps to rinse and dry the surface:
- Using a clean cloth or sponge, dampen it with warm water.
- Gently wipe down the entire surface of the shower caddy to remove any traces of adhesive or lubricants.
- Rinse the cloth or sponge frequently to prevent spreading any adhesive or residue.
- If necessary, you can add a small amount of mild detergent or dish soap to the warm water to help remove any remaining stubborn residue.
- Thoroughly rinse the surface with clean water to remove any soap or detergent.
- To ensure complete drying, use a microfiber cloth or towel to carefully dry the entire surface of the shower caddy.
- Pay close attention to any crevices or hard-to-reach areas, making sure they are completely dry.
Properly rinsing and drying the surface of your shower caddy is essential to avoid any residual moisture that could lead to mold or mildew growth over time. Additionally, removing all traces of cleaning agents ensures a clean and pristine surface for reapplying or using the shower caddy.
Once the shower caddy is thoroughly dry, you can move on to the next steps, such as reattaching it to the wall or storing it for future use. Take pride in your clean and adhesive-free shower caddy, knowing that you’ve successfully completed this important step of the removal process.
Step 7: Consider using adhesive removers or solvents
If the adhesive on your shower caddy proves to be particularly stubborn or resistant to the previous steps, you may consider using adhesive removers or solvents. These products are specifically formulated to break down adhesives and make their removal easier. Here’s how you can use adhesive removers or solvents:
- Choose an adhesive remover or solvent that is suitable for the type of adhesive you are dealing with. Check the product label for compatibility.
- Follow the instructions provided by the manufacturer on how to use the adhesive remover or solvent.
- Apply the product to the adhesive using a clean cloth or sponge. Ensure the adhesive is generously covered with the remover or solvent.
- Allow the adhesive remover or solvent to sit on the adhesive for the recommended amount of time, as specified by the manufacturer.
- Using a plastic scraper or putty knife, gently scrape off the adhesive residue. The adhesive remover or solvent should have softened the adhesive, making it easier to remove.
- Continue applying the adhesive remover or solvent and scraping until all the adhesive residue is removed.
- Once the adhesive is removed, rinse the surface with clean water to remove any residual adhesive remover or solvent.
- Dry the surface thoroughly to complete the process.
Adhesive removers and solvents are effective options for dealing with challenging adhesives, such as silicone or epoxy. They break down the adhesive bond and make it easier to remove. However, it is important to read and follow the instructions provided by the manufacturer to ensure safe and effective use.
It is recommended to perform a patch test in an inconspicuous area before applying the adhesive remover or solvent to the entire surface. This will help ensure that the product does not cause any damage or discoloration to the shower caddy.
Using adhesive removers or solvents can be a valuable step in removing stubborn adhesives, allowing you to achieve a clean and adhesive-free shower caddy. However, remember to handle these products with care, follow safety precautions, and provide adequate ventilation during the application and removal process.
Step 8: Clean the shower caddy before reapplying
Before you proceed with reattaching or reusing your shower caddy, it’s important to clean it thoroughly to ensure a hygienic and fresh surface. Cleaning the shower caddy removes any remaining residue, dirt, or cleaning agents from the removal process. Follow these steps to clean the shower caddy:
- Fill a bucket or container with warm water.
- Add a small amount of mild detergent or dish soap to the water and mix it well.
- Dip a soft cloth or sponge into the soapy water, ensuring it is damp but not overly saturated.
- Gently scrub the entire surface of the shower caddy, paying attention to all nooks, crevices, and hooks.
- Rinse the shower caddy thoroughly with clean water to remove any soap residue.
- Inspect the shower caddy to ensure it is completely clean and free from any debris or residue.
- Using a microfiber cloth or towel, carefully dry the shower caddy to prevent any water spots or streaks.
A clean shower caddy not only looks better but also helps maintain a sanitary environment in your shower. By removing any remaining residue from the adhesive removal process, you ensure a smooth surface for reattaching the shower caddy or for its future use.
After cleaning, give the shower caddy a final inspection to ensure that it is completely dry and free from any water droplets. This will help prevent any potential water damage or mold growth on the surface of the shower caddy.
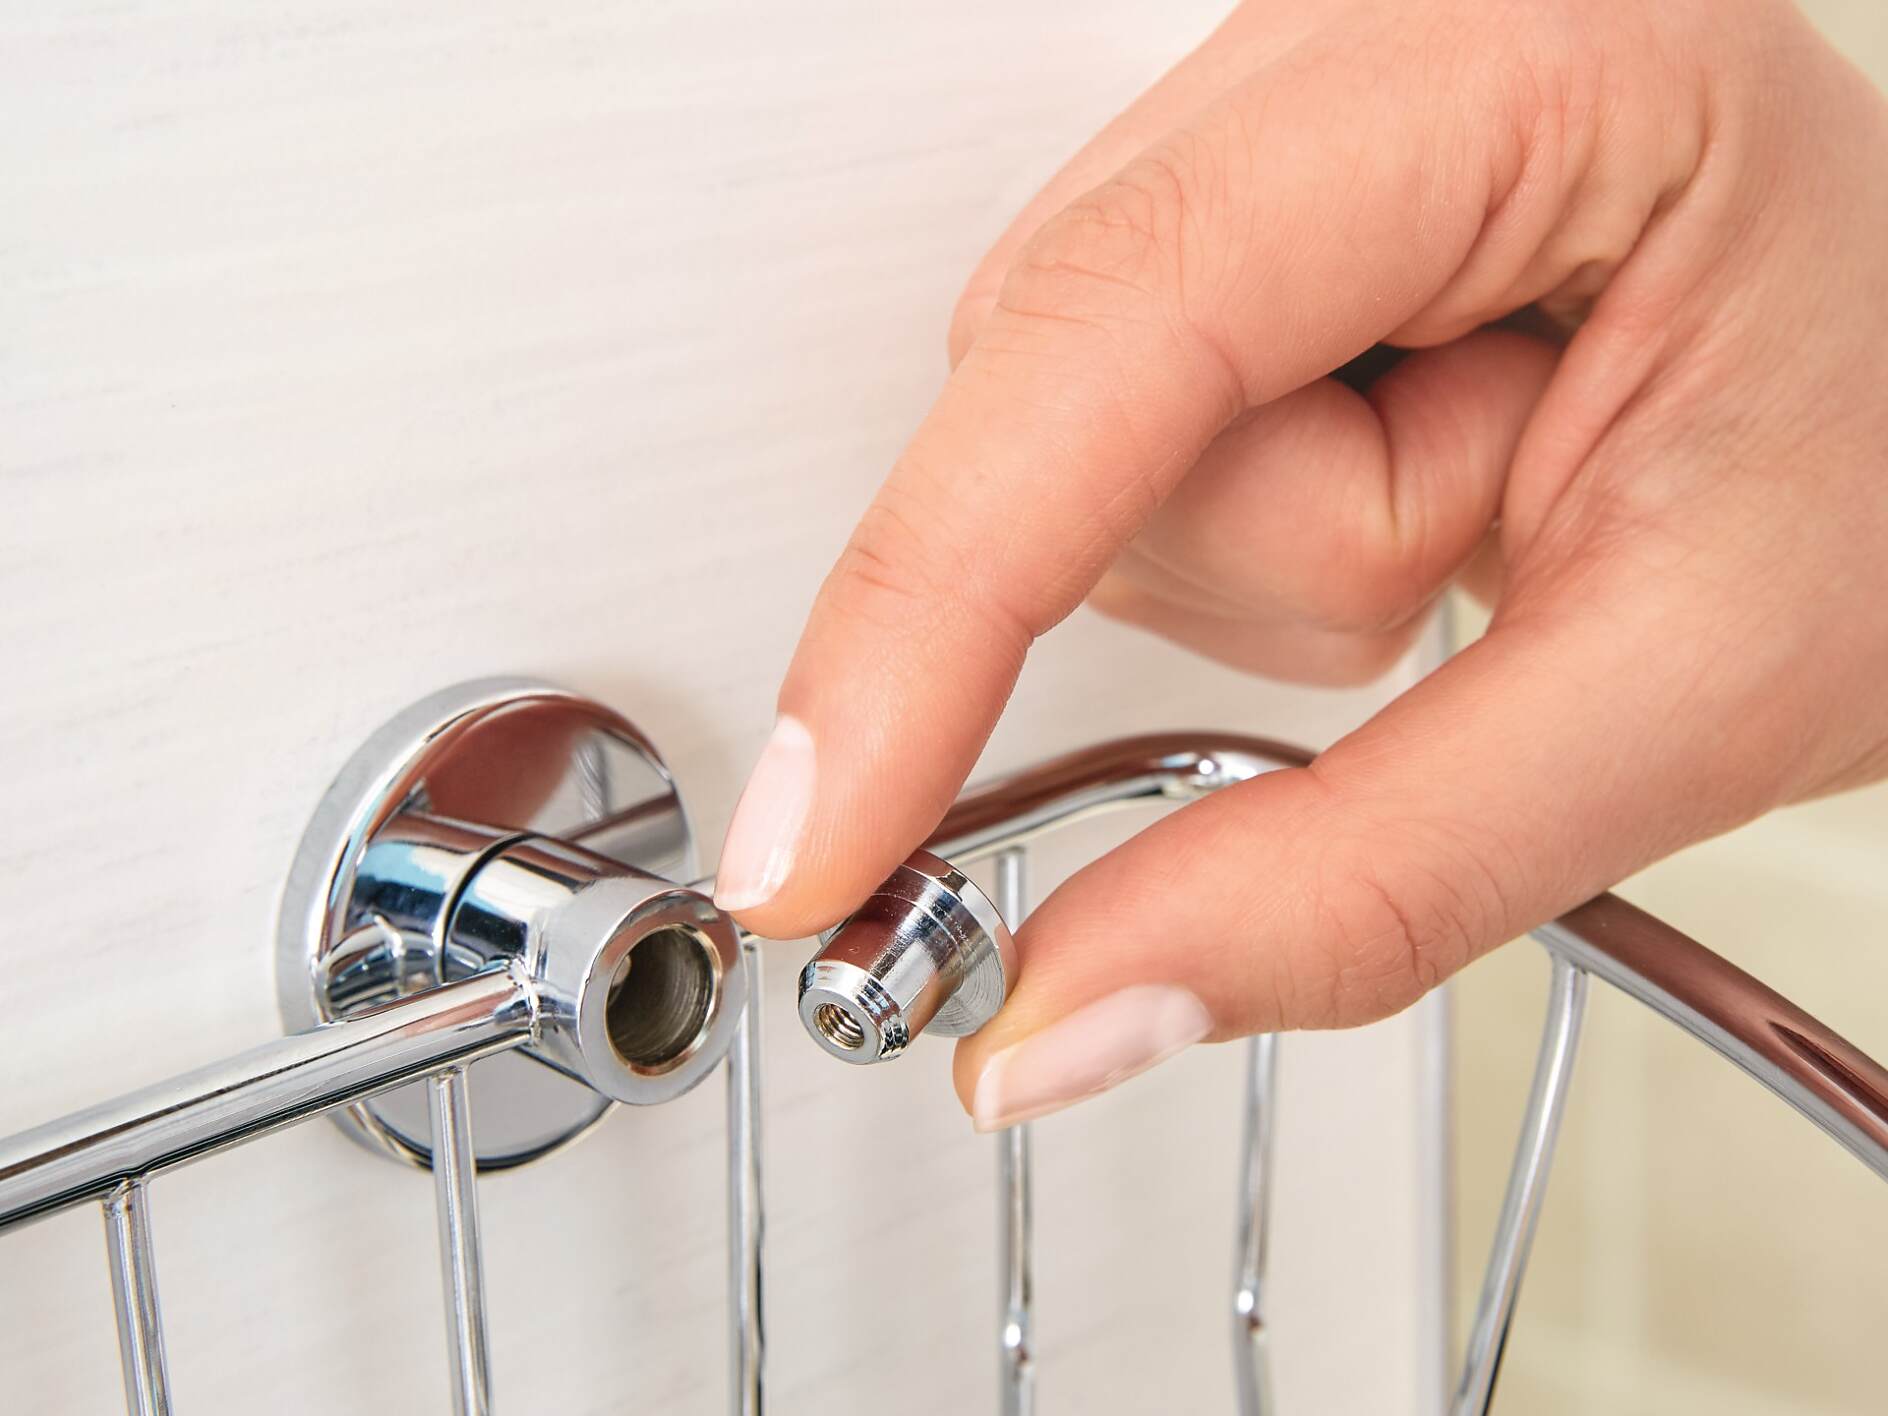
Now that your shower caddy is clean, dry, and adhesive-free, you can proceed with reattaching it to the wall or using it for its intended purpose. Enjoy the organized and clutter-free shower experience with your refreshed shower caddy.