
Why Removing Raspberry Seeds is Important
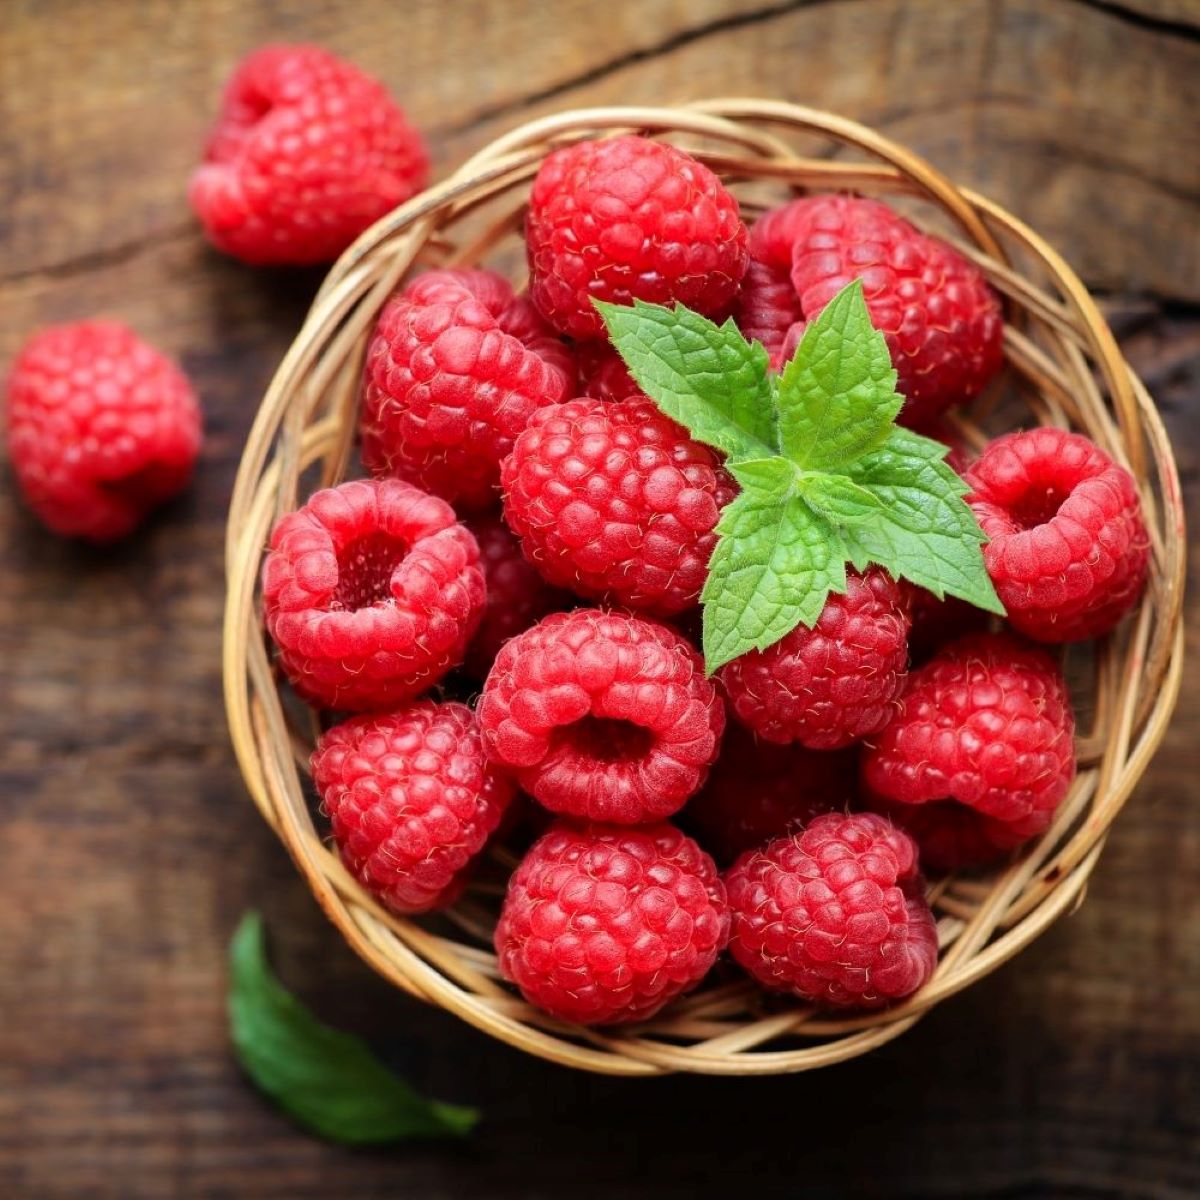
Raspberries are delicious and nutritious fruits that are loved by many. However, they do come with a small inconvenience – their seeds. While some people don’t mind the texture and taste of the seeds, others prefer a smooth and seedless raspberry experience. If you fall into the latter category, then knowing how to remove raspberry seeds is essential for your culinary endeavors.
One of the main reasons why people choose to remove raspberry seeds is for the sake of texture. The seeds can be a bit gritty and can disrupt the smoothness of certain recipes like sauces, purees, and desserts. By removing the seeds, you can achieve a velvety and refined texture, elevating the overall eating experience.
Furthermore, removing raspberry seeds can also enhance the flavor of your dishes. The seeds have a slightly bitter taste, which can affect the overall flavor profile of your recipe. By eliminating the seeds, you can fully appreciate the natural sweetness and tartness of the raspberries without any unwanted bitterness.
In addition to texture and flavor, removing raspberry seeds can also have practical benefits. If you’re using raspberries in baking or cooking, seeds can get stuck in your teeth or interfere with the smoothness of the dish. By removing the seeds, you can ensure a more pleasant dining experience for yourself and your guests.
It’s worth mentioning that while removing raspberry seeds is not necessary for every recipe, it’s a helpful technique to have in your culinary repertoire. Whether you’re making a raspberry sauce for pancakes, a raspberry-infused cocktail, or a refreshing raspberry sorbet, having seedless raspberries can take your dishes to the next level.
Now that you understand the importance of removing raspberry seeds, let’s explore some effective techniques to accomplish this task. Whether you have access to specialized kitchen tools or prefer using simple household items, there are several options available to help you achieve the desired result.
Option 1: Using a Fine-Mesh Sieve
One of the simplest and most accessible methods to remove raspberry seeds is by using a fine-mesh sieve. This kitchen tool allows you to strain the raspberries, separating the seeds from the pulp. Here’s how you can do it:
- Start by selecting ripe and fresh raspberries. Rinse them gently under cold water to remove any dirt or debris.
- Place the raspberries in a bowl or directly onto a fine-mesh sieve.
- Using the back of a spoon or a spatula, press the raspberries against the sieve’s mesh. This will help extract the juice and push the pulp through the sieve while leaving the seeds behind.
- Continue pressing and scraping until most of the pulp has passed through the sieve, leaving mainly seeds behind.
- Once you’ve strained the raspberries, discard the seeds and transfer the pulp to a separate container.
Using a fine-mesh sieve allows you to quickly and efficiently separate the seeds from the raspberry pulp. However, keep in mind that some small seeds may still pass through the sieve. If you’re looking for a completely seedless result, you might want to consider additional methods to further refine the pulp.
This method is ideal for smaller quantities of raspberries. If you’re working with larger amounts or want to save time, you may need to explore alternative techniques or tools to achieve a seedless outcome.
Now that you know how to use a fine-mesh sieve to remove raspberry seeds, you can confidently create smooth and seedless raspberry purees, sauces, or fillings for your favorite recipes. Experiment with different dishes and discover the joy of enjoying the natural flavor and texture of raspberries without the hassle of seeds.
Option 2: Using a Spoon or Fork
If you don’t have a fine-mesh sieve on hand, don’t worry! You can still remove raspberry seeds using common kitchen utensils like a spoon or fork. This method requires a bit more manual effort but can be effective for smaller quantities of raspberries. Here’s how you can do it:
- Start by rinsing your raspberries under cold water to ensure they are clean and free from any debris.
- Place the raspberries in a bowl and take a spoon or fork with a thin edge.
- Using the back of the spoon or the tines of the fork, gently press and scrape the raspberries against the edge of the bowl.
- As you press and scrape, the seeds will detach from the pulp and remain on the spoon or fork.
- Continue to work your way through the raspberries until you have removed as many seeds as possible.
- If needed, transfer the seedless raspberry pulp to a separate container for further use.
This method may require a bit more time and effort compared to using a sieve, especially if you’re working with a large quantity of raspberries. However, it can be a practical option if you don’t have access to specialized tools and need to remove seeds in a pinch.
Keep in mind that this method may not completely eliminate all the seeds since they can be quite small and challenging to remove entirely. If having perfectly seedless raspberries is crucial for your recipe, consider using additional techniques or tools for a more thorough removal of the seeds.
So, grab a spoon or a fork and get ready to remove raspberry seeds with ease. With a little patience and careful scraping, you’ll be left with smooth, seed-free raspberry pulp to enhance your culinary creations.
Option 3: Using a Food Mill or Blender
If you have a food mill or blender in your kitchen, you can use them to remove raspberry seeds and create a smooth puree or sauce. This method works well for larger quantities of raspberries and provides a convenient way to achieve a seedless result. Here’s how you can do it:
- Start by washing the raspberries under cold water to ensure they are clean and ready for processing.
- If using a food mill, set it up according to the manufacturer’s instructions and place a bowl underneath to capture the seedless raspberry pulp.
- Add the raspberries to the food mill’s hopper or directly into the blender.
- If using a food mill, turn the crank or use the hand crank to process the raspberries. As you rotate the crank, the pulp will pass through the mill’s small holes while leaving the seeds behind.
- If using a blender, pulse the raspberries until they are completely pureed.
- Now, to remove the seeds, you have a couple of options. If using a food mill, the seeds will be automatically separated, and the seedless pulp will collect in the bowl. If using a blender, you can strain the puree through a fine-mesh sieve to separate the seeds from the pulp.
- Once the seeds are removed, you can transfer the smooth and seedless raspberry puree to a separate container.
Both the food mill and blender methods allow you to efficiently remove raspberry seeds, providing you with a silky and seedless result. The choice between the two methods depends on the equipment you have available and your preference for manual or electric processing.
By utilizing a food mill or blender, you can easily incorporate seedless raspberry puree into various recipes, such as sauces, fillings, or even beverages. Enjoy the vibrant flavor and smooth texture of raspberries without any unwanted seeds.
Option 4: Using Cheesecloth or a Nut Milk Bag
If you’re looking for a method that provides more control over the level of seed removal, using cheesecloth or a nut milk bag is a great option. These porous fabrics allow you to strain the raspberries, separating the seeds from the pulp while retaining the delicious raspberry juice. Here’s how you can do it:
- Start by rinsing the raspberries under cold water to remove any dirt or debris.
- Take a piece of cheesecloth or a clean nut milk bag and fold it into a square or rectangle, depending on the size you need.
- Place the raspberries onto the center of the cheesecloth or nut milk bag.
- Gather the corners of the fabric to create a pouch, enclosing the raspberries inside.
- Hold the fabric pouch over a bowl or container, ensuring that it’s secure and won’t slip or tear during the straining process.
- Gently squeeze and massage the fabric pouch to extract the juice and pulp while leaving the seeds behind.
- Continue to squeeze and massage until you’ve strained as much juice and pulp as possible.
- Once you’ve obtained the desired amount of seedless raspberry juice or pulp, discard the seeds and transfer the liquid to a separate container for use in your recipes.
Using cheesecloth or a nut milk bag allows you to have more control over the level of seed removal. By adjusting the pressure and duration of squeezing, you can achieve varying degrees of seedlessness to suit your preferences and recipe requirements.
Remember to be gentle when squeezing the fabric pouch to avoid tearing it or allowing seeds to escape. This method may take a bit more time and effort compared to using a sieve or other tools, but it offers the advantage of customization in terms of seed removal.
So, grab some cheesecloth or a nut milk bag, and start straining your raspberries to obtain smooth and seed-free juice or pulp. This method is particularly useful if you’re making raspberry-infused beverages or want to create a refined texture in your dishes.
Option 5: Using a Juicer
If you have a juicer at your disposal, you can use it to efficiently remove raspberry seeds and extract the juice from the fruit. This method is convenient and can be suitable for handling large quantities of raspberries. Here’s how you can do it:
- Begin by washing the raspberries under cold water to ensure they are clean and ready for juicing.
- Set up your juicer according to the manufacturer’s instructions, making sure all components are properly assembled.
- Add the raspberries to the juicer’s feeding tube or container.
- Turn on the juicer and allow it to process the raspberries.
- As the raspberries are juiced, the seeds will be separated from the juice and collected in a designated pulp or waste container.
- Collect the vibrant and seedless raspberry juice in a separate container.
Juicing is an efficient and time-saving method to remove raspberry seeds while extracting the juice. It ensures that every ounce of raspberry goodness is captured without any unwanted seeds.
Remember that the efficiency of seed removal may vary depending on the juicer model and the size of the raspberry seeds. Some juicers may leave behind small traces of seeds, while others may provide a completely seed-free result. Adjusting the speed and settings of the juicer can also impact the level of seed removal.
With the freshly extracted raspberry juice, you can unleash your creativity and use it in a wide range of recipes. Whether you want to make a refreshing raspberry lemonade, a fruity smoothie, or incorporate it into baking or cooking, the seedless raspberry juice obtained from the juicer will enhance the flavor and texture of your culinary creations.
So, if you have a juicer handy, put it to good use and enjoy the convenience of effortlessly removing raspberry seeds while extracting their delicious juice.
Option 6: Freezing the Raspberries
If you’re not in a hurry to use your raspberries and prefer a hands-off approach to remove the seeds, freezing the raspberries can be a simple and effective method. Freezing the berries causes the cells to burst, making the seeds easier to separate from the fruit. Here’s how you can use the freezing method to remove raspberry seeds:
- Start by selecting ripe and fresh raspberries. Rinse them gently under cold water to remove any dirt or debris.
- Spread the raspberries in a single layer on a baking sheet lined with parchment paper. Make sure the berries are not touching to prevent them from sticking together.
- Place the baking sheet with the raspberries in the freezer and let them freeze completely. This process usually takes a few hours.
- Once the raspberries are fully frozen, remove the baking sheet from the freezer.
- Using your fingers or a fork, gently break apart the frozen raspberries, causing them to release their seeds.
- Set up a fine-mesh sieve over a bowl or container and pour the broken raspberries onto the sieve.
- Gently shake the sieve or use a spoon to agitate the raspberries, allowing the seeds to fall through the sieve while collecting the seedless raspberry pulp in the bowl or container.
- Continue this process until you’ve separated most of the seeds from the raspberry pulp.
Freezing the raspberries provides a convenient way to loosen the seeds from the fruit, making them easier to remove. However, keep in mind that this method may not remove all the seeds, as some smaller ones may still remain. If seedlessness is crucial for your recipe, you may need to employ additional techniques, such as using a sieve, to further refine the pulp.
The advantage of this method is that it allows you to remove seeds without the need for specialized tools while preserving the natural flavor and texture of the raspberries. The frozen raspberries can also be stored for future use, whether you want to make smoothies, sauces, or baked goods.
So, if you have some time to spare and don’t mind waiting for the raspberries to freeze, this hands-off method can provide you with seedless raspberry pulp for your culinary endeavors.
Option 7: Making a Seedless Raspberry Sauce
If you’re looking for a flavorful and versatile way to enjoy your raspberries without the hassle of seeds, making a seedless raspberry sauce is a fantastic option. This method allows you to transform your berries into a smooth and delightful sauce that can be used on various desserts, breakfast foods, or even savory dishes. Here’s how you can make a seedless raspberry sauce:
- Start by rinsing the raspberries under cold water to ensure they are clean and ready for processing.
- Place the raspberries in a saucepan and add a small amount of water or lemon juice to help with the cooking process and prevent burning.
- Heat the raspberries over medium heat, stirring occasionally, until they start to break down and become soft.
- Once the raspberries have softened, remove the saucepan from heat and let the mixture cool slightly.
- Using a blender or food processor, puree the raspberries until smooth and consistent.
- To remove the seeds, strain the puree through a fine-mesh sieve into a bowl or container. Use the back of a spoon to press the puree against the sieve, extracting as much seedless sauce as possible.
- Continue straining and pressing the puree until you’ve obtained the desired amount of seedless raspberry sauce.
- Optionally, you can add sweeteners like sugar, honey, or maple syrup to taste if desired.
- Allow the seedless raspberry sauce to cool completely before using or storing in the refrigerator for later use.
With your homemade seedless raspberry sauce, the possibilities are endless. Drizzle it over pancakes, waffles, ice cream, or yogurt. Use it as a topping for cakes, cheesecakes, or other baked goods. You can even incorporate it into savory dishes like glazes for roasted meats or vinaigrettes for salads.
Once you master the art of making seedless raspberry sauce, you can easily customize it by adding other flavors like vanilla extract, citrus zest, or spices to elevate the taste. Feel free to experiment and create your signature raspberry sauce that complements your favorite dishes.
So, embrace the seedless goodness and enjoy the vibrant flavor of raspberries in the form of a smooth and luscious sauce. It’s a delightful way to elevate your culinary creations and savor the natural sweetness of raspberries in every bite.
Tips for Removing Raspberry Seeds
Removing raspberry seeds can sometimes be a challenging task, but with a few helpful tips, you can streamline the process and achieve seedless raspberry goodness. Here are some tips to keep in mind when removing raspberry seeds:
- Select ripe raspberries: Ripe raspberries are easier to work with as they are softer and the seeds tend to separate more easily from the pulp.
- Use fresh raspberries: Fresh raspberries have a better texture and flavor, making the seed removal process more enjoyable.
- Rinse gently: Rinse the raspberries under cold water, being careful not to crush or damage them.
- Choose the right tools: Different methods require different tools, such as fine-mesh sieves, spoons, forks, food mills, blenders, cheesecloth, nut milk bags, or juicers. Use the method that suits your needs and equipment availability.
- Work in batches: If you’re dealing with a large quantity of raspberries, it’s best to work in smaller batches to ensure thorough seed removal.
- Apply gentle pressure: Whether using a spoon, fork, or sieve, apply gentle pressure to avoid crushing the raspberries while still effectively separating the seeds.
- Be patient: Removing raspberry seeds can take time and effort, especially when working with larger quantities. Take your time and be patient to achieve the desired seedless outcome.
- Strain multiple times: For methods that involve straining, consider multiple passes through a fine-mesh sieve to ensure the removal of small seeds.
- Experiment with freezing: Freezing raspberries can help loosen the seeds, making them easier to remove. Use the freezing method if you’re not in a hurry and prefer a hands-off approach.
- Adjust sweetness: If using the resulting pulp or juice in recipes, you may need to adjust the sweetness by incorporating sweeteners like sugar, honey, or maple syrup, depending on your taste preferences and the recipe requirements.
By following these tips, you can improve the efficiency and effectiveness of your seed removal process, ensure the best quality raspberry pulp or juice, and elevate your culinary creations with the natural goodness of raspberries.
Remember, removing seeds from raspberries is a matter of personal preference. If you enjoy the texture and flavor of the seeds, there’s no need to remove them. However, for those who prefer a smooth and seedless experience, these tips will help you achieve the desired outcome.