
Supplies Needed
Before you begin planting succulent leaves, it is important to gather all the necessary supplies. Having the right tools and materials will ensure a successful propagation process. Here are the supplies you’ll need:
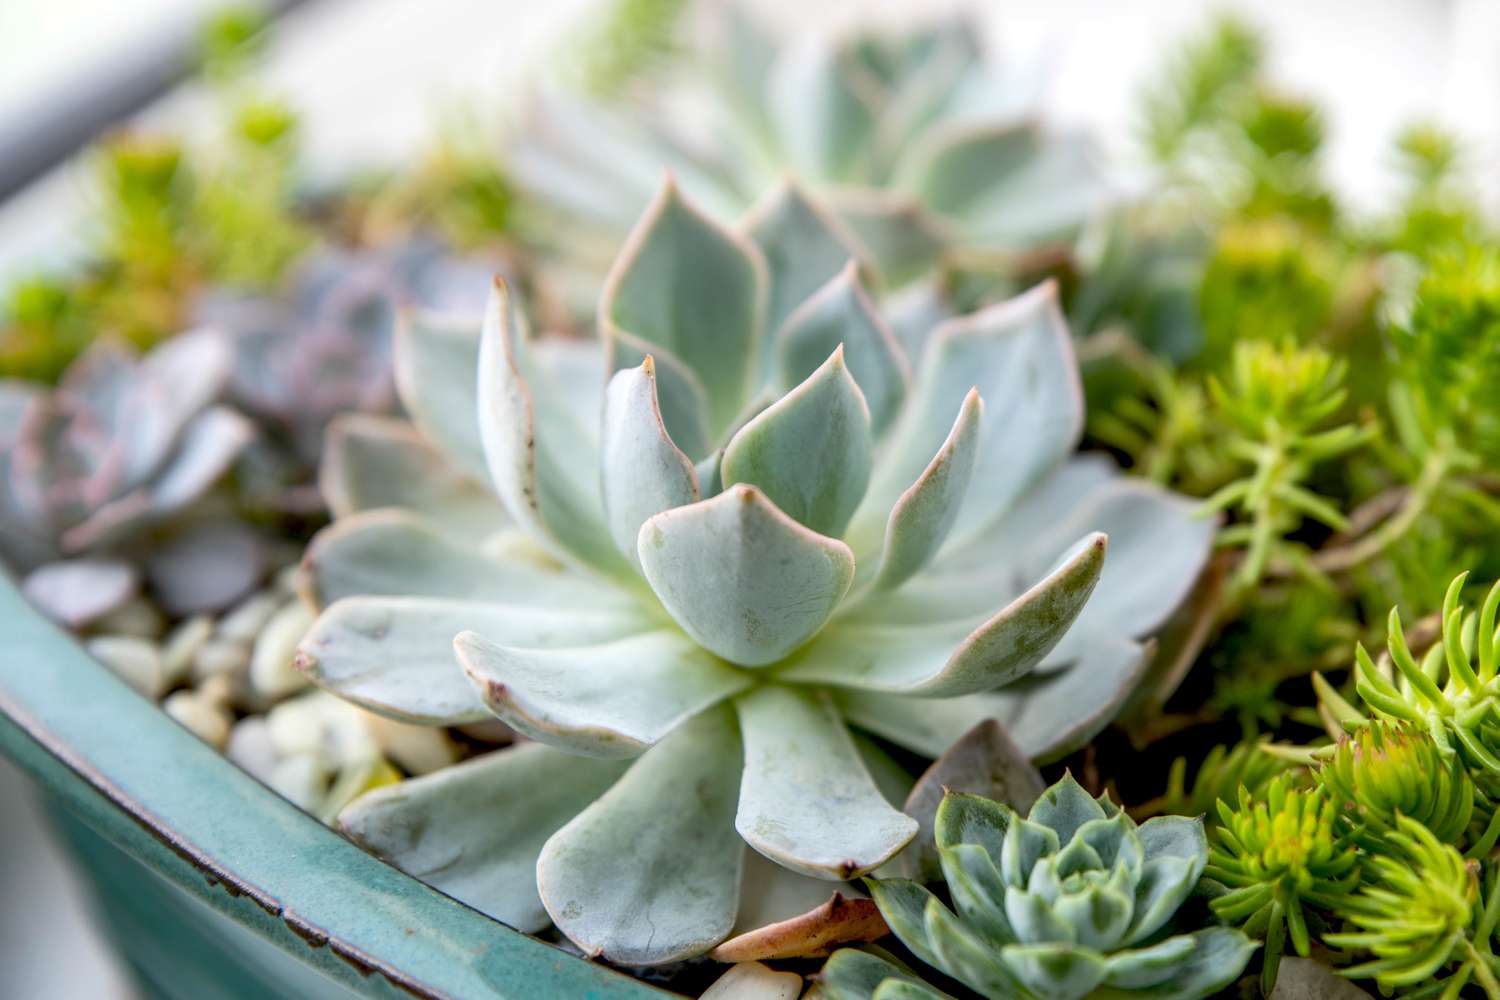
- Succulent leaves: Choose healthy leaves from a mature succulent plant. Look for leaves that are plump, fleshy, and free from any damage or signs of disease.
- Sharp, clean scissors or pruning shears: These will be used to remove leaves from the parent plant.
- Well-draining soil mix: Succulents thrive in soil that allows excess water to drain quickly, preventing root rot. You can purchase a pre-made succulent soil mix or make your own by combining equal parts of potting soil, coarse sand, and perlite or pumice.
- Small pots or containers: Choose pots with drainage holes to prevent waterlogging. The size of the pot should be suitable for the size of the succulent leaf.
- Misting bottle or spray bottle: Succulent leaves prefer to be misted rather than drenched with water. Fill a misting bottle with clean water for easy and controlled watering.
- Plastic wrap or a humidity dome: This will create a humid environment to promote successful leaf propagation.
- Indirect sunlight or grow lights: Succulent leaves require bright, indirect light to initiate the growth of new roots and leaves. If natural sunlight is limited, consider using grow lights.
With these supplies at hand, you’re ready to start your succulent leaf propagation journey. Remember to always choose healthy leaves, use well-draining soil, and provide adequate light and moisture for optimal growth. Now, let’s move on to the step-by-step process of planting your succulent leaves.
Step 1: Selecting Healthy Succulent Leaves
The success of propagating succulent leaves starts with selecting healthy leaves from a mature plant. Here’s how to choose the right leaves:
- Look for plump, fleshy leaves: Healthy succulent leaves should appear full and plump, indicating that they are well-hydrated and have stored nutrients. Avoid leaves that are wilted, shriveled, or dehydrated.
- Avoid leaves with signs of damage: Check the leaves for any scars, cuts, bruises, or insect damage. Damaged leaves may have a lower chance of successfully rooting and producing new plants.
- Select mature leaves: Choose leaves from the lower part of the plant, as they tend to be more mature and have a higher success rate of propagation. Leaves towards the top may still be developing and may not have enough energy stored to grow new roots and shoots.
- Ensure disease-free leaves: Examine the leaves for any signs of disease or pests. Look for spots, mold, or discoloration. Infected leaves can spread diseases to other healthy leaves and hinder successful propagation.
- Leave a clean cut: Use sharp, clean scissors or pruning shears to remove leaves from the parent plant. Make a clean cut close to the stem without damaging the base of the leaf. This allows the parent plant to heal faster and encourages successful growth.
Remember, the quality of the leaves you select can greatly impact the success of your succulent propagation. By choosing healthy, undamaged, and mature leaves, you increase the chances of successful root development and the growth of new succulent plants.
Step 2: Allowing Leaves to Callous Over
Once you have selected healthy succulent leaves, the next step is to allow them to callous over. Callousing is an essential process that helps protect the leaves from rotting and promotes successful root growth. Here’s what you need to do:
- Place the leaves on a dry surface: Find a clean and dry surface where you can lay the leaves flat. A tray or a plate lined with parchment paper works well for this purpose.
- Allow the leaves to dry: Leave the leaves undisturbed for about 24 to 48 hours, depending on the humidity level in your environment. During this time, the ends of the leaves will dry out and form a protective layer.
- Avoid direct sunlight or moisture: Make sure to keep the leaves away from direct sunlight and moisture during the callousing period. Excessive heat and humidity may cause the leaves to rot or develop mold.
- Check for calloused ends: After 24 to 48 hours, gently touch the ends of the leaves. They should feel dry and slightly calloused. If they still feel soft or moist, allow them to dry for a little longer.
The callousing process may vary depending on the climate and the thickness of the leaves. Thicker leaves may take longer to callous over, while thinner leaves may callous over more quickly. It’s important to be patient and give the leaves enough time to fully dry and form a protective layer.
Once the leaves have calloused over, they are ready to be planted in the soil. The calloused ends will help prevent moisture loss and protect the leaves from rot as they develop roots and new growth. Now let’s move on to the next step: preparing the soil.
Step 3: Preparing the Soil
The success of propagating succulent leaves relies heavily on the right soil mixture. Succulents thrive in well-draining soil that allows excess water to flow through easily. Follow these steps to prepare the ideal soil for your succulent leaf propagation:
- Choose a well-draining soil mix: You have the option to purchase a pre-made succulent soil mix from a garden center or create your own. A good homemade mix can be made by combining equal parts of potting soil, coarse sand, and perlite or pumice. This mixture will provide adequate drainage while retaining some moisture.
- Ensure the soil is free from debris: Before planting your succulent leaves, make sure to remove any rocks, sticks, or large clumps of soil from the mixture. These can hinder water drainage and lead to waterlogged soil, which can cause root rot.
- Use a shallow container or tray: Fill a shallow container or tray with the prepared soil mix. The container should have drainage holes to prevent water from pooling at the bottom.
- Level the soil: Gently press down on the soil to create an even and level surface. Avoid compacting the soil too much, as this can hinder water drainage.
By using a well-draining soil mix and ensuring it is free from debris, you create an optimal environment for root growth. Succulent leaves require soil that allows excess water to drain quickly, preventing the risk of overwatering or root rot. Now that the soil is prepared, it’s time to move on to the next step: placing the leaves on top of the soil.
Step 4: Placing the Leaves on Top of the Soil
Now that you have prepared the soil, it’s time to place the succulent leaves on top of the soil. This step is crucial for root initiation and the growth of new plants. Follow these guidelines to ensure proper placement:
- Gently press the base of the leaf into the soil: Take a succulent leaf and gently press the cut end into the soil mix. Make sure the calloused end makes good contact with the soil surface.
- Leave the top of the leaf exposed: It’s important to keep the top of the leaf exposed to allow for air circulation. This prevents excessive moisture buildup and reduces the risk of rotting.
- Space the leaves apart: Place each succulent leaf a few inches apart to allow room for growth and prevent overcrowding. This ensures that each leaf has access to necessary nutrients and light.
- Do not bury the entire leaf: Avoid burying the entire leaf into the soil. Only the base should be inserted, as this is where the new roots will emerge.
Placing the succulent leaves on top of the soil provides them with the necessary support and the opportunity to establish root systems. As the leaves begin to root and develop new growth, it’s essential to provide them with proper care and conditions to ensure a successful propagation process. The next step is to water the leaves, which we will cover in the next section.
Step 5: Watering the Leaves
Watering is a crucial step in the propagation process, as it provides the necessary moisture for the succulent leaves to develop roots and new growth. However, it’s important to approach watering with care, as succulents are prone to root rot if overwatered. Follow these guidelines for proper watering:
- Mist the leaves: Instead of drenching the soil, mist the leaves using a spray bottle or a mister. Succulent leaves prefer to be lightly moistened rather than soaked. This method helps prevent excessive water accumulation and allows for controlled absorption.
- Water sparingly: Initially, water the leaves lightly about once or twice a week, keeping the soil slightly moist. As the leaves root and new growth emerges, you can gradually increase the watering frequency.
- Avoid waterlogged soil: Succulent leaves are prone to rot if left in waterlogged soil for extended periods. Ensure that the soil is well-draining and that excess water can freely flow out of the container’s drainage holes.
- Observe for signs of underwatering/overwatering: Keep a close eye on the leaves and the soil moisture level. If the leaves start to wrinkle or shrivel, it may indicate underwatering. However, if the leaves become mushy, discolored, or develop black spots, it may indicate overwatering.
Remember, finding the right balance is key when watering succulent leaves. It’s better to underwater initially and gradually increase the moisture as the leaves show signs of rooting and new growth. Providing adequate but controlled moisture will encourage successful propagation and healthy plant development. Now, let’s move on to the next step: providing adequate light.
Step 6: Providing Adequate Light
Proper lighting is essential for the growth and development of succulent leaves. Adequate light helps stimulate root formation and promotes the growth of new shoots and leaves. Follow these guidelines to ensure your succulent leaves receive the right amount of light:
- Place the leaves in a bright location: Succulent leaves thrive in bright, indirect sunlight. Find a location where they can receive several hours of bright, filtered light each day. Avoid placing them in direct sunlight, as it can scorch the leaves.
- Consider using a grow light: If you don’t have access to sufficient natural light, you can supplement it with the use of artificial grow lights. Choose full-spectrum grow lights specifically designed for plants to provide the necessary light wavelengths for succulent growth.
- Rotate the leaves: To ensure even growth and prevent the leaves from leaning toward the light source, rotate the container every few days. This promotes balanced development and prevents elongation on one side.
- Monitor for signs of insufficient light: If the leaves start stretching, becoming leggy, or appearing pale, it may indicate that they are not receiving enough light. In such cases, adjust their placement to a brighter spot or increase the duration of artificial light exposure.
Proper lighting is crucial for the health and vitality of succulent leaves. By providing them with adequate, bright, indirect light or supplementing with grow lights, you can ensure optimal growth and development. Now that the leaves are receiving the right amount of light, let’s move on to the next step: patience and monitoring the progress.
Step 7: Patience and Monitoring the Progress
After planting the succulent leaves and providing them with the necessary care, it’s important to exercise patience and closely monitor their progress. Succulent propagation takes time, and each leaf may have a different timeline for rooting and growth. Here’s what you need to do:
- Be patient: Succulent propagation can take several weeks or even months for the leaves to establish roots and show signs of new growth. Avoid the temptation to disturb or check on the leaves too frequently, as it can disrupt the process.
- Monitor for signs of progress: Keep an eye on the leaves for any signs of root growth or new shoots. Look for tiny white roots emerging from the base of the leaf or the appearance of small buds or baby plants. This indicates successful propagation.
- Adjust care as needed: Based on the progress and growth of the leaves, adjust watering frequency, lighting conditions, and overall care. As the leaves establish roots and grow, they may require slightly more water and exposure to longer periods of light.
- Be resilient: Not all leaves may successfully propagate, and that’s okay. Some leaves may wither or fail to form roots. Don’t be discouraged, as it’s a natural part of the propagation process. Focus on the leaves that show signs of progress and continue to provide them with proper care.
Remember, patience is key when propagating succulent leaves. Each leaf has its own timeline for growth, so avoid rushing the process. By closely monitoring their progress and making adjustments to care accordingly, you can ensure the best possible outcome. Now, let’s move on to the next step: transplanting leaf cuttings into their own pots.
Step 8: Transplanting Leaf Cuttings into Their Own Pots
Once your succulent leaf cuttings have developed roots and new growth, it’s time to transplant them into their own pots. This step allows the individual plants to continue growing and thriving independently. Follow these guidelines for successful transplantation:
- Select suitable pots: Choose pots that are slightly larger than the root system of the leaf cuttings. Make sure the pots have drainage holes to prevent waterlogging and root rot.
- Prepare the soil: Use the same well-draining soil mixture that was used for the initial planting. Fill the new pots with the soil, leaving enough space for the root system of the leaf cuttings.
- Gently remove the leaf cuttings: Carefully loosen the soil around the leaf cuttings and gently lift them out. Be cautious not to damage the fragile roots.
- Plant the leaf cuttings: Place the leaf cuttings in their new pots, ensuring the roots are spread out and covered with soil. Press the soil gently to secure the cuttings in place.
- Water sparingly: After transplanting, water the newly potted cuttings lightly to settle the soil. Avoid overwatering, as succulents prefer drier conditions.
- Place in a suitable location: Find a bright location with indirect sunlight for the newly potted succulents. Gradually increase their exposure to light as they adjust to their new environment.
Transplanting leaf cuttings into their own pots allows them to establish a stronger root system and continue growing independently. Remember to provide them with adequate light, water sparingly, and adjust care as needed based on their growth and requirements. Now, let’s move on to the final step: caring for young succulent plants.
Step 9: Caring for Young Succulent Plants
Once your succulent leaf cuttings have been transplanted into their own pots and have started to grow independently, it’s important to provide them with proper care to ensure their ongoing health and development. Here are some tips for caring for your young succulent plants:
- Water sparingly: Succulents have the ability to store water in their leaves, making them more resilient to dry conditions. Water your young succulent plants only when the soil is completely dry, allowing the soil to dry out between waterings. Avoid overwatering, as this can cause root rot.
- Provide adequate light: Place your succulent plants in a bright location with indirect sunlight. They thrive in bright light conditions, but excessive direct sunlight can scorch their leaves. Rotate the pots occasionally to ensure even light exposure.
- Monitor for pests: Keep a close eye on your succulent plants for any signs of pests, such as aphids or mealybugs. If you notice any pests, take appropriate measures to control them, such as using a mild insecticidal soap or manually removing them with a cotton swab soaked in alcohol.
- Fertilize sparingly: Succulents are not heavy feeders, so fertilize them sparingly. Use a diluted, balanced succulent fertilizer once every few months during the growing season. Follow the instructions on the fertilizer packaging for proper usage.
- Prune as needed: If your succulent plants become leggy or overcrowded, you can prune them back to maintain a compact and healthy appearance. Use clean, sharp pruning shears to trim away any excess growth or damaged leaves.
- Protect from extreme temperatures: Succulents are sensitive to extreme temperatures. Ensure that your plants are shielded from frost or extreme heat. If necessary, move them indoors during periods of extreme weather conditions.
Caring for your young succulent plants involves a balance of proper watering, adequate light, pest control, and occasional pruning. By providing these plants with the care they need, you can help them thrive and grow into beautiful, mature succulents. Enjoy the process of watching your plants flourish and continue to learn more about succulent care along the way.