
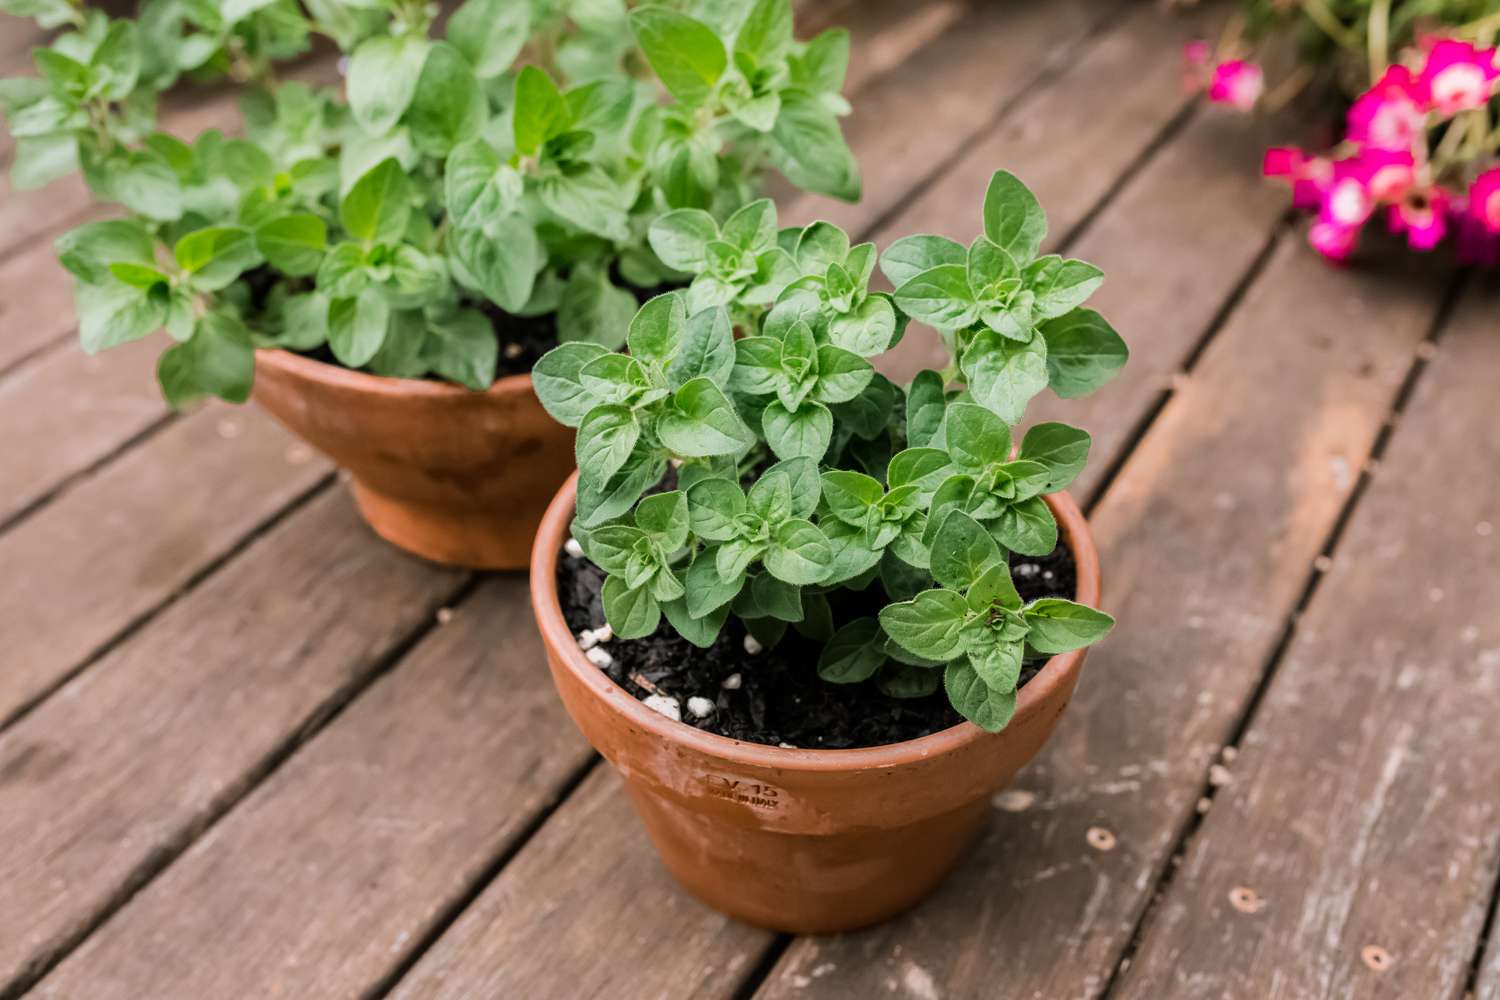
Choosing the Right Location
When it comes to successfully growing oregano, choosing the right location plays a vital role. Oregano is a Mediterranean herb that thrives in warm and sunny conditions, so it’s important to select a spot in your garden that meets these requirements.
First and foremost, oregano loves sunlight. It needs at least 6 hours of direct sunlight each day to thrive. Therefore, look for a location that gets ample sunlight throughout the day. It could be a south-facing spot in your garden or an area where there are no obstructions that might shade the plants.
In addition to sunlight, oregano also prefers well-draining soil. It doesn’t like overly wet or soggy conditions, so it’s essential to choose a spot that has good drainage. If the soil in your chosen location tends to retain water, you may need to improve the drainage by amending the soil with organic matter, such as compost or sand.
Furthermore, oregano thrives in slightly alkaline soil with a pH level between 6 and 8. You can easily test the pH level of your soil using a home testing kit available at most garden centers. If the pH is not within the preferred range, you can adjust it by adding lime to raise the pH or sulfur to lower it accordingly.
Lastly, consider the proximity of your oregano plants to other herbs or plants. Oregano is known to repel certain pests, so planting it near other susceptible plants can offer some natural pest protection. Some good companions for oregano include basil, thyme, and sage.
Preparing the Soil
Before planting oregano, it’s crucial to prepare the soil properly to create an optimal growing environment for the herb. Follow these steps to ensure your oregano plants receive the best possible start:
1. Clear the area: Begin by removing any weeds, rocks, or debris from the planting area. This will help prevent competition for nutrients and ensure that the oregano plants have enough space to grow.
2. Loosen the soil: Gently till or dig the soil to a depth of about 8 to 10 inches. This will help improve the soil’s overall texture and make it easier for the roots to penetrate.
3. Amend the soil: Oregano prefers well-drained soil with good fertility. Add compost or well-rotted manure to the soil to enrich it with organic matter and improve its moisture retention capabilities. Incorporate the amendment into the soil thoroughly.
4. Adjust the pH level: Test the soil’s pH level using a soil testing kit. Oregano thrives in slightly alkaline soil with a pH range of 6 to 8. If the pH level is too low, apply lime to raise it. If it’s too high, add elemental sulfur to lower it. Follow the instructions on the packaging for the appropriate amount to use.
5. Rake the soil: After incorporating the amendments and adjusting the pH, use a garden rake to smooth the surface of the soil. Remove any large clumps or stones and create a level terrain for planting the oregano.
By following these steps, you can create a well-prepared soil bed that promotes healthy root development and provides the necessary nutrients for oregano to grow and thrive.
Starting from Seeds
Starting oregano from seeds is a cost-effective and rewarding way to grow this flavorful herb. Here are the steps to successfully start oregano from seeds:
1. Timing: Start by choosing the right time to sow oregano seeds. It’s best to sow the seeds indoors about 6-8 weeks before the last frost date in your area. This allows the seedlings to develop before being transplanted into the garden.
2. Seed starting mix: Fill seed trays or small pots with a high-quality, well-draining seed starting mix. This will provide the ideal growing medium for the oregano seeds.
3. Sowing the seeds: Gently press the oregano seeds onto the surface of the seed starting mix, making sure they are evenly spaced. Avoid burying the seeds too deep, as they require light for germination. Lightly cover the seeds with a thin layer of seed starting mix.
4. Moisture and warmth: After sowing the seeds, water the potting mix gently, ensuring it remains consistently moist but not waterlogged. Place the trays or pots in a warm location with temperatures between 70-75°F (21-24°C) to encourage germination.
5. Germination: Oregano seeds typically germinate within 7-14 days. Once the seedlings emerge, ensure they receive adequate light. You can use a grow light or place the trays near a sunny window, making sure to rotate them regularly to prevent leaning towards the light.
6. Transplanting: When the oregano seedlings grow their second set of true leaves and all risk of frost has passed, they can be transplanted into larger pots or into the garden. Space the plants about 8-12 inches apart to allow them room to grow.
Starting oregano from seeds requires patience and attention to detail, but it can be a rewarding experience to watch the seedlings grow into mature plants that provide a bountiful harvest of flavorful leaves.
Transplanting Seedlings
Transplanting oregano seedlings is an important step in the growth process, as it allows the plants to establish themselves in their permanent location. Follow these guidelines for successful transplanting:
1. Timing: Wait until all risk of frost has passed before transplanting oregano seedlings. In most regions, this is typically in early spring once the soil has warmed up.
2. Choose the right location: Select a sunny spot with well-draining soil for transplanting your oregano seedlings. Make sure the chosen area meets the sunlight and soil requirements mentioned earlier.
3. Prepare the soil: Prior to transplanting, prepare the soil by loosening it and removing any weeds or debris. Consider adding compost or organic matter to improve the soil’s fertility and drainage.
4. Dig holes: Dig holes in the prepared soil that are slightly larger than the root ball of the oregano seedlings. Space the holes about 8-12 inches apart to allow enough room for the plants to grow.
5. Transplant carefully: Gently remove the oregano seedlings from their pots, being mindful of their delicate roots. Place each seedling in a prepared hole, making sure the top of the root ball is level with the soil surface. Fill in the hole with soil and press it gently to secure the seedling in place.
6. Water thoroughly: After transplanting, water the seedlings thoroughly to help settle the soil and provide much-needed hydration. Avoid overwatering, as oregano prefers slightly drier conditions.
7. Mulch: Consider applying a layer of organic mulch, such as straw or wood chips, around the base of the oregano plants. This will help conserve moisture, suppress weed growth, and provide insulation to the roots.
Remember to monitor the newly transplanted seedlings and provide regular watering as needed. With proper care, the oregano plants will quickly adjust to their new environment and continue to flourish.
Propagating from Cuttings
Propagating oregano from cuttings is a simple and effective way to expand your oregano plants without the need for seeds. Follow these steps to propagate oregano from cuttings:
1. Select healthy stems: Choose healthy, non-flowering stems from an established oregano plant for taking cuttings. Look for stems that are about 4-6 inches long and free from any signs of disease or damage.
2. Prepare the cuttings: Using a clean pair of pruning shears, make a clean cut just below a leaf node. This is where the roots will develop. Remove any leaves from the bottom half of the cutting, leaving a few leaves near the top for photosynthesis.
3. Rooting hormone (optional): While not necessary, you can dip the cut end of the oregano cutting in a rooting hormone powder or gel. This can help promote faster root growth and increase the success rate of propagation.
4. Plant the cuttings: Fill a small container with a well-draining potting mix or a 50/50 mixture of perlite and vermiculite. Create holes in the soil using a pencil or your finger, and plant the oregano cuttings about an inch deep. Firmly press the soil around the cuttings to ensure good contact.
5. Provide ideal conditions: Place the container in a warm location with indirect light, such as a sunny windowsill. Maintain a consistently moist soil, but avoid overwatering as it can lead to rot. You can cover the container with a plastic bag to create a mini greenhouse effect and increase humidity.
6. Root development: Within 2-4 weeks, the cuttings should develop roots. You can gently tug on the cuttings to check for resistance, indicating root growth. Once the roots are well-developed, you can transplant the oregano cuttings into individual pots or directly into the garden.
Propagating oregano from cuttings allows you to create new plants that are genetically identical to the parent plant. This method is often faster and more reliable than growing from seeds, making it a popular choice for expanding your oregano herb garden.
Caring for Oregano
Providing proper care for your oregano plants is essential to ensure their health and productivity. Follow these guidelines to keep your oregano thriving:
1. Watering: Oregano prefers slightly dry conditions, so it’s important not to overwater. Allow the soil to dry out between waterings, and then water deeply, making sure the water reaches the root zone. Avoid getting the leaves wet as this can lead to fungal diseases.
2. Fertilizing: Oregano is a low-maintenance herb that doesn’t require heavy feeding. Applying a balanced fertilizer once at the beginning of the growing season is usually sufficient. Avoid using excessive amounts of nitrogen, as it can result in lush foliage but reduce the flavor of the leaves.
3. Pruning: Regular pruning helps promote bushier growth and prevents oregano from becoming leggy. After the plant has established itself, trim off about one-third of the stems and foliage. This encourages new growth and helps maintain a compact shape.
4. Mulching: Applying a layer of organic mulch around the base of oregano plants helps conserve moisture, suppress weed growth, and regulate soil temperature. Use materials such as straw, wood chips, or dried leaves for effective mulching.
5. Pest control: Oregano is generally resistant to pests, but it’s still important to monitor for any signs of infestation. Common pests that can affect oregano include aphids, spider mites, and whiteflies. If needed, use organic pest control methods such as neem oil or insecticidal soap to combat these pests.
6. Divide and propagate: Over time, oregano plants can become overcrowded and less productive. To rejuvenate the plants and promote healthier growth, divide them every 2-3 years. Dig up the plant carefully, separate the clumps into smaller sections, and replant them.
By providing regular care and attention, your oregano plants will not only be healthy and vibrant but also provide an abundance of flavorful leaves for your culinary delights.
Harvesting Oregano Leaves
Knowing the proper time to harvest oregano leaves is crucial to ensure optimal flavor and maximize the yield. Here are the steps to harvest your oregano leaves:
1. Timing: Oregano leaves can be harvested once the plant reaches a height of about 4-6 inches. This usually occurs 70-90 days after planting, depending on the variety and growing conditions. Harvest in the morning when the essential oils are at their peak concentration.
2. Selecting the stems: Choose healthy, mature stems that have fully developed leaves. Look for stems that are robust and vibrant in color.
3. Cutting the stems: Using clean and sharp scissors or garden shears, cut the stems just above a leaf node. This will encourage new growth from the nodes and help promote a bushier plant.
4. Harvesting individual leaves: If you prefer to harvest individual leaves instead of whole stems, simply pluck the leaves from the stem. Pinch the leaf close to the base and gently tug it away from the stem. Be careful not to damage the surrounding foliage.
5. Leaving some growth: When harvesting oregano, always leave some growth behind. This allows the plant to continue thriving and regrowing for future harvests. Avoid harvesting more than one-third of the plant at a time.
6. Drying the leaves: If you plan to store the harvested oregano leaves for later use, it’s essential to dry them properly. Tie a bunch of stems together with twine and hang them upside down in a warm and well-ventilated area. Once the leaves are dry and crispy, remove them from the stems and store them in an airtight container.
Remember, harvesting oregano regularly promotes healthy growth, and the leaves are at their peak flavor just before the plant begins to flower. So make sure to enjoy the flavorful bounty of your oregano throughout the growing season.
Storing Oregano
Properly storing oregano ensures that you can enjoy its intense flavor and aroma for an extended period. Here’s how to store oregano to maintain its freshness:
1. Drying the leaves: Before storing oregano, it’s important to dry the leaves completely to remove any moisture. Hang the harvested stems upside down in a warm and well-ventilated area until the leaves are dry and brittle to the touch.
2. Removing leaves from stems: Once the oregano leaves are completely dry, gently remove them from the stems. You can crumble them with your fingers or use a mortar and pestle to break them into smaller pieces.
3. Storing in airtight containers: Transfer the dried oregano leaves to clean, airtight containers such as glass jars or resealable plastic bags. Make sure the container is completely dry to prevent moisture from accumulating and causing mold or bacterial growth.
4. Store in a cool, dark place: To preserve the flavor and potency of oregano, store the containers in a cool, dark place like a pantry or cupboard. Keep them away from direct sunlight, as the UV rays can degrade the quality of the herb.
5. Label and date: To avoid confusion, label the containers with the date of harvesting or drying. Oregano generally retains its flavor and aroma for about six months to a year, so it’s helpful to know when it was harvested for future reference.
6. Crushing before using: When you’re ready to use the dried oregano, crush the leaves between your fingers or use a mortar and pestle to release the essential oils and enhance the flavor. This step helps unlock the full potential of the herb.
By following these storage guidelines, you can preserve the quality of your oregano and have a readily available supply of flavorful herb to enhance your culinary creations throughout the year.