
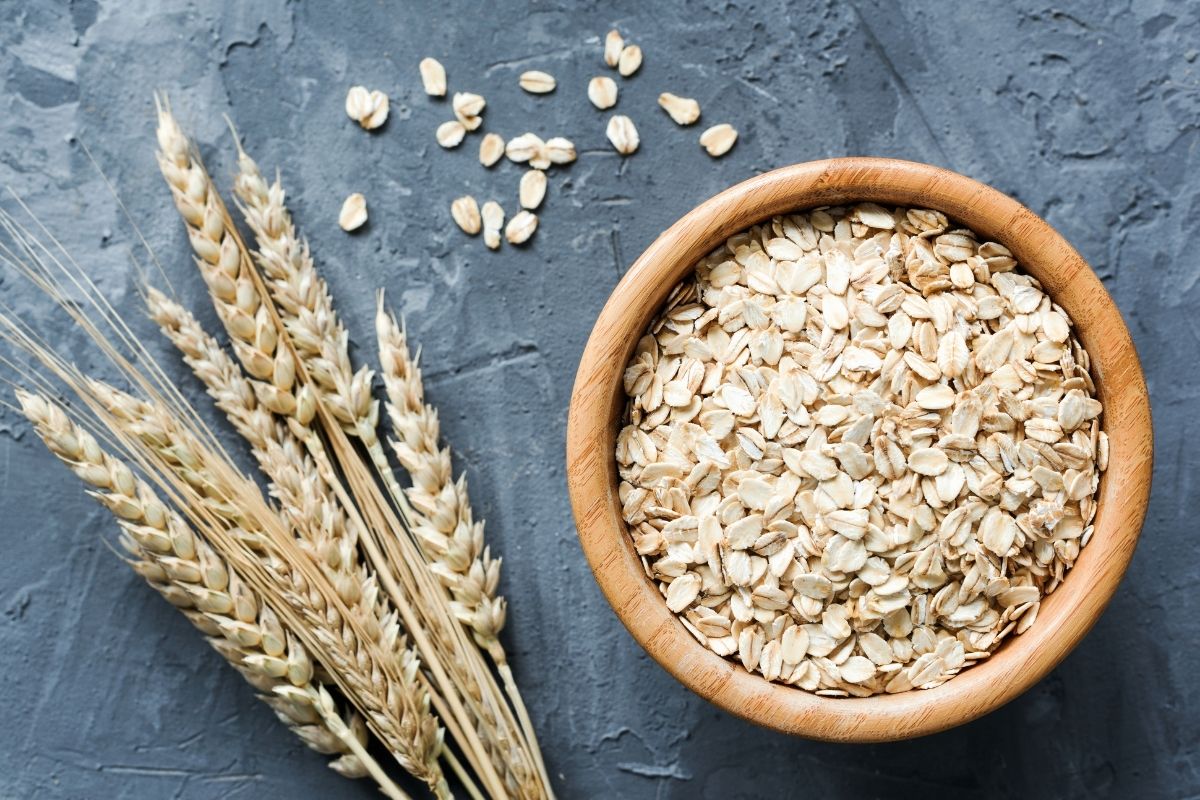
Choosing the Right Variety
When it comes to planting oats, choosing the right variety is crucial. The variety you select will have a direct impact on the success of your oat crop. Factors such as climate, soil type, and desired use will help determine the best variety for your specific needs.
There are two main types of oats: spring oats and winter oats. Spring oats are typically planted in the spring and harvested in the summer, while winter oats are planted in the fall and harvested in the spring. Spring oats are commonly used for human consumption, while winter oats are often grown as forage for livestock.
When selecting a variety, consider your geographical location and climate conditions. Certain varieties are more suited for cool or warm climates, so it’s essential to choose one that will thrive in your specific area. Additionally, take into account the soil type on your property. Some oat varieties are better suited for sandy soils, while others perform well in heavier clay soils.
Another factor to consider is the intended use of your oats. If you plan to use them for human consumption, you’ll want to choose a variety that has good milling and baking qualities. However, if your main goal is to produce oats for animal feed, select a variety with high forage yield and nutritional value for livestock.
Consult with local agricultural extension offices or experienced farmers in your area for advice on which oat varieties have performed well in your region. They can provide invaluable insights based on their firsthand experiences with different varieties.
By choosing the right variety, you set yourself up for success right from the start. Proper selection ensures that your oats will thrive in your specific climate and soil conditions, leading to a healthy and bountiful harvest.
Preparing the Soil
Before planting oats, it’s essential to prepare the soil properly to provide an optimal growing environment for the crop. Proper soil preparation sets the foundation for healthy plant growth and can significantly improve overall yield. Here are a few steps to follow when preparing the soil for planting oats.
1. Clear the area: Begin by removing any weeds, rocks, or debris from the planting area. Clearing the area helps prevent competition for nutrients and ensures a clean starting point for the oat crop.
2. Test the soil: Conduct a soil test to determine the pH level and nutrient content of the soil. Oats typically prefer a slightly acidic to neutral pH range of 6.0 to 7.0. Based on the test results, you may need to amend the soil by adding lime to raise the pH or sulfur to lower it.
3. Till the soil: Use a garden tiller or a hand tool, such as a shovel or rake, to loosen the soil. This helps improve drainage and allows the oat roots to penetrate more easily. Remove any large clumps or rocks that may hinder seedling emergence.
4. Add organic matter: Incorporate organic matter, such as compost or well-rotted manure, into the soil. This improves soil structure, enhances moisture retention, and adds essential nutrients. Spread a 2- to 3-inch layer of organic matter across the planting area and mix it into the top 6-8 inches of soil.
5. Level the soil: Smooth out any uneven areas in the soil to create a flat and even surface. This helps ensure consistent water distribution and allows for more uniform plant growth.
6. Allow for drainage: If your soil tends to become waterlogged, consider incorporating drainage measures, such as creating raised beds or installing drainage tiles. Adequate drainage is crucial for preventing waterlogging and root rot in oat plants.
By following these steps, you can create an ideal environment for your oat crop. Preparing the soil properly sets the stage for healthy root development, nutrient uptake, and overall plant growth, leading to a successful and abundant oat harvest.
Planting Time
Knowing the right planting time is crucial for the success of your oat crop. Oats thrive in cool-season conditions and have specific planting windows depending on your location. The timing will vary depending on whether you are planting spring oats or winter oats.
Spring Oats: Spring oats are typically planted in early spring when the soil temperature reaches around 45 to 55 degrees Fahrenheit (7 to 13 degrees Celsius). This temperature range allows for optimal germination and early growth. Avoid planting too early when the soil is still cold and wet, as this can result in poor seed establishment and increased susceptibility to disease.
Winter Oats: Winter oats are planted in the fall, ideally six to eight weeks before the first expected frost. This gives the oats enough time to establish a good root system before winter sets in. In colder regions, it’s recommended to plant winter oats earlier to ensure sufficient growth before the arrival of freezing temperatures.
When determining the planting time, consider the frost dates for your area. Consult with local gardening resources or agricultural extension offices to find out the average first frost date and calculate the appropriate planting window accordingly.
Keep in mind that each region may have specific planting guidelines, so it’s always a good idea to consult with local experts or experienced farmers in your area for the most accurate recommendations.
In addition to the timing, also consider the soil conditions. The soil should be moist but not too wet during planting to allow for proper seed-to-soil contact and germination. If the soil is excessively dry, consider irrigating the area before planting to ensure adequate moisture for germination.
By planting oats at the right time, you provide the crop with the best chance for healthy establishment and growth. Following the recommended planting schedule for your specific oat variety and local climate conditions will set the stage for a successful growing season.
Planting Method
The planting method you choose for your oats can greatly influence their growth and overall yield. There are a few different methods you can use when planting oats, depending on your preferences and available equipment.
Direct Seeding: Direct seeding is the most common method for planting oats. Begin by preparing the soil as outlined earlier, ensuring it is well-drained and free of clumps or debris. Broadcast the oat seeds evenly across the planting area by hand or using a seed spreader. Then, lightly rake the soil to cover the seeds with a thin layer of soil, typically around half an inch deep. Firmly press or roll the soil to ensure good seed-to-soil contact.
Drilling: Drilling, also known as row planting, is another option. This method requires the use of a seed drill, which creates furrows in the soil at specific intervals. The oat seeds are then dropped into these furrows and covered with soil using the attachments on the seed drill. Drilling allows for more precise spacing and depth, resulting in more uniform plant growth and easier weed control.
Surface Broadcasting: Surface broadcasting is a quick and convenient method for small-scale plantings. Simply hand scatter the oat seeds evenly across the soil surface. Lightly rake the area to help the seeds make better contact with the soil. While this method is less precise than direct seeding or drilling, it can still yield satisfactory results for small garden plots or areas where equipment is not available.
Regardless of the planting method you choose, it’s crucial to follow the recommended seeding rates and spacing for your specific oat variety. This information can usually be found on the seed packaging or obtained from local agricultural resources. Proper seed spacing ensures sufficient air circulation between plants, reducing the risk of disease and promoting healthy growth.
Remember to consider the moisture levels in the soil at the time of planting. If the soil is dry, consider irrigating the area before planting to provide adequate moisture for germination. Regularly monitor the soil moisture levels throughout the growing season and adjust watering accordingly to ensure healthy growth.
By choosing the appropriate planting method and following recommended practices, you can set the stage for successful oat growth and maximize your crop yield.
Spacing and Depth
Proper spacing and planting depth are crucial factors to consider when planting oats. The spacing and depth at which you plant the seeds will determine how well the plants establish themselves and grow throughout the season. Here are some guidelines to follow for optimal spacing and depth:
Spacing: The recommended spacing between oat plants depends on several factors, including the variety of oats being planted, soil fertility, and available resources. As a general rule of thumb, aim for a spacing of 2 to 4 inches (5 to 10 cm) between individual plants. This spacing allows adequate airflow and light penetration, reducing the risk of disease and promoting healthy growth. However, if you are planting oats primarily for forage or as a cover crop, you can increase the spacing to allow for more vigorous growth.
Row spacing: If you are using the drilling method and planting oats in rows, the spacing between rows should be around 6 to 12 inches (15 to 30 cm). This spacing provides enough room for the oat plants to spread out and reduces competition for resources like water and nutrients.
Planting depth: Planting oats at the proper depth is essential for successful germination and establishment. The recommended planting depth for oats is approximately 1 to 2 inches (2.5 to 5 cm). Planting too shallow may result in poor seed-to-soil contact, while planting too deep can hinder emergence and slow down seedling growth. Aim for a uniform planting depth to ensure even germination across the field.
Keep in mind that soil conditions and moisture levels should also be considered when determining the ideal planting depth. If the soil is dry, planting slightly deeper can help ensure the seeds have access to moisture for germination. Conversely, in heavy or poorly-drained soils, planting slightly shallower can prevent the seeds from sitting in overly wet conditions.
Remember to adjust the spacing and depth based on the specific requirements of the oat variety you are planting. Consult the seed packaging or local agricultural resources for accurate information on recommended spacing and planting depth for your chosen oat variety.
By adhering to proper spacing and planting depth, you provide each oat plant with the space it needs to thrive, maximizing sunlight exposure, airflow, and access to essential resources. This will contribute to a successful and healthy oat crop.
Watering and Fertilizing
Proper watering and fertilizing are essential for the healthy growth and development of oat plants. Adequate water and nutrients ensure optimal crop yield and help plants withstand environmental stressors. Here are some guidelines for watering and fertilizing your oats:
Watering: Oats require consistent moisture, especially during the germination and early growth stages. Water the planting area immediately after sowing the seeds to ensure good seed-to-soil contact and promote germination. As the plants grow, aim to provide about 1 inch (2.5 cm) of water per week, either through rainfall or irrigation. Monitor soil moisture levels regularly and adjust watering accordingly to prevent drought stress or excess water saturation.
It’s important to strike a balance when it comes to watering. Overwatering can lead to root rot and disease, while underwatering can stunt growth and reduce yield. The goal is to keep the soil consistently moist but not waterlogged.
Fertilizing: Oats benefit from adequate nutrition throughout the growing season. Conduct a soil test before planting to determine the nutrient levels and adjust fertilization accordingly. Generally, oats have moderate nutrient requirements, so a balanced fertilizer (10-10-10 or 14-14-14) can be applied at a rate of 1 to 2 pounds (0.45 to 0.9 kg) per 100 square feet (9.3 square meters) before planting.
Alternatively, you can use organic fertilizers such as compost or well-rotted manure, which provide slow-release nutrients and improve soil structure. Apply organic fertilizers at a rate of 2 to 3 inches (5 to 7.6 cm) of compost or 1 inch (2.5 cm) of well-rotted manure to the soil before planting, and work it into the top few inches.
During the growing season, monitor the plants for signs of nutrient deficiencies, such as yellowing leaves or stunted growth. If deficiencies are detected, supplemental fertilizers can be applied according to the specific nutrient requirements identified. Always follow the instructions on the fertilizer packaging or consult with an agricultural expert for accurate application rates.
Remember to water the plants after fertilizing to help nutrients penetrate the soil and reach the oat roots effectively. Avoid applying excessive amounts of fertilizer, as this can lead to nutrient imbalances and environmental pollution.
By providing adequate water and appropriate fertilization, you promote healthy oat plant growth and ensure optimal nutrient uptake. This leads to strong plants, increased yield, and a successful oat harvest.
Weed Control
Effective weed control is crucial for maintaining the health and productivity of your oat crop. Weeds compete with oats for nutrients, water, and sunlight, which can significantly impact yield and quality. Implementing proper weed control measures is important to ensure the success of your oat plants. Here are some strategies to consider:
Preventative Measures: Before planting oats, it’s essential to prepare the planting area properly by removing existing weeds and their roots. Clearing the area of weeds reduces competition and minimizes the weed seed bank in the soil.
Timing of Planting: Planting oats at the appropriate time can help deter weed growth. By planting early, oats can establish themselves before weeds have a chance to take hold. Additionally, when planting winter oats, the dense growth of the oat plants can help suppress weed growth.
Mulching: Applying organic mulch around the oat plants can help suppress weeds and conserve soil moisture. Straw, compost, or wood chips can be used as mulch, creating a barrier that prevents light from reaching weed seeds and inhibiting their germination. Apply a layer of mulch around the oat plants, taking care to avoid direct contact with the oat stems.
Hand Weeding: Regularly inspecting and hand-pulling weeds can be an effective method for small-scale plantings or areas with limited weed pressure. Be vigilant and remove weeds as soon as they appear to prevent them from germinating and spreading seeds. Take care not to disturb the oat plants when hand weeding.
Cultivation: For larger plantings, mechanical cultivation or hoeing can be used to control weeds. Cultivating between the rows of oat plants helps to disrupt weed growth and remove emerging weeds. Take care not to disturb the oat plants’ root systems while using mechanical cultivation methods.
Herbicides: In cases of heavy weed infestation, herbicides may be necessary. Consult with a local agricultural extension office or herbicide manufacturer to identify suitable herbicides for your specific oat variety and to follow proper application guidelines. Always follow safety precautions and use herbicides responsibly to avoid potential harm to the oat plants and the environment.
Remember that early intervention is key when it comes to weed control. Regular monitoring, prompt weed removal, and adopting preventative measures help minimize weed competition and ensure the optimum growth of your oat crop.
By implementing appropriate weed control practices, you can maintain a clean and productive oat field, allowing the oat plants to receive the necessary resources for healthy growth, leading to a successful harvest.
Disease and Pest Prevention
Protecting your oat crop from diseases and pests is crucial to ensure a successful harvest. Oats can be susceptible to various diseases and pests that can severely impact plant health and reduce yield. Implementing preventative measures and practicing good crop management can help minimize the risk of infestations. Here are some strategies to consider for disease and pest prevention:
1. Crop Rotation: Rotate your oat crops with other non-related plant species to disrupt the life cycle of pests and reduce the buildup of diseases in the soil. This practice helps break the cycle and decreases the likelihood of pests and diseases developing resistance to treatments.
2. Plant Resistant Varieties: Choose oat varieties that have resistance or tolerance to common diseases and pests in your area. Resistant varieties can reduce the likelihood of infestations and minimize the need for chemical treatments.
3. Proper Plant Spacing: Adequate plant spacing allows for better airflow and helps prevent the spread of diseases. Proper spacing also reduces competition among plants and minimizes stress, making them less prone to insect attacks and fungal infections.
4. Weed Control: Weeds can harbor pests and diseases that may affect your oats. Implement effective weed control measures to reduce competition and the risk of transferring pests and diseases from weeds to your oat plants.
5. Timely Irrigation: Proper water management is important to prevent diseases such as root rot and foliar fungal infections. Avoid overwatering, as excessively moist conditions can create a favorable environment for diseases to develop. Irrigate your oat plants at the right time and in appropriate amounts to maintain optimal soil moisture.
6. Monitor for Pests and Diseases: Regularly inspect your oat plants for signs of pests or disease symptoms. Early detection allows for prompt action and intervention to prevent the spread and damage caused by pests and diseases.
7. Integrated Pest Management (IPM) Techniques: Implement IPM techniques by combining multiple pest management strategies, such as biological control, cultural practices, and, if necessary, targeted use of pesticides. IPM focuses on minimizing pesticide use while effectively managing pests and diseases.
8. Proper Harvest and Post-Harvest Handling: Harvest your oats at the right time to minimize exposure to pests and diseases. Use appropriate storage techniques to prevent contamination and preserve the quality of your harvested oats.
By following these preventative measures, you can significantly reduce the risk of diseases and pests affecting your oat crop. Implementing these strategies, along with good crop management practices, will help you maintain healthy plants, maximize yield, and achieve a successful oat harvest.
Harvesting and Storage
Knowing when and how to harvest your oat crop is crucial to maximize yield and preserve the quality of your harvest. Here are some guidelines to follow for proper harvesting and storage of oats:
1. Timing: Harvesting oats at the right time is essential to achieve the desired moisture content and prevent shattering of seeds. The ideal time to harvest oats is when the seeds are fully mature and the moisture content has dropped to around 14-18%. You can determine the maturity by examining the color of the oat panicles. The seeds should have turned from green to a light tan or golden color.
2. Scythe or Combine: Oats can be harvested by using a scythe or a combine harvester. If you have a small-scale crop, a scythe or sickle can be used to cut the stalks above the ground. Bundle the stalks into sheaves, which can then be left in the field to dry before threshing.
For larger-scale operations, a combine harvester fitted with a grain header is more efficient. The combine separates the seeds from the stalks, threshes the oats, and collects them in a grain tank. Make sure the combine is properly adjusted to minimize seed loss.
3. Drying: After harvest, it’s essential to dry the oats further to reduce the moisture content. Proper drying prevents mold, mildew, and insect infestations. Spread the harvested oats in a thin layer on a clean, dry surface or use a commercial dryer to hasten the drying process.
4. Threshing: Threshing is the process of separating the seed from the dried oat stalks. This can be done manually by using a flail or by using a mechanical thresher. Thoroughly remove the straw and chaff to obtain clean, pure oat seeds.
5. Cleaning: As a final step, clean the harvested oats to remove any remaining chaff, weed seeds, or other impurities. You can use a screen or a grain cleaner to accomplish this. Clean oats ensure better storage and reduce the risk of infestation.
6. Storage: Store your cleaned oats in a dry and well-ventilated area. Ensure that the storage facility is free from pests and rodents. Oats can be stored in bags, bins, or silos that are clean and airtight to prevent moisture absorption and insect damage. Regularly inspect the stored oats for signs of spoilage or pests.
7. Rotation: To maintain quality and prevent spoilage, it’s recommended to use the oldest oats first and rotate your stored oats regularly.
8. Labeling: Properly label the storage containers with the date of harvest and any specific information about the variety or conditions to keep track of the oats’ age and quality.
By following these guidelines, you can ensure that your harvested oats are of high quality, have a longer shelf life, and maintain their nutritional value. Proper harvesting and storage practices contribute to a successful oat crop, allowing you to enjoy the fruits of your labor for months to come.