
Choosing the Right Seeds
When it comes to planting chamomile, choosing the right seeds is crucial for a successful harvest. There are two main types of chamomile seeds available: German chamomile (Matricaria chamomilla) and Roman chamomile (Chamaemelum nobile). Understanding the differences between these two varieties will help you make an informed decision.
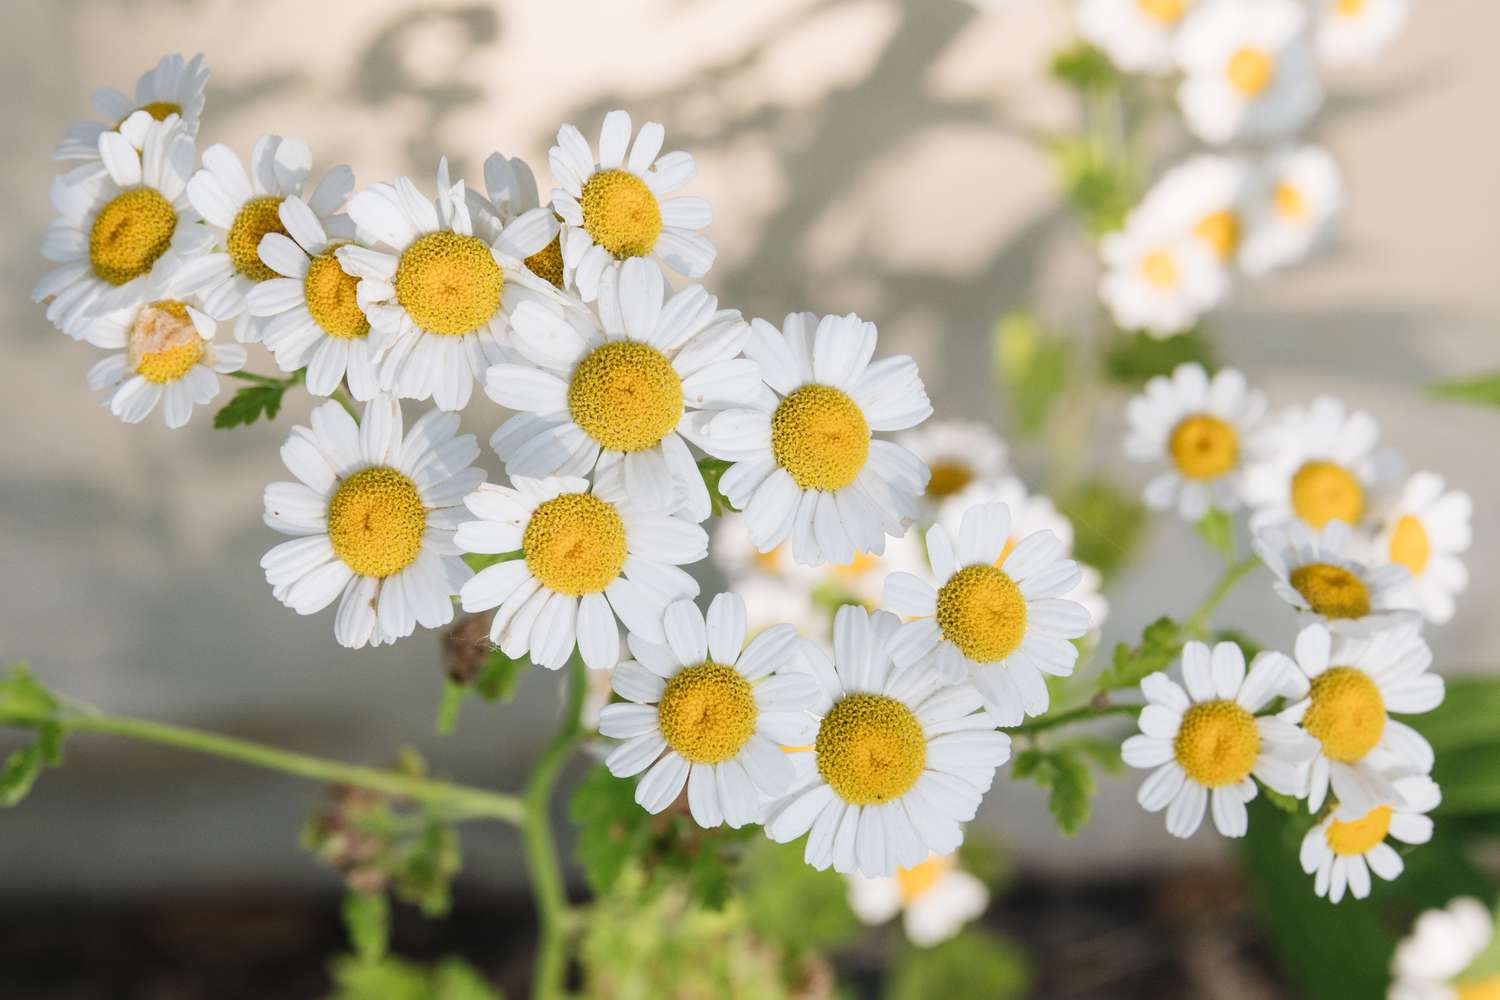
German Chamomile Seeds
German chamomile is a popular choice among gardeners due to its abundant flowers and aromatic qualities. This variety produces small, daisy-like white flowers with yellow centers. German chamomile is known for its medicinal properties and is often used to make herbal infusions and teas.
Roman Chamomile Seeds
Roman chamomile, also known as English chamomile, is a low-growing perennial herb with beautiful, dainty flowers. Unlike German chamomile, Roman chamomile has larger, dome-shaped flowers with a slight apple-like fragrance. This variety is prized for its ground-covering properties and is often used in landscaping.
When selecting chamomile seeds, ensure that they are fresh and from a reliable source. Look for seeds that are specifically labeled for the variety you desire, whether it is German or Roman chamomile. Reading reviews or seeking recommendations from experienced gardeners can also help you find high-quality seeds.
In addition to the variety, consider factors like the climate and growing conditions in your area. Some chamomile varieties may be better suited for cooler climates, while others thrive in warmer regions. Check the seed packets or consult with a local gardening expert to determine the best chamomile variety for your specific location.
Remember, the quality of the seeds you choose will impact the overall health and productivity of your chamomile plants. Take your time to research and select the variety that aligns with your preferences and growing conditions.
Choosing the right chamomile seeds is an essential first step in successfully cultivating this versatile herb. Understanding the differences between German and Roman chamomile, considering your climate and growing conditions, and selecting fresh and reliable seeds will set the foundation for a bountiful chamomile harvest.
Selecting the Right Location
Choosing the right location for your chamomile plants is crucial for their growth and overall health. Chamomile thrives in sunny areas, but it can also tolerate partial shade. Here are some factors to consider when selecting the ideal spot for your chamomile garden.
Sunlight – Chamomile plants require at least six hours of direct sunlight per day to thrive. Find a location in your garden that receives ample sunlight, preferably in the morning and early afternoon when the sun’s rays are not too intense. If your garden is shaded, consider planting chamomile where it will receive the most sunlight throughout the day.
Soil Drainage – Chamomile prefers well-drained soil to prevent waterlogging, which can lead to root rot. Avoid areas with heavy clay soil or low-lying spots where water tends to collect. If your garden soil has poor drainage, you can improve it by adding organic matter such as compost or well-rotted manure to improve its texture and drainage capabilities.
Protection from Wind – Chamomile plants have delicate, feathery leaves and stems that can be easily damaged by strong winds. Consider planting your chamomile in a location that provides some protection from strong gusts. This can be near a wall, fence, or other taller plants that act as a windbreak.
Proximity to Water Source – Chamomile plants require regular watering to keep the soil evenly moist but not waterlogged. Choose a location in your garden that is within easy reach of a water source. This will make watering more convenient and ensure your chamomile receives the necessary hydration.
Space Availability – Chamomile plants can spread and occupy a significant area in a garden bed. Make sure the location you choose offers enough space for the chamomile to grow without overcrowding other plants. Adequate spacing allows for good air circulation, reducing the risk of fungal diseases.
Taking these factors into consideration will help you select the right location for your chamomile plants. Remember, providing proper sunlight, well-drained soil, protection from wind, easy access to water, and enough space will greatly contribute to the successful growth and vitality of your chamomile garden.
Choosing the best location for your chamomile plants is essential for their optimal growth. Adequate sunlight, well-drained soil, wind protection, proximity to a water source, and sufficient space are key considerations when selecting the perfect spot for your chamomile garden.
Preparing the Soil
Preparing the soil is a crucial step in establishing a healthy and productive chamomile garden. Chamomile plants prefer well-drained soil with a slightly acidic to neutral pH level. Here are some steps to prepare your soil before sowing chamomile seeds.
Clear the Area – Start by clearing the area where you plan to plant chamomile. Remove any existing vegetation, weeds, rocks, or debris. This will provide a clean and blank canvas for your chamomile garden.
Loosen the Soil – Chamomile plants develop strong root systems, so it is important to ensure that the soil is loose and friable. Use a garden fork or a tiller to loosen the soil to a depth of at least 6-8 inches. This will improve drainage and allow the plant’s roots to penetrate easily.
Remove Weeds – Take the time to remove any weeds or grass present in the area. Weeds compete with chamomile for nutrients, water, and sunlight, so it is best to eliminate them before planting your chamomile seeds.
Amend the Soil – If your soil is heavy clay or lacks organic matter, it is beneficial to amend it with compost or well-rotted manure. These organic materials improve soil structure, fertility, and water-holding capacity. Spread a layer of compost or manure over the area and mix it into the loosened soil.
Test the Soil pH – Chamomile thrives in slightly acidic to neutral soil with a pH range of 5.6 to 7.5. If you are unsure about your soil’s pH level, you can test it using a soil testing kit or by sending a soil sample to a local agricultural extension office. Adjust the pH level, if necessary, by adding organic matter or soil amendments recommended for your specific soil type.
Rake the Soil – After amending the soil and adjusting the pH, rake the soil to create a smooth and level surface. Remove any large clumps or debris that may hinder the growth of your chamomile plants.
Preparing the soil sets a strong foundation for healthy plant growth and helps maximize the production of chamomile flowers. By clearing the area, loosening the soil, removing weeds, amending the soil, testing the pH, and raking the soil, you create an optimal growing environment for your chamomile garden.
Preparing the soil is an essential step in establishing a thriving chamomile garden. By clearing the area, loosening the soil, removing weeds, amending the soil, testing the pH, and raking the soil, you create an optimal growing environment for your chamomile plants to flourish.
Sowing the Seeds
Once you have prepared the soil, it’s time to sow your chamomile seeds. Sowing the seeds properly will give them the best chance of germinating and growing into healthy plants. Here’s a step-by-step guide to help you sow your chamomile seeds.
Timing – Chamomile seeds can be sown directly in the garden after the last frost date in your area. This is usually in early spring. The soil temperature should be around 50°F (10°C) for optimal germination.
Spacing – Scatter the chamomile seeds evenly over the prepared soil. Aim for a spacing of about 6 to 12 inches (15 to 30 cm) between each seed. Chamomile plants tend to spread, so providing adequate spacing will prevent overcrowding and promote better air circulation.
Covering the Seeds – Once the seeds have been scattered, lightly rake the soil or gently press the seeds into the soil to ensure good seed-to-soil contact. Chamomile seeds are tiny and require minimal covering, as they need exposure to light to germinate successfully.
Irrigation – After sowing the seeds, water the area gently using a fine mist or a gentle shower setting on your watering can. Avoid overwatering, as excessive moisture can lead to rot or fungal diseases. Just keep the soil slightly moist throughout the germination period.
Germination – Chamomile seeds typically germinate within 7 to 14 days, depending on the conditions. Be patient and monitor the soil moisture during this period. Maintain consistent moisture levels by watering lightly when needed.
Thinning – Once the seedlings have emerged and have grown to a few inches tall, thin them out to the desired spacing. This will allow the remaining seedlings to grow with ample space and access to sunlight, nutrients, and water.
Weed Control – Keep an eye out for weeds and remove them regularly to prevent competition for nutrients and space. Be careful not to disturb the chamomile seedlings while weeding.
Sowing chamomile seeds is an exciting step in the gardening process. By sowing the seeds at the right time, spacing them properly, lightly covering them with soil, providing gentle irrigation, ensuring good germination conditions, thinning the seedlings, and controlling weeds, you will give your chamomile plants a strong start.
Sowing chamomile seeds is an important step towards establishing a thriving chamomile garden. By timing the sowing correctly, spacing the seeds appropriately, lightly covering them with soil, providing adequate irrigation, monitoring germination, thinning the seedlings, and controlling weeds, you set the stage for the continued growth and development of your chamomile plants.
Watering and Care
Proper watering and care are essential for the healthy growth and maintenance of your chamomile plants. Chamomile requires consistent moisture but can be sensitive to overwatering. Here are some guidelines to help you with watering and caring for your chamomile plants.
Watering Frequency – Chamomile plants prefer evenly moist soil. Water your chamomile plants whenever the top inch (2.5 cm) of soil feels dry to the touch. It is important to water deeply to encourage root growth but avoid waterlogging the soil, which can lead to root rot. Use a gentle stream of water or a watering can with a fine spout to avoid disturbing the plants.
Morning Watering – Water your chamomile plants in the morning to allow foliage and soil to dry out during the day. This helps prevent the occurrence of fungal diseases that thrive in moist conditions. Avoid watering in the evening, as the dampness can linger and promote the growth of pathogens.
Mulching – Apply a layer of organic mulch around your chamomile plants to help retain moisture, suppress weeds, and improve soil temperature stability. Mulching also helps regulate soil moisture levels by reducing evaporation. Use materials such as straw, wood chips, or compost, and spread them evenly around the base of the plants, leaving a small space around the stems.
Fertilization – Chamomile plants generally do not require heavy fertilization. Excessive fertilization can result in leggy growth and fewer flowers. However, incorporating compost or well-rotted manure into the soil before planting can provide the necessary nutrients for healthy growth. If you notice signs of nutrient deficiency, such as yellowing leaves, you can use a balanced organic fertilizer to supplement the soil.
Pruning and Deadheading – Regular pruning and deadheading can help promote bushier growth and prolonged flowering. When the chamomile plants become overgrown, trim back the stems by about one-third to encourage compact growth. Deadhead spent flowers regularly to extend the blooming period and prevent the plants from going to seed.
Pest and Disease Control – Chamomile plants are generally resistant to pests and diseases. However, monitor your plants for common pests like aphids, caterpillars, or spider mites. If necessary, treat infestations with organic pest control methods such as neem oil or insecticidal soap. Ensure good air circulation around the plants to prevent the development of fungal diseases.
Monitoring and Maintenance – Regularly inspect your chamomile plants for signs of stress, disease, or pests. Remove any damaged or yellowing leaves promptly. Keep the area around the plants clean and free from debris to minimize potential pest and disease issues.
By following these watering and care guidelines, you can ensure the health and vitality of your chamomile plants. Providing consistent moisture, watering in the morning, mulching, minimal fertilization, pruning and deadheading, pest and disease control, and routine monitoring will help your chamomile plants thrive.
Proper watering and care are crucial for the well-being of chamomile plants. By following guidelines for watering frequency, morning watering, mulching, minimal fertilization, pruning and deadheading, pest and disease control, and routine maintenance, you can ensure that your chamomile plants remain healthy and productive.
Protecting Your Chamomile Plants
Protecting your chamomile plants from potential threats and environmental stressors is essential to ensure their long-term health and productivity. Here are some key measures you can take to safeguard your chamomile plants.
Pest Control – Monitor your chamomile plants regularly for common pests such as aphids, caterpillars, or spider mites. These pests can cause damage to the foliage and impact overall plant health. If you notice signs of infestation, use organic pest control methods such as neem oil or insecticidal soap to mitigate the problem. Applying natural predators like ladybugs or lacewings can be an effective solution for controlling certain pests.
Companion Planting – Consider companion planting to naturally repel pests or attract beneficial insects. Plants like lavender, calendula, or yarrow can help deter pests and attract pollinators, which can benefit your chamomile plants. Research suitable companion plants for chamomile to create a diverse and pest-resistant garden.
Mulching – Applying a layer of organic mulch around your chamomile plants helps control weeds, retain moisture, and insulate the soil. Mulching acts as a protective barrier, reducing the likelihood of weed competition and helping to maintain a consistent soil temperature. It also prevents soil erosion and minimizes the risk of certain diseases.
Protecting from Extreme Temperatures – Chamomile plants are relatively hardy, but extreme temperatures can still stress and damage them. In hot climates, provide partial shading during the hottest part of the day to protect the plants from intense sunlight. In cold climates, cover your chamomile plants with a frost cloth or row cover to protect them from freezing temperatures. Be mindful of local weather conditions and take appropriate measures accordingly.
Watering Considerations – Consistent and appropriate watering practices are crucial for the health of your chamomile plants. Avoid overwatering, as excessive moisture can lead to root rot and other fungal diseases. Similarly, drought stress can also damage the plants. Ensure that you are providing sufficient irrigation based on the moisture needs of chamomile. Consider using drip irrigation or a soaker hose to deliver water directly to the root zone and minimize water waste.
Weed Control – Effective weed control is vital to prevent competition for nutrients, water, and sunlight. Regularly inspect your chamomile garden for weeds and remove them promptly. Use organic methods such as hand weeding or mulching to minimize weed growth without the use of chemical herbicides that could harm your chamomile plants.
Optimizing Air Circulation – Proper air circulation around your chamomile plants is important to reduce the risk of fungal diseases. Avoid overcrowding by providing adequate spacing between plants. Prune and thin out any dense growth to allow for better air movement. This will help prevent moisture buildup and minimize the chances of fungal infections.
By implementing these protective measures, you can ensure the well-being and longevity of your chamomile plants. Good pest control practices, companion planting, mulching, protecting from extreme temperatures, appropriate watering, weed control, and optimizing air circulation will help keep your chamomile plants thriving.
Protecting your chamomile plants from pests, extreme temperatures, weeds, and maintaining proper watering practices ensures their long-term health and productivity. By implementing pest control measures, companion planting, mulching, temperature protection, appropriate watering, weed control, and optimizing air circulation, you can safeguard your chamomile plants and create a flourishing garden.
Harvesting and Drying
Harvesting chamomile at the right time and properly drying the flowers is crucial to preserve their flavor and medicinal qualities. Here are some guidelines to help you harvest and dry your chamomile flowers.
Timing – Harvest chamomile flowers when they are fully open but before they start to fade. The best time to harvest is in the morning, after the dew has dried but before the heat of the day. This is when the flowers’ essential oils are at their highest concentration.
Choosing the Right Flowers – Select flowers that are healthy, vibrant, and fully opened. Avoid harvesting chamomile flowers that are wilted, damaged, or showing signs of decay.
Harvesting Method – To harvest chamomile flowers, hold the stem just below the flower head and gently pluck it from the plant. You can use your fingers or a small pair of scissors for precision. Avoid crushing or bruising the flowers during the harvesting process.
Drying Method – After harvesting, it’s important to dry the chamomile flowers properly to prevent mold and preserve their flavor. The most common method is air drying. Bundle several stems together and hang them upside down in a cool, dry, and well-ventilated location away from direct sunlight. Leave enough space between the bunches to allow for adequate airflow.
Drying Time – Chamomile flowers usually take about 1 to 2 weeks to dry completely. The flowers should feel brittle and crumble easily when gently pressed between your fingers. Avoid drying the flowers too quickly, as this can cause them to lose their flavor and potency.
Storage – Once the chamomile flowers are fully dried, remove the petals from the stems and store them in an airtight container, away from light, heat, and moisture. Glass jars or metal tins with tight-fitting lids are ideal for preserving the flowers’ aroma and medicinal properties.
Using the Dried Flowers – Dried chamomile flowers can be used to make herbal tea infusions, bath sachets, or added to potpourri blends. Crush the dried flowers gently before using to release their aromatic compounds.
Replenishing Your Stock – To ensure a continuous supply of chamomile flowers, stagger your harvesting and drying process. This way, you can harvest fresh chamomile while the previous batch is still drying.
By following these guidelines for harvesting and drying chamomile flowers, you can preserve their delightful aroma, beneficial properties, and enjoy the numerous uses of this versatile herb.
Harvesting and drying chamomile flowers properly is essential to preserve their flavor, aroma, and medicinal qualities. By harvesting at the right time, selecting healthy flowers, air drying, storing properly, and using the dried flowers in various ways, you can enjoy the benefits of chamomile all year round.