
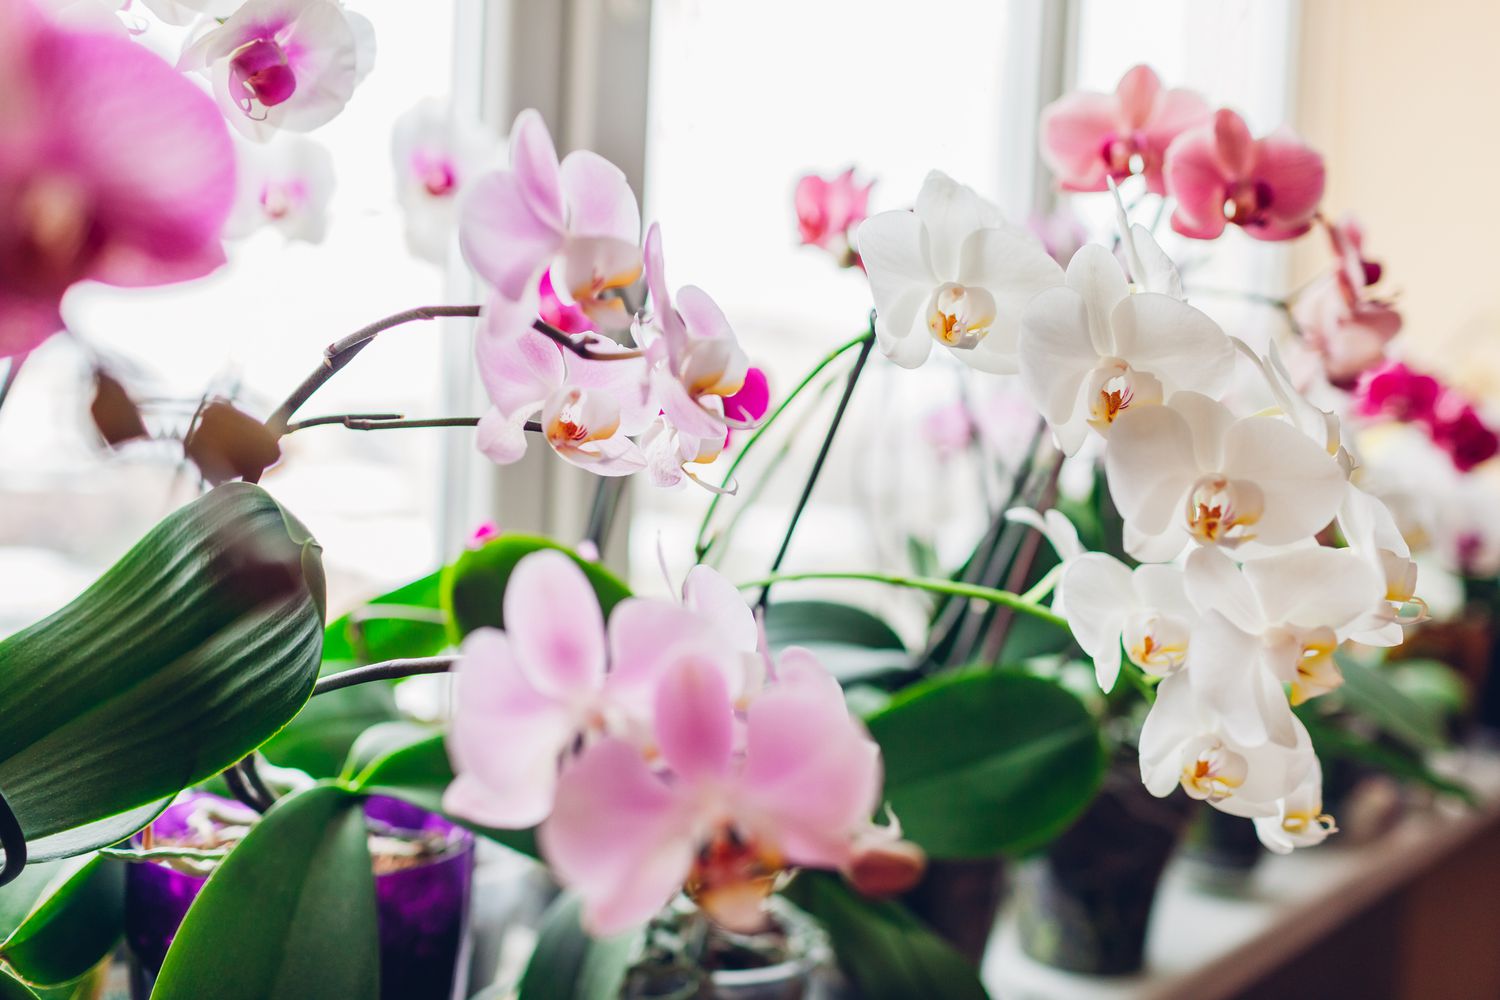
Choosing the Right Orchid
When it comes to choosing the right orchid for your garden or indoor display, there are a few factors to consider. Orchids come in a wide variety of species, each with its own unique characteristics and requirements. Here are some key points to keep in mind:
- Consider your climate: Different orchid species have different temperature and humidity requirements. It’s essential to choose an orchid that is compatible with the climate you live in. Some orchids thrive in hot and humid environments, while others prefer cooler conditions.
- Know your skill level: Certain orchid species are more suitable for beginners, while others require more advanced care. If you’re new to orchid gardening, it’s a good idea to start with beginner-friendly varieties like Phalaenopsis or Dendrobium.
- Think about space: Different orchids have different growth habits, including the size of their leaves and how they spread. Make sure you have enough space to accommodate the growth of the orchid you choose.
- Consider flowering season: Orchids can have different flowering seasons, and if you want a display of blooms all year round, you may need to select a variety that flowers at different times.
- Research the species: Each orchid species has its own unique care requirements. Do some research to learn about the specific needs of the orchid you’re interested in, such as watering frequency, light requirements, and fertilization.
By considering these factors, you can choose an orchid that suits your environment and skill level, increasing your chances of success in growing healthy and vibrant orchids.
Preparing the Pot and Growing Medium
Properly preparing the pot and selecting the right growing medium is crucial for the successful growth of your orchid. Here are some important steps to follow:
- Choosing the right pot: Orchids prefer pots with good drainage. Opt for a pot with plenty of drainage holes to prevent water from pooling at the bottom. Additionally, consider using a clear or translucent pot to allow light to reach the orchid’s roots.
- Selecting the growing medium: Orchids typically require a well-draining medium that mimics their natural habitat. Popular options include orchid bark mix, sphagnum moss, or a combination of these. Avoid using regular potting soil, as it retains too much moisture and can lead to root rot.
- Soaking or pre-moistening the growing medium: Before potting your orchid, it’s essential to soak or pre-moisten the growing medium. This ensures that the roots will have access to moisture immediately after repotting.
- Properly potting the orchid: Gently remove the orchid from its current pot and carefully inspect the roots. Trim any damaged or rotting roots using sterilized scissors or shears. Place the orchid in the new pot, spreading the roots out. Fill the pot with the growing medium, making sure it surrounds the roots but does not completely bury them.
- Stabilizing the orchid: Depending on the size and growth habit of your orchid, you may need to provide additional support. Use stakes, clips, or a framework to keep the orchid stable and prevent it from falling over.
By carefully preparing the pot and selecting the appropriate growing medium, you provide your orchid with the proper environment to thrive and grow. Remember to monitor the moisture levels in the pot and adjust watering accordingly.
Watering and Humidity Requirements
Proper watering and maintaining optimal humidity levels are vital for the health and well-being of your orchid. Here’s what you need to know:
- Watering: Orchids generally prefer a slightly drier environment compared to other plants. Overwatering can lead to root rot, while underwatering can cause dehydration. The frequency of watering depends on various factors such as the type of orchid, growing medium, and environmental conditions. As a general rule, it’s better to underwater than to overwater. Allow the growing medium to dry out slightly before watering again.
- Water quality: Orchids are sensitive to chemicals found in tap water, such as chlorine and fluoride, which can damage the roots. It’s advisable to use filtered or purified water, rainwater, or water that has been allowed to sit for 24 hours to allow any chlorine to dissipate.
- Humidity: Most orchids thrive in environments with high humidity levels, similar to their natural habitats. If you live in a drier climate, you can increase humidity by placing the orchid on a tray filled with water and pebbles or using a humidifier. Misting the leaves can also help increase humidity, but be careful not to mist too frequently as it can encourage fungal diseases.
- Avoiding waterlogged roots: Orchids are prone to root rot if their roots sit in stagnant water. Ensure proper drainage by keeping the pots well-drained and using a well-draining growing medium. Remove any excess water that accumulates in the saucer or tray beneath the pot.
- Monitoring moisture levels: Regularly check the moisture levels of the growing medium by sticking your finger about an inch deep into the potting mix. If it feels dry, it’s time to water. If it still feels moist, wait a little longer before watering.
By carefully monitoring and adjusting your watering practices and maintaining adequate humidity levels, you can provide the ideal conditions for your orchid’s growth and overall health.
Providing the Right Amount of Light
Proper lighting is essential for the healthy growth and blooming of orchids. Here’s what you need to know about providing the right amount of light for your orchid:
- Understanding light requirements: Different orchid species have varying light requirements. Some orchids, such as Phalaenopsis, prefer bright, indirect light, while others, like Cattleya, thrive in more intense, direct sunlight. Research the specific light needs of your orchid species to provide the optimal conditions.
- Indoor lighting: If you’re growing your orchids indoors, place them near a window that offers bright, filtered light. Avoid exposing them to direct sunlight, as it can scorch the leaves. If the available natural light is limited, consider using artificial grow lights designed specifically for orchids.
- Outdoor lighting: If you’re growing orchids outdoors, carefully select the location based on your orchid species’ light requirements. Consider factors such as the intensity and duration of sunlight in that area. Orchids that require more shade can be placed under a shade cloth or grown with other taller plants that provide partial shade.
- Monitor leaf color: The color of your orchid’s leaves can be a good indicator of whether they are receiving the right amount of light. Dark green leaves may indicate insufficient light, while yellow leaves may suggest too much direct sunlight. Adjust the positioning of your orchids accordingly to achieve the optimal balance.
- Rotate your orchids: Orchids tend to grow towards the light source. To ensure even and balanced growth, rotate your orchids periodically to expose all sides to light. This will help prevent lopsided growth and encourage more uniform blooming.
By understanding the light requirements of your orchids and providing the appropriate amount of light, you can promote healthy leaf growth, robust blooms, and overall vitality in your orchid plants.
Temperature and Air Circulation
The temperature and air circulation around your orchid can greatly influence its growth and overall health. Here are some important considerations regarding temperature and air circulation:
- Optimal temperature range: Different orchid species have specific temperature requirements. Generally, orchids thrive in temperatures ranging between 60-85°F (15-29°C) during the day and slightly cooler temperatures at night. Check the specific temperature preferences of your orchid species and aim to maintain a consistent temperature range.
- Avoid temperature extremes: Orchids are sensitive to temperature extremes. Protect them from sudden temperature fluctuations, as it can stress the plants and hinder their growth. Keep them away from drafty areas, such as air conditioning vents or windows during cold winter months.
- Provide adequate air circulation: Orchids need proper air circulation to prevent the growth of fungi and to promote healthy transpiration. Ensure that the area around your orchid is well-ventilated. You can use fans to improve airflow if necessary, especially in enclosed spaces or during periods of high humidity.
- Consider natural air movement: In their natural habitats, orchids often benefit from gentle breezes and air movement. If growing outdoors, take advantage of natural winds by placing your orchids in a location where they can experience gentle air circulation. Indoors, you can mimic this by using oscillating fans set to low or placing your orchids near open windows (while avoiding direct drafts).
- Monitor humidity levels: Temperature and humidity often go hand in hand. While orchids thrive in high humidity, be cautious about excessive moisture around the leaves, which can lead to fungal or bacterial infections. Proper air movement helps maintain balanced humidity levels and reduces the risk of diseases.
By maintaining the right temperature range and providing adequate air circulation, you can create an optimal environment for your orchids to thrive and ensure their overall well-being.
Fertilizing and Nutrient Requirements
Proper fertilization is essential for providing orchids with the necessary nutrients to support healthy growth and vibrant blooms. Here’s what you need to know about fertilizing and meeting the nutrient requirements of your orchids:
- Selecting the right fertilizer: Orchids have specific nutrient requirements, and it’s important to choose a fertilizer specifically formulated for orchids. Look for a balanced fertilizer with a higher nitrogen (N) content for promoting foliage growth and a lower phosphorus (P) and potassium (K) content for encouraging blooming.
- Fertilizing frequency: Orchids generally require less frequent fertilization compared to other houseplants. A standard practice is to fertilize weakly, weekly – applying a diluted fertilizer solution every week or every other week during the growing season. During the dormant period, reduce or suspend fertilization.
- Follow package instructions: It’s important to follow the instructions on the fertilizer package and avoid over-fertilizing. Excessive fertilization can lead to salt buildup in the growing medium, which can damage the orchid’s roots. Dilute the fertilizer to half or quarter strength and adjust the dosage based on the specific requirements of your orchid species.
- Fertilizing methods: There are different methods to apply fertilizer to orchids. One popular approach is to use the “weakly, weekly” method, applying a diluted fertilizer solution with every watering. Another method is the “flush and soak” technique, where you flush the pot with water to remove salt buildup and then soak the orchid in diluted fertilizer solution for a short period.
- Supplementing with micronutrients: In addition to the primary nutrients (N-P-K), orchids also require certain micronutrients such as iron, magnesium, and calcium. Some fertilizers include these micronutrients, but you may need to supplement with additional micronutrient formulations or use foliar sprays to ensure your orchids receive a well-rounded nutrient balance.
By understanding the nutrient requirements of your orchids and fertilizing them appropriately, you can provide the essential nutrients they need to thrive and produce exceptional blooms.
Repotting and Dividing Orchids
Repotting and dividing orchids are essential maintenance practices that promote healthy growth and prevent overcrowding. Here’s what you need to know about repotting and dividing your orchids:
- When to repot: Repotting is typically done when the orchid outgrows its current pot or when the growing medium starts to break down. Signs that your orchid may need repotting include crowded roots, a soggy or decomposing growing medium, or stunted growth.
- Choosing the right time: The best time to repot your orchid is after it has finished flowering and entered its dormant period. This allows it to recover and establish new roots before the next growing season. Avoid repotting when the orchid is actively growing or in bloom, as it can cause unnecessary stress.
- Preparing the new pot: Select a pot that is slightly larger than the current one to allow for growth. Ensure the pot has adequate drainage holes. Clean the pot thoroughly and soak it in a mild bleach solution to sterilize it, eliminating any potential pathogens.
- Dividing orchids: Over time, orchids can produce new growths or “pseudobulbs” that can be divided and repotted into separate pots. Dividing helps prevent overcrowding and promotes better airflow and nutrient absorption. Carefully separate the pseudobulbs and roots, ensuring each division has enough roots to support itself.
- Repotting procedure: Gently remove the orchid from its current pot, taking care not to damage the roots. Inspect the roots, removing any dead or decaying ones. Trim excessively long roots if necessary. Place the orchid in the new pot, ensuring the roots are spread out evenly. Fill the pot with fresh, well-draining growing medium, around the roots, and gently firm it down.
- Post-repotting care: After repotting, provide your orchid with proper care, including adequate water, light, and humidity. Avoid fertilizing for several weeks to give the orchid time to adjust to its new environment. Monitor the plant closely during the recovery period.
By regularly repotting your orchids and dividing them when necessary, you can ensure they have sufficient room to grow, maintain optimal health, and continue to thrive for years to come.
Preventing and Treating Pests and Diseases
Pests and diseases can pose a threat to the health and vitality of your orchids. Here are some important measures to prevent and treat common orchid pests and diseases:
- Monitor your orchids: Regularly inspect your orchids for any signs of pests or diseases. Look for discolored leaves, spots, wilting, distorted growth, or any unusual activity such as webbing or tiny insects.
- Maintain proper sanitation: Keep your growing area clean and free from debris. Remove dead leaves, fallen flowers, and any decaying plant matter, as they can harbor pests and provide a breeding ground for diseases.
- Isolate affected plants: If you notice signs of pests or diseases on one of your orchids, isolate it immediately to prevent the infestation or infection from spreading to other plants.
- Pest control methods: For common orchid pests such as aphids, mealybugs, and spider mites, you can physically remove them with a cotton swab dipped in alcohol or use insecticidal soaps or oils. For larger infestations, consider using appropriate insecticides labeled for orchids.
- Disease management: Fungal and bacterial diseases can affect orchids, particularly when there is excessive moisture around the foliage or in the growing medium. To prevent diseases, water your orchids at the roots to avoid wetting the leaves. Remove infected plant parts and consider using a fungicide or bactericide if necessary.
- Cultural practices: Providing optimal growing conditions for your orchids can help prevent pest and disease issues. Maintain proper airflow, avoid overwatering, monitor humidity levels, and ensure proper lighting and nutrition.
- Quarantine new additions: Before introducing new orchids to your collection, quarantine them for a few weeks to ensure they are free from pests and diseases. This helps prevent the introduction of any potential threats to your existing plants.
- Regular inspections: Continuously monitor your orchids, even when they appear healthy. Early detection of pests or diseases allows for prompt treatment, increasing the chances of successful control.
By being vigilant, practicing good sanitation, and taking appropriate measures to prevent and treat pests and diseases, you can maintain the health and vitality of your orchid collection.
Orchid Care Tips and Tricks
Orchids can be rewarding and beautiful plants to grow, but they require specific care to thrive. Here are some useful tips and tricks to help you successfully care for your orchids:
- Do not overwater: Orchids prefer to dry out between waterings. Overwatering can lead to root rot and other issues. Stick your finger about an inch into the growing medium to check the moisture level before watering.
- Use the right growing medium: Most orchids prefer a well-draining and porous growing medium. Orchid bark mix, sphagnum moss, or a combination of both are commonly used. Avoid using regular potting soil, as it retains too much moisture.
- Pay attention to humidity: Orchids generally appreciate higher humidity levels, but too much moisture can encourage fungal growth. Use humidity trays, a humidifier, or mist the leaves occasionally to increase humidity without causing waterlogged conditions.
- Proper lighting: Orchids need the right amount of light to thrive. Most prefer bright, indirect light, while some varieties can tolerate more direct sunlight. Observe your orchids and adjust their placement accordingly to achieve the optimal balance of light.
- Provide air circulation: Orchids benefit from good air circulation, which helps prevent the spread of diseases and promotes healthy growth. Use fans or open windows to improve airflow around your orchids, especially in enclosed growing spaces.
- Feed them regularly: Orchids have specific nutrient requirements. Fertilize them regularly during the growing season with a balanced orchid fertilizer. Follow the instructions on the package and adjust the frequency based on the needs of your specific orchid species.
- Be patient with blooms: Orchids have different blooming cycles and may not flower all year round. Some species bloom once a year, while others have multiple blooming periods. Patience is key, as it may take time for your orchid to produce blooms.
- Learn about your orchid species: Different orchids have different care requirements. Take the time to research and understand the specific needs of your orchid species, including temperature preferences, water requirements, and light levels.
- Observe and adapt: Pay close attention to your orchids and their response to their environment. If you notice any signs of stress, such as yellowing leaves or wilting, make adjustments to their care routine, such as adjusting watering or light levels.
By following these care tips and tricks, you can create a favorable environment for your orchids and enjoy their beauty for years to come.