
Unpacking the Keyfit Caddy
When you first receive your Keyfit Caddy, it’s important to properly unpack it to ensure that all the parts are included and in good condition. Follow these steps to unpack your Keyfit Caddy:
- Remove the Keyfit Caddy from its packaging box and place it on a flat surface.
- Carefully remove any protective wrapping or coverings from the Keyfit Caddy.
- Inspect the Keyfit Caddy for any visible damage or missing parts. If you notice any issues, contact the manufacturer or retailer for assistance.
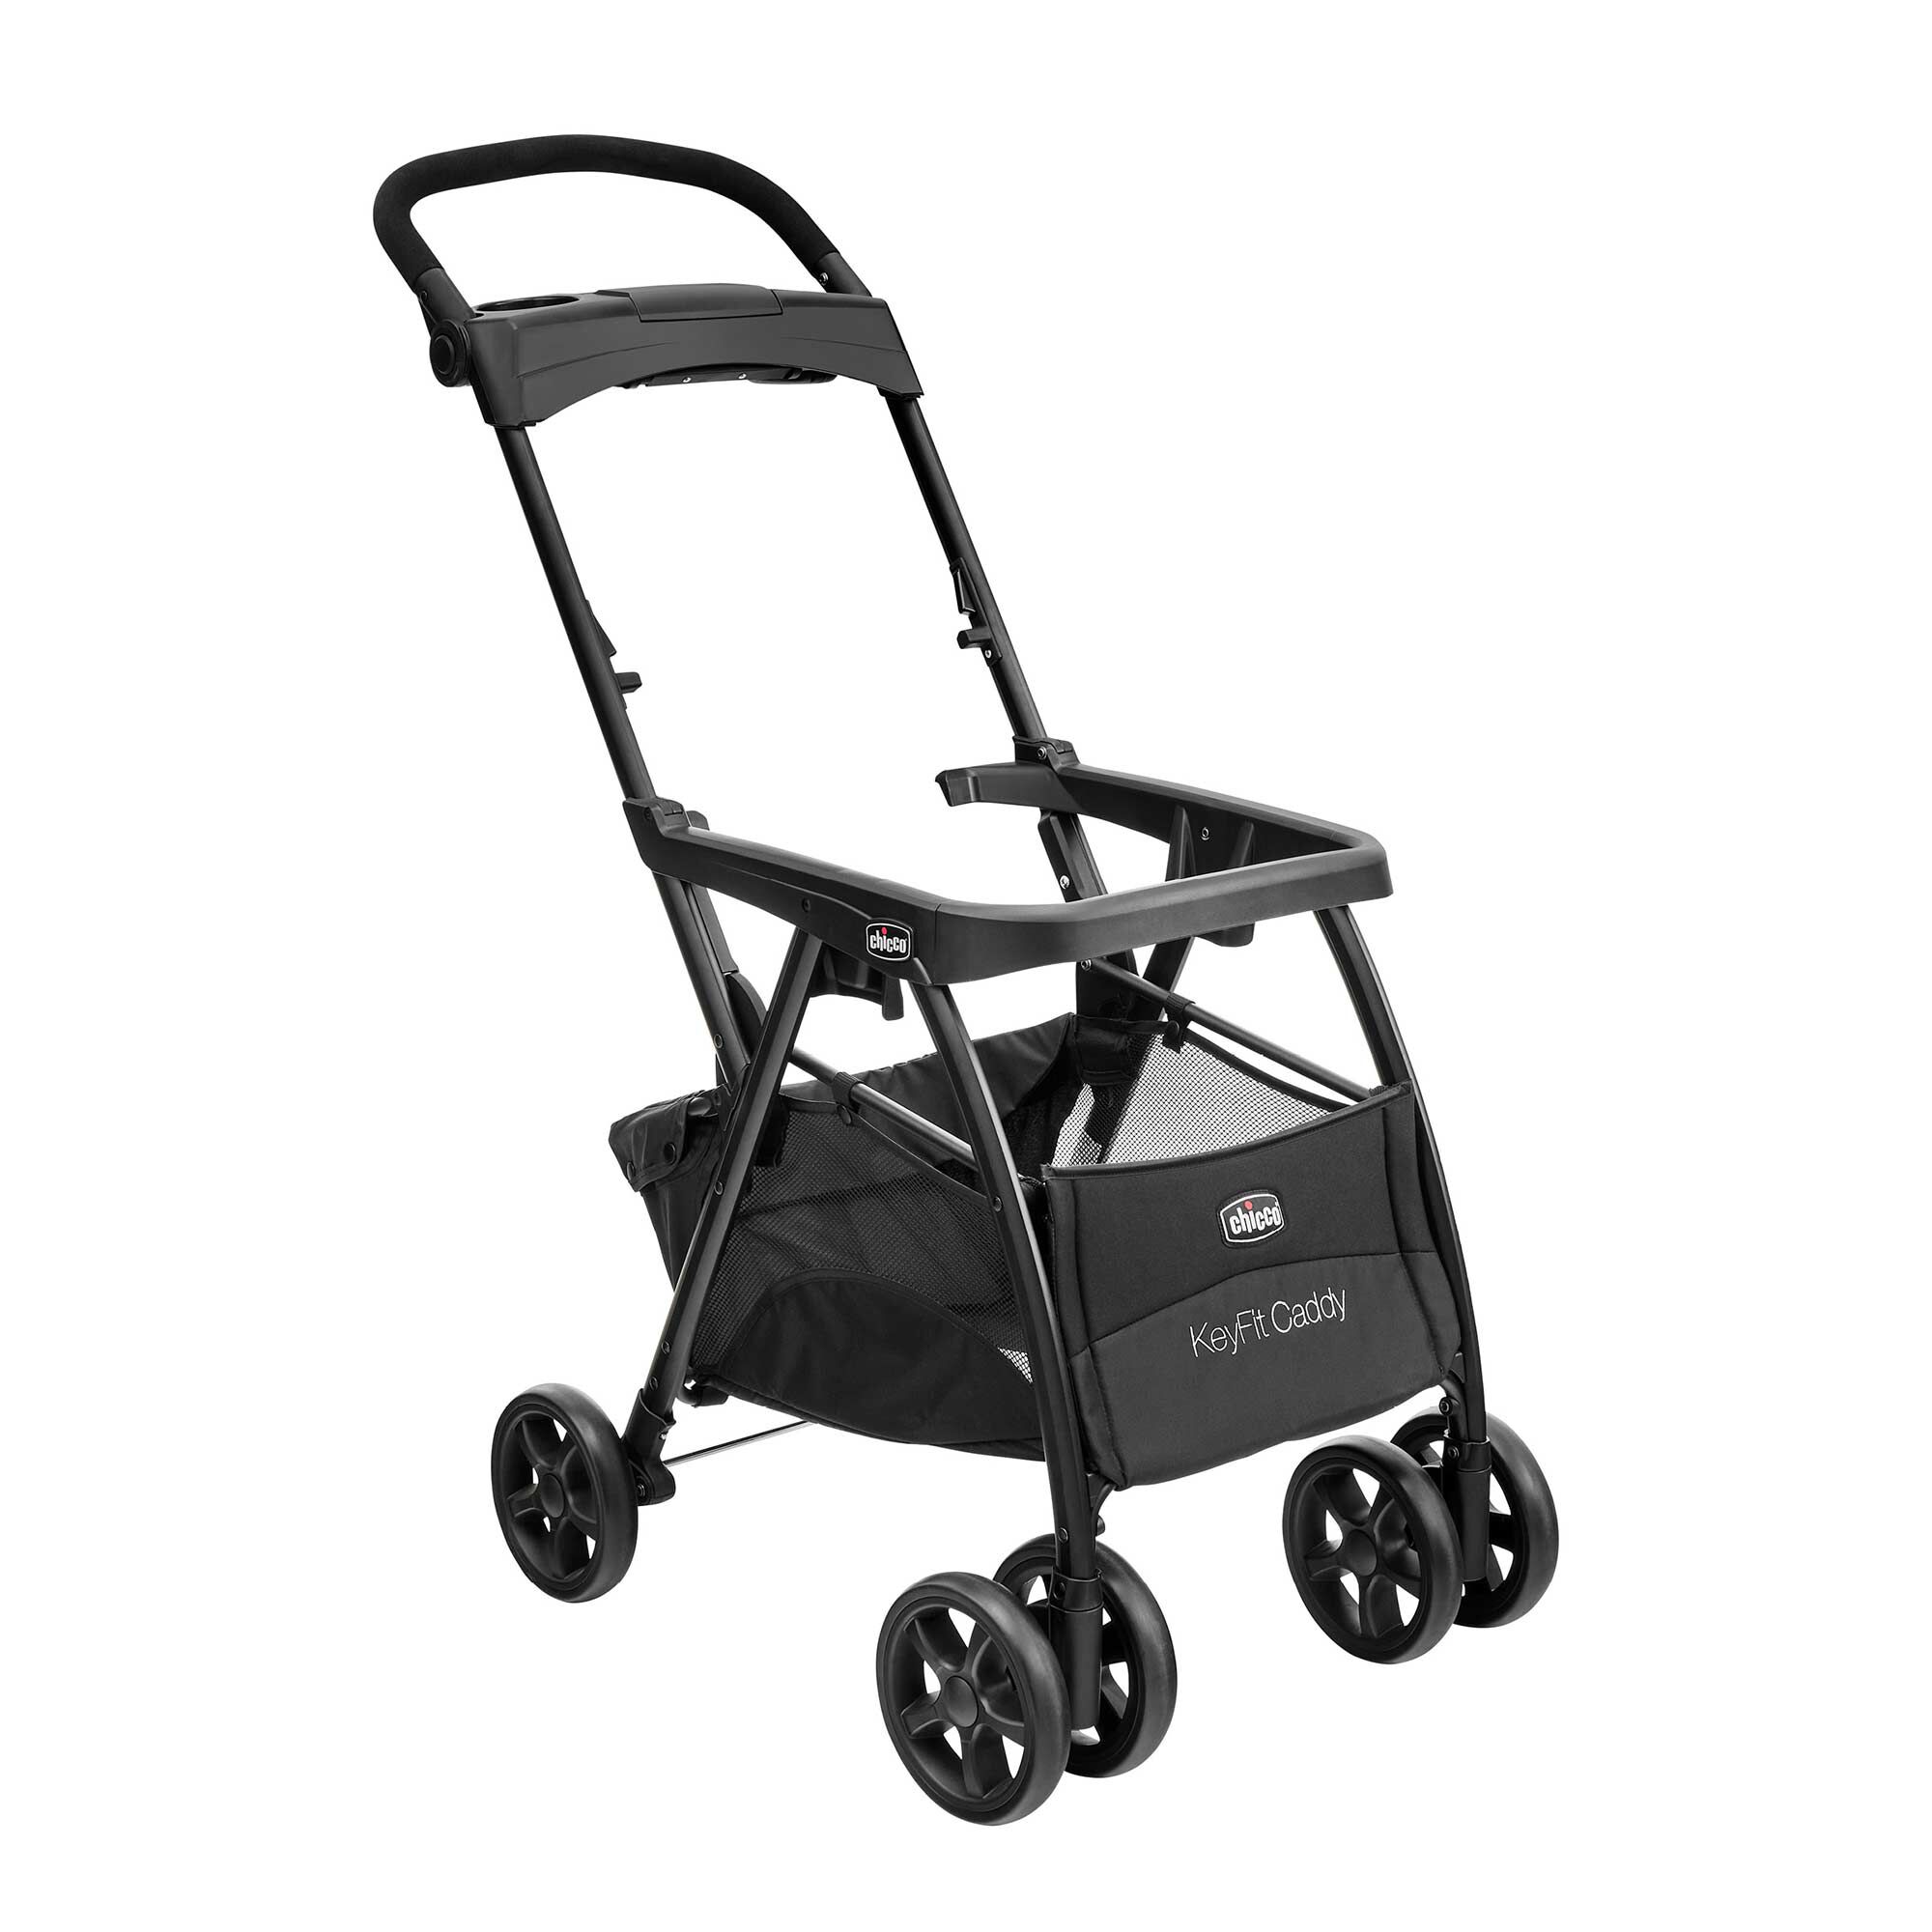
- Ensure that all the necessary components are included, such as the frame, wheels, handlebar, and attachments.
- Read the instruction manual provided by the manufacturer for further guidance on assembling and using the Keyfit Caddy.
- Once you have confirmed that everything is in order, you can proceed to the next steps of setting up and using your Keyfit Caddy.
Taking the time to properly unpack your Keyfit Caddy will help ensure that you have a smooth and hassle-free experience when assembling and using the stroller. By checking for any damage or missing parts at the beginning, you can address any issues promptly and avoid any inconvenience later on.
Attaching the Wheels
Attaching the wheels to your Keyfit Caddy is a simple and straightforward process. Follow these steps to properly attach the wheels:
- Locate the designated wheel slots on the frame of the Keyfit Caddy.
- Align the wheels with the corresponding slots and gently insert them until they click into place.
- Ensure that all four wheels are securely attached to the frame.
- Once the wheels are attached, check that they spin freely and without any obstructions.
It is important to note that the Keyfit Caddy wheels may have a locking feature to keep them in place during use. If this is the case, make sure to unlock the wheels before attempting to attach them to the frame. Refer to the instruction manual for guidance on unlocking the wheels, if needed.
Attaching the wheels is an essential step in preparing your Keyfit Caddy for use. By ensuring that the wheels are properly attached and can move freely, you can enjoy smooth and effortless maneuverability when pushing the stroller.
Adjusting the Handlebar
One of the key features of the Keyfit Caddy is its adjustable handlebar, which allows for personalized comfort and ease of use. Follow these steps to properly adjust the handlebar:
- Locate the handlebar adjustment mechanism on the frame of the Keyfit Caddy. This may be a lever or a button, depending on the model.
- Press or lift the handlebar adjustment mechanism to unlock it.
- While holding the mechanism, adjust the handlebar to your desired height by raising or lowering it.
- Release the handlebar adjustment mechanism to lock it in place.
After adjusting the handlebar, ensure that it is securely locked and does not wobble or move. This will provide stability and control when pushing the Keyfit Caddy.
It is important to adjust the handlebar to a height that is comfortable for you. This will prevent strain on your back and shoulders, allowing for a more enjoyable and ergonomic experience while using the stroller.
Attaching the Keyfit Car Seat
The Keyfit Caddy is designed to conveniently accommodate the Keyfit car seat, making it easy to transport your child from the car to the stroller without disturbing their sleep. Follow these steps to properly attach the Keyfit car seat:
- Place the Keyfit Caddy in a flat and stable position.
- Ensure that the frame’s seat area is clear of any obstructions or attachments.
- Hold the Keyfit car seat by the handle and align it with the seat area on the frame.
- Lower the Keyfit car seat into the seat area, making sure that it securely clicks into place.
- Verify that the Keyfit car seat is properly attached by giving it a gentle shake.
Once the Keyfit car seat is securely attached, double-check to ensure that it is positioned correctly and firmly locked into place. This will guarantee the safety and stability of your child during the strolling experience.
It is important to note that the Keyfit car seat is designed specifically for use with the Keyfit Caddy, and not all car seats are compatible. Always refer to the instruction manual and the manufacturer’s guidelines to ensure the proper fit and attachment.
Locking and Unlocking the Brakes
The brakes on the Keyfit Caddy are an important safety feature that allows you to secure the stroller in place when needed. Follow these steps to effectively lock and unlock the brakes:
- Locate the brake pedals on the rear wheels of the Keyfit Caddy. There is typically one brake pedal on each rear wheel.
- To lock the brakes, firmly press down on both brake pedals with your foot. You should hear a click or feel resistance indicating that the brakes are engaged.
- To unlock the brakes, lift your foot off the brake pedals. The pedals should return to their original position, and the brakes will be disengaged.
When locking the brakes, it is important to ensure that both pedals are fully engaged to secure the stroller in place. This will prevent any unintentional movement or rolling.
Before releasing the brakes and allowing the Keyfit Caddy to move, always double-check to ensure that the brakes are fully disengaged and the stroller is free to move again.
Regularly inspect the brake mechanism and pedals for any signs of damage or wear. If you notice any issues, such as brake failure or difficulty engaging or disengaging the brakes, contact the manufacturer or retailer for assistance.
Properly locking and unlocking the brakes on your Keyfit Caddy will provide you with peace of mind and ensure the safety of your child while using the stroller.
Folding and Unfolding the Keyfit Caddy
The Keyfit Caddy is designed to be compact and easy to fold, allowing for convenient storage and transportation. Follow these steps to properly fold and unfold the Keyfit Caddy:
- To fold the Keyfit Caddy, begin by ensuring that the brake is engaged to prevent any accidental movement. This is especially important if the stroller is on an inclined surface.
- Locate the folding mechanism, typically near the handlebar or on the frame of the Keyfit Caddy.
- Activate the folding mechanism by pressing or lifting the designated release button, lever, or switch.
- As you activate the folding mechanism, guide the frame of the Keyfit Caddy to fold inward, collapsing towards the wheels.
- Continue to fold the Keyfit Caddy until it is compact and the frame securely locks into place.
- To unfold the Keyfit Caddy, release any locking mechanisms or latches that are keeping it folded.
- Gently lift and guide the folded frame until it is fully extended, with the wheels positioned correctly.
- Double-check that the frame is securely unfolded and the locking mechanisms are engaged before using the stroller.
Always ensure that your child is clear of the stroller and in a safe location when folding or unfolding the Keyfit Caddy to avoid any accidents or injuries.
By mastering the process of folding and unfolding the Keyfit Caddy, you can quickly and easily transition between using and storing the stroller, saving you time and effort.
Storing the Keyfit Caddy
When not in use, it’s important to properly store the Keyfit Caddy to maintain its condition and maximize its lifespan. Follow these steps to store your Keyfit Caddy:
- Clean the Keyfit Caddy thoroughly, removing any dirt, debris, or spills from the surface. Use mild soap and water to clean the fabric components and a damp cloth to wipe down the frame.
- Ensure that the Keyfit Caddy is completely dry before storing to prevent mold or mildew from forming.
- If possible, disassemble any removable accessories or attachments, such as cup holders or storage baskets. This will help save space and protect the components during storage.
- If your Keyfit Caddy is foldable, collapse it according to the folding instructions mentioned earlier in the article.
- Find a suitable storage location for the Keyfit Caddy. Ideally, this should be a cool, dry area away from direct sunlight and extreme temperatures.
- If space is limited, consider utilizing storage solutions such as wall-mounted hooks or hanging storage bags designed specifically for strollers.
- Cover the Keyfit Caddy with a breathable and waterproof cover or a large plastic bag to protect it from dust and potential damage.
Regularly check on the stored Keyfit Caddy to ensure that it remains in good condition and free from any pests or hazards. Clean and inspect the stroller before using it again to ensure its safety and functionality.
By properly storing your Keyfit Caddy, you can prolong its lifespan and keep it in excellent condition for future use or for passing it on to someone else.
Maintaining and Cleaning the Keyfit Caddy
Regular maintenance and cleaning of your Keyfit Caddy are essential to keep it in optimal condition and ensure the comfort and safety of your child. Follow these guidelines to properly maintain and clean your Keyfit Caddy:
- Inspect the Keyfit Caddy regularly for any signs of wear and tear, loose screws, or damaged parts. If you notice any issues, contact the manufacturer or retailer for assistance.
- Check the tires and wheels for any debris, such as dirt or small stones. Remove any obstructions to prevent potential damage or difficulty in maneuvering the stroller.
- Clean the fabric components of the Keyfit Caddy, such as the seat cover and canopy, according to the manufacturer’s instructions. Use mild detergent and water to spot clean any stains or spills. Avoid using abrasive cleaners or solvents that may damage the fabric.
- Regularly wipe down the frame of the Keyfit Caddy with a damp cloth to remove dirt and dust. Pay extra attention to areas that may accumulate debris, such as the wheel axles or folding mechanisms.
- For thorough cleaning, refer to the instruction manual for guidance on disassembling any removable parts or attachments. Clean these components separately using mild soap and water, and ensure they are fully dry before reattaching them.
- Inspect the brake system regularly to ensure its proper functionality. If you notice any issues, such as brakes that do not engage or disengage correctly, contact the manufacturer for assistance or to arrange for maintenance.
- Store the Keyfit Caddy properly, as mentioned in the previous section, when it is not in use to protect it from potential damage and extend its lifespan.
By regularly maintaining and cleaning your Keyfit Caddy, you can ensure that it continues to operate smoothly and safely. Follow the manufacturer’s guidelines for specific maintenance instructions and contact them directly if you have any concerns or questions regarding the care of your Keyfit Caddy.