
Choosing the Right Design
When it comes to making your own sofa, one of the first considerations is choosing the right design. The design you choose should not only complement your personal style and taste but also match the existing decor of your living space. Here are a few factors to consider when selecting a sofa design:
- Size: Measure the available space in your room to ensure that the sofa will fit comfortably. Consider the dimensions of the sofa, including its length, width, and height, and how it will fit into the overall layout of the room.
- Style: Determine the style of sofa that appeals to you. Whether you prefer a modern, minimalist design or a classic, timeless look, the style should reflect your personal preferences and blend harmoniously with the other furniture in the room.
- Functionality: Consider how you intend to use the sofa. If you have a large family or frequently entertain guests, a sectional sofa with ample seating may be more suitable. Alternatively, if you have limited space, a sofa bed or a compact loveseat might be a better choice.
- Material: Choose the right upholstery material that not only suits your aesthetic preferences but also fits your lifestyle. Leather, fabric, velvet, and microfiber are popular options, each with its own advantages and maintenance requirements.
- Comfort: Sit on different sofa designs and test their comfort levels. Pay attention to the cushioning, depth, and back support to ensure that you’ll be able to relax and enjoy your sofa for years to come.
- Budget: Determine your budget before selecting a design. Keep in mind that different sofa designs can vary significantly in price. Consider both the upfront cost of the materials needed as well as the long-term maintenance and durability of the chosen design.
Ultimately, the right sofa design is one that suits your personal style, meets your functional needs, and fits within your budget. Take your time to explore different options, gather inspiration from interior design magazines or online sources, and consider seeking professional advice if needed. By carefully selecting the right design, you’ll be on your way to creating your perfect sofa that will be the highlight of your living space.
Gathering Materials and Tools
Once you’ve chosen the design for your DIY sofa, the next step is to gather the necessary materials and tools. Having everything you need at hand will make the construction process smoother and more efficient. Here’s a breakdown of what you’ll need:
- Frame materials: Depending on your chosen design, you’ll need wood or metal frame materials. Common options include hardwood like oak or pine, or metal pipes or tubes. Ensure that the materials are sturdy and capable of supporting the weight of the sofa.
- Upholstery fabric: Select the upholstery fabric that aligns with your design and preference. Consider factors such as durability, color, pattern, and texture. It’s best to choose a high-quality fabric that can withstand frequent use and is easy to clean.
- Foam or cushioning: To provide comfort and support, you’ll need foam or cushioning material for the seat, backrest, and armrests. Opt for a density that suits your preferences and provides adequate resilience.
- Webbing or springs: Depending on the design and desired level of comfort, you may need elastic webbing or springs to provide support and prevent sagging. These can be secured to the frame to ensure a sturdy foundation.
- Screws, nails, and hardware: Choose appropriate screws, nails, and other hardware to assemble and secure the frame. Ensure that they are of good quality and suitable for the materials you’re working with.
- Measuring tools: Accurate measurements are crucial for ensuring a well-fitted and balanced sofa. Gather measuring tapes, rulers, and a square to ensure precise cuts and assembly.
- Cutting tools: Depending on the materials you’re working with, you’ll need cutting tools such as a saw, jigsaw, or angle grinder. Ensure that you have the necessary safety equipment for using these tools.
- Upholstery tools: To upholster the sofa, you’ll need tools such as a staple gun, upholstery needles, thread, and scissors. These tools will help you achieve a professional finish.
- Additional materials: This may include batting, foam adhesive, wood glue, and corner brackets for reinforcement and added stability. It’s essential to consider any additional components specific to your chosen design.
Before starting the construction process, make sure you have all the materials and tools mentioned above. Double-check your measurements and ensure that you have acquired everything necessary to complete the project successfully. Having everything at hand will streamline the process and minimize delays, allowing you to focus on building your own custom sofa.
Measuring and Cutting the Frame Pieces
One of the crucial steps in building your own sofa is accurately measuring and cutting the frame pieces. The frame serves as the foundation of your sofa and provides support for the cushions and upholstery. Here’s a step-by-step guide to help you measure and cut the frame pieces:
- Measurements: Take precise measurements of the dimensions for the seat, backrest, armrests, and any other frame components. Use a measuring tape or ruler to ensure accuracy. Take into account the thickness of the materials you’re using when determining the measurements.
- Marking the frame: Transfer the measurements onto the wood or metal material you’re using for the frame. Use a pencil or marker to mark the cutting lines and indicate any necessary joinery or notches. Double-check your measurements to avoid any mistakes or discrepancies.
- Cutting the frame pieces: Use a proper cutting tool, such as a saw or jigsaw, to carefully cut along the marked lines. Take your time and follow the lines accurately to ensure precise cuts. If using metal materials, ensure you have the appropriate tools for cutting and shaping, such as an angle grinder.
- Notching and joinery: If your design requires additional joinery or notches, use appropriate tools such as a chisel or router to create these features. Take care to follow the markings to ensure proper alignment and fit when assembling the frame.
- Test fitting: After cutting the frame pieces, perform test fittings to ensure that all the components align correctly and fit together snugly. Make any necessary adjustments or fine-tuning before proceeding to the next step.
Accurate measurements and precise cuts are crucial for a well-constructed and sturdy sofa frame. Take your time during this step to ensure that the dimensions and angles are correct. Remember to use appropriate safety equipment and follow proper guidelines for cutting and working with the chosen materials. By taking these precautions and carefully measuring and cutting the frame pieces, you will be one step closer to building a solid foundation for your DIY sofa.
Assembling and Joining the Frame
Once you have measured and cut all the frame pieces, the next step in building your own sofa is to assemble and join them together. The assembly process is crucial for creating a solid and stable foundation for your sofa. Follow these steps to assemble and join the frame:
- Dry fit: Before permanently attaching the frame pieces, perform a dry fit to ensure that everything fits together properly. This allows you to make any necessary adjustments or corrections before proceeding.
- Joinery techniques: Depending on your design, you may need to use various joinery techniques to connect the frame pieces. Common joinery methods include dowels, screws, corner brackets, or pocket holes. Select the appropriate technique based on the materials you’re using and the desired strength of the joints.
- Securing the joints: Once you have determined the joinery method, carefully and securely connect the frame pieces. Use clamps or vices to hold the pieces in place when fastening them together. Follow the manufacturer’s instructions for the chosen joinery technique to ensure proper installation.
- Reinforcements: Depending on the size and design of your sofa, consider adding reinforcements for added strength and stability. This can include adding additional supports or braces at critical points in the frame to prevent sagging or weakening over time.
- Check for stability: After joining the frame pieces together, check for stability and make any necessary adjustments. Ensure that the frame does not wobble or feel unstable. If needed, add additional screws or braces to enhance the overall stability.
It is essential to take your time during the assembly process to guarantee the frame is sturdy and durable. Make sure all joints are properly secured and that the frame feels solid once assembled. Taking the necessary precautions and adequately joining the frame pieces will ensure the longevity and stability of your DIY sofa.
Adding Reinforcements and Supports
In order to create a durable and long-lasting sofa, it is important to add reinforcements and supports to the frame. These additional elements contribute to the overall stability and strength of the sofa. Here are some steps to follow when adding reinforcements and supports:
- Identify weak areas: Assess the frame to identify any weak spots or areas that may require additional reinforcement. These areas commonly include corners, joints, and areas where the weight is concentrated.
- Choose appropriate reinforcements: Based on the identified weak areas, select the appropriate reinforcements. This can range from L-brackets, metal plates, or angle braces to wooden blocks or additional framing pieces. Make sure to choose reinforcements that are compatible with the materials and design of your sofa.
- Secure the reinforcements: Position the chosen reinforcements in the identified weak areas and securely attach them to the frame. Use screws, nails, or appropriate hardware to ensure a tight fit. Make sure the reinforcements are aligned correctly and provide adequate support to the frame.
- Consider center supports: For larger sofas or sections with extended lengths, it may be necessary to add center supports. These supports help distribute weight evenly and prevent any sagging in the middle of the sofa. Use additional framing or strong support beams to reinforce the center of the frame.
- Test for stability: Once the reinforcements and supports are in place, test the stability of the frame. Apply pressure and gently rock the sofa to check for any wobbling or instability. Make any necessary adjustments or additions to ensure the frame is strong and secure.
By adding reinforcements and supports to the frame, you enhance the overall durability and stability of your DIY sofa. These additional measures help distribute weight effectively and prevent any potential weak points from compromising the structure. Taking the time to reinforce the frame will result in a sofa that can withstand regular use and provide you with comfort and peace of mind.
Upholstering the Frame
Once you have assembled and reinforced the frame of your DIY sofa, it’s time to move on to the exciting part – upholstering the frame. Upholstery gives your sofa its final aesthetic appearance and adds comfort to the seating surface. Here is a step-by-step guide to help you upholster your sofa frame:
- Prepare the frame: Ensure that the frame is clean and free of any dust or debris. Remove any sharp edges or splinters by sanding the surface gently.
- Measure and cut the fabric: Measure the dimensions of each individual section of the frame, including the seat, backrest, and armrests. Add a few inches to each measurement to allow for wrapping the fabric around the frame. Use sharp scissors or a fabric cutting tool to cut the fabric accordingly.
- Attach the fabric: Starting with the seat, drape the fabric over the frame, making sure it is centered and evenly distributed. Pull the fabric tightly and staple it to the underside of the frame using a staple gun. Work your way around the frame, securing the fabric in place. Repeat this process for the backrest and armrests.
- Trim excess fabric: Once the fabric is securely attached, trim any excess fabric with sharp scissors. Be careful not to cut too close to the staples, leaving enough fabric to ensure a secure hold.
- Add finishing touches: To give your sofa a polished look, consider adding decorative details such as piping, tufting, or buttons. These elements can enhance the overall aesthetic appeal of your sofa.
- Ensure a smooth finish: Smooth out any wrinkles or unevenness in the fabric by pulling it tightly and adjusting the positioning as needed. Take the time to ensure a smooth and professional-looking finish.
Upholstering the frame of your DIY sofa requires attention to detail and precision. Take your time during this process, ensuring that the fabric is properly aligned and securely attached. By following these steps, you can transform your sofa frame into a comfortable and visually appealing piece of furniture that reflects your personal style.
Creating and Attaching Cushions
The final step in completing your DIY sofa project is creating and attaching the cushions. The cushions not only add comfort but also contribute to the overall aesthetic appeal of your sofa. Here’s a guide to help you create and attach the cushions:
- Measure and cut foam: Measure the dimensions of the seating area and backrest of your sofa. Use those measurements to cut foam inserts to the appropriate size. Choose a foam density that provides optimal comfort and support.
- Construct cushion covers: Measure the dimensions of the foam inserts and cut fabric pieces accordingly, adding extra allowance for seam allowances. Sew the fabric pieces together, leaving one side partially open to insert the foam. Turn the cover right side out and ensure a snug fit of the foam inside.
- Add zipper or closure: If desired, you can add a zipper or closure to the cushion cover opening. This allows for easy removal and cleaning of the cover in the future.
- Attach the cushions: Position the cushions on the sofa frame, ensuring they align with the seating area and backrest. Use Velcro strips or sewn-on loops to secure the cushions to the frame, preventing them from sliding or shifting during use.
- Fluff and shape the cushions: Once the cushions are attached, fluff and shape them to achieve a comfortable and appealing appearance. Plump up the cushions by manipulating the foam inserts inside the covers.
- Optional decorative accents: To add a personalized touch to your sofa, you can consider adding decorative accents to the cushions. This could include decorative trim, buttons, or embroidery that complements the overall design of your sofa.
Creating and attaching the cushions is the final step in completing your DIY sofa project. Take care to measure and cut the foam properly and construct cushion covers that fit snugly. Secure the cushions to the frame to ensure they stay in place and provide optimum comfort. Remember to fluff and shape the cushions for an inviting and cozy seating experience. By following these steps, you can complete your DIY sofa and enjoy a customized and comfortable piece of furniture in your living space.
Finishing Touches and Details
As you near the completion of your DIY sofa project, it’s time to focus on the finishing touches and details that will elevate the overall look and functionality of your creation. Here are some ideas to consider:
- Paint or stain: If you’re working with a wooden frame, consider painting or staining it to enhance its appearance and protect it from wear and tear. Choose a color or finish that complements your interior design scheme.
- Seam and edge finishing: Pay attention to the seams and edges of your sofa. Consider adding piping, bias tape, or other decorative trims to give your sofa a polished and professional look.
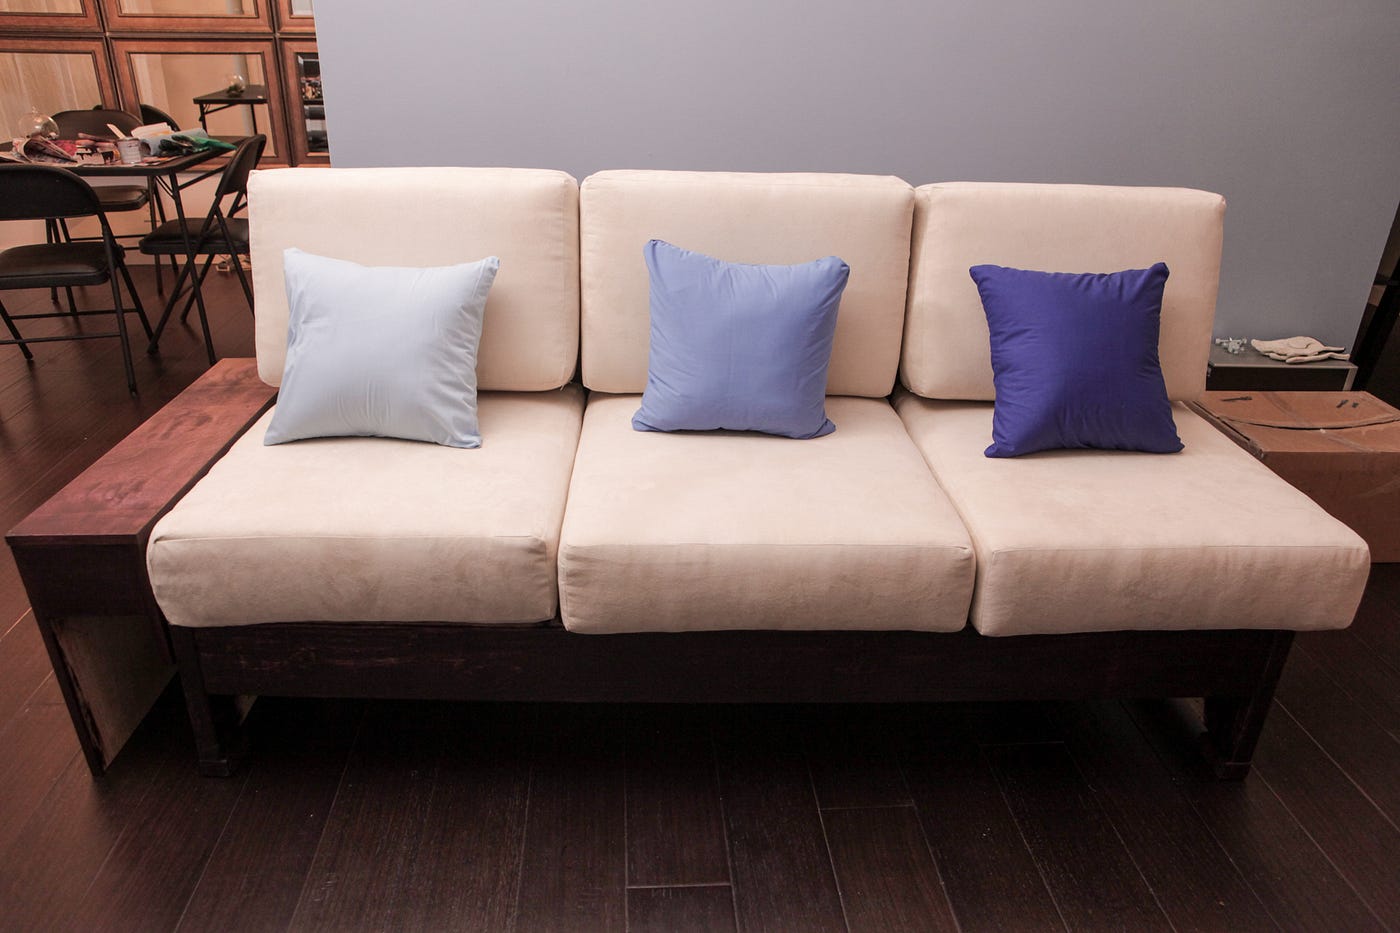
- Throw pillows and blankets: Add cozy and decorative throw pillows and blankets to enhance the comfort and visual appeal of your sofa. Choose colors, patterns, and textures that complement your overall design scheme.
- Table or ottoman: Add functionality and convenience to your sofa by incorporating a matching coffee table, side table, or ottoman. This not only provides a surface for placing drinks or snacks but also completes the overall aesthetic of your seating area.
- Personalize with accessories: Add personal touches to your sofa by incorporating accessories such as decorative cushions, a cozy throw, or a stylish lamp. These accessories can reflect your style and personality, making your sofa feel more inviting and unique.
- Keep it clean: Regularly clean and maintain your DIY sofa to ensure its longevity. Vacuum the cushions and fabric, spot clean any stains, and fluff the cushions periodically to keep everything looking fresh and comfortable.
Don’t underestimate the impact that small finishing touches and details can make on your finished DIY sofa project. Taking the time to focus on these aspects will ensure that your sofa not only looks great but also functions optimally for years to come. Enjoy the satisfaction of a job well done as you relax and admire your beautifully finished DIY sofa.