
Materials Needed
Before you begin making shelf dividers, ensure you have the following materials on hand:
- Measuring tape
- Marker or pencil
- Saw (handsaw or power saw depending on preference)
- Sandpaper (medium and fine grit)
- Wooden boards (preferably oak or pine)
- Cloth or rag
- Wood glue
- Clamps
- Screws or nails
- Paint or stain (optional for decorative finishes)
- Paintbrush or sponge
Having these materials at your disposal will ensure a smooth and efficient process as you create shelf dividers.
Make sure to choose wooden boards that are the appropriate thickness and width for your shelves. Additionally, consider the finish you desire for the dividers and select the corresponding paint or stain accordingly.
Once you have gathered all the necessary materials, you will be ready to move on to the next steps of the process.
Step 1: Measuring the Shelves
Before you start cutting the dividers, it’s crucial to accurately measure the shelves where you will be installing them. Follow these steps to ensure precise measurements:
- Remove all items from the shelves to get a clear workspace.
- Using a measuring tape, determine the length and height of each shelf where you plan to place the dividers.
- Make a note of these measurements and keep them handy throughout the process.
It’s important to measure each shelf individually, as they may vary in size. This will ensure that the dividers fit perfectly and provide optimal organization.
Consider the items you plan to store on the shelves and factor in the necessary spacing between the dividers. This will help you determine how many dividers you will need for each shelf.
Write down the number of dividers required for each shelf, as this will guide you in the following steps of the process.
By taking accurate measurements, you are setting yourself up for success in creating shelf dividers that will perfectly fit your shelves and effectively organize your items. With this crucial step complete, you are ready to move on to the next phase of the project.
Step 2: Cutting the Dividers
Once you have measured the shelves and determined the required number of dividers, it’s time to cut the wooden boards to create the dividers. Follow these steps for precise cutting:
- Gather your saw and the wooden boards you will be using for the dividers.
- Using the measurements you obtained in Step 1, mark the dimensions on each board using a marker or pencil.
- Double-check your measurements to ensure accuracy before proceeding.
- If you have multiple dividers of the same size, you can save time by clamping several boards together and cutting them simultaneously.
- Carefully use your saw to cut along the marked lines. Take your time and use steady, controlled movements to achieve clean and precise cuts.
Remember to prioritize safety while using the saw, wearing protective goggles and gloves to prevent any accidents.
After cutting the dividers, it’s a good idea to double-check that each one is the correct size and free of any rough edges. If necessary, use sandpaper to smooth out any imperfections.
Properly cutting the dividers is crucial to ensure that they fit securely into the shelves and provide the needed organization. With Step 2 completed, you can now move on to the next stage of the process.
Step 3: Sanding the Dividers
After cutting the dividers, it’s important to sand them to create a smooth surface and eliminate any rough edges. Follow these steps to properly sand the dividers:
- Gather medium and fine-grit sandpaper, as well as a sanding block or a piece of wood.
- Start with the medium-grit sandpaper and use it to sand the edges and surfaces of each divider. This will help remove any splinters or rough spots.
- Hold the sandpaper firmly and use smooth, even strokes along the wood’s grain. This will help ensure an even, uniform sanding.
- Focus on smoothing the edges that will come into contact with the shelves, as well as the faces of the dividers that will be visible.
- Once you are satisfied with the smoothness of the dividers with the medium-grit sandpaper, switch to the fine-grit sandpaper for a final pass. This will further refine the surface and create a polished finish.
- After each sanding session, wipe the dividers with a damp cloth or rag to remove any dust or debris.
Sanding the dividers not only enhances their appearance but also ensures that they are safe to handle and won’t snag on clothing or items.
By following these steps, you will have well-sanded dividers ready for the next stages of the process. With Step 3 completed, you are one step closer to completing your shelf dividers.
Step 4: Adding Decorative Finishes (optional)
If you want to give your shelf dividers a unique and personalized touch, you can choose to add decorative finishes. This step is optional, but it can enhance the overall aesthetic of your dividers. Follow these steps to add decorative finishes:
- If you decide to paint the dividers, gather the appropriate paint color along with a paintbrush or sponge. If staining the dividers, select the desired stain color and have a clean cloth or sponge ready.
- Before applying any paint or stain, make sure the dividers are clean and dry.
- If you choose to paint the dividers, lightly sand the surfaces again to ensure better paint adhesion. Wipe away any dust after sanding.
- If staining the dividers, apply the stain following the manufacturer’s instructions. Use smooth, even strokes and work in the direction of the wood grain.
- If painting the dividers, apply thin coats of paint, allowing each coat to dry before applying the next. This will help prevent drips and ensure a smooth finish.
- Consider adding multiple coats for a more vibrant color or deeper stain color. Allow adequate drying time between each coat.
- If desired, add additional decorative elements such as stenciling, decals, or patterned tape to further customize the dividers.
Keep in mind that adding decorative finishes may require additional drying time before you can proceed to the next steps of the process.
By adding decorative finishes, you can transform your shelf dividers into not only practical storage solutions but also visually appealing elements that enhance the overall look of your shelves.
With Step 4 completed, you are ready to move on to the next phase of attaching the dividers to the shelves.
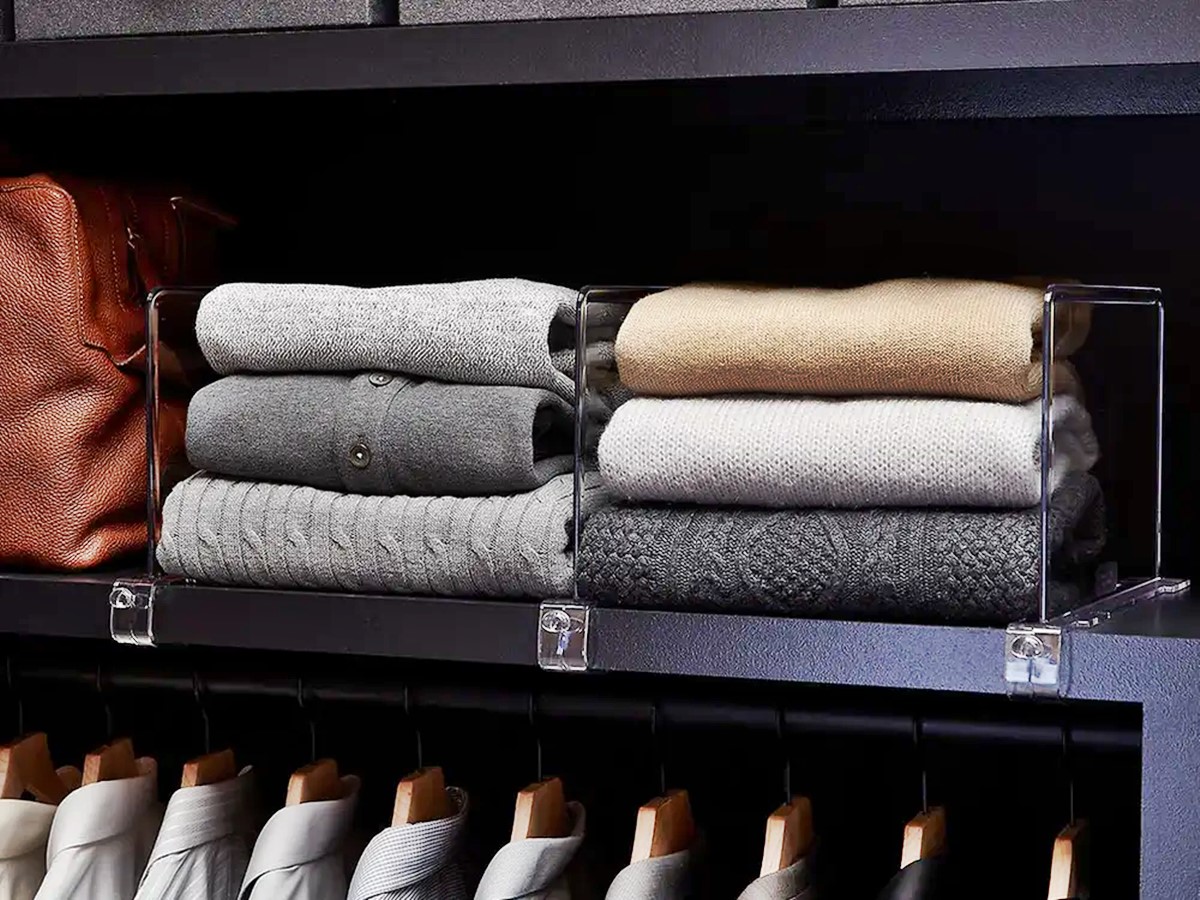
Step 5: Attaching the Dividers to the Shelves
With your dividers cut, sanded, and possibly decorated, it’s time to attach them to the shelves. Follow these steps to securely install the dividers:
- Place the first divider at the desired location on the shelf. Make sure it is level and aligns with your measurements from Step 1.
- Using a pencil or marker, lightly mark the position of the divider on the underside of the shelf. This will serve as a guide for the attachment process.
- Apply wood glue to the marked areas on the divider and press it firmly against the shelf. This will help ensure a strong bond.
- If desired, use clamps to hold the divider in place while the glue dries. This will provide added stability and allow for a hands-free approach.
- Repeat this process for each divider, ensuring they are evenly spaced and aligned properly.
- For added durability, you can also secure the dividers with screws or nails. Pre-drill holes to prevent splitting the wood, then fasten the dividers to the shelves using the appropriate hardware.
- Wipe away any excess glue and allow sufficient time for the adhesive to dry.
Remember to follow the manufacturer’s instructions when using wood glue to ensure the best results. If you choose to use screws or nails, be careful not to overtighten or damage the wood.
Once the dividers are securely attached, give them a gentle test to ensure they are stable and can withstand the weight of the items you plan to store on the shelves.
With Step 5 completed, your dividers are now properly installed and ready to bring more organization to your shelves.
Step 6: Testing the Dividers
Now that the dividers are attached to the shelves, it’s important to test their functionality and ensure they meet your organizational needs. Follow these steps to effectively test the dividers:
- Begin by placing items on the shelves, taking care to arrange them in a way that utilizes the dividers for optimal organization.
- Test the stability of the dividers by gently nudging or shifting the items around. The dividers should hold the items in place and prevent them from falling over.
- Check if the dividers are evenly spaced and provide sufficient separation between items. Adjust their positions if needed to achieve the desired organization and spacing.
- Consider adding labels or tags to the dividers, if necessary, to further enhance the organization and help locate specific items.
- Test the loading capacity of the dividers by gradually adding more weight to the shelves. Ensure that the dividers can support the added weight without wobbling or sagging.
- Periodically assess the effectiveness of the dividers and make any necessary adjustments to accommodate changing storage needs.
By testing the dividers, you can ensure that they are not only aesthetically pleasing but also functional and practical for your specific storage requirements. This step will help you fine-tune the organization of your shelves and optimize the use of space.
With Step 6 completed, you can confidently enjoy the benefits of your newly implemented shelf dividers.
Step 7: Additional Tips and Ideas
As you wrap up the process of making shelf dividers, here are some additional tips and ideas to consider:
- Add adhesive cork or felt pads to the bottom of the dividers to prevent them from scratching or damaging the shelves.
- Paint or stain the dividers to match the color scheme of your room or to create a striking contrast.
- Experiment with different divider designs, such as slats, X-patterns, or decorative cutouts, to add visual interest.
- Consider using adjustable dividers that can be easily moved to accommodate changing storage needs.
- Use dividers to create separate sections for different categories of items, such as books, files, or clothing.
- Extend the dividers slightly above the top shelf to create a visual barrier and further organize your items.
- If you have glass or transparent shelves, ensure that the dividers complement their style and do not obstruct the view.
- Regularly clean and dust the dividers to maintain their appearance and prevent a buildup of dirt or debris.
- Consider using dividers in other areas of your home, such as kitchen cabinets, closet shelves, or desk drawers, to maximize organization.
Remember, these tips and ideas are meant to inspire and guide you in customizing your shelf dividers to suit your specific needs and preferences. Feel free to get creative and adapt them to your unique style and organizational goals.
With Step 7 completed, you now have a comprehensive set of dividers that not only enhance the functionality of your shelves but also add a personal touch to your space.