
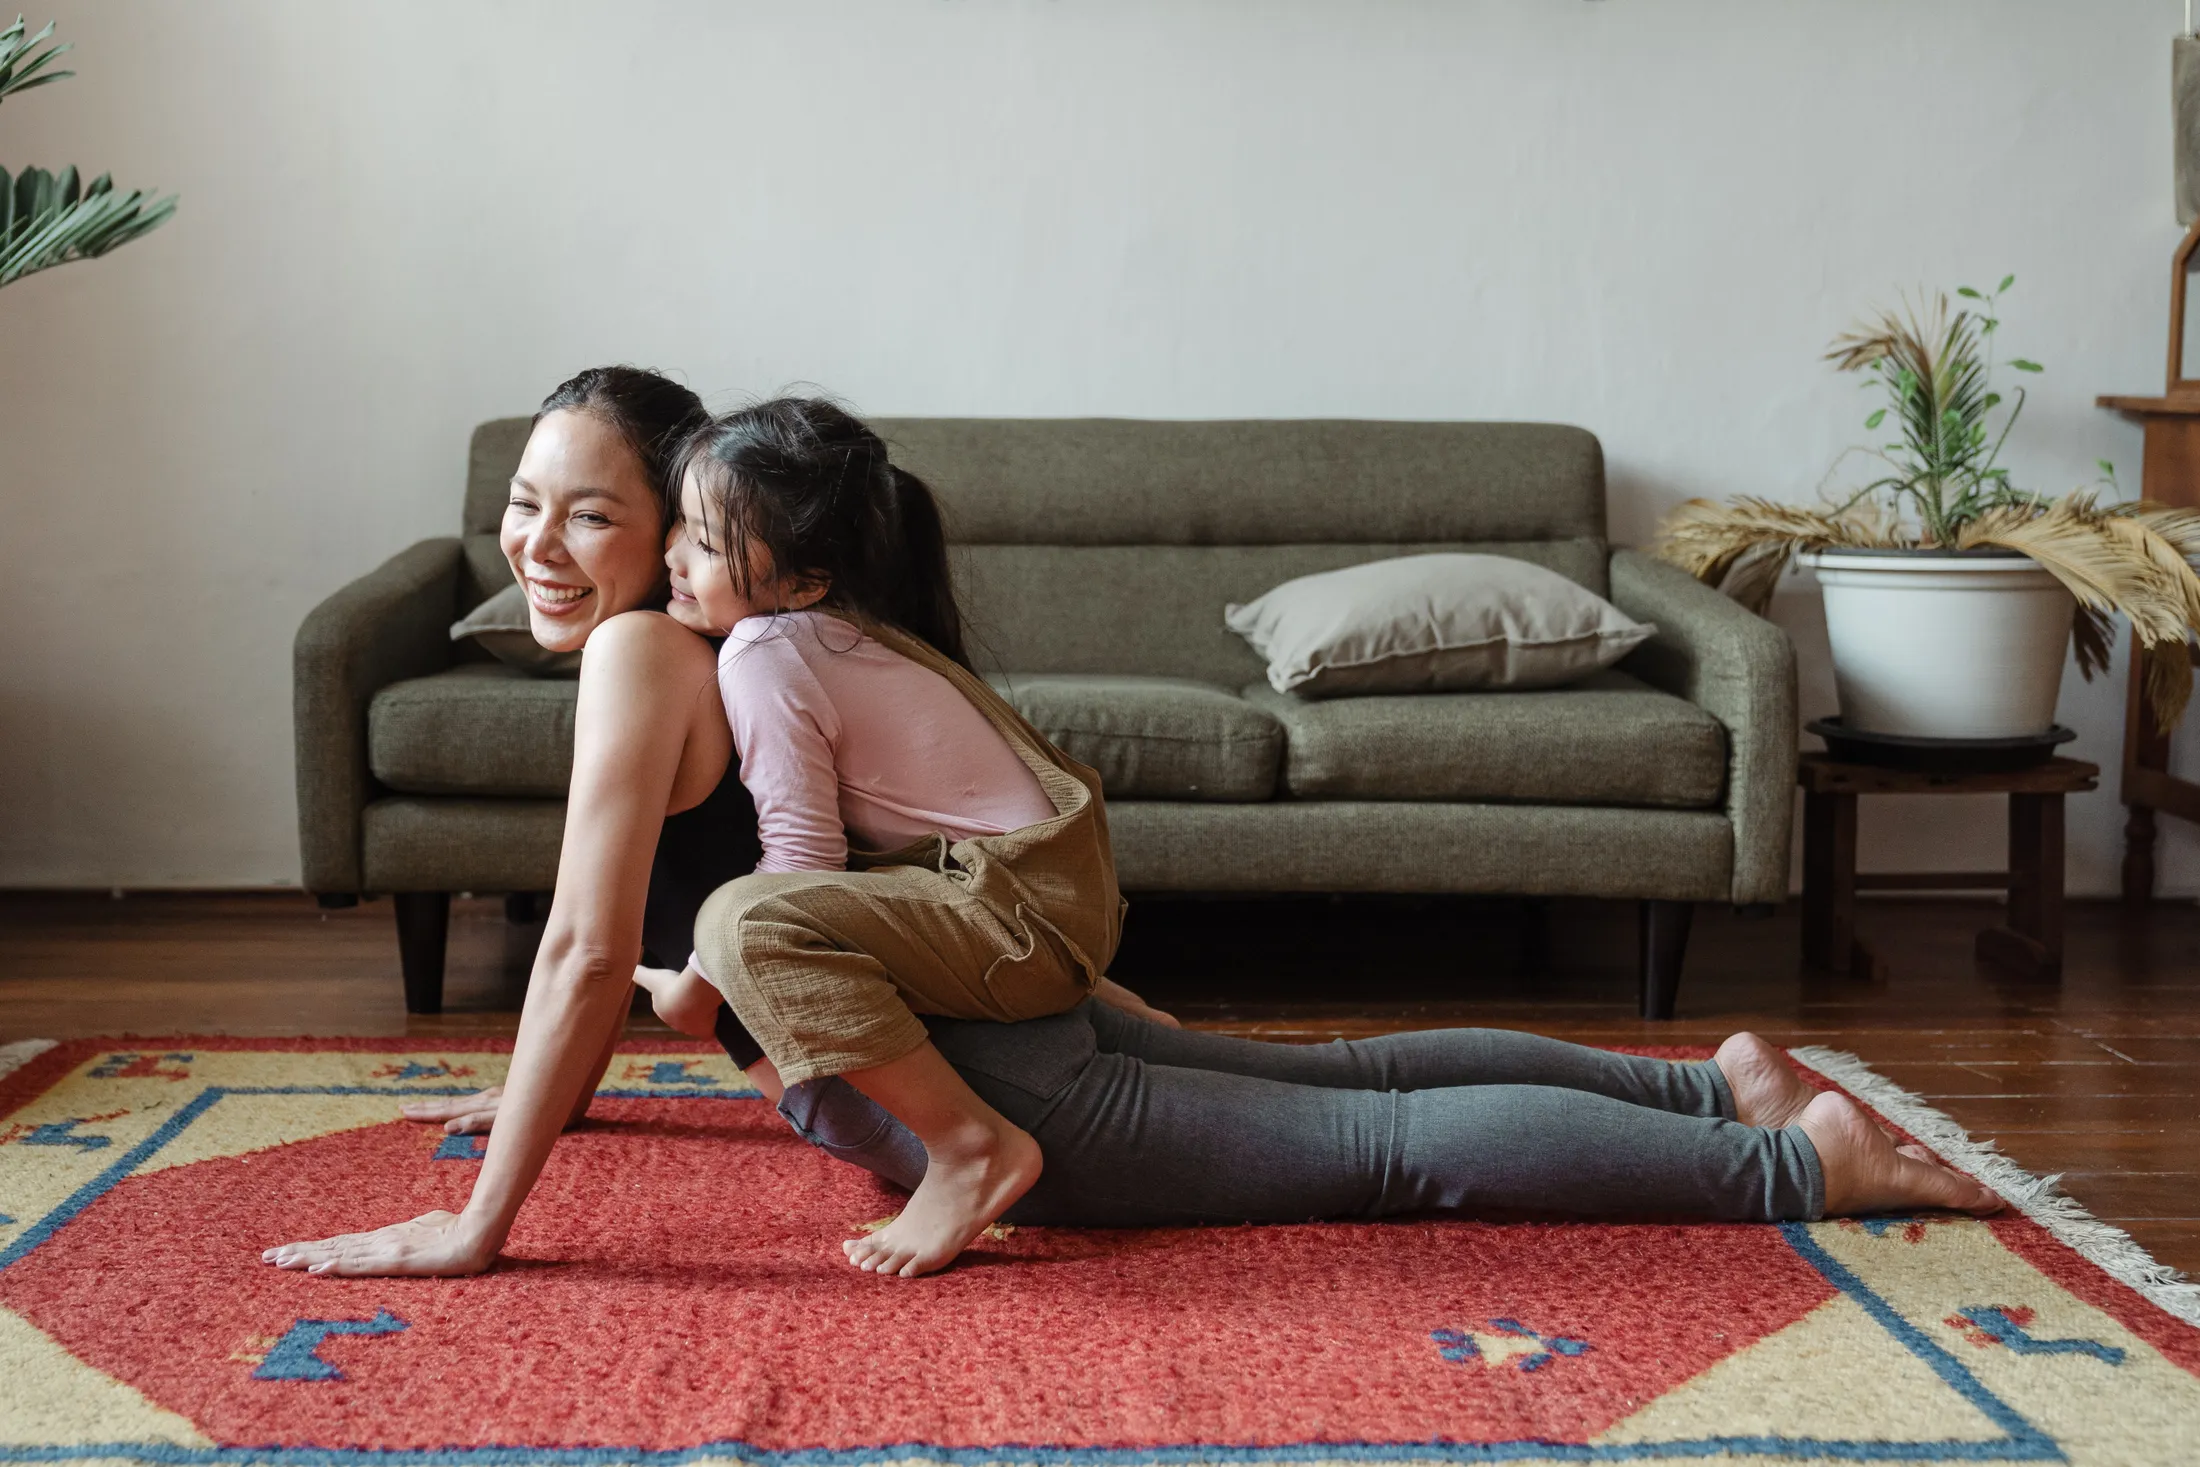
Measure the rug
Before you begin making your rug non-slip, it’s important to measure it properly. This step ensures that you get the right size rug pad or tape to effectively prevent the rug from sliding and moving around on your floor. Here’s how you can measure your rug:
- Start by placing the rug on a flat surface, ensuring it is completely unfolded and stretched out.
- Use a measuring tape to measure the width and length of the rug. Be sure to measure from the edges of the rug and not including any fringe or tassels.
- Take note of the measurements and write them down.
Once you have the measurements of your rug, you will be able to choose the right size rug pad or tape that will fit securely underneath it. Keep in mind that it’s better to have a rug pad or tape that is slightly smaller than the rug rather than larger, as this will help ensure a better fit and prevent any potential tripping hazards.
By accurately measuring your rug, you’re setting yourself up for success in making it non-slip. This step is essential to ensure the rug pad or tape fits properly and effectively prevents any unwanted movement, allowing you to enjoy your rug without constantly adjusting it.
Purchase a rug pad
One of the most effective ways to make your rug non-slip is by using a rug pad. Rug pads are specifically designed to provide grip and cushioning, preventing your rug from sliding and shifting on the floor. Here’s what you need to know about purchasing a rug pad:
- Consider the material: Rug pads come in various materials, such as rubber, felt, and PVC. Rubber pads are a popular choice as they offer excellent grip and can be used on both hard floors and carpets. Felt pads provide a softer cushioning effect and are suitable for delicate flooring surfaces. PVC pads are waterproof and ideal for outdoor rugs.
- Choose the right size: Rug pads are available in different sizes to accommodate rugs of various dimensions. Ensure you select a pad that is slightly smaller than your rug, allowing for a snug fit without the pad extending beyond the rug’s edges.
- Check the thickness: Consider the thickness of the rug pad depending on the amount of cushioning you desire. Thicker pads provide a more plush feel while thinner pads offer a firmer grip.
- Quality and durability: Look for a rug pad that is made from high-quality materials to ensure its durability. A good quality rug pad will last for years and continue to provide the desired non-slip effect.
- Extra features: Some rug pads come with additional features, such as moisture resistance or antimicrobial properties. Consider these features if they align with your specific needs and the environment where your rug is placed.
Purchasing a rug pad is a worthwhile investment to make your rug non-slip. It not only enhances the safety of your home but also prolongs the life of your rug by preventing unnecessary wear and tear. Take your time to select the right rug pad that suits your rug and flooring type, ensuring a secure and slip-free rug for years to come.
Clean the floor
Before you proceed to make your rug non-slip, it is essential to ensure that the floor underneath the rug is clean and free from dust, dirt, and any debris. Cleaning the floor not only promotes better adhesion between the rug and the floor but also prevents any potential damage to the rug. Follow these steps to effectively clean the floor:
- Remove any furniture or obstacles that may be on or around the rug. This will give you clear access to the entire rug and the floor beneath it.
- Vacuum the floor to remove any loose dirt, dust, and debris. Use a nozzle attachment or a brush tool to get into the corners and edges where the rug meets the floor.
- For hard floors, such as wood, laminate, or tile, mop the floor using a mild cleaning solution recommended for your specific flooring type. Be sure to follow the manufacturer’s instructions and avoid excessive moisture, as this can cause damage to the floor.
- If you have carpeted floors, use a carpet cleaner or spot cleaner to deep clean the area where the rug will be placed. This will ensure that the carpet fibers are clean and free from any stains or odors.
- Allow the floor to dry completely before placing the rug back on it. This will prevent any moisture from getting trapped between the rug and the floor, which could lead to mold or mildew growth.
Cleaning the floor is an important step in making your rug non-slip. A clean floor provides a smooth surface for the rug pad or non-slip tape to adhere to, ensuring maximum effectiveness in preventing the rug from sliding or bunching up. By maintaining a clean floor, you not only enhance the stability of your rug but also promote a healthier and more hygienic living environment.
Attach rug pad to the floor
Attaching a rug pad to the floor is a simple and effective way to make your rug non-slip. The rug pad creates a barrier between the rug and the floor, providing grip and stability. Follow these steps to securely attach the rug pad to the floor:
- Start by ensuring that the floor is clean and dry. Remove any dust, debris, or moisture that could hinder the adhesion of the rug pad.
- Unroll the rug pad and place it in the desired position on the floor. Make sure that it is centered and aligned with the edges of the rug.
- Press down on the rug pad and smooth out any wrinkles or bubbles. If necessary, you can use a rolling pin or your hands to flatten it out evenly.
- For hard floors, such as wood or tile, the natural grip of the rug pad should be sufficient to hold the rug in place. However, if you have carpeted floors, you may need to use an adhesive spray or carpet tape to secure the rug pad to the carpet.
- If using an adhesive spray, apply a thin and even layer on the underside of the rug pad. Wait for a few minutes to allow the adhesive to become tacky.
- Press the rug pad firmly onto the floor, ensuring proper adhesion. Smooth out any wrinkles or bubbles as you go.
- For carpeted floors, you can use carpet tape to secure the rug pad. Cut the tape into small strips and place them along the edges and corners of the rug pad, pressing firmly to attach it to the carpet.
- Once the rug pad is securely attached, you can proceed to place the rug on top of it.
Attaching a rug pad to the floor is an important step in making your rug non-slip. It provides a stable foundation for the rug and helps prevent it from shifting, sliding, or curling at the edges. By properly securing the rug pad, you ensure a safer and more enjoyable experience with your rug, without the constant need for readjustment.
Attach rug to rug pad
Once the rug pad is securely attached to the floor, the next step to make your rug non-slip is to properly attach the rug to the rug pad. This ensures that the rug stays in place and doesn’t slide or move around. Follow these steps to attach the rug to the rug pad:
- Center the rug on top of the rug pad. Make sure the edges of the rug align with the edges of the rug pad.
- Smooth out any wrinkles or folds in the rug, ensuring it lies flat on top of the rug pad.
- If your rug has corners or edges that tend to curl up, you can use double-sided carpet tape to secure them to the rug pad. Cut small strips of carpet tape and place them on the underside of the rug, near the corners and edges.
- Press down firmly on the rug to adhere it to the carpet tape. Make sure the corners and edges are securely attached.
- If you’re dealing with a larger rug, it may be helpful to have someone assist you in holding the rug in place while you attach the corners and edges.
- Once the rug is properly attached to the rug pad, step back and check for any areas that may still be loose or prone to slipping. Adjust and reattach as needed.
Attaching the rug to the rug pad is a crucial step in making your rug non-slip. It ensures that the rug stays in place, even in high-traffic areas or when subjected to movement or foot traffic. By securely attaching the rug to the rug pad, you can enjoy a stable and slip-free rug, creating a safer and more comfortable living space.
Trim the excess rug pad
After attaching the rug pad to the floor and properly securing the rug on top of it, you may notice that there is excess rug pad protruding from the edges of the rug. Trimming the excess rug pad helps to create a clean and finished look while also preventing any tripping hazards. Follow these steps to trim the excess rug pad:
- Inspect the edges of the rug to identify areas where the rug pad is visible and extending beyond the rug’s borders.
- Use a sharp pair of scissors or a utility knife to carefully trim the excess rug pad. Make sure to cut in a straight line and remove only the portion that is visible beyond the rug.
- Be cautious when cutting near the edges of the rug to avoid accidentally cutting into the rug itself or causing any damage.
- Work your way around the entire perimeter of the rug, trimming away any excess rug pad.
- Once you have trimmed the excess rug pad, check the rug again to ensure that it sits flat and there are no visible pieces of rug pad protruding.
Trimming the excess rug pad not only improves the appearance of the rug but also eliminates any potential tripping hazards. By removing any visible portion of the rug pad, you ensure a neat and tidy finish to your non-slip rug setup. Remember to exercise caution while cutting to avoid any damage to the rug or yourself.
Use non-slip rug tape
Non-slip rug tape is another effective option for making your rug non-slip. It provides a strong grip and helps keep your rug securely in place, preventing any movement or sliding. Here’s how you can use non-slip rug tape:
- Start by cleaning the floor and ensuring it is dry and free from any dust or debris. This will help the rug tape adhere better.
- Roll out the non-slip rug tape along the edges and corners of the rug. Make sure the sticky side of the tape faces up.
- Press down firmly on the rug tape to adhere it to the rug. Smooth out any wrinkles or bubbles as you go.
- Repeat the process of applying rug tape along all sides of the rug, ensuring that there are no gaps or loose areas.
- For larger rugs or rugs placed in high-traffic areas, consider adding additional strips of rug tape in the center of the rug for extra support.
- Once the rug tape is securely attached, place the rug in the desired location on the floor.
- Press down firmly on the rug, especially along the edges and corners, to ensure the rug tape adheres well to the floor.
Non-slip rug tape is a practical solution for keeping your rug in place, especially in areas where you need extra grip and stability. It is suitable for a variety of flooring types, including hardwood, tile, and laminate. By using non-slip rug tape, you can enjoy a rug that remains firmly in place, providing you with safety and peace of mind.
Apply silicone caulk to the back of the rug
If you’re looking for an alternative to rug tape or rug pads, applying silicone caulk to the back of the rug can provide an effective non-slip solution. Here’s how to apply silicone caulk to the back of the rug:
- Start by cleaning the backside of the rug to remove any dirt, dust, or debris. Ensure the surface is dry before proceeding.
- Using a caulking gun, apply a continuous bead of silicone caulk along the edges and corners of the rug. Make sure to cover the entire perimeter of the rug.
- For larger rugs, consider adding additional lines of silicone caulk along the center for added stability.
- Use a putty knife or any flat tool to spread the silicone caulk evenly across the back of the rug, ensuring it covers the surface completely.
- Smooth out any ridges or bumps in the caulk to ensure a flat and even application.
- Allow the silicone caulk to dry and cure according to the manufacturer’s instructions. This usually takes a few hours to overnight.
- Once the caulk is fully dried, place the rug in the desired location on the floor.
Applying silicone caulk to the back of the rug provides a strong and durable non-slip surface. The caulk creates a grip between the rug and the floor, preventing any sliding or movement. It is important to note that this method is more suitable for rugs that are not frequently moved, as the adhesion of the caulk may leave residue on the floor if the rug is lifted and repositioned often. By using silicone caulk, you can enjoy a secure and stable rug that stays in place, even in high-traffic areas.
Use rug grips or gripper tape
If you’re interested in a temporary non-slip solution for your rug, rug grips or gripper tape can be a practical option. These adhesive products provide additional grip and help keep your rug in place without causing any damage to the floor. Here’s how you can use rug grips or gripper tape:
- Ensure that the floor is clean and free from any dust, debris, or moisture. A clean surface will promote better adhesion.
- Place the rug in its desired location on the floor, making sure it is unfolded and positioned correctly.
- Flip over the corners and edges of the rug to expose the underside.
- Cut rug grips or gripper tape into smaller strips to fit the size of the corners or edges of the rug.
- Remove the backing from the adhesive side of the rug grip or gripper tape.
- Press the adhesive side of the grip or tape firmly onto the rug’s corners or edges.
- Repeat the process for each corner and edge of the rug, ensuring that there are no loose or exposed areas.
- Once the rug grips or gripper tape is securely attached, flip the rug back over to its original position on the floor.
- Press down firmly on the rug to ensure the grips or tape adhere well to the floor.
Rug grips or gripper tape provide a temporary, yet effective, solution for making your rug non-slip. They offer a strong grip that helps keep the rug in place, even in high-traffic areas. The advantage of using rug grips or gripper tape is that they can easily be removed without leaving any residue or damage to the floor, making them a versatile option for non-slip rug solutions.
Use double-sided carpet tape
To ensure a secure and non-slip rug, using double-sided carpet tape is a reliable option. This adhesive tape creates a strong bond between the rug and the floor, preventing any shifting or movement. Here’s how you can use double-sided carpet tape:
- Start by cleaning the floor to remove any dirt, dust, or debris. A clean surface will promote better adhesion.
- Unroll the double-sided carpet tape and cut it into smaller strips or sections, depending on the size of your rug.
- Place the tape along the edges and corners of the rug, making sure to cover the entire perimeter.
- Peel off the backing on one side of the carpet tape to expose the adhesive.
- Press the adhesive side of the tape firmly onto the back of the rug, ensuring it is securely attached.
- Repeat the process for each section of the rug, ensuring that there are no loose or exposed areas.
- Once the carpet tape is securely attached, carefully place the rug in its desired location on the floor.
- Press down firmly on the rug to ensure the carpet tape adheres well to the floor.
Double-sided carpet tape provides a reliable and long-lasting solution for making your rug non-slip. The strong adhesive on both sides of the tape creates a bond that holds the rug in place, even in high-traffic areas. It is important to note that when using carpet tape on delicate flooring surfaces, such as hardwood or laminate, it is advisable to test a small, inconspicuous area first to ensure that the tape does not cause any damage or leave residue upon removal.