
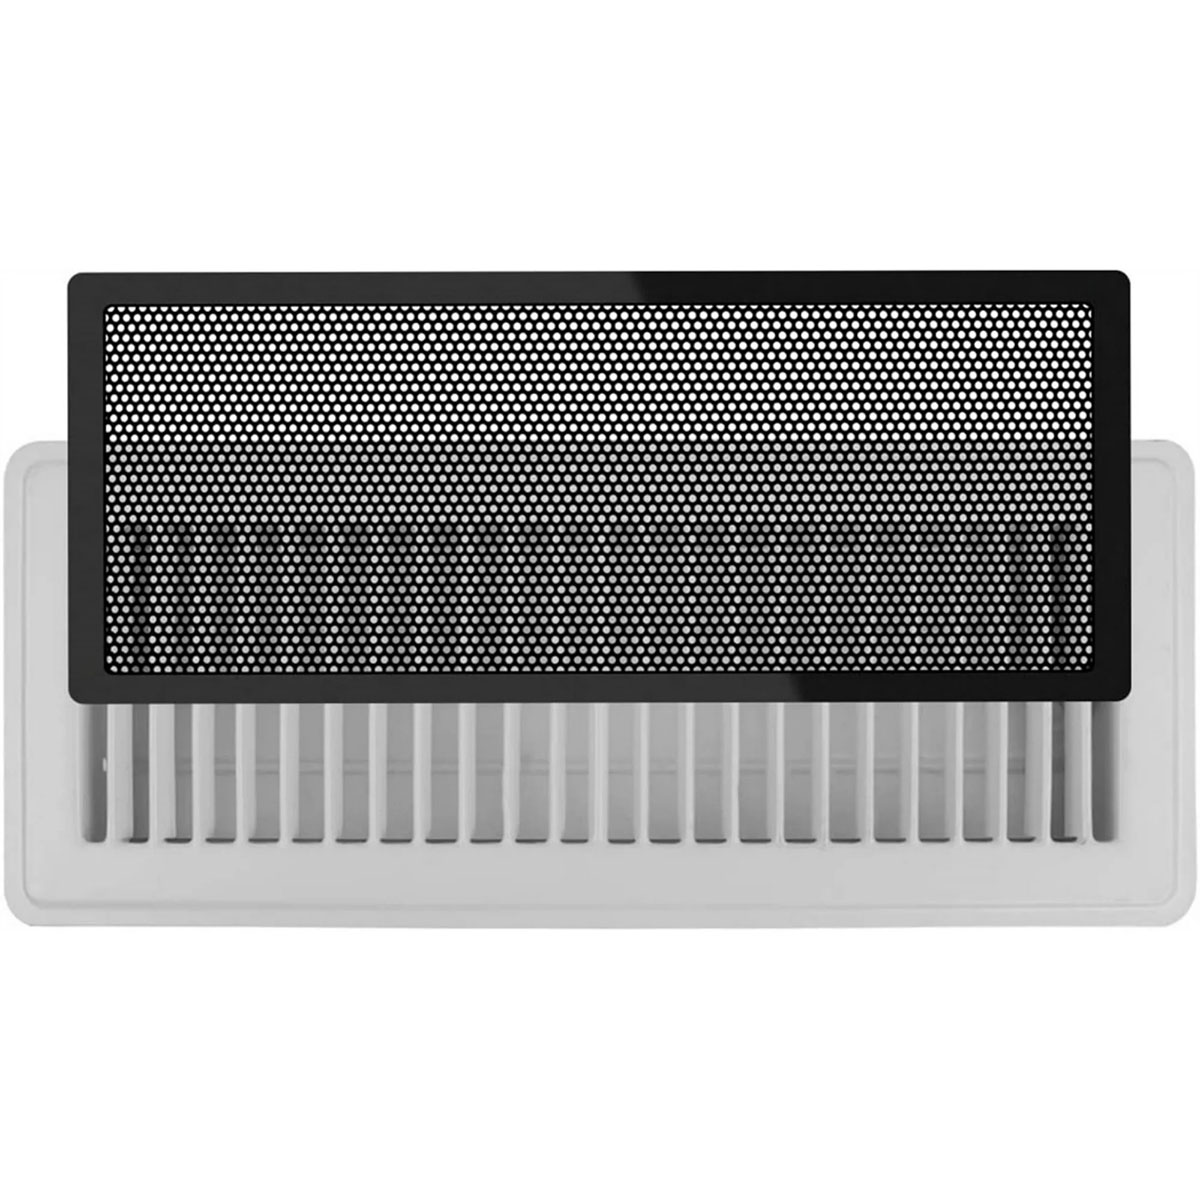
Benefits of Adding a Mesh Air Vent in a Furniture Cover
When it comes to protecting your furniture from dust, moisture, and other potential damage, a furniture cover is a must-have. However, while covers are great for keeping your furniture safe, they can also trap heat and condensation, which can lead to mold, mildew, and unpleasant odors. This is where adding a mesh air vent to your furniture cover can make a significant difference. Here are the top benefits of incorporating a mesh air vent:
1. Improved Airflow: By adding a mesh air vent, you allow for proper airflow and circulation within the furniture cover. This airflow helps to distribute heat and reduce condensation, preventing the buildup of moisture that can cause damage to your furniture.
2. Prevents Mold and Mildew: The airflow created by the mesh air vent helps to prevent the growth of mold and mildew. These harmful contaminants thrive in moist environments, and without proper ventilation, they can quickly multiply and cause irreparable damage to your furniture.
3. Reduces Odors: By allowing air to circulate, the mesh air vent helps to reduce the development of unpleasant odors that can occur when furniture is left enclosed for long periods. It keeps the cover fresh and odor-free, ensuring a pleasant experience when you uncover your furniture for use.
4. Regulates Temperature: Adding a mesh air vent helps regulate the temperature inside the cover. It prevents excessive heat buildup, which can lead to warping or melting of certain materials. By maintaining a consistent and balanced temperature, you can preserve the quality and integrity of your furniture.
5. Extends Cover Lifespan: By preventing moisture buildup and reducing the risk of mold and mildew, adding a mesh air vent can significantly extend the lifespan of your furniture cover. It ensures that your cover lasts longer, saving you money in the long run by reducing the frequency of replacements.
Incorporating a mesh air vent in your furniture cover provides numerous benefits, including improved airflow, prevention of mold and mildew, reduction of odors, regulated temperature, and extended cover lifespan. It is a simple yet effective solution to enhance the protection of your furniture while maintaining its longevity and freshness.
Materials Needed
Before you begin adding a mesh air vent to your furniture cover, gather the following materials:
- A furniture cover: Choose a cover that fits your furniture properly and is made of a durable material.
- Mesh fabric: Look for a mesh fabric that is breathable and allows for proper airflow. It should be sturdy enough to withstand regular use.
- Measuring tape or ruler: Use these tools to determine the size and location of the air vent.
- Marker or chalk: Use a marker or chalk to mark the area on the cover where you will cut the opening for the vent.
- Fabric scissors: Ensure you have a sharp pair of fabric scissors to cut through the cover and the mesh fabric.
- Thread and needle: Use a strong thread and a needle suitable for sewing through the cover material.
- Pins: Pins help hold the mesh fabric in place before sewing it to the cover.
- Sewing machine (optional): If you have a sewing machine, it can make the sewing process faster and more efficient.
Having these materials on hand will allow you to complete the task smoothly and ensure a secure and effective mesh air vent installation. Make sure to gather all the necessary items before starting the process, as it will save you time and effort.
Step 1: Choose the Right Location for the Mesh Air Vent
Choosing the proper location for your mesh air vent is crucial for maximizing its effectiveness. Here’s how to select the right spot:
1. Assess the Furniture: Examine your furniture cover and identify areas where heat and moisture may accumulate. Look for sections that are more likely to trap air, such as areas close to cushions or corners.
2. Consider Airflow: Determine the direction of natural airflow around your furniture. This can be influenced by windows, vents, or other factors. Choose a location for the vent that will facilitate the flow of air and promote proper circulation.
3. Maintain Aesthetic Appeal: While functionality is important, it’s also essential to consider the visual aspect. Select a location for the air vent that won’t compromise the overall appearance of the furniture cover. Ideally, it should blend seamlessly and not stand out.
4. Size and Number: Depending on the size of your furniture cover and the amount of airflow needed, you may choose to have multiple vents. Consider the dimensions of the mesh fabric and the number of vents required to achieve optimal ventilation.
5. Accessibility: Ensure that the chosen location allows easy access for maintenance and cleaning. You may need to periodically remove the cover to wash it or check for any issues. Select a spot that won’t impede your ability to perform these tasks.
6. Mark the Location: Once you’ve decided on the perfect spot for the mesh air vent, mark it with a marker or chalk to indicate where the opening will be cut. This step helps maintain accuracy throughout the installation process.
By carefully considering these factors, you can choose the right location for your mesh air vent. Pay attention to areas prone to heat and moisture buildup, ensure proper airflow, maintain the aesthetic appeal of your furniture cover, and facilitate easy accessibility for maintenance purposes. This step sets the groundwork for a successful installation and optimum ventilation.
Step 2: Mark the Area for the Vent
After determining the location for your mesh air vent in the previous step, it’s time to mark the area on the furniture cover where the vent will be placed. Here’s how to do it:
1. Lay Out the Furniture Cover: Start by laying the furniture cover on a clean, flat surface. Smooth out any wrinkles or folds to ensure accuracy when marking the vent area. Make sure the cover is securely fastened to the furniture to prevent it from shifting during the marking process.
2. Position the Mesh Fabric: Place the mesh fabric over the chosen location for the vent. Ensure that the fabric covers the entire area, with some excess around the edges for securing it to the cover later. Use pins to hold the fabric in place if necessary.
3. Trace the Opening: Using a marker or chalk, trace the outline of the desired opening onto the furniture cover. Take your time to ensure that the shape is accurate and aligns with the dimensions of the mesh fabric.
4. Clean Up the Markings: Once you have traced the opening, inspect the marks to make sure they are clear and visible. If needed, go over the lines again to enhance their clarity. Remove any excess fabric or stray marks from the cover using a clean cloth or eraser.
5. Double-Check the Placement: Before moving on to the next step, double-check the placement of the marked area. Ensure that it aligns with the previously chosen location and is centered properly. Adjust if necessary to maintain symmetry and balance.
6. Take Measurements (Optional): If precise measurements are required for the vent opening, use a ruler or measuring tape to ensure accuracy. Measure and note down the dimensions of the marked area, including the length, width, and any specific shape requirements.
By following these steps, you will accurately mark the area for the vent on your furniture cover. Taking the time to properly position and trace the opening ensures a seamless installation process and helps achieve optimal airflow and functionality for your mesh air vent.
Step 3: Cut the Opening
Now that you have marked the area for the vent on your furniture cover, it’s time to proceed with cutting the opening. Follow these steps to ensure a clean and precise cut:
1. Prepare the Scissors: Ensure that your fabric scissors are sharp and clean. Dull scissors can result in uneven edges and frayed fabric. If necessary, sharpen the blades or use a different pair of scissors specifically designed for cutting fabric.
2. Start Cutting: Carefully position the scissors at one end of the marked opening. Slowly but steadily, begin cutting along the traced outline. Use smooth, even motions to maintain a clean cut and prevent jagged edges. Take your time, as rushing may lead to mistakes.
3. Follow the Guidelines: Pay close attention to the marked lines while cutting. Stay within the boundaries to ensure that the opening fits the dimensions of the mesh fabric you will be attaching. Take breaks if necessary to maintain accuracy and avoid hand fatigue.
4. Cut Through the Cover: Continue cutting along the traced lines until you have completely removed the section designated for the vent. Be cautious not to cut through any other parts of the furniture cover or nearby stitching. Double-check your progress as you go to make sure all edges are even.
5. Inspect the Opening: Once the opening has been cut, inspect it closely. Check for any rough edges or loose threads that may need to be trimmed. Smooth out any imperfections using the scissors or a small pair of embroidery scissors if necessary.
6. Test the Fit: Place the mesh fabric over the newly cut opening to test the fit. Ensure that the fabric covers the entire opening with a slight overlap. Make any adjustments if needed to ensure a snug fit before proceeding to the next step.
By following these steps, you will be able to cut a precise and well-fitting opening for your mesh air vent. Take your time, use sharp scissors, and be careful throughout the process to achieve clean edges and maintain the integrity of your furniture cover.
Step 4: Prepare the Mesh Fabric
With the opening cut in your furniture cover, it’s now time to prepare the mesh fabric that will be attached to it. Follow these steps to get the mesh fabric ready for installation:
1. Measure and Cut: Determine the size of the mesh fabric needed to cover the opening. Leave some extra fabric around the edges to ensure a secure attachment. Use sharp fabric scissors to cut the mesh fabric according to your measurements. Take care to make clean and straight cuts.
2. Prevent Fraying: Mesh fabric can be prone to fraying. To prevent this, apply a small amount of fabric glue or use an overcast stitch along the cut edges. This will help reinforce the fabric and minimize fraying, ensuring the longevity of your vent.
3. Reinforce the Corners (Optional): If the corners of the mesh fabric are weak or prone to tearing, reinforce them with small fabric patches or extra stitches. This will add strength and durability to the corners, preventing any potential damage over time.
4. Choose the Right Color: Consider the color of the mesh fabric in relation to the furniture cover. Select a color that blends in seamlessly with the cover or complements it. This will ensure that the mesh vent doesn’t stand out or distract from the overall aesthetics of the furniture.
5. Inspect for Quality: Before attaching the mesh fabric to the cover, carefully inspect it for any defects or imperfections. Look for any loose threads, holes, or inconsistencies that may compromise its effectiveness. If you notice any issues, consider replacing the fabric with a higher-quality alternative.
6. Press if Necessary: If the mesh fabric appears wrinkled or creased, consider using a warm iron (on a low setting) to gently press out any visible wrinkles. Be cautious not to apply too much heat, as mesh fabrics can be delicate and may melt or warp under high temperatures.
By following these steps, you will properly prepare the mesh fabric for attachment to the opening in your furniture cover. Taking the time to measure, cut, reinforce, and inspect the fabric will ensure a secure and long-lasting vent installation that allows for optimal airflow and ventilation.
Step 5: Attach the Mesh Fabric to the Cover
Now that you have prepared the mesh fabric for your furniture cover’s vent, it’s time to attach it securely. Follow these steps to ensure a proper and durable attachment:
1. Position the Mesh Fabric: Carefully position the mesh fabric over the opening you cut in the furniture cover. Ensure that it completely covers the opening with a slight overlap onto the surrounding cover material. Smooth out any wrinkles or folds to achieve a clean and even surface.
2. Pin the Mesh Fabric in Place: Use straight pins to temporarily secure the mesh fabric to the cover. Insert the pins along the edges of the fabric, spacing them out evenly to hold it in position. This step will help ensure that the fabric stays aligned during the sewing process.
3. Sew the Mesh Fabric: Using a needle and thread, sew the mesh fabric onto the cover. Choose a thread color that matches or blends in with the cover fabric to create a seamless appearance. Start by stitching along one side of the opening, then proceed to sew along the other sides, removing the pins as you progress.
4. Choose the Right Stitch: Depending on the material of your cover and the desired look, you can use either a straight stitch or a zigzag stitch to attach the mesh fabric. A straight stitch provides a neat and discreet finish, while a zigzag stitch offers added durability and reinforcement.
5. Sew with Care: Take your time while sewing to ensure accuracy and proper tension of the stitches. Maintain a consistent stitch length and try to sew as close to the edge of the mesh fabric as possible without causing it to tear. This will provide a strong and secure attachment.
6. Knot and Secure the Thread: Once you have sewn all sides of the mesh fabric, secure the thread by tying a knot at the end of the stitching. Trim any excess thread to achieve a neat and finished look.
7. Inspect the Attachment: After sewing, inspect the attached mesh fabric to ensure it is securely fastened to the cover. Check for any loose stitches, gaps, or weak points that might compromise its functionality. Reinforce any areas that may require additional stitching.
By following these steps, you will successfully attach the prepared mesh fabric to your furniture cover’s opening. This secure and well-executed attachment will provide optimal ventilation, preventing moisture buildup and maintaining the integrity of your furniture.
Step 6: Secure the Edges of the Mesh Fabric
After attaching the mesh fabric to the opening on your furniture cover, it’s important to secure the edges of the fabric to ensure a durable and long-lasting installation. Follow these steps to properly secure the edges:
1. Trim Excess Mesh Fabric: Carefully trim any excess mesh fabric that extends beyond the edges of the opening. Use sharp fabric scissors to achieve clean and straight cuts. Be cautious not to cut too close to the stitching, as this may cause the fabric to come loose.
2. Fold and Pin the Edges: Fold the edges of the mesh fabric over the surrounding cover material to create a neat and finished look. Use straight pins to temporarily hold the folded edges in place. Pin the edges at regular intervals to ensure even and secure folding.
3. Sew the Folded Edges: With the folded edges secured in place, use a needle and thread to sew them down. Choose a thread color that matches or blends with the cover fabric to maintain a cohesive appearance. Sew along the folded edges, removing the pins as you stitch.
4. Use a Whipstitch or Overcast Stitch: To secure the folded edges, you can use a whipstitch or an overcast stitch. Both stitches provide strength and prevent fraying. Ensure that your stitches are close together and evenly spaced to maintain a secure hold.
5. Knot and Secure the Thread: Once you have finished sewing along the folded edges, secure the thread by tying a knot at the end of the stitching. Trim any excess thread for a neat and tidy finish.
6. Inspect the Finished Edges: After securing the edges of the mesh fabric, closely examine the attachment to ensure it is secure and visually appealing. Look for any loose threads, gaps, or weak points that may require additional stitching. Make any necessary adjustments to reinforce the edges.
7. Check for Comfort: Run your fingers along the secured edges to ensure they are not rough or uncomfortable. Smooth out any areas that may feel scratchy or irritate the skin. This will ensure that your furniture cover remains comfortable to touch.
By following these steps, you will effectively secure the edges of the mesh fabric on your furniture cover. This will provide a clean and professional finish and ensure that the mesh vent is securely attached, allowing for optimal airflow and ventilation while maintaining the overall integrity of your furniture cover.
Step 7: Test the Airflow
After completing the attachment of the mesh fabric to your furniture cover, it’s important to test the airflow to ensure that the vent is functioning effectively. Follow these steps to test the airflow:
1. Remove any Obstructions: Ensure that there are no objects or debris blocking the vent opening. Clear away any items that might obstruct the airflow and hinder accurate testing.
2. Position the Furniture Cover: Place the furniture cover back on the corresponding piece of furniture, making sure it fits snugly and completely covers the item. Properly align the vent opening with the corresponding area on the furniture.
3. Observe Airflow Patterns: While the furniture cover is in place, observe the airflow patterns around the vent area. Pay attention to any noticeable airflow or changes in temperature. Check if there is a noticeable difference in the circulation of air inside the cover compared to before the vent installation.
4. Assess Ventilation: Assess how well the mesh air vent is facilitating ventilation by placing your hand near the vent opening. Feel for any airflow coming through the mesh fabric. Note any differences in airflow intensity or temperature compared to areas without vents.
5. Evaluate Air Distribution: Move your hand around different areas of the furniture cover to assess the distribution of air. Take note of any areas that receive less airflow or seem to have restricted ventilation. This will help identify any potential issues with the vent installation.
6. Monitor for Condensation: Over time, check for signs of condensation on the furniture cover. Look for any moisture buildup or dampness near the vent opening or on the surrounding fabric. This will indicate whether the vent is effectively mitigating condensation inside the cover.
7. Make Adjustments if Needed: If you find any issues with the airflow, such as inadequate ventilation or uneven distribution, consider making adjustments. This may involve repositioning the mesh fabric, enlarging the vent opening, or adding additional vents, depending on the nature of the problem.
By thoroughly testing the airflow, you can ensure that the mesh air vent is effectively facilitating ventilation and preventing moisture buildup inside the furniture cover. Making any necessary adjustments will allow you to optimize the airflow and ensure the long-term protection of your furniture.
Maintenance Tips for Maintaining the Mesh Air Vent
Once you have installed a mesh air vent in your furniture cover, it’s essential to properly maintain it to ensure its longevity and functionality. Here are some maintenance tips to keep your mesh air vent in excellent condition:
1. Regular Cleaning: Regularly clean both the furniture cover and the mesh fabric. Use a soft brush or a vacuum cleaner with a brush attachment to remove any dust, dirt, or debris that may accumulate on the vent. Cleanliness helps maintain optimal airflow through the mesh fabric.
2. Inspect for Blockages: Periodically inspect the mesh air vent for any blockages or obstructions. Ensure that there are no loose threads, lint, or other particles that may impede the airflow. Gently remove any obstructions using a soft brush or a lint roller.
3. Check for Wear and Tear: Regularly inspect the edges of the mesh fabric and the surrounding area for signs of wear and tear. Look for any fraying, loose threads, or damage. Repair or reinforce any weak areas promptly to prevent further deterioration.
4. Address Mold or Mildew: If you notice any signs of mold or mildew on the furniture cover or the mesh fabric, take immediate action. Remove the cover, wash it according to the manufacturer’s instructions, and thoroughly dry it before reinstalling it. Treat any affected areas with a mildew remover if necessary.
5. Preserve the Ventilation Path: Avoid placing objects or furniture in a way that obstructs the vent opening and hinders the airflow. Ensure that the path of ventilation remains clear and unobstructed to maintain its effectiveness.
6. Store the Cover Properly: If you need to store the furniture cover for an extended period, do so in a clean and dry environment. Ensure that the mesh air vent is not compressed or folded in a way that may compromise its shape or functioning. Proper storage helps preserve the vent and prevents damage.
7. Replace Damaged Mesh: If the mesh fabric becomes torn, excessively worn, or damaged beyond repair, consider replacing it. It is crucial to maintain the integrity of the mesh fabric to ensure proper ventilation and protection for your furniture.
By following these maintenance tips, you can ensure that your mesh air vent remains in optimal condition. Regular cleaning, inspecting for blockages or wear, addressing mold or mildew, preserving the ventilation path, proper storage, and timely replacement of damaged mesh will help extend the functionality and lifespan of your vent, ensuring the continued protection of your furniture.