
Choosing the Right Wood for Your Steak Knife Block
When it comes to making a steak knife block, choosing the right wood is essential. The type of wood you select will not only impact the overall aesthetics of the block but also its functionality and durability. Here are a few factors to consider when deciding on the wood for your steak knife block:
1. Hardness:
Since a knife block is designed to securely hold sharp knives, it’s important to choose a wood that is hard enough to withstand frequent use. Hardwoods like maple, walnut, and oak are excellent options as they are known for their strength and resilience.
2. Density:
The density of the wood plays a crucial role in maintaining stability and preventing warping or cracking over time. Dense woods such as cherry or mahogany are ideal as they offer great structural integrity and longevity.
3. Grain Pattern:
The grain pattern of the wood can add a touch of elegance and uniqueness to your knife block. Straight grain patterns, like those found in maple or beech, provide a traditional and timeless look, while burl woods, such as walnut or olive, offer a more intricate and rustic appeal.
4. Moisture Resistance:
Since a steak knife block may come into contact with moisture during cleaning, it’s important to choose a wood species that is resistant to moisture. Woods like teak or cedar have natural oils that make them more resistant to water damage and help preserve their beauty over time.
5. Sustainability:
Considering the environmental impact of the wood you choose is a responsible choice. Look for woods that are sustainably sourced and certified by organizations like the Forest Stewardship Council (FSC) to ensure the preservation of forests and wildlife habitats.
Overall, selecting the right wood for your steak knife block involves balancing aesthetics, durability, and sustainability. By considering factors such as hardness, density, grain pattern, moisture resistance, and sustainability, you can make an informed decision that meets your functional and aesthetic requirements.
Gathering the Necessary Materials and Tools
Before you begin crafting your steak knife block, it is important to gather all the necessary materials and tools. Having everything in place not only saves time but also ensures a smooth and efficient process. Here is a list of essential items you’ll need:
Materials:
- Wood: Choose the wood species that you have decided on for your knife block.
- Sandpaper: Get a variety of grits ranging from coarse to fine for sanding the wood.
- Wood glue: A strong adhesive for joining the wood pieces together.
- Finishing oil or varnish: Opt for a food-safe finish that enhances the wood’s natural beauty.
- Optional: Personalization materials such as wood burning tools or laser engraving equipment.
Tools:
- Table saw or circular saw: Used for cutting the wood pieces to size.
- Miter saw or coping saw: For making angled cuts if desired.
- Drill press or handheld drill: Needed for drilling knife slots and other holes.
- Countersink bit: Used to create recessed holes for screw heads, if applicable.
- Sanding block or electric sander: To smooth and refine the wood surfaces.
- C-clamps: Useful for clamping the wood pieces together during assembly.
- Measuring tools: Tape measure, ruler, and marking pen for accurate measurements and marking.
- Safety equipment: Gloves, safety glasses, and a dust mask for protection during cutting and sanding.
It is important to ensure that you have all the necessary tools and materials before starting. This helps prevent interruptions during the construction process and ensures a seamless workflow. Additionally, having the right tools and safety equipment on hand promotes a safe working environment.
Once you have gathered all the required materials and tools, you are ready to move on to the next steps of measuring and marking the dimensions of your steak knife block. Take your time, double-check your supplies, and prepare yourself mentally for an enjoyable woodworking experience.
Measuring and Marking the Dimensions of the Knife Block
Before you start cutting the wood for your steak knife block, it is crucial to accurately measure and mark the dimensions. This step ensures that all the pieces fit together perfectly and that your knife block is functional and visually appealing. Here’s how to go about it:
1. Determine the Size:
Consider the number and size of the knives you want the block to hold. Measure the length, width, and height of your largest knife, and add some extra space to accommodate the blades comfortably. This will help you determine the overall dimensions of your knife block.
2. Prepare the Wood:
Using a tape measure, ruler, or combination square, measure and mark the required dimensions on the wood pieces. Ensure that the marks are clear and precise, allowing for accurate cuts and assembly later on.
3. Consider Angled Slots (Optional):
If you want to create an angled knife block, now is the time to measure and mark the angles on the wood. Use a protractor or an adjustable bevel gauge to mark the desired angle on the ends of the wood pieces.
4. Mark the Knife Slot Spacing:
Measure and mark the spacing of the knife slots along the length of the wood pieces. The spacing should be wide enough to accommodate the blades comfortably without being too tight or too loose.
5. Account for Additional Features:
If you plan to include any additional features such as a storage compartment or a handle, mark their dimensions and positions on the appropriate wood pieces.
Remember to double-check your measurements and marks before proceeding to the cutting stage. Accuracy at this stage is crucial to ensure a precise and well-fitting knife block. Take your time to measure twice and mark clearly to avoid any potential mistakes or issues during the construction process.
With the dimensions accurately measured and marked, you are now ready to move on to the next step: cutting the wood pieces to size.
Cutting the Wood Pieces to Size
Once you have accurately measured and marked the dimensions of your steak knife block, it’s time to cut the wood pieces to size. This step requires precision and careful attention to detail to ensure that all the components fit together perfectly. Here’s how to proceed:
1. Set Up Your Workstation:
Prepare your workspace by setting up a sturdy workbench or table. Secure the wood pieces firmly in place using clamps or a vice to prevent any movement during the cutting process. Ensure that you have ample lighting and enough space to maneuver the tools safely.
2. Use the Right Cutting Tool:
Depending on the thickness and type of wood, you may use a table saw, circular saw, miter saw, or coping saw to make the necessary cuts. Make sure the blade is sharp and appropriate for the type of cut you need. If you’re new to woodworking, start with a scrap piece of wood to practice your cuts before moving on to the actual pieces.
3. Cut According to the Marked Dimensions:
Take your time and work slowly and steadily. Follow the marked lines precisely, ensuring clean and straight cuts. If you’re creating angled cuts, use a miter saw or coping saw to achieve the desired shape and angle.
4. Double-Check Each Cut:
After each cut, check the dimensions of the wood piece against your markings to ensure accuracy. Any discrepancies can lead to ill-fitting components, so it’s important to catch and rectify them early on.
5. Sand the Cut Edges:
Once all the pieces are cut to size, use sandpaper or an electric sander to smooth out any rough edges or splinters. This step ensures a professional-looking finish and prevents any potential injuries from sharp edges.
Remember to exercise caution and wear appropriate safety equipment, such as safety glasses and gloves, during the cutting process. Always follow the manufacturer’s instructions for each cutting tool and be mindful of your fingers and hands.
With the wood pieces accurately cut to size, you’re now ready to proceed to the next step: drilling holes for the knife slots.
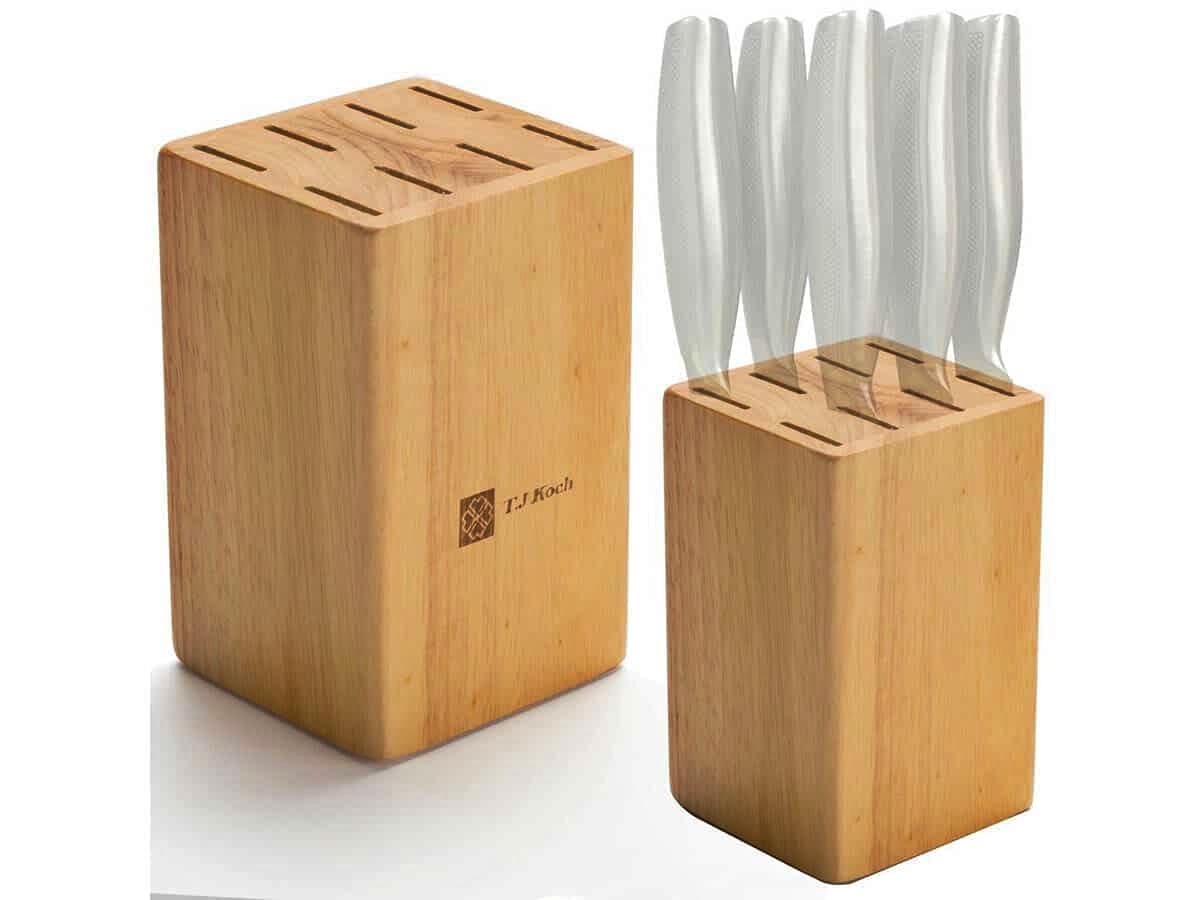
Drilling Holes for the Knife SlotsOne of the essential steps in creating a steak knife block is drilling holes for the knife slots. These slots securely hold the knives in place, ensuring easy access and a neat presentation. Here’s how to proceed with drilling the holes:
1. Determine the Slot Dimensions:
Refer to your marked measurements to determine the width and depth of each knife slot. Ensure that the dimensions are suitable for the blades of your knives and allow for easy insertion and removal. It’s important to measure and mark the slot locations accurately.
2. Choose the Right Drill Bit:
Select a drill bit that matches the width or slightly wider than the desired slot size. For best results, choose a spade bit, forstner bit, or a hole saw that matches the width of the slots. Consider using a drill press for greater precision and control, but a handheld drill can also work effectively.
3. Set Up Your Work Area:
Secure the wood piece firmly in place using clamps or a vice to prevent any movement during the drilling process. Ensure that your work area is clean and well-lit. Use a scrap piece of wood beneath the workpiece to prevent tear-out as the drill bit exits the material.
4. Start Drilling:
Align the drill bit with the marked slot location and slowly begin drilling. Use steady pressure and maintain a consistent speed to create clean and accurate holes. If you’re using a handheld drill, hold it perpendicular to the wood surface to ensure straight holes.
5. Control the Depth:
Depending on your design, drill to the desired depth or all the way through the wood piece. To control the depth, you can use a depth stop on your drill or mark the desired depth on the drill bit with tape as a visual guide. Take care not to drill too deep or too shallow.
6. Repeat for Each Slot:
Repeat the drilling process for each marked slot location on all the relevant wood pieces. Double-check the alignment and dimensions of each hole as you go to ensure consistency and accuracy throughout the block.
Remember to wear safety glasses and work in a well-ventilated area while drilling. Take breaks if needed to prevent overheating of the drill bit or motor. With the holes successfully drilled, you’re now ready to move on to the next step: sanding and finishing the wood pieces.