
Choosing Your Chocolate
When it comes to making a delectable chocolate bowl, choosing the right type of chocolate is crucial. Whether you prefer the smoothness of milk chocolate or the richness of dark chocolate, there are a few factors to consider.
Melting properties: Different types of chocolate have different melting points. Milk chocolate, for example, melts at a lower temperature compared to dark chocolate. Take into account the ambient temperature of your kitchen or the room where you’ll be working, as it can affect the texture and consistency of the melted chocolate.
Flavor profile: Consider the taste preferences of your guests or your own personal preference. Milk chocolate offers a sweeter and creamier flavor, while dark chocolate is more intense and slightly bitter.
Quality: Opt for high-quality chocolate that contains a higher percentage of cocoa solids. This will result in a better texture and taste for your chocolate bowl.
Specialty chocolates: If you want to add a unique touch to your chocolate bowl, consider using flavored or specialty chocolates, such as white chocolate, mint chocolate, or even chili-infused chocolate. These variations can add an exciting twist to your dessert.
When purchasing the chocolate, you can choose between chocolate bars or chocolate chips. Both options work well, but chocolate bars may require chopping before melting. Additionally, ensure that the chocolate you select is suitable for melting and tempering, as not all chocolates are created equal.
Remember, the quality of your chocolate will greatly impact the overall taste and appearance of your chocolate bowl. So, take your time to choose chocolates that you love and that will leave a lasting impression on your guests.
Preparing Your Molds
Before you start making your chocolate bowl, it’s important to prepare your molds to ensure a smooth and successful process. Follow these steps to get your molds ready:
Clean and dry: Make sure your molds are clean and dry before using them. Any residue or moisture can affect the final texture and appearance of the chocolate bowl.
Grease the molds: To prevent the chocolate from sticking to the molds, lightly grease them with a non-stick cooking spray or a thin layer of vegetable oil. This step will make it easier to remove the chocolate bowl once it has hardened.
Choose the right size and shape: Select molds that are suitable for creating bowls. Silicone molds are a popular choice as they are flexible and make it simpler to remove the chocolate bowl without causing damage.
Prepare multiple molds: If you’re making multiple chocolate bowls, make sure you have enough molds to accommodate them. This will help speed up the process and ensure consistency in size and shape.
Set up a flat surface: Find a flat surface or baking sheet that can accommodate all your molds. This will make it easier to transfer the molds to the refrigerator later on without disturbing the chocolate.
By following these preparation steps, you’ll be well on your way to creating perfectly molded chocolate bowls. Now, let’s move on to the next step: melting the chocolate.
Melting the Chocolate
Now that your molds are prepared, it’s time to melt the chocolate. Melting chocolate properly ensures a smooth and glossy consistency that will give your chocolate bowls a professional finish. Here’s how to do it:
Method 1: Double Boiler
Fill a small saucepan with a few inches of water and place it over low heat. Place a heatproof bowl on top of the saucepan, making sure the bottom of the bowl doesn’t touch the water. Break or chop the chocolate into small pieces and add them to the bowl. Stir the chocolate constantly as it melts until it becomes smooth and silky.
Method 2: Microwave
If you prefer using a microwave, place the chocolate in a microwave-safe bowl and heat it in short intervals of 20-30 seconds. After each interval, remove the bowl from the microwave and stir the chocolate well until it melts completely. Be careful not to overheat the chocolate to avoid burning.
Whether you choose the double boiler method or the microwave method, it’s important to melt the chocolate slowly and avoid overheating. Stirring the chocolate frequently during the melting process helps to distribute the heat evenly and prevents any lumps from forming.
Remember, chocolate can easily burn if exposed to high heat, so always keep a watchful eye and take your time. Once your chocolate is melted to a smooth consistency, we can move on to filling the molds.
Filling the Molds
With your melted chocolate ready, it’s time to fill the prepared molds to create the shape of your chocolate bowls. Follow these steps to ensure even and consistent filling:
Step 1: Pour the chocolate: Using a spoon or a pourable measuring cup, gently pour the melted chocolate into each mold. Start from the center and work your way towards the edges, ensuring that the chocolate reaches all corners of the mold.
Step 2: Tap out air bubbles: Once you have filled each mold, tap the molds gently on the counter to release any trapped air bubbles. This step helps to ensure a smooth surface for your chocolate bowls.
Step 3: Level the surface: Use a small offset spatula or the back of a spoon to level the surface of the chocolate in each mold. This will create a flat bottom for the bowls to rest on.
Step 4: Clean the edges: Use a clean spatula or a butter knife to scrape off any excess chocolate from the edges of the molds. This will give your chocolate bowls a neat and polished appearance.
Take your time while filling the molds, ensuring that each one is evenly filled and the surfaces are smooth. Once you have finished filling the molds, proceed to the next step: removing air bubbles.
Removing Air Bubbles
After filling the molds with melted chocolate, it’s common for air bubbles to get trapped. Removing these air bubbles is crucial to ensure the structural integrity and smooth appearance of your chocolate bowls. Follow these steps to eliminate air bubbles:
Tapping: Gently tap the filled molds on a hard surface to help release any trapped air bubbles. Continue tapping until you no longer see any bubbles rising to the surface of the chocolate.
Piercing: In case tapping doesn’t remove all the air bubbles, use a toothpick or a small skewer to gently pierce the surface of the chocolate. Insert the toothpick into the chocolate and carefully swirl it around to release any trapped air bubbles. Be cautious not to pierce too deep and touch the bottom of the mold.
If you notice any larger air bubbles that won’t release with tapping or piercing, you can also use the toothpick to carefully push the chocolate around the bubble to fill in the space.
Remember, removing air bubbles is an important step in creating a visually appealing chocolate bowl. Take your time and ensure that all the air bubbles are properly eliminated. Once you have successfully removed the air bubbles, it’s time to move on to the next step: creating the base.
Creating the Base
The base of your chocolate bowl provides stability and support, allowing it to stand freely. Follow these steps to create a sturdy base:
Step 1: Set the molds: Place the filled molds on a flat surface, ensuring that they are level and stable. This will help the chocolate set evenly and maintain its shape.
Step 2: Insert skewers: Carefully insert wooden skewers or popsicle sticks into the melted chocolate. Position them near the edges of the molds, ensuring that they are securely embedded in the chocolate without touching the bottom of the molds.
Step 3: Set in the refrigerator: Transfer the molds to the refrigerator and allow the chocolate to fully harden and set. The skewers or sticks will serve as the base support for your chocolate bowls.
Step 4: Remove the skewers: Once the chocolate is completely hardened, gently and slowly remove the skewers or sticks. Wiggle them slightly from side to side to loosen them from the chocolate. Be careful not to damage the walls or bottom of the chocolate bowl.
By creating a solid base for your chocolate bowl, you ensure that it will be stable when filled with your desired treats. Now that the base is ready, we can move on to the next step: joining the halves.
Joining the Halves
Now that you have two halves of your chocolate bowl, it’s time to join them together to create a seamless and complete vessel. Follow these steps to successfully join the halves:
Step 1: Heat the edges: Carefully heat the edges of one of the chocolate halves for a brief moment using a hairdryer or by gently rubbing them with the palm of your hand. This slight heat will soften the chocolate just enough to allow for easy joining.
Step 2: Press together: Immediately after heating, gently press the heated edges of one chocolate half against the corresponding edges of the other half. Hold them together firmly but gently for a few seconds to allow the chocolate to set and adhere to one another.
Step 3: Smooth the seam: After joining the halves, use a clean finger or a small offset spatula to smooth out any visible seam or excess chocolate around the join. This will give your chocolate bowl a polished and professional appearance.
It’s important to work quickly but carefully when joining the halves, as the heated chocolate will begin to harden and set again. Take your time to ensure a secure and seamless bond between the two halves.
Now that your chocolate bowl is joined together, it’s time to add some decorative touches to make it even more visually appealing.
Decorative Touches
Adding decorative touches to your chocolate bowl can elevate its appearance and make it even more enticing. Here are some ideas to inspire your creativity:
Drizzle with melted chocolate: Once your chocolate bowl is assembled, drizzle melted chocolate in a contrasting color over the top. Use a spoon or a piping bag to create elegant patterns or write messages on the surface of the bowl.
Sprinkle with toppings: Sprinkle your chocolate bowl with various toppings like crushed nuts, sprinkles, or edible glitter. This adds texture and a burst of color to your dessert.
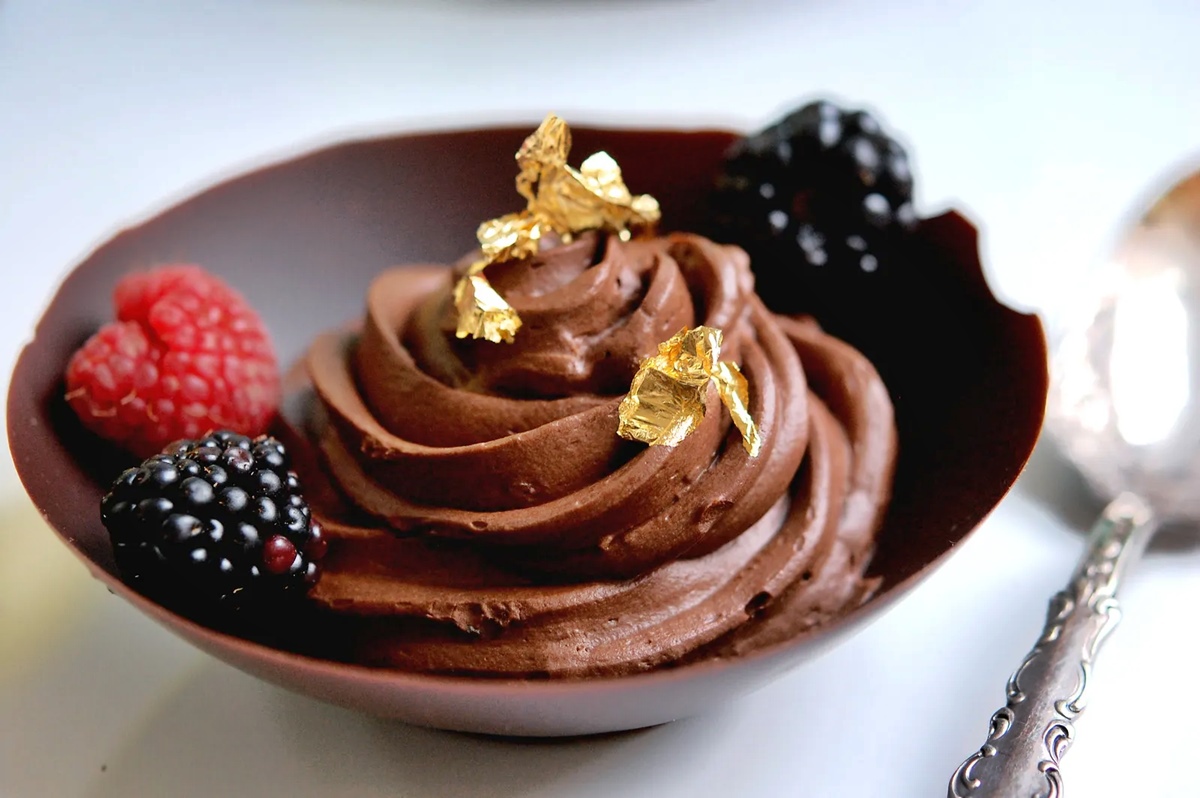
Fresh fruit garnish: Arrange fresh fruit slices or berries around the rim of your chocolate bowl. This adds a vibrant and refreshing touch to your chocolate creation.
Whipped cream or frosting: Dollop a swirl of whipped cream or frosting on top of your chocolate bowl. This adds a creamy and indulgent element to your dessert.
Edible flowers: Garnish your chocolate bowl with edible flowers for a stunning and elegant presentation.
Remember, the choice of decoration is entirely up to you. Get creative and experiment with different ideas to make your chocolate bowl visually appealing and personalized to your taste.
Once you’ve decorated your chocolate bowl to your satisfaction, it’s time to chill it in the refrigerator to set and firm up.
Chilling the Bowl
After adding the decorative touches to your chocolate bowl, it’s important to chill it in the refrigerator to allow the chocolate to fully set and become firm. Follow these steps to ensure that your chocolate bowl is perfectly chilled:
Step 1: Prepare a flat surface: Clear a space in your refrigerator and place a flat surface, such as a baking sheet or a cutting board, to hold the chocolate bowl. Ensure that the surface is clean and dry.
Step 2: Transfer to the refrigerator: Gently place the decorated chocolate bowl onto the prepared flat surface in the refrigerator. Be careful not to touch or disturb the decorations.
Step 3: Chill for at least 30 minutes: Allow the chocolate bowl to chill in the refrigerator for a minimum of 30 minutes. This resting time will allow the chocolate to solidify completely and hold its shape.
Step 4: Check firmness: After the recommended chilling time, gently touch the sides and bottom of the chocolate bowl to ensure it is firm and set. If needed, you can return it to the refrigerator for additional chilling time.
Chilling the chocolate bowl is important as it helps it hold its shape and prevents any melting or collapse when filled with your desired treats. The exact chilling time may vary depending on the size and thickness of your chocolate bowl, so it’s essential to monitor its firmness throughout the process.
Once the chocolate bowl is properly chilled and firm, you’re ready for the final step: removing the chocolate bowl from the molds.
Removing the Chocolate Bowl
Now that your chocolate bowl is chilled and set, it’s time to carefully remove it from the molds. Follow these steps to ensure a successful and clean removal:
Step 1: Take it out of the refrigerator: Carefully remove the chocolate bowl from the refrigerator and let it sit at room temperature for a few minutes. This will help loosen the chocolate from the molds.
Step 2: Release the edges: Gently press on the sides of the molds to release the chocolate bowl. If you greased the molds beforehand, the bowl should easily pop out. If it doesn’t release immediately, try lightly tapping the molds against a flat surface to loosen the chocolate.
Step 3: Lift the bowl: Once the chocolate bowl is released from the molds, carefully lift it by holding the bottom or sides. Avoid applying excessive pressure, as it may cause the bowl to crack or break.
Step 4: Remove excess grease: Use a clean paper towel or a gentle wipe to remove any excess grease or oil from the exterior of the chocolate bowl. This will give your bowl a polished and clean finish.
Take your time and handle the chocolate bowl with care. If it cracks or breaks while removing it from the molds, don’t worry! You can still use the broken pieces as an elegant garnish or enjoy them as a tasty treat.
Now that you’ve successfully removed the chocolate bowl from the molds, it’s ready to be filled with your favorite desserts, such as mousse, ice cream, fruit, or any other mouthwatering treats you desire!