
Choosing the Right Wooden Wick
When it comes to creating the perfect wooden wick candle, choosing the right wooden wick is crucial. The right wick will not only ensure proper burning but also enhance the overall candle experience. Here are some key factors to consider when selecting the right wooden wick:
- Candle Size: The size of your candle will determine the thickness and length of the wooden wick needed. For smaller candles, a thinner wick will suffice, while larger candles may require a thicker wick to ensure sufficient flame.
- Material: Wooden wicks are typically made from natural wood, such as cherry or birch. Each wood type can provide a different burning experience, so choose one that suits your preference.
- Coating: Some wooden wicks are pre-treated with a coating, which helps improve burn consistency and minimize mushrooming. Consider using coated wicks to achieve a cleaner burn.
- Burn Time: The burn time of the wooden wick should match the desired duration of your candle. Certain wicks are designed for shorter burn times, while others are more suitable for long-lasting candles.
Experimenting with different wooden wick options is key to finding the perfect match for your candles. Consider factors like the fragrance load, wax type, and container size when selecting a wooden wick. Remember, choosing the right wick will greatly impact both the aesthetics and performance of your wooden wick candle.
Preparing the Candle Container
Before you can start making your wooden wick candle, it’s essential to properly prepare the candle container. Follow these steps to ensure a smooth and successful candle-making process:
- Clean the Container: Start by thoroughly cleaning the candle container to remove any dirt, debris, or residue. This will help ensure a clean and polished look for your finished candle.
- Secure the Wick Tab: Place a wick tab at the bottom center of the container. The tab will serve as an anchor for the wooden wick and keep it in place during pouring and burning.
- Adhere the Wick Sticker: Use a wick sticker to stick the wooden wick firmly onto the wick tab. This will ensure that the wick remains centered and upright while the candle is being poured and burned.
- Straighten the Wick: Gently straighten the wooden wick to ensure it is an even length and not curved or kinked. A straight wick will burn more evenly and provide a better flame.
By properly preparing the candle container, you can create a solid foundation for your wooden wick candle. This will not only result in a visually appealing finished product but also contribute to the overall performance of the candle.
Pre-Wicking the Wooden Wick
Pre-wicking the wooden wick is an important step to ensure optimal performance and a steady burn for your wooden wick candle. Follow these steps to pre-wick the wooden wick:
- Trim the Wick: Start by trimming the wooden wick to the desired length. It’s recommended to leave around 1/4 to 1/2 inch of the wick above the wax surface to allow for proper burning.
- Prime the Wick: Priming the wick involves saturating it with melted wax to make it easier to light. Carefully dip the trimmed end of the wick into the melted wax, making sure to coat the entire wick evenly.
- Remove Excess Wax: After priming, gently remove any excess wax from the wick by tapping it against the edge of the container or using a paper towel. This will help prevent excessive smoking when lighting the candle.
- Allow it to Dry: Let the primed wick dry completely before proceeding with the candle-making process. This will ensure that the wax adheres well to the wooden wick and prevents any issues during burning.
Pre-wicking the wooden wick not only helps with easy lighting but also promotes a consistent and steady burn throughout the life of the candle. Take the time to properly prepare and prime your wooden wick to enjoy a high-quality candle-making experience.
Securing the Wick to the Container
Once you have pre-wicked the wooden wick, the next step is to securely attach it to the candle container. Follow these steps to ensure the wick stays in place throughout the candle-making process:
- Apply Adhesive: Apply a small amount of adhesive or hot glue to the metal wick tab at the bottom of the container. This will provide a strong bond and prevent the wick from moving or floating when the wax is poured.
- Press the Wick Tab: Press the metal wick tab firmly onto the bottom of the container to secure it in place. Make sure it is centered and straight to ensure an even burn.
- Hold Temporarily: Hold the wick in place for a few seconds to allow the adhesive or hot glue to set. This will ensure that the wick remains securely attached throughout the pouring process.
By properly securing the wick to the container, you ensure that it stays in place and maintains its position during the candle-making process. This will result in a well-centered wick that burns evenly and provides a delightful candle experience.
Melting the Wax and Adding Fragrance
Now that the wick is securely attached to the container, it’s time to melt the wax and add fragrance to create a beautifully scented wooden wick candle. Follow these steps to ensure a successful wax melting and fragrance addition process:
- Choose the Right Wax: Select a wax that is suitable for making candles, such as soy wax or beeswax. Follow the manufacturer’s instructions for melting the wax, as melting temperatures may vary.
- Melt the Wax: Use a double boiler or a wax melting device to melt the wax. Place the wax flakes or chunks in the melting container and heat them slowly until completely melted. Stir occasionally to ensure even melting.
- Add Fragrance Oil: Once the wax is melted, add your desired fragrance oil or essential oil to the melted wax. Be sure to follow the manufacturer’s recommended fragrance-to-wax ratio and stir well to evenly distribute the fragrance.
- Mix Thoroughly: Continue stirring the wax and fragrance mixture for a few minutes to ensure that the fragrance is fully incorporated. This ensures that the scent is evenly dispersed throughout the candle when it burns.
Melting the wax and adding fragrance is a critical step in creating a delightful and aromatic wooden wick candle. Take your time to choose high-quality wax and fragrance oils to ensure a beautifully scented candle that fills your space with a captivating aroma.
Pouring the Wax into the Container
With the melted wax and fragrance mixture ready, it’s time to pour it into the prepared candle container. Follow these steps to ensure a smooth and successful pouring process:
- Prepare the Workspace: Clear a flat and stable surface to work on. Place newspaper or a heat-resistant mat under the container to catch any potential spills or drips.
- Pour Slowly and Carefully: Slowly pour the melted wax and fragrance mixture into the container. Start pouring from the center, allowing the wax to spread out evenly towards the edges. Be careful not to overfill the container.
- Allow the Wax to Cool: Once the wax is poured, let it cool and solidify completely. Avoid moving or disturbing the container during this process, as it can affect the final appearance and quality of the candle.
Pouring the wax into the container requires patience and precision. Taking your time and pouring slowly will help prevent any spills or uneven distribution of the wax. Allow the wax to cool undisturbed to ensure a beautifully set wooden wick candle.
Trimming the Wick
Now that the wax has solidified, it’s time to trim the wooden wick to the proper length before lighting the candle. Follow these steps to ensure a well-trimmed wick:
- Assess the Wick Length: Check the length of the wooden wick, ensuring it is about 1/4 to 1/2 inch above the wax surface. Trimming the wick to the correct length is essential for optimal burning and a controlled flame.
- Use Wick Trimmers: Use specialized wick trimmers or sharp scissors to trim the wooden wick. Hold the wick with one hand and trim it to the desired length with the other hand.
- Remove Trimmed Wick: After trimming, gently tap the trimmed excess wick into a waste container or discard it appropriately. Clearing away trimmed wick debris helps ensure a clean burn every time you light your wooden wick candle.
Trimming the wick before each use is important to maintain a controlled flame and prevent excessive smoking or mushrooming. By consistently trimming the wick, you can enjoy longer burn times and a more enjoyable wooden wick candle experience.
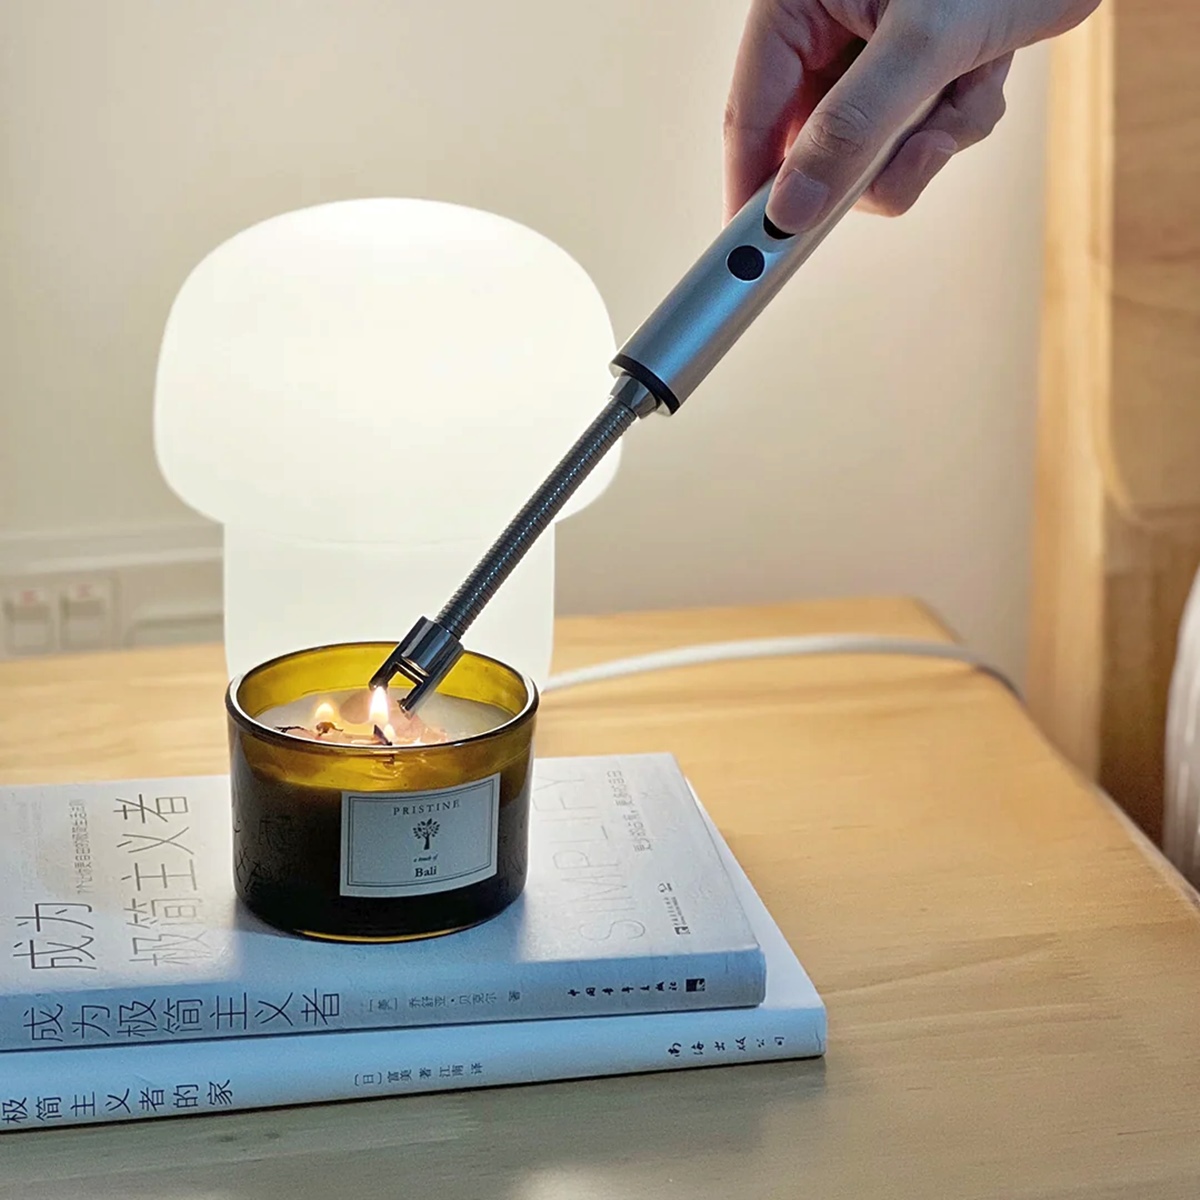
Lighting and Enjoying Your Wooden Wick Candle
After trimming the wick, it’s time to light your wooden wick candle and revel in its warm glow and soothing ambiance. Follow these steps to safely light and enjoy your wooden wick candle:
- Find a Safe Location: Choose a stable and heat-resistant surface to place your candle on. Keep it away from flammable objects, drafts, and out of reach of children and pets.
- Hold the Flame: Use a long, fireplace-style lighter or a matchstick to light the wooden wick. Hold the flame close to the wick’s base, allowing it to catch fire and ignite.
- Monitor the Burn: Keep an eye on the candle as it burns. Ensure that the flame is steady, centered, and not flickering excessively. Avoid leaving a burning candle unattended and extinguish it before leaving the room.
- Enjoy the Aroma and Ambiance: Sit back, relax, and indulge in the soothing aroma and mesmerizing crackle of your wooden wick candle. Take a moment to unwind and enjoy the comforting experience it provides.
- Extinguish Safely: When you’re done enjoying your wooden wick candle, gently blow out the flame or use a candle snuffer to extinguish it. Allow the candle to cool completely before moving or relighting it.
Lighting and savoring your wooden wick candle can create a serene and cozy atmosphere. Remember to exercise caution and practice proper candle safety to ensure a delightful and worry-free experience.