
Safety Precautions
In order to ensure a safe and successful installation, it is important to follow these safety precautions:
- Before beginning any work, always read and familiarize yourself with the product’s instruction manual and safety guidelines.
- Ensure that you have the necessary tools and materials ready before starting the installation process.
- Turn off the water supply to the filter system to avoid any potential leaks or water damage.
- Wear appropriate protective gear, such as gloves and safety goggles, to protect yourself from any potential hazards during the installation.
- If you are unsure about any step or encounter any difficulties during the installation, consult a professional plumber or contact the manufacturer for assistance.
- Be mindful of electrical connections and ensure that the power supply is disconnected before starting the installation process.
- Do not force any parts or use excessive force during the installation to prevent damage to the filter system or other components.
- Keep the installation area clean and free from any clutter or obstructions to facilitate the installation process.
- Ensure that all connections and fittings are properly tightened to prevent any leaks or water damage.
- Regularly inspect the filter system for any signs of wear or damage and replace any faulty parts before proceeding with the installation.
By following these safety precautions, you can ensure a safe and successful installation of your GE RPWFE water filter, giving you clean and purified water for your everyday needs.
Step 1: Gather the necessary tools and materials
Before you begin installing the GE RPWFE water filter, gather the following tools and materials:
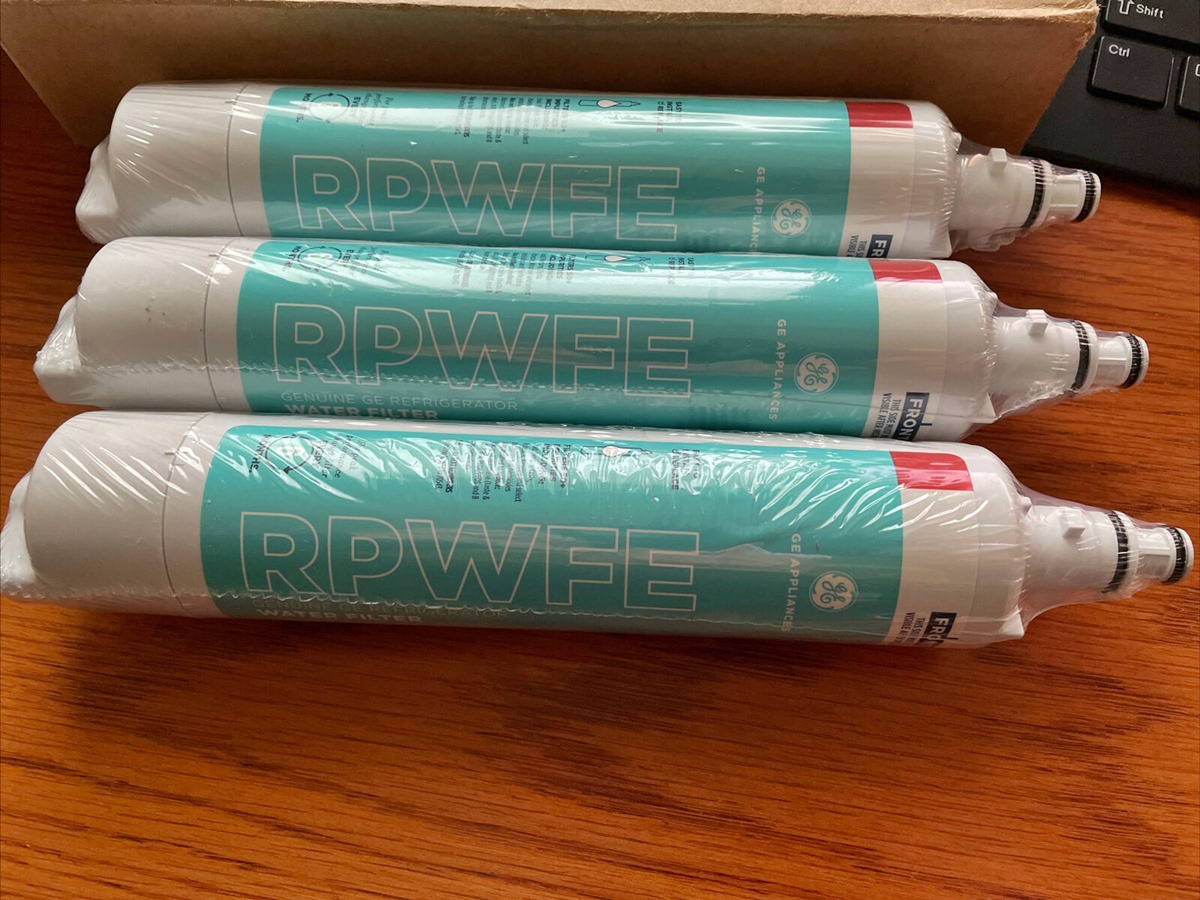
- GE RPWFE water filter (make sure it is compatible with your specific GE refrigerator model)
- Adjustable wrench or pliers
- Bucket or container to catch any water that may spill during the installation process
- Clean cloth or towel
It is essential to have all the necessary tools and materials ready before starting the installation process. This will ensure a smooth and efficient installation without any interruptions.
Make sure to double-check the compatibility of the GE RPWFE water filter with your specific refrigerator model. You can find this information in the user manual or on the manufacturer’s website.
Having an adjustable wrench or pliers will allow you to easily loosen and tighten the necessary fittings during the installation process.
A bucket or container will come in handy to catch any water that may spill while removing the old filter or installing the new one. This will help prevent any water damage to your flooring or surrounding areas.
Lastly, keep a clean cloth or towel nearby to wipe away any moisture or residue during the installation process. This will help ensure a clean and hygienic installation.
By gathering these tools and materials beforehand, you will be well-prepared to move on to the next step of the GE RPWFE water filter installation process.
Step 2: Turn off the water supply
Before you can proceed with installing the GE RPWFE water filter, it is important to turn off the water supply to your refrigerator. Follow these steps to safely turn off the water:
- Locate the water shut-off valve for your refrigerator. This valve is typically located behind the refrigerator or under the sink.
- Turn the valve clockwise to close it and shut off the water supply. This will prevent any water from flowing into the filter system during the installation process.
- Once the valve is fully closed, check for any leakage or drips to ensure that the water supply is effectively shut off.
Turning off the water supply is an important step to avoid any potential leaks or water damage during the installation process. It will also make it easier to remove the old water filter and prepare for the installation of the new GE RPWFE filter.
Remember to take caution while turning off the water supply and ensure that the valve is completely closed. This will prevent any water from entering the filter system and flooding your refrigerator or surrounding area.
Once you have successfully turned off the water supply, you can proceed to the next step of removing the old water filter and continuing with the installation process.
Step 3: Remove the old water filter
Now that the water supply is turned off, you can proceed with removing the old water filter from your GE refrigerator. Follow these steps to safely remove the filter:
- Locate the old water filter cartridge inside your refrigerator. It is usually located in the upper right corner or the bottom left corner of the fridge compartment.
- Gently rotate the filter counterclockwise to unlock it. This will release it from the filter housing.
- Once the old filter is unlocked, carefully pull it straight out of the filter housing.
- Place the old filter aside and inspect it for any signs of wear, damage, or discoloration. If the filter is damaged or has been in use for more than 6 months, it is recommended to replace it.
Removing the old water filter is an important step to ensure the optimal performance of your GE refrigerator and maintain the quality of your drinking water.
By rotating the filter counterclockwise, you will unlock it from the filter housing. It is important to do this gently and carefully to avoid any damage to the filter or the housing itself.
Once the old filter is unlocked, pull it straight out of the filter housing without applying excessive force. Be cautious not to spill any water that may be trapped in the filter or housing.
Take a moment to inspect the old filter for any signs of wear, damage, or discoloration. If the filter appears worn or has been in use for longer than the recommended timeframe, it is advisable to replace it with a new GE RPWFE water filter.
With the old filter successfully removed, you are now ready to proceed to the next step of preparing the new water filter for installation.
Step 4: Prepare the new water filter
With the old water filter removed, it’s time to prepare the new GE RPWFE water filter for installation. Follow these steps to ensure a smooth and successful preparation process:
- Remove the new water filter from its packaging. Be careful not to damage or puncture the filter.
- Check for any protective covers or caps on the filter. If present, remove them before proceeding.
- Inspect the filter for any visible defects or damages. If you notice any issues, do not proceed with the installation and contact the manufacturer for assistance.
- Flush the new filter with cold water for approximately three minutes. This will help remove any loose carbon particles and activate the filter’s media.
Preparing the new water filter is an essential step to ensure optimal performance and longevity. Taking the time to properly prepare the filter will help provide clean and fresh water for your household.
When removing the new water filter from its packaging, handle it with care to avoid any damage. Check for any protective covers or caps and remove them before installation to ensure uninterrupted water flow.
Inspect the new filter for any visible defects or damages, such as cracks or breaks. If you notice any issues, it is recommended to contact the manufacturer for further instructions and assistance.
Flushing the new filter with cold water for a few minutes helps activate the filter’s media and removes any loose carbon particles that may be present. This step is crucial for the filter to effectively remove impurities from the water.
After preparing the new water filter, you are now ready to proceed with the installation in the next step.
Step 5: Install the new water filter
Now that you have prepared the new GE RPWFE water filter, it’s time to install it in your refrigerator. Follow these steps to ensure a proper installation:
- Align the new water filter with the filter housing. The filter should slot into place easily.
- Gently rotate the new filter clockwise to lock it into position. The filter should rotate smoothly to ensure a secure fit.
- Continue rotating the filter until you feel it lock securely into the housing. This will prevent any leakage or water bypass.
- Double-check that the filter is fully and securely locked by giving it a gentle tug.
Installing the new water filter is a straightforward process, but it’s essential to do it correctly to ensure optimal performance and water filtration.
Start by aligning the new filter with the filter housing. The filter should easily slot into place without any need for forcing or excessive pressure.
Next, rotate the filter clockwise to lock it into position. The rotation should be smooth and not met with any resistance. This ensures that the filter is correctly aligned with the housing.
Continue rotating the filter until you feel it lock securely. This step is crucial in preventing any possible leaks or water bypass, ensuring that the water is effectively filtered before dispensing.
To verify that the filter is properly installed, give it a gentle tug. If it does not come loose, it is securely locked into place.
With the new water filter successfully installed, you can proceed to the next step of turning on the water supply.
Step 6: Turn on the water supply
After installing the new GE RPWFE water filter, it’s time to turn on the water supply to your refrigerator. Follow these steps to ensure a proper water connection:
- Locate the water shut-off valve for your refrigerator. This valve is typically located behind the refrigerator or under the sink.
- Turn the valve counterclockwise to open it and allow water to flow into the filter system.
- Once the valve is fully open, check for any leakage or drips to ensure a secure water connection.
Turning on the water supply is a crucial step to ensure the proper functioning of the new water filter. It allows the water to flow through the filter and provide you with clean and filtered water.
Locate the water shut-off valve for your refrigerator, which is usually located behind the refrigerator or under the sink. Turning the valve counterclockwise will open it, allowing the water to flow through the filter system.
After opening the valve, it’s important to check for any signs of leakage or drips. This will ensure that the water connection is secure and that there are no issues with the installation.
By following these steps, you can confidently proceed to the next step of checking for leaks and testing the water flow.
Step 7: Check for leaks and test the water flow
After turning on the water supply, it is crucial to check for any leaks and test the water flow to ensure a successful installation of the GE RPWFE water filter. Follow these steps:
- Inspect the area around the filter and connections for any signs of water leakage. Pay attention to the filter housing, inlet, and outlet connections.
- If you notice any leaks, turn off the water supply immediately and check the connections for proper sealing. Tighten any loose fittings or consult a professional if needed.
- Once you’ve confirmed that there are no leaks, dispense water from your refrigerator’s water dispenser to test the water flow.
- Observe the water flow for any abnormalities such as low pressure, strange taste, or unusual color. Flushing the system for a few minutes can help remove any air or carbon particles.
Checking for leaks and testing the water flow is essential to ensure that the GE RPWFE water filter is installed correctly and is functioning properly.
Start by thoroughly inspecting the filter housing, inlet, and outlet connections for any signs of water leakage. Even a small leak can lead to potential water damage if left unaddressed.
If you detect any leaks, it is crucial to turn off the water supply immediately. Check the connections and ensure they are properly sealed and tightened. If necessary, consult a professional plumber for assistance.
After confirming that there are no leaks, dispense water from your refrigerator’s water dispenser to test the water flow. Monitor the flow for any abnormalities, such as low pressure or strange taste or color.
Flushing the system for a few minutes can help remove any air bubbles or carbon particles that might affect the taste or clarity of the water. This step also helps ensure that the filter is properly activated.
By checking for leaks and testing the water flow, you can have confidence in the successful installation of the GE RPWFE water filter and enjoy clean and filtered water from your refrigerator.
Step 8: Reset the water filter status indicator
After installing the new GE RPWFE water filter, it’s important to reset the water filter status indicator on your refrigerator. This will ensure accurate tracking and timely replacement of the filter. Follow these steps to reset the indicator:
- Locate the water filter status indicator on the control panel of your refrigerator. It may be a button or a digital display.
- Press and hold the designated button or follow the specific instructions to reset the indicator. The process may vary depending on your refrigerator model.
- Hold the button for a few seconds until the indicator resets or the display shows the new filter status.
- If the indicator doesn’t reset, consult the user manual or contact the manufacturer for further assistance.
Resetting the water filter status indicator is essential to ensure accurate monitoring and timely replacement of the filter. This helps maintain the water quality and performance of your GE RPWFE filter system.
Locate the water filter status indicator on the control panel of your refrigerator. It may be a button that needs to be pressed or a digital display with specific instructions.
Follow the manufacturer’s instructions for resetting the indicator. Press and hold the designated button for a few seconds until the indicator resets or the display shows the new filter status.
If the indicator doesn’t reset after following the instructions, refer to the user manual for troubleshooting guidance. Alternatively, contact the manufacturer’s customer support for further assistance with resetting the indicator.
By properly resetting the water filter status indicator, you can effectively track the usage of your GE RPWFE water filter and ensure timely replacement for continued optimal performance.
Step 9: Recommended maintenance and filter replacement schedule
Maintaining your GE RPWFE water filter and following a regular filter replacement schedule is crucial for continued performance and water quality. Here are some recommended maintenance tasks and filter replacement guidelines:
- Clean the exterior of the filter system regularly with a damp cloth to remove any dirt or debris.
- Inspect the filter housing for any signs of wear, cracks, or leaks. If you notice any issues, contact the manufacturer for further assistance.
- Replace the water filter every six months or according to the manufacturer’s recommendations. This ensures optimal filtration and prevents the filter from becoming clogged or less effective.
- Set a reminder or note the replacement date on a calendar to ensure timely filter changes.
- If you notice a decrease in water flow or a change in water taste or quality before the designated replacement time, consider replacing the filter earlier.
Regular maintenance and timely filter replacements are essential to maintain the performance and efficacy of your GE RPWFE water filter. Following these recommendations will help ensure clean and filtered water for you and your family.
To keep the filter system functioning optimally, clean the exterior regularly with a damp cloth to remove any accumulation of dirt or debris. This helps maintain a sanitary environment and prevents any obstructions to water flow.
Inspect the filter housing periodically for any signs of wear, cracks, or leaks. Address any issues promptly to avoid potential water damage or safety concerns. Contact the manufacturer if you notice any abnormalities or need assistance.
It is recommended to replace the GE RPWFE water filter every six months or according to the manufacturer’s guidelines. This interval ensures that the filter continues to remove impurities effectively and provides you with clean and safe drinking water.
Set a reminder or note the filter replacement date on a calendar to ensure that it is not forgotten. Timely replacements are crucial for maintaining the filter’s performance and ensuring water quality.
If you experience a decrease in water flow, unusual taste, or a change in water quality before the designated filter replacement time, consider replacing the filter earlier. This can help maintain the optimal performance of your filter system.
By following these recommended maintenance tasks and adhering to the filter replacement guidelines, you can enjoy continuous clean and filtered water from your GE RPWFE water filter.