
Choosing the Right Gas Tank Storage Bag
When it comes to installing a gas tank storage bag on your Arctic Cat, it’s important to choose the right one that meets your needs and fits your vehicle perfectly. With a wide variety of options available in the market, it can be overwhelming to make the right choice. To help you out, here are some factors to consider when choosing a gas tank storage bag:
- Size and Capacity: Determine how much storage space you require and the amount of weight you’ll be carrying in the bag. Consider the dimensions of your Arctic Cat’s gas tank and choose a storage bag that can accommodate your belongings comfortably.
- Material and Durability: Look for storage bags made from high-quality and durable materials that can withstand varying weather conditions and rough terrains. Opt for bags with reinforced stitching and waterproof properties to protect your belongings from moisture and dust.
- Attachment System: Check the attachment system of the storage bag to ensure it’s compatible with your Arctic Cat’s gas tank. Look for secure straps or mounting options that will keep the bag securely in place even during bumpy rides.
- Accessibility: Consider the accessibility of the storage bag. Look for bags with convenient zippers, pockets, and compartments that allow you to easily access your items on the go.
- Additional Features: Some gas tank storage bags come with additional features such as reflective strips for enhanced visibility, built-in hydration systems, or compartments for tools and accessories. Assess your specific needs and choose a bag with the features that are important to you.
By carefully considering these factors, you can select a gas tank storage bag that not only fits your Arctic Cat but also suits your storage requirements and provides the necessary durability for your adventures.
Preparing for Installation
Before you begin installing the gas tank storage bag on your Arctic Cat, it’s important to properly prepare for the process. Taking a few simple steps beforehand will help ensure a smooth installation. Here’s what you need to do:
- Read the Instructions: Familiarize yourself with the manufacturer’s instructions that come with the gas tank storage bag. Every bag may have specific installation requirements and guidelines, so it’s essential to understand them before proceeding.
- Inspect the Bag and Components: Carefully inspect the storage bag and its components to ensure that everything is in good condition. Check for any defects or missing parts that may affect the installation or functionality of the bag.
- Clean the Gas Tank: Remove any debris, dirt, or dust from the surface of the Arctic Cat’s gas tank. Use a mild cleaner or soapy water, and ensure that the tank is completely dry before proceeding with the installation.
- Gather the Necessary Tools: Check the instructions to determine the tools needed for the installation. Common tools may include wrenches, screwdrivers, or straps. Gather these tools beforehand to have them easily accessible during the installation process.
- Clear the Installation Area: Make sure the installation area is clear of any obstacles or clutter. This will provide you with enough space to work comfortably and minimize the risk of damaging the gas tank or the storage bag during installation.
- Ensuring Safety: Prioritize safety by wearing appropriate personal protective equipment (PPE), such as gloves or safety glasses, while installing the storage bag. This will protect your hands and eyes from potential injuries during the installation process.
By following these preparatory steps, you’ll be well-equipped to begin the installation of the gas tank storage bag on your Arctic Cat. Taking the time to properly prepare will ensure that the installation process goes smoothly and efficiently.
Removing the Seat and Accessing the Gas Tank
Before you can install the gas tank storage bag on your Arctic Cat, you’ll need to remove the seat to access the gas tank. Follow these steps to complete this process:
- Locate the Seat Release: Typically, the seat release can be found at the rear of the seat. Look for a lever, latch, or fastener that holds the seat in place. Refer to your Arctic Cat’s manual if you’re unsure of its exact location.
- Engage the Seat Release: Once you’ve located the seat release, engage it by pulling or releasing the lever, latch, or fastener. This will loosen the seat and allow you to remove it.
- Remove the Seat: Lift the seat upwards or forwards, depending on the design of your Arctic Cat. Apply gentle force if necessary to detach it from the mountings. Set the seat aside in a safe and clean location.
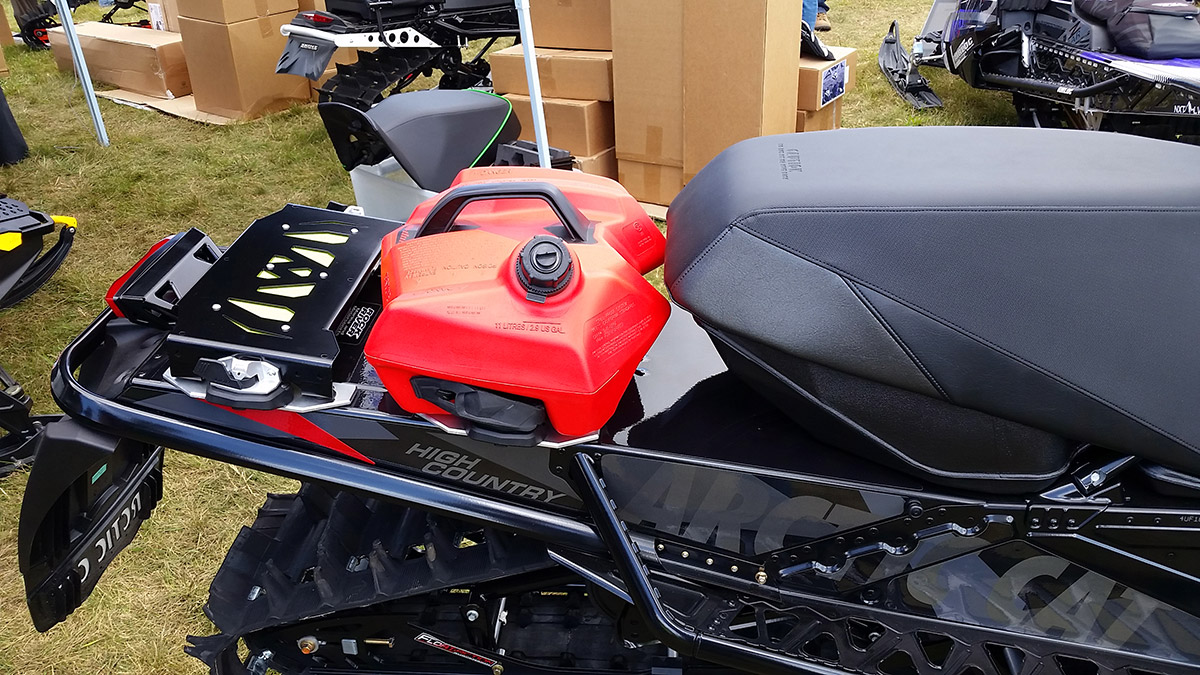
- Access the Gas Tank: With the seat removed, you’ll now have clear access to the gas tank on your Arctic Cat. Take a moment to familiarize yourself with the location and positioning of the tank to ensure a smooth installation of the storage bag.
- Inspect the Gas Tank: While you have the opportunity, inspect the gas tank for any signs of damage or leaks. Ensure that all connections and fittings are secure and in good condition. If you notice any issues, consider addressing them before proceeding with the bag installation.
Remember to handle the seat with care during removal to prevent any damage. By following these steps, you’ll be ready to proceed with attaching the straps to the gas tank for the installation of the gas tank storage bag on your Arctic Cat.
Attaching the Straps to the Gas Tank
Once you have accessed the gas tank on your Arctic Cat, the next step in installing the gas tank storage bag is to attach the straps securely. Follow these steps to properly attach the straps:
- Position the Storage Bag: Place the empty storage bag on top of the gas tank in the desired position. Make sure it is aligned properly and centered on the tank.
- Identify the Attachment Points: Locate the attachment points on the storage bag where the straps will be secured. These points are typically reinforced areas or loops specifically designed for attaching straps.
- Wrap the Straps: Take one strap at a time and wrap it around the gas tank, ensuring that it goes through the corresponding attachment point on the storage bag. Adjust the length of the strap as needed to achieve a snug fit.
- Secure the Straps: Fasten the straps securely to prevent any movement or shifting of the storage bag during rides. Use the provided buckles, clips, or fasteners to tighten and lock the straps in place.
- Check the Stability: Once all straps are attached and secured, double-check the stability of the storage bag. Give it a gentle tug to ensure it is firmly in place and won’t come loose during your Arctic Cat adventures.
It’s essential to follow the manufacturer’s instructions regarding the specific attachment method for your chosen gas tank storage bag. Some bags may have different strap configurations or attachment mechanisms, so be sure to refer to the product documentation for guidance.
By properly attaching the straps to the gas tank, you’ll ensure that the storage bag is securely mounted and will stay in place, even when traversing uneven terrains or encountering bumps on the road.
Installing the Gas Tank Storage Bag
With the straps securely attached to the gas tank on your Arctic Cat, it’s time to move on to the next step of installing the gas tank storage bag. Follow these steps to complete the installation:
- Prepare the Storage Bag: Open the storage bag and ensure that all zippers, pockets, and compartments are easily accessible. Arrange the interior space according to your preference, organizing your belongings efficiently.
- Place Items in the Bag: Carefully place your items inside the storage bag, paying attention to weight distribution. Avoid overloading the bag and ensure that everything is packed securely to prevent movement or damage during rides.
- Close the Storage Bag: Once all your belongings are inside, zip up or secure the openings of the storage bag. Double-check that the closures are properly fastened to keep your items secure and protected while riding.
- Position the Storage Bag: Lift the storage bag and position it on top of the gas tank, aligning it with the previously attached straps. Ensure that the bag sits evenly and securely on the gas tank.
- Adjust the Straps: Take a moment to adjust the straps if needed to achieve a balanced and snug fit of the storage bag. Maintain equal tension on all straps to ensure stability during your Arctic Cat adventures.
When installing the gas tank storage bag, always keep in mind the size and weight limits specified by the manufacturer. Overloading the bag or exceeding weight recommendations can negatively impact your Arctic Cat’s performance and handling.
By following these installation steps, you’ll be able to securely mount the gas tank storage bag on your Arctic Cat, ensuring that your belongings are safely stored and easily accessible while you embark on your outdoor adventures.
Securing the Bag in Place
After installing the gas tank storage bag on your Arctic Cat, it’s important to take additional steps to ensure that the bag remains securely in place throughout your rides. Follow these guidelines to properly secure the bag:
- Double-Check the Straps: Ensure that all straps are securely fastened and tightened. Give them a gentle tug to confirm that they are snugly in place and there is no excess slack.
- Test the Bag: Before hitting the road, give the storage bag a gentle shake or tap to test its stability. If it shifts or moves excessively, re-adjust the straps to improve its security and stability.
- Inspect the Attachments: Regularly inspect the attachment points and straps to ensure they are in good condition. Look for any signs of wear, fraying, or damage, and address any issues promptly to maintain the bag’s security.
- Consider Additional Security Measures: Depending on the specific requirements of your gas tank storage bag, you may consider using additional security measures. This could include using zip ties, carabiners, or bungee cords to reinforce the attachment or provide extra stability.
- Keep Weight Distribution in Mind: When packing your belongings in the storage bag, be mindful of weight distribution. Avoid placing heavy items in one area, as it can throw off the balance of your Arctic Cat and affect its performance. Distribute the weight evenly for a smoother ride.
- Adjust as Needed: Periodically reassess the fit and security of the storage bag during your rides. If you notice any shifting or loosening, stop in a safe location and readjust the straps to maintain proper security.
By taking these measures to secure the gas tank storage bag, you’ll be able to enjoy your outings on your Arctic Cat without worrying about the bag coming loose or jeopardizing your safety. Regular inspections and adjustments will help ensure that the bag remains securely in place throughout your adventures.
Reattaching the Seat
With the gas tank storage bag securely installed on your Arctic Cat, the final step is to reattach the seat. It’s important to follow these steps carefully to ensure a proper fit:
- Position the Seat: Align the seat with the mounting brackets on the Arctic Cat. Take care to line up any tabs or slots on the seat with their corresponding counterparts on the vehicle’s frame.
- Lower the Seat: Carefully lower the seat onto the mounting brackets, ensuring that it is seated snugly. Apply gentle pressure if necessary to align the seat properly and engage the locks or latches.
- Engage the Seat Release: Once the seat is in position, engage the seat release mechanism, whether it is a lever, latch, or fastener. Make sure that the release is securely locked, ensuring that the seat won’t come loose during your rides.
- Tug Test: Give the seat a gentle tug to confirm that it is securely attached. It should not move or shift when pulled on, indicating a proper reattachment.
- Check for Proper Alignment: Once the seat is reattached, take a moment to visually inspect it and ensure that it is aligned correctly with the Arctic Cat’s frame. Verify that all connections are secure and that there are no visible gaps or misalignment.
It’s important to refer to your Arctic Cat’s manual for any specific instructions or guidelines regarding seat reattachment. Different models may have variations in the seat attachment process, so following the manufacturer’s recommendations is crucial.
By following these steps, you’ll be able to securely reattach the seat on your Arctic Cat, completing the installation process of the gas tank storage bag. With the seat back in place, you can now enjoy your rides with the convenience and extra storage provided by the bag.