
Determine the Need for a Dehumidifier in Your Crawl Space
Excess moisture in your crawl space can lead to a multitude of problems, including mold growth, musty odors, and even structural damage. To determine if you need a dehumidifier in your crawl space, there are several signs you should look out for.
1. High humidity: If you notice that humidity levels in your crawl space are consistently above 50%, it indicates a moisture problem. High humidity encourages the growth of mold and mildew, which can compromise the air quality in your home.
2. Musty odors: If you detect unpleasant, musty odors emanating from your crawl space, it is a clear indicator of excess moisture. These odors can permeate throughout your home, affecting the overall indoor air quality.
3. Visible water damage: Take a thorough look around your crawl space for any signs of water damage, such as standing water, damp insulation, or rusted metal. These are telltale signs that moisture is seeping into your crawl space, further warranting the need for a dehumidifier.
4. Mold growth: Spotting mold or mildew in your crawl space is a strong indication of excessive moisture levels. Mold can cause health issues and aggravate allergies, so it’s crucial to address the problem promptly.
5. Structural issues: Moisture can contribute to the deterioration of wooden structures in your crawl space, such as beams and joists. Look for signs of sagging or weakened support, as this could be a result of excess moisture.
6. Condensation: If you notice condensation on windows, pipes, or walls in your crawl space, it indicates high humidity levels. This condensation can lead to water damage and provide a breeding ground for mold and mildew.
By assessing these signs, you can determine if a dehumidifier is necessary for your crawl space. Keep in mind that a crawl space with excessive moisture not only affects the structural integrity of your home but also poses health risks. Installing a dehumidifier can help maintain optimal humidity levels and create a healthier environment for you and your family.
Choose the Right Dehumidifier for Your Crawl Space
Once you’ve determined the need for a dehumidifier in your crawl space, it’s essential to choose the right one that suits your specific requirements. Here are some factors to consider when selecting a dehumidifier:
1. Capacity: The capacity of the dehumidifier is measured in pints and refers to the amount of moisture it can remove from the air within 24 hours. Calculate the square footage of your crawl space and choose a dehumidifier with an appropriate capacity to adequately remove excess moisture.
2. Energy Efficiency: Look for an energy-efficient dehumidifier that will help you save on electricity bills over time. Energy Star certified dehumidifiers are designed to operate efficiently and effectively while reducing energy consumption.
3. Drainage Options: Consider the drainage options available for the dehumidifier. Some models come with a built-in pump for continuous drainage, while others require you to manually empty the water container. Choose a drainage option that suits your convenience and accessibility in your crawl space.
4. Noise Level: If the dehumidifier will be installed in a living area or near bedrooms, consider the noise level of the unit. Look for dehumidifiers with low noise ratings to ensure minimal disruption to your daily activities.
5. Durability and Maintenance: Opt for a dehumidifier that is built to withstand the harsh conditions of a crawl space. Look for models with features like corrosion-resistant coatings and washable filters for easy maintenance and longevity.
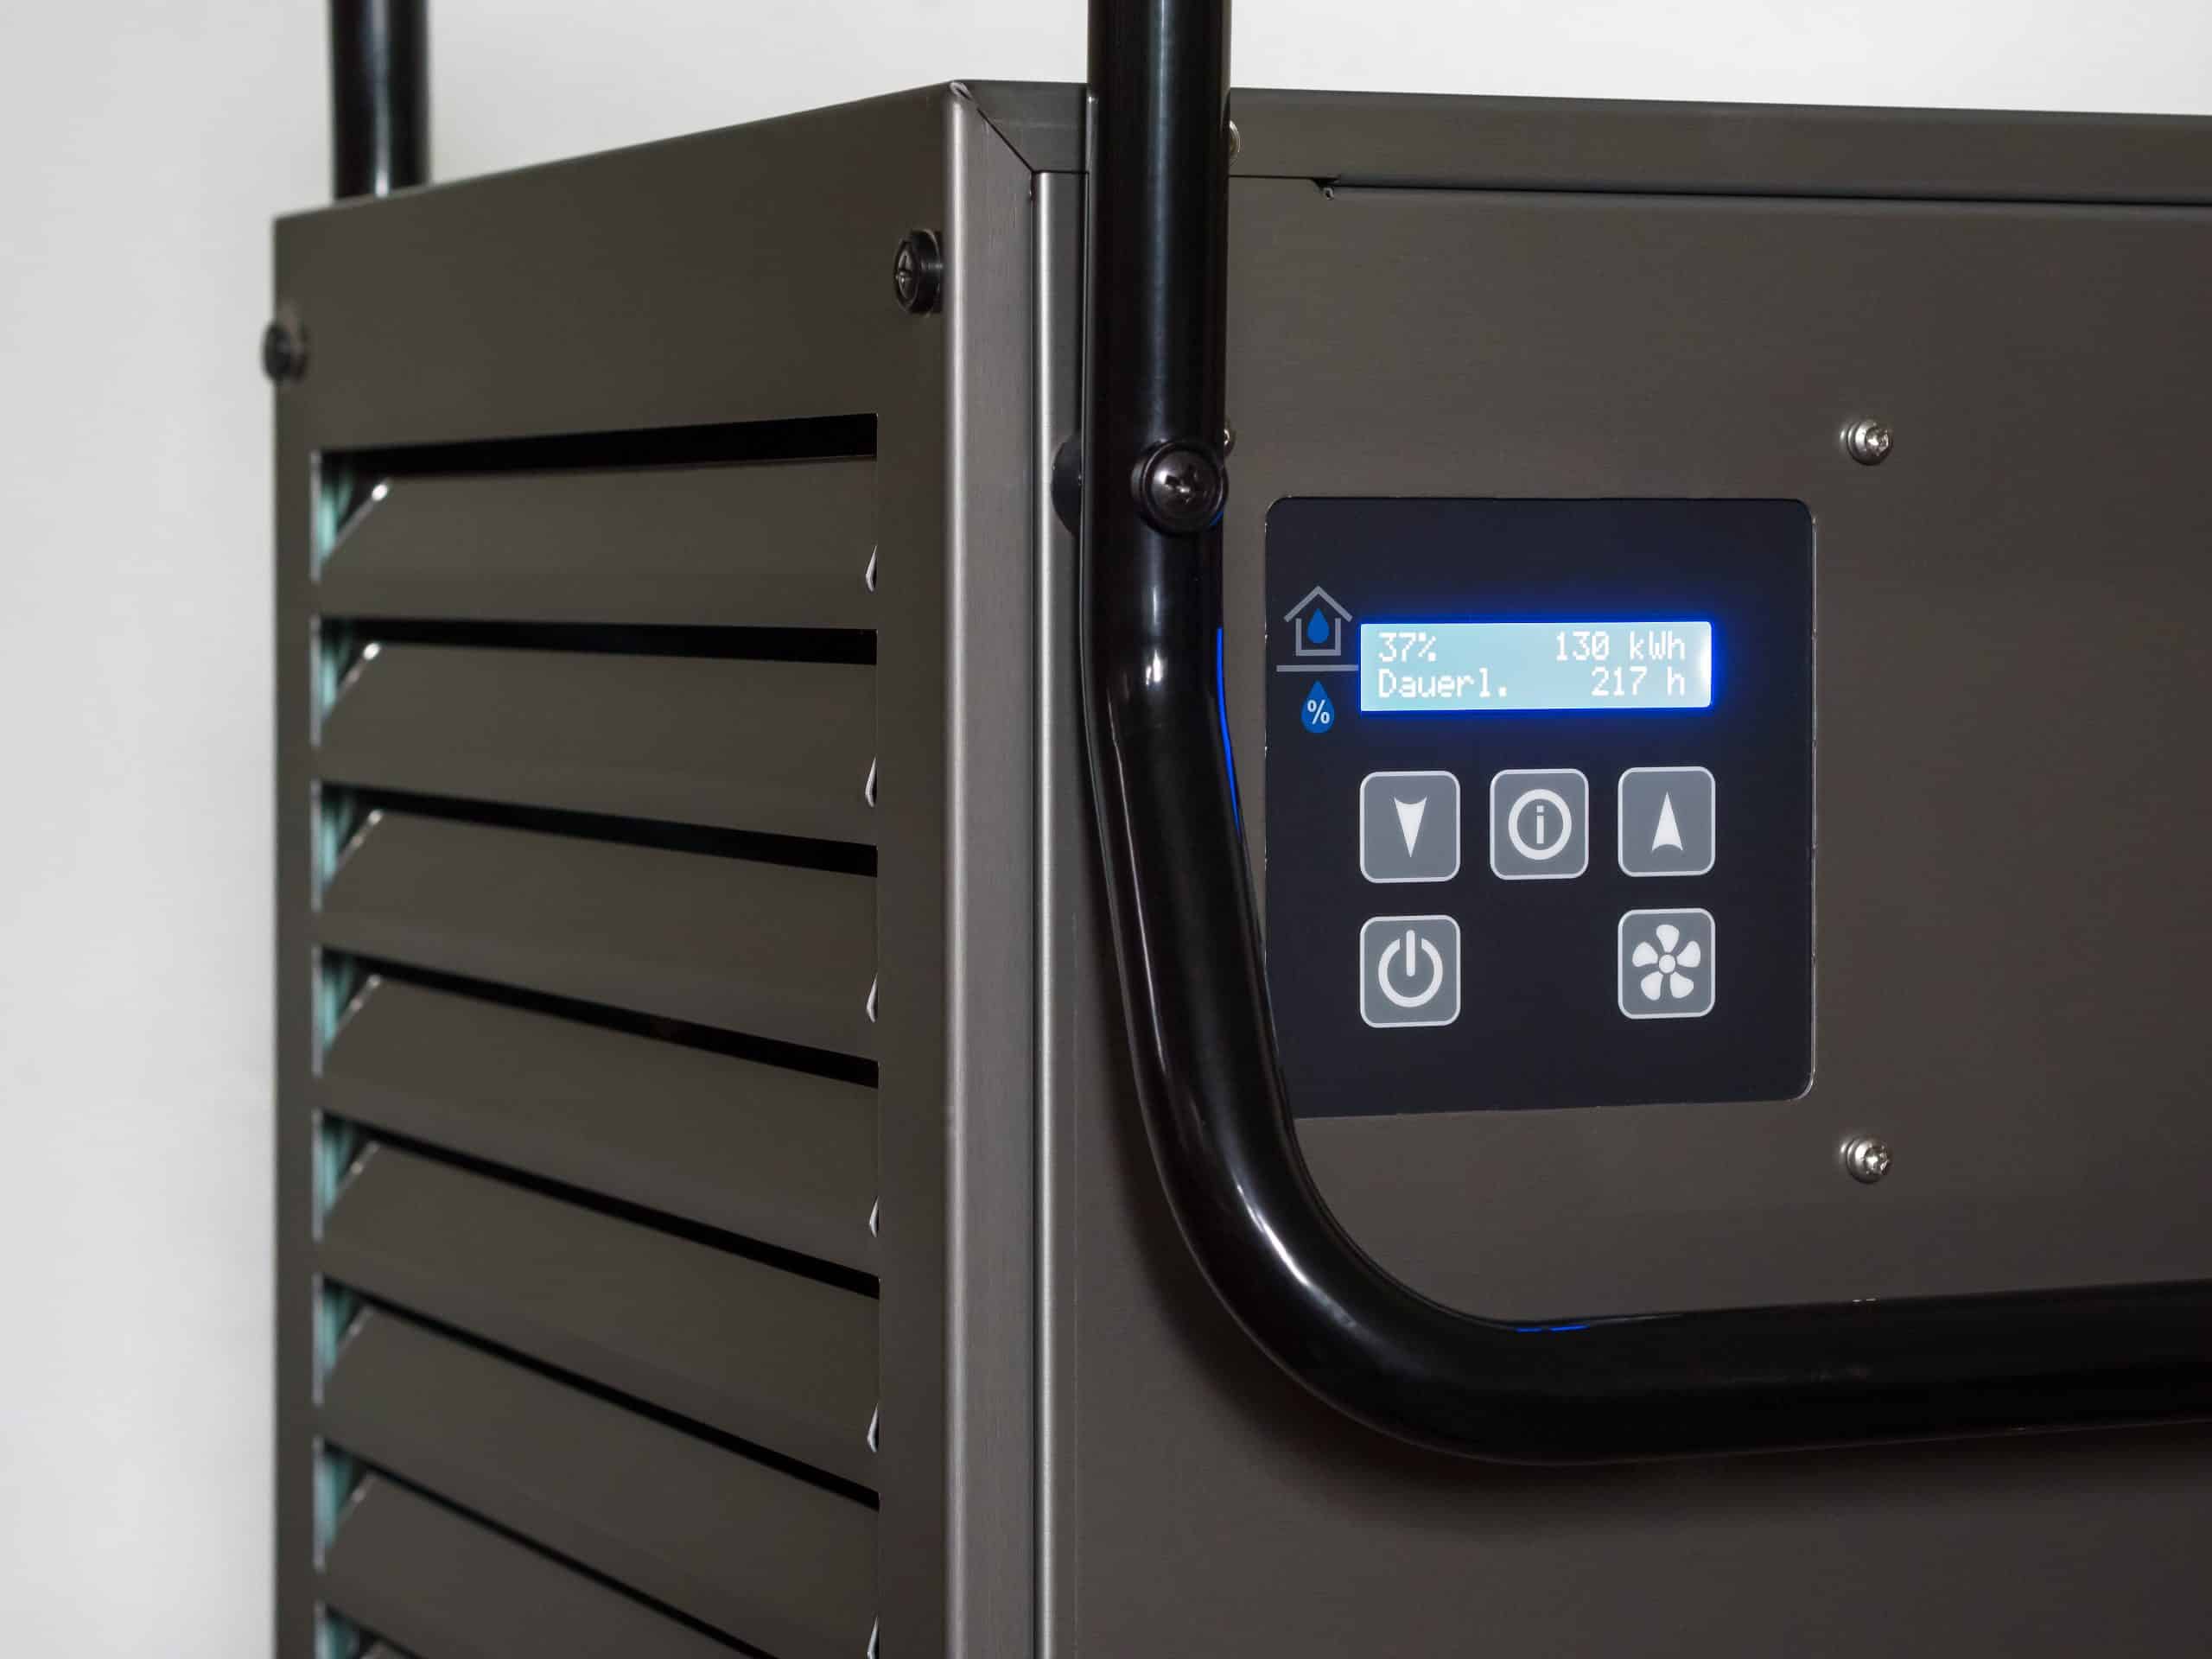
6. Humidistat and Controls: Ensure that the dehumidifier has user-friendly controls and a built-in humidistat. This allows you to easily adjust and monitor the humidity levels in your crawl space for optimal comfort and moisture control.
7. Warranty and Customer Support: Check the warranty offered by the manufacturer and the availability of customer support. Choose a dehumidifier from a reputable brand with good customer reviews and reliable after-sales service.
By carefully considering these factors, you can find a dehumidifier that meets your specific crawl space needs. Investing in the right dehumidifier will not only help prevent moisture-related issues but also contribute to a healthier and more comfortable living environment.
Measure and Prepare Your Crawl Space for Installation
Before installing a dehumidifier in your crawl space, it’s important to take accurate measurements and prepare the area properly. Follow these steps to ensure a successful installation:
1. Measure the Crawl Space: Measure the length, width, and height of your crawl space to determine the square footage. This will help you select the right-sized dehumidifier that can efficiently cover the area.
2. Inspect the Crawl Space: Take a thorough look at the crawl space for any existing issues or damages that need to be addressed before installing the dehumidifier. Check for water leaks, mold growth, or structural damage that may require repairs.
3. Clean and Clear the Area: Remove any debris, clutter, or obstacles from the crawl space. Clearing the area will make it easier to install the dehumidifier and ensure optimal airflow around the unit.
4. Seal Air Leaks: Inspect the crawl space for any gaps, cracks, or openings that may allow outside air and humidity to enter. Seal these air leaks using caulk, expanding foam, or weatherstripping to create an airtight space for the dehumidifier to operate effectively.
5. Improve Ventilation: Proper ventilation is essential for moisture control in a crawl space. If there are inadequate vents or airflow, consider installing additional vents or fans to improve ventilation and promote air circulation.
6. Provide Proper Drainage: Ensure that your crawl space has a proper drainage system in place. This can include installing a sump pump, French drain, or waterproofing membranes to prevent water accumulation and remove excess moisture from the area.
7. Consider Encapsulation: If your crawl space has a history of moisture problems, you may want to consider encapsulation. This involves sealing the crawl space with a vapor barrier to create a moisture barrier and prevent moisture from seeping into the area.
By taking these necessary steps to measure and prepare your crawl space, you can create an ideal environment for the installation of a dehumidifier. Proper preparation ensures that the dehumidifier can effectively remove excess moisture and maintain optimal humidity levels in your crawl space, ultimately protecting your home from potential moisture-related issues.
Install the Drainage System for the Dehumidifier
Installing a proper drainage system for your dehumidifier is crucial to ensure effective moisture removal and prevent water buildup in your crawl space. Follow these steps to install a drainage system for your dehumidifier:
1. Determine the Drainage Method: Decide whether you will opt for a gravity drainage system or a condensate pump. A gravity drainage system relies on the natural slope of your crawl space to allow water to flow out, while a condensate pump pumps the water out of the area.
2. Locate the Drainage Point: Identify the best location for drainage, preferably near an existing floor drain, sump pump, or outside the crawl space. Ensure the drainage point is accessible and allows water to be quickly and efficiently removed from the area.
3. Install Drainage Tubing: Connect the drainage tubing to the dehumidifier’s drainage outlet. If using a gravity drainage system, ensure the tubing is sloped downward to allow water to flow freely. If using a condensate pump, connect the tubing to the pump, and position the pump at the desired drainage point.
4. Secure the Drainage Tubing: Secure the drainage tubing in place using zip ties or clamps. Ensure that the tubing is tightly attached to prevent any leaks or disconnections that could compromise the efficiency of the drainage system.
5. Direct the Tubing to the Drainage Point: Guide the drainage tubing towards the designated drainage point. If using a gravity drainage system, ensure the tubing is directed away from the crawl space and towards the drainage outlet. If using a condensate pump, position the tubing as needed to reach the pump and direct the water towards the outside or an appropriate drainage area.
6. Test the Drainage System: Once the drainage system is installed, test it to ensure proper functioning. Run the dehumidifier and check if the water is being effectively drained through the tubing and exiting the crawl space. Make any necessary adjustments or repairs if the drainage system is not working as intended.
7. Regularly Maintain and Inspect the Drainage System: It’s important to regularly inspect and maintain the drainage system to ensure optimal performance. Clean the drainage tubing and check for any blockages or leaks that may impede the flow of water. Additionally, monitor the drainage system during heavy rainfall or periods of increased humidity to ensure it can handle the excess moisture effectively.
By following these steps, you can install an efficient drainage system for your dehumidifier in the crawl space. Proper drainage ensures that the collected moisture is safely and effectively removed, preventing any potential damage or moisture-related issues in your crawl space.
Set Up the Dehumidifier in Your Crawl Space
Once you have prepared your crawl space and installed the drainage system, it’s time to set up the dehumidifier. Follow these steps to ensure a proper set-up:
1. Positioning: Find a suitable location in the crawl space to place the dehumidifier. It should be positioned in an area with high humidity levels and near a power source. Ensure that there is enough space around the unit for proper air circulation.
2. Leveling: Place the dehumidifier on a level surface to ensure stability and efficient operation. Use a level tool to ensure it is perfectly horizontal and adjust if necessary.
3. Air Filter Installation: Check the dehumidifier’s user manual and install the air filter if required. The air filter helps to capture dust, dirt, and other particles, ensuring cleaner air circulation within the crawl space.
4. Humidistat Setting: Set the desired humidity level on the dehumidifier’s built-in humidistat. This allows the unit to automatically turn on and off to maintain the desired humidity level in the crawl space.
5. Drainage Connection: Connect the drainage tubing from the dehumidifier to the drainage system you installed earlier. Ensure a secure connection to prevent any leaks or disconnections.
6. Power Connection: Connect the dehumidifier to a nearby power outlet using the provided power cord. Make sure to follow the manufacturer’s instructions and safety guidelines during the installation process.
7. Safety Measures: Install a GFCI (Ground Fault Circuit Interrupter) outlet near the dehumidifier to protect against electrical hazards. Additionally, consider using a surge protector to safeguard the unit from power surges or fluctuations.
8. Test Run: Turn on the dehumidifier and allow it to run for a while to ensure it is functioning properly. Check if it is effectively removing moisture from the air and draining it through the designated drainage system.
9. Fine-Tune Settings: Adjust the settings of the dehumidifier as needed. This may include fan speed, timer settings, or additional features specific to your unit. Refer to the user manual for guidance on optimizing the dehumidifier’s performance.
10. Regular Maintenance: It is important to regularly maintain the dehumidifier to ensure optimal performance. This includes cleaning the air filter, emptying the water container (if applicable), and periodically inspecting the unit for any signs of damage or malfunction.
By following these steps, you can effectively set up the dehumidifier in your crawl space. Proper installation and configuration of the unit will ensure efficient moisture removal and create a healthier environment in your crawl space.
Connect the Dehumidifier to Power and Water Source
Connecting the dehumidifier to both a power source and a water source is essential for its proper functioning and maintenance. Follow these steps to successfully connect the dehumidifier:
1. Power Source: Locate a nearby power outlet that is compatible with the dehumidifier’s voltage and wattage requirements. Ensure that the outlet is grounded and in good condition to prevent any electrical hazards. Consider using a surge protector to protect the dehumidifier from power surges.
2. Power Cord: Connect the power cord of the dehumidifier to the power outlet. Ensure a secure connection and make sure the power cord is not twisted or pinched, as this can cause damage to the cord or affect the electrical flow to the unit.
3. Water Source: Determine the water drainage method for your dehumidifier. Most dehumidifiers have a water collection bucket that needs to be manually emptied when full. If this is the case, place the bucket back into the dehumidifier once it is empty. Alternatively, consider connecting a drain hose to the dehumidifier and directing it towards a suitable drainage point.
4. Drainage Hose Connection: If your dehumidifier allows for a drainage hose connection, ensure that the hose is securely attached to the dehumidifier’s drainage outlet. If necessary, use clamps or zip ties to hold the hose in place and prevent any leaks or disconnections.
5. Water Drainage: If you are using a drainage hose, direct the end of the hose to a convenient drainage point, such as a floor drain, sump pump, or outside the crawl space. Ensure that the hose is properly oriented to allow for smooth water flow and prevent any blockages or backflow.
6. Water Level Sensor: Some dehumidifiers are equipped with a water level sensor that automatically shuts off the unit when the water collection bucket is full. If your dehumidifier has this feature, make sure the sensor is functioning properly by testing it after connecting the dehumidifier to the power and water source.
7. Test Run: Once the dehumidifier is connected to the power and water source, turn it on and monitor its operation. Check if the dehumidifier is effectively removing moisture from the air and draining water properly through the designated drainage method.
8. Regular Maintenance: Regularly empty and clean the water collection bucket (if applicable) to avoid any buildup of dirt or bacteria. If using a drainage hose, periodically check for any clogs or obstructions and clear them as needed. Additionally, inspect the power cord and water connections for any signs of damage or wear.
By following these steps, you can successfully connect the dehumidifier to both the power and water source. Proper connections and maintenance will ensure the dehumidifier functions efficiently and effectively in removing excess moisture from your crawl space.
Test and Adjust the Settings of Your Dehumidifier
Once you have installed and connected your dehumidifier, it’s important to test and adjust its settings to ensure optimal performance in removing excess moisture from the air. Follow these steps to properly test and adjust the settings:
1. Power On the Dehumidifier: Turn on the dehumidifier by pressing the power button or adjusting the control panel as per the manufacturer’s instructions. Ensure that the dehumidifier is connected to a power source and the power cord is securely plugged in.
2. Monitor the Humidity Level: Use a hygrometer or the built-in humidistat on the dehumidifier to monitor the humidity level in your crawl space. Set the desired humidity level depending on the recommendations for your specific needs. Generally, a humidity level between 30-50% is considered ideal.
3. Check the Water Collection: If your dehumidifier collects water in a bucket, monitor the water collection and empty it as necessary. Some dehumidifiers also come with an optional continuous drainage feature, which allows you to connect a drain hose for automatic water removal.
4. Adjust Fan Speed: Depending on the model of your dehumidifier, you may have the option to adjust the fan speed. Experiment with different fan speed settings to determine the optimal speed for efficient moisture removal and to minimize noise levels.
5. Timer Settings: If your dehumidifier has a timer feature, consider setting it up according to your preferences. This can help optimize energy usage by scheduling specific times for the unit to run, such as during off-peak electricity hours.
6. Evaluate the Air Quality: After the dehumidifier has been running for a while, evaluate the air quality in your crawl space. Observe if there is a noticeable reduction in musty odors, mold growth, or excess moisture. Additionally, pay attention to any changes in the overall comfort and air freshness.
7. Make Necessary Adjustments: Based on your observations, make any necessary adjustments to the dehumidifier’s settings. If the humidity level is still too high, consider lowering it or increasing the fan speed. Conversely, if the air becomes too dry, adjust the settings accordingly to maintain a balanced humidity level.
8. Regularly Monitor and Fine-Tune: Keep an eye on the dehumidifier’s performance over time and make any adjustments as needed. Factors such as weather conditions, seasonal changes, and crawl space conditions can influence the dehumidifier’s effectiveness. Regularly monitor the humidity level and adjust the settings accordingly.
By testing and adjusting the settings of your dehumidifier, you can ensure that it operates efficiently and effectively in removing excess moisture from your crawl space. Tailoring the settings to suit your specific needs will help create a healthier and more comfortable living environment.
Monitor and Maintain Your Dehumidifier in Your Crawl Space
Regular monitoring and maintenance of your dehumidifier in the crawl space is crucial to ensure its optimal performance and longevity. Follow these important steps to effectively monitor and maintain your dehumidifier:
1. Check the Water Collection: Regularly monitor the water collection bucket or drainage system of your dehumidifier. Empty the bucket as needed or ensure that the drainage system is functioning properly to prevent any overflow or water damage in the crawl space.
2. Clean or Replace the Air Filter: Depending on the manufacturer’s recommendations, clean or replace the air filter regularly. A clogged or dirty air filter can hinder the dehumidifier’s airflow and efficiency. Clean the filter with mild detergent or vacuum it to remove dust, debris, and other particles.
3. Inspect the Drainage System: Regularly inspect the drainage system, including the drainage hose, for any blockages or leaks. Clear any clogs or obstructions that may impede the proper removal of water from the crawl space. Ensure that the drainage hose is properly connected and securely fastened.
4. Clean the Dehumidifier Exterior: Wipe down the exterior of the dehumidifier regularly to remove dust, dirt, and grime. Use a damp cloth or mild cleaning solution, but avoid using abrasive materials or cleaners that may damage the surface of the unit.
5. Schedule Professional Servicing: Consider scheduling periodic professional servicing of your dehumidifier. Qualified technicians can perform thorough inspections, cleanings, and repairs to ensure that the unit is operating at its best and to catch any potential issues early on.
6. Monitor Humidity Levels: Continuously monitor the humidity levels in your crawl space using a hygrometer or the dehumidifier’s built-in humidistat. Ensure that the dehumidifier is maintaining the desired humidity level and adjusting the settings if necessary.
7. Regularly Inspect for Mold or Mildew: Routinely inspect the crawl space for any signs of mold or mildew growth. This includes checking walls, beams, and other surfaces for discoloration, musty odors, or visible signs of fungi. If mold or mildew is detected, take prompt action to address the issue and prevent further growth.
8. Replace or Repair Parts as Needed: If you notice any malfunctioning parts or components, promptly repair or replace them. This may include faulty sensors, fan motors, or electrical connections. Following the manufacturer’s guidelines and seeking professional assistance, if necessary, can help ensure proper maintenance and prolong the lifespan of your dehumidifier.
By diligently monitoring and maintaining your dehumidifier in the crawl space, you can maximize its efficiency and effectiveness in controlling excess moisture. Regular maintenance not only helps prevent potential issues but also promotes a healthier and more comfortable environment in your crawl space.