
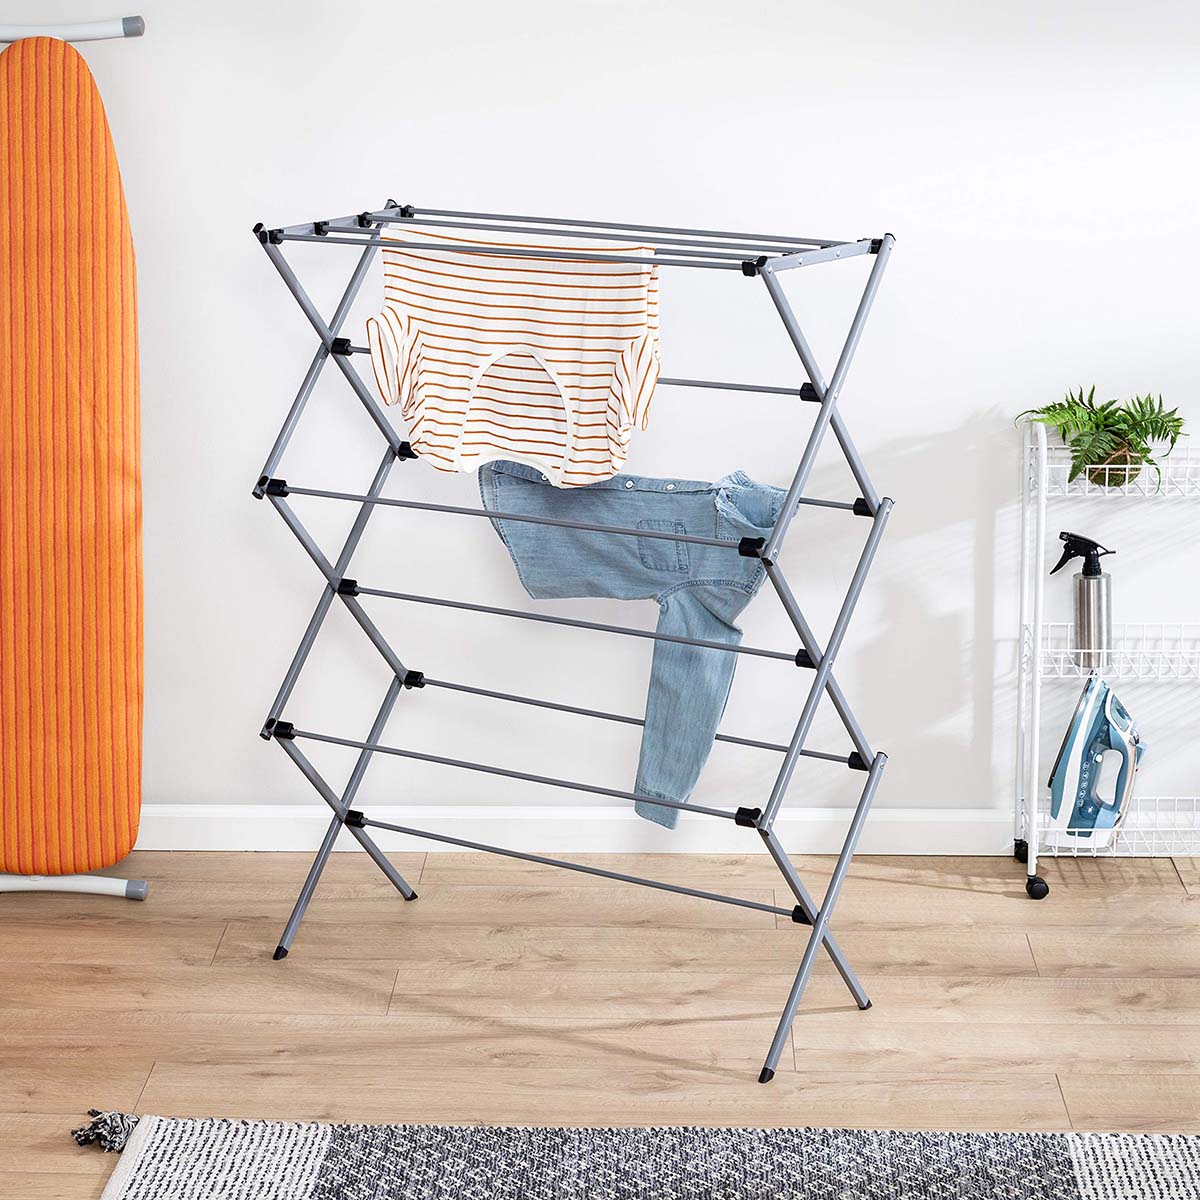
Why should you collapse your drying rack?
Having a drying rack in your home is a convenient way to air dry your clothes, especially delicate items that require gentle handling. However, there may be times when you need to collapse your drying rack to create more space or to store it away when not in use. In this section, we’ll explore the benefits of collapsing your drying rack and how it can improve your living space.
1. Space-saving: One of the main reasons to collapse your drying rack is to free up space in your home. Whether you live in a small apartment or have limited laundry room area, being able to fold and store your drying rack can make a significant difference in the available space. This allows you to utilize the area for other purposes or to maintain a clutter-free environment.
2. Portability: Collapsing your drying rack makes it easier to transport and move around. If you frequently find yourself doing laundry in different areas of your home or even taking it outside, having a collapsible drying rack allows for easy transportation. This is particularly useful if you have stairs to navigate or need to move it from room to room.
3. Versatility: By collapsing your drying rack, you can adapt it to fit different spaces. This is especially beneficial when you have limited room or need to change the configuration of your laundry area. You can adjust the size and shape of the collapsed drying rack to accommodate your specific needs, whether it’s a small nook or a larger open space.
4. Maintenance and cleaning: Folding up your drying rack helps to keep it clean and prolong its lifespan. When not in use, it’s essential to keep the drying rack protected from dust and dirt. By collapsing it, you can store it in a more controlled environment, ensuring that it stays clean and free from potential damage caused by environmental factors.
5. Safety: A collapsed drying rack reduces the risk of accidents and injuries. With the collapsible parts secured, there’s a lower chance of someone accidentally bumping into it or knocking it over. This is especially important if you have children or pets in your home.
Collapsing your drying rack is a practical solution that offers numerous benefits. From creating more space to improving portability and versatility, the ability to fold up your drying rack allows for a more efficient and organized living space. So, the next time you’re done with your laundry, consider collapsing your drying rack for a clutter-free and functional home.
Step 1: Remove any items from the drying rack
Before you can collapse your drying rack, it’s crucial to ensure that it is empty and free from any items that might obstruct the folding process. Follow these steps to safely remove your items:
1. Assess the rack: Take a quick look at your drying rack and determine if there are any clothes, towels, or other items still hanging or placed on it. If so, carefully remove them and place them in a designated area, such as a laundry basket or a nearby table.
2. Check for small items: Sometimes, smaller items like socks or undergarments can get entangled in the drying rack’s rungs or corners. Run your hands along the rack to remove any hidden items that you may have missed. This will help prevent any damage to your clothing or the drying rack during the collapsing process.
3. Fold or hang your items: Once you have removed all the items from the drying rack, take a moment to fold or hang them appropriately. Folding clothes can help prevent wrinkles and ensure they remain in good condition until you’re ready to put them away or wear them.
4. Clear the area: Now that the drying rack is empty, it’s a good idea to clear the surrounding area. Remove any nearby objects or debris that could potentially hinder the collapse or storage of your drying rack. This step will help ensure a smooth and hassle-free folding process.
By taking the time to remove any items from your drying rack before collapsing it, you not only protect your clothes and the drying rack itself from damage but also create a clean and organized space for the folding process. Remember to handle your items with care and observe proper folding techniques to maintain their quality and appearance.
Step 2: Identify the collapsible areas of the drying rack
Once you’ve cleared the drying rack of any items, it’s essential to familiarize yourself with its collapsible areas. This step will allow you to understand how the drying rack is designed to fold and collapse. Follow these guidelines to identify the collapsible areas:
1. Examine the structure: Take a close look at the drying rack and observe its overall structure. Look for hinges, joints, or any visible mechanisms that indicate the collapsible parts. These areas are where the drying rack can be folded to reduce its size and make it more compact for storage.
2. Check for movable parts: Look for any bars, arms, or supports that can be adjusted or moved. These are often the collapsible areas of the drying rack. They may feature locks, buttons, or levers that allow you to unlock or release them, enabling the folding process.
3. Consult the user manual: If you have the user manual or instructions that came with the drying rack, refer to them for specific details on how to collapse it. The manual can provide step-by-step instructions or diagrams that clearly illustrate the collapsible areas and how to fold them. Pay attention to any warnings or precautions mentioned in the manual to ensure safe and proper folding.
4. Seek visual cues: Some drying racks have visual cues, such as colored indicators or arrows, that signify the collapsible areas. Look for these cues on different parts of the drying rack, including the vertical supports, the horizontal bars, or any extension arms. These cues help guide you through the folding process and ensure you fold the drying rack correctly.
By identifying the collapsible areas of your drying rack, you gain a better understanding of how it folds and collapses. This knowledge will make the folding process more efficient and prevent any potential damage to the drying rack. Remember to take your time and carefully examine the structure of the drying rack to ensure you have a clear understanding of its collapsible areas.
Step 3: Start collapsing the vertical supports
Now that you have identified the collapsible areas of your drying rack, it’s time to start collapsing the vertical supports. Follow these steps to safely and effectively collapse the drying rack:
1. Unlock the vertical supports: Begin by locating the locking mechanism or release buttons on the vertical supports of the drying rack. Depending on the design, you may need to press, twist, or pull them to unlock the supports. Refer to the user manual or visual cues, if available, for guidance.
2. Start folding downwards: Once the vertical supports are unlocked, gently fold them downwards towards the center or base of the drying rack. Apply a steady amount of pressure to ensure a smooth and controlled folding motion. Avoid any sudden or forceful movements that could potentially damage the drying rack.
3. Secure the collapsed supports: As you fold down the vertical supports, be mindful of keeping them aligned and parallel to each other. This will prevent the drying rack from becoming uneven or unstable. Once the supports are folded down, engage any locking mechanisms or latches to secure them in place.
4. Double-check for stability: After collapsing the vertical supports, take a moment to assess the stability of the drying rack. Gently shake or lightly tug on the rack to ensure it is securely locked in the collapsed position. If there is any wobbling or instability, re-engage the locking mechanisms or adjust the folding to achieve a stable and secure position.
By following these steps, you can effectively collapse the vertical supports of your drying rack. Remember to be gentle and controlled during the folding process to avoid any unwanted damage. Keep an eye out for any locking mechanisms or latches that need to be engaged to secure the collapsed supports in place. With the vertical supports folded down, you’re now ready to move on to the next step in collapsing your drying rack.
Step 4: Collapse the horizontal bars
With the vertical supports of your drying rack securely folded, it’s time to proceed to the next step: collapsing the horizontal bars. Follow these instructions to effectively collapse the horizontal bars:
1. Identify the locking mechanism: Examine the horizontal bars of your drying rack and locate the locking mechanism or release buttons. These mechanisms are usually situated near the joints or connection points of the bars. Refer to the user manual or any visual cues for specific instructions on how to unlock the bars.
2. Release the locking mechanism: Once the locking mechanism is identified, press, push, or twist it to unlock the horizontal bars. Some drying racks may require you to release multiple locking mechanisms along the length of the bars.
3. Fold the bars inward: With the locking mechanisms released, gently fold the horizontal bars inward towards the center of the drying rack. Apply a controlled amount of pressure to ensure a smooth folding motion. Be cautious not to force the bars or bend them in an unnatural way.
4. Secure the collapsed bars: As you fold the horizontal bars inward, be mindful of aligning them in a parallel and compact position. This ensures that the collapsed drying rack remains stable and doesn’t take up unnecessary space. Depending on the design of your drying rack, there may be additional locks or latches to engage and secure the collapsed bars in place.
5. Check stability and adjust if needed: After collapsing the horizontal bars, double-check the stability of the drying rack. Gently shake or lightly tug on the rack to ensure all the bars are securely locked in the folded position. If you notice any instability or wobbling, make the necessary adjustments by re-engaging the locks or checking the alignment of the folding.
By following these steps, you can successfully collapse the horizontal bars of your drying rack. Take your time and ensure each locking mechanism is released before folding the bars inward. Keep the bars aligned and parallel to maintain a stable and compact collapsed position. With the horizontal bars folded, you’re now ready to move on to the next step in the collapsing process.
Step 5: Secure the collapsed drying rack
Once you’ve successfully collapsed the vertical supports and horizontal bars of your drying rack, it’s important to take the necessary steps to secure it in its folded position. Follow these guidelines to ensure the collapsed drying rack remains safe and stable:
1. Check for locking mechanisms: Examine the collapsible areas of the drying rack to identify any additional locking mechanisms or latches that need to be engaged. These mechanisms may be located on the vertical supports, horizontal bars, or other parts of the rack. Engaging these locks will help keep the collapsed drying rack securely in place.
2. Tighten any adjustable components: Some drying racks may have adjustable components, such as extension arms or clamp mechanisms, that need to be tightened to secure the collapsed position. Refer to the user manual or any provided instructions to properly tighten these components and prevent any accidental unfolding while in storage.
3. Test stability: Once the locking mechanisms and adjustable components are secured, check the overall stability of the collapsed drying rack. Gently shake or lightly move the rack to ensure that it remains stable and doesn’t wobble or unfold. If you notice any instability, recheck the locking mechanisms or adjustments made in the previous steps.
4. Address protruding parts: Take a moment to look for any protruding parts or sharp edges that may pose a safety hazard or cause damage to other items in storage. If you identify any rough edges or protrusions, consider using padding, cushioning materials, or protective covers to minimize the risk of injury or damage.
5. Store in an appropriate location: Once you’re confident that the collapsed drying rack is secure and stable, find a suitable location to store it. Choose a spot that is dry, well-ventilated, and away from excessive heat or humidity. Consider using storage bags or covers specifically designed for drying racks to protect it from dust, dirt, or potential damage while in storage.
By securing the collapsed drying rack, you not only maintain its stability but also ensure the safety of yourself and others around it. Checking for and engaging any locking mechanisms, tightening adjustable components, and addressing protruding parts are crucial steps in keeping the drying rack securely folded. Additionally, storing the collapsed rack in a suitable location helps preserve its condition and functionality. With these measures in place, your collapsed drying rack will be ready for storage until its next use.
Step 6: Store the drying rack in a convenient location
After successfully collapsing and securing your drying rack, it’s time to find a suitable location for storage. By choosing an appropriate spot, you can keep the drying rack easily accessible for future use. Follow these guidelines to ensure a convenient and organized storage solution:
1. Consider available space: Assess the available storage space in your home. Look for areas where the collapsed drying rack can fit without causing any obstructions or inconvenience. This could be a closet, laundry room, garage, or any other designated storage area.
2. Optimize vertical space: If you have limited floor space, consider storing the collapsed drying rack vertically. This can be achieved by propping it up against a wall or using wall-mounted hooks or brackets specifically designed for drying racks. Utilizing vertical space helps maximize storage capacity.
3. Ensure easy accessibility: Choose a storage location that allows for easy access to the drying rack when needed. Avoid placing it in areas that are difficult to reach or require moving heavy objects. This way, you can quickly retrieve the drying rack when it’s time to use it again.
4. Group similar items together: If you have other laundry or cleaning-related items, consider storing them in close proximity to the collapsed drying rack. This helps create a designated space for all your laundry supplies, making it easier to find and access everything you need when doing laundry.
5. Label or categorize: For added convenience, you may want to label or categorize the storage area where the drying rack is kept. This can be done through the use of labels, bins, or color-coded storage containers. By organizing the storage space, you’ll be able to quickly locate the collapsed drying rack when needed.
6. Maintain cleanliness: Keep the storage area clean and free from dust or debris that may accumulate over time. Regularly dust or wipe down the area to ensure that the drying rack remains in good condition while in storage. This also creates a hygienic environment for the next use.
By storing your collapsed drying rack in a convenient location, you make it easily accessible for future use. Considering the available space, optimizing vertical storage, ensuring easy accessibility, and maintaining cleanliness are key factors in creating an organized and functional storage solution. With these considerations in mind, your drying rack will be ready to serve you whenever the need arises.