
Assess the Extent of the Urine Stain
Dealing with a urine stain on your rug can be frustrating, but before jumping into the cleaning process, it’s important to assess the extent of the stain. This will help determine the appropriate cleaning approach and prevent any potential damage to your rug.
Start by visually examining the stain to determine its size and intensity. Is it a small spot or spread over a larger area? Is it a fresh stain or has it been sitting for a while? These factors will impact the cleaning method you use.
If the stain is recent, you’re in luck, as fresh urine stains are generally easier to remove. However, older stains may require more thorough cleaning to eliminate both the stain and the odor.
Next, check if the urine has penetrated into the rug’s fibers or if it’s only surface-level. If it has seeped in, the cleaning process may be more challenging. To test this, press a paper towel onto the stain. If the towel comes up damp or discolored, it means the urine has soaked through.
Keep in mind that different types of rugs may react differently to cleaning solutions, so it’s essential to consider the rug’s material. Delicate or antique rugs may require extra care and should be cleaned by a professional to avoid any damage.
By properly assessing the extent of the urine stain on your rug, you’ll be equipped with the knowledge needed to choose the most appropriate cleaning method. This will ensure effective stain removal without causing any harm to your beloved rug.
Blot Up Any Excess Liquid
Once you have assessed the extent of the urine stain on your rug, it’s crucial to act quickly and blot up any excess liquid. The faster you address the stain, the easier it will be to remove.
To begin, grab a clean, absorbent cloth or paper towel and gently press it onto the urine stain. Do not rub or scrub the area, as this can cause the urine to spread and further penetrate the rug fibers.
Apply gentle pressure to soak up as much of the liquid as possible. Continue blotting until no more moisture transfers onto the cloth. If the stain is large or heavily saturated, you may need to use multiple towels to absorb all the liquid.
It’s important to avoid using colored or patterned towels, as the dyes or prints may transfer to your rug, creating another stain or discoloration. Stick to white or light-colored towels to prevent any potential color bleeding onto the rug fibers.
If the urine has already dried before you discovered the stain, you can moisten the area slightly with water before blotting. This will help to loosen the dried residue and make it easier to absorb.
Remember, the goal is to remove as much liquid as possible without spreading the urine or pushing it deeper into the rug. Blotting will help minimize the size of the stain and prevent any further damage to your rug.
Once you have successfully blotted up the excess liquid, you can proceed to the next steps in the cleaning process to tackle the remaining urine stain and ensure your rug looks and smells fresh once again.
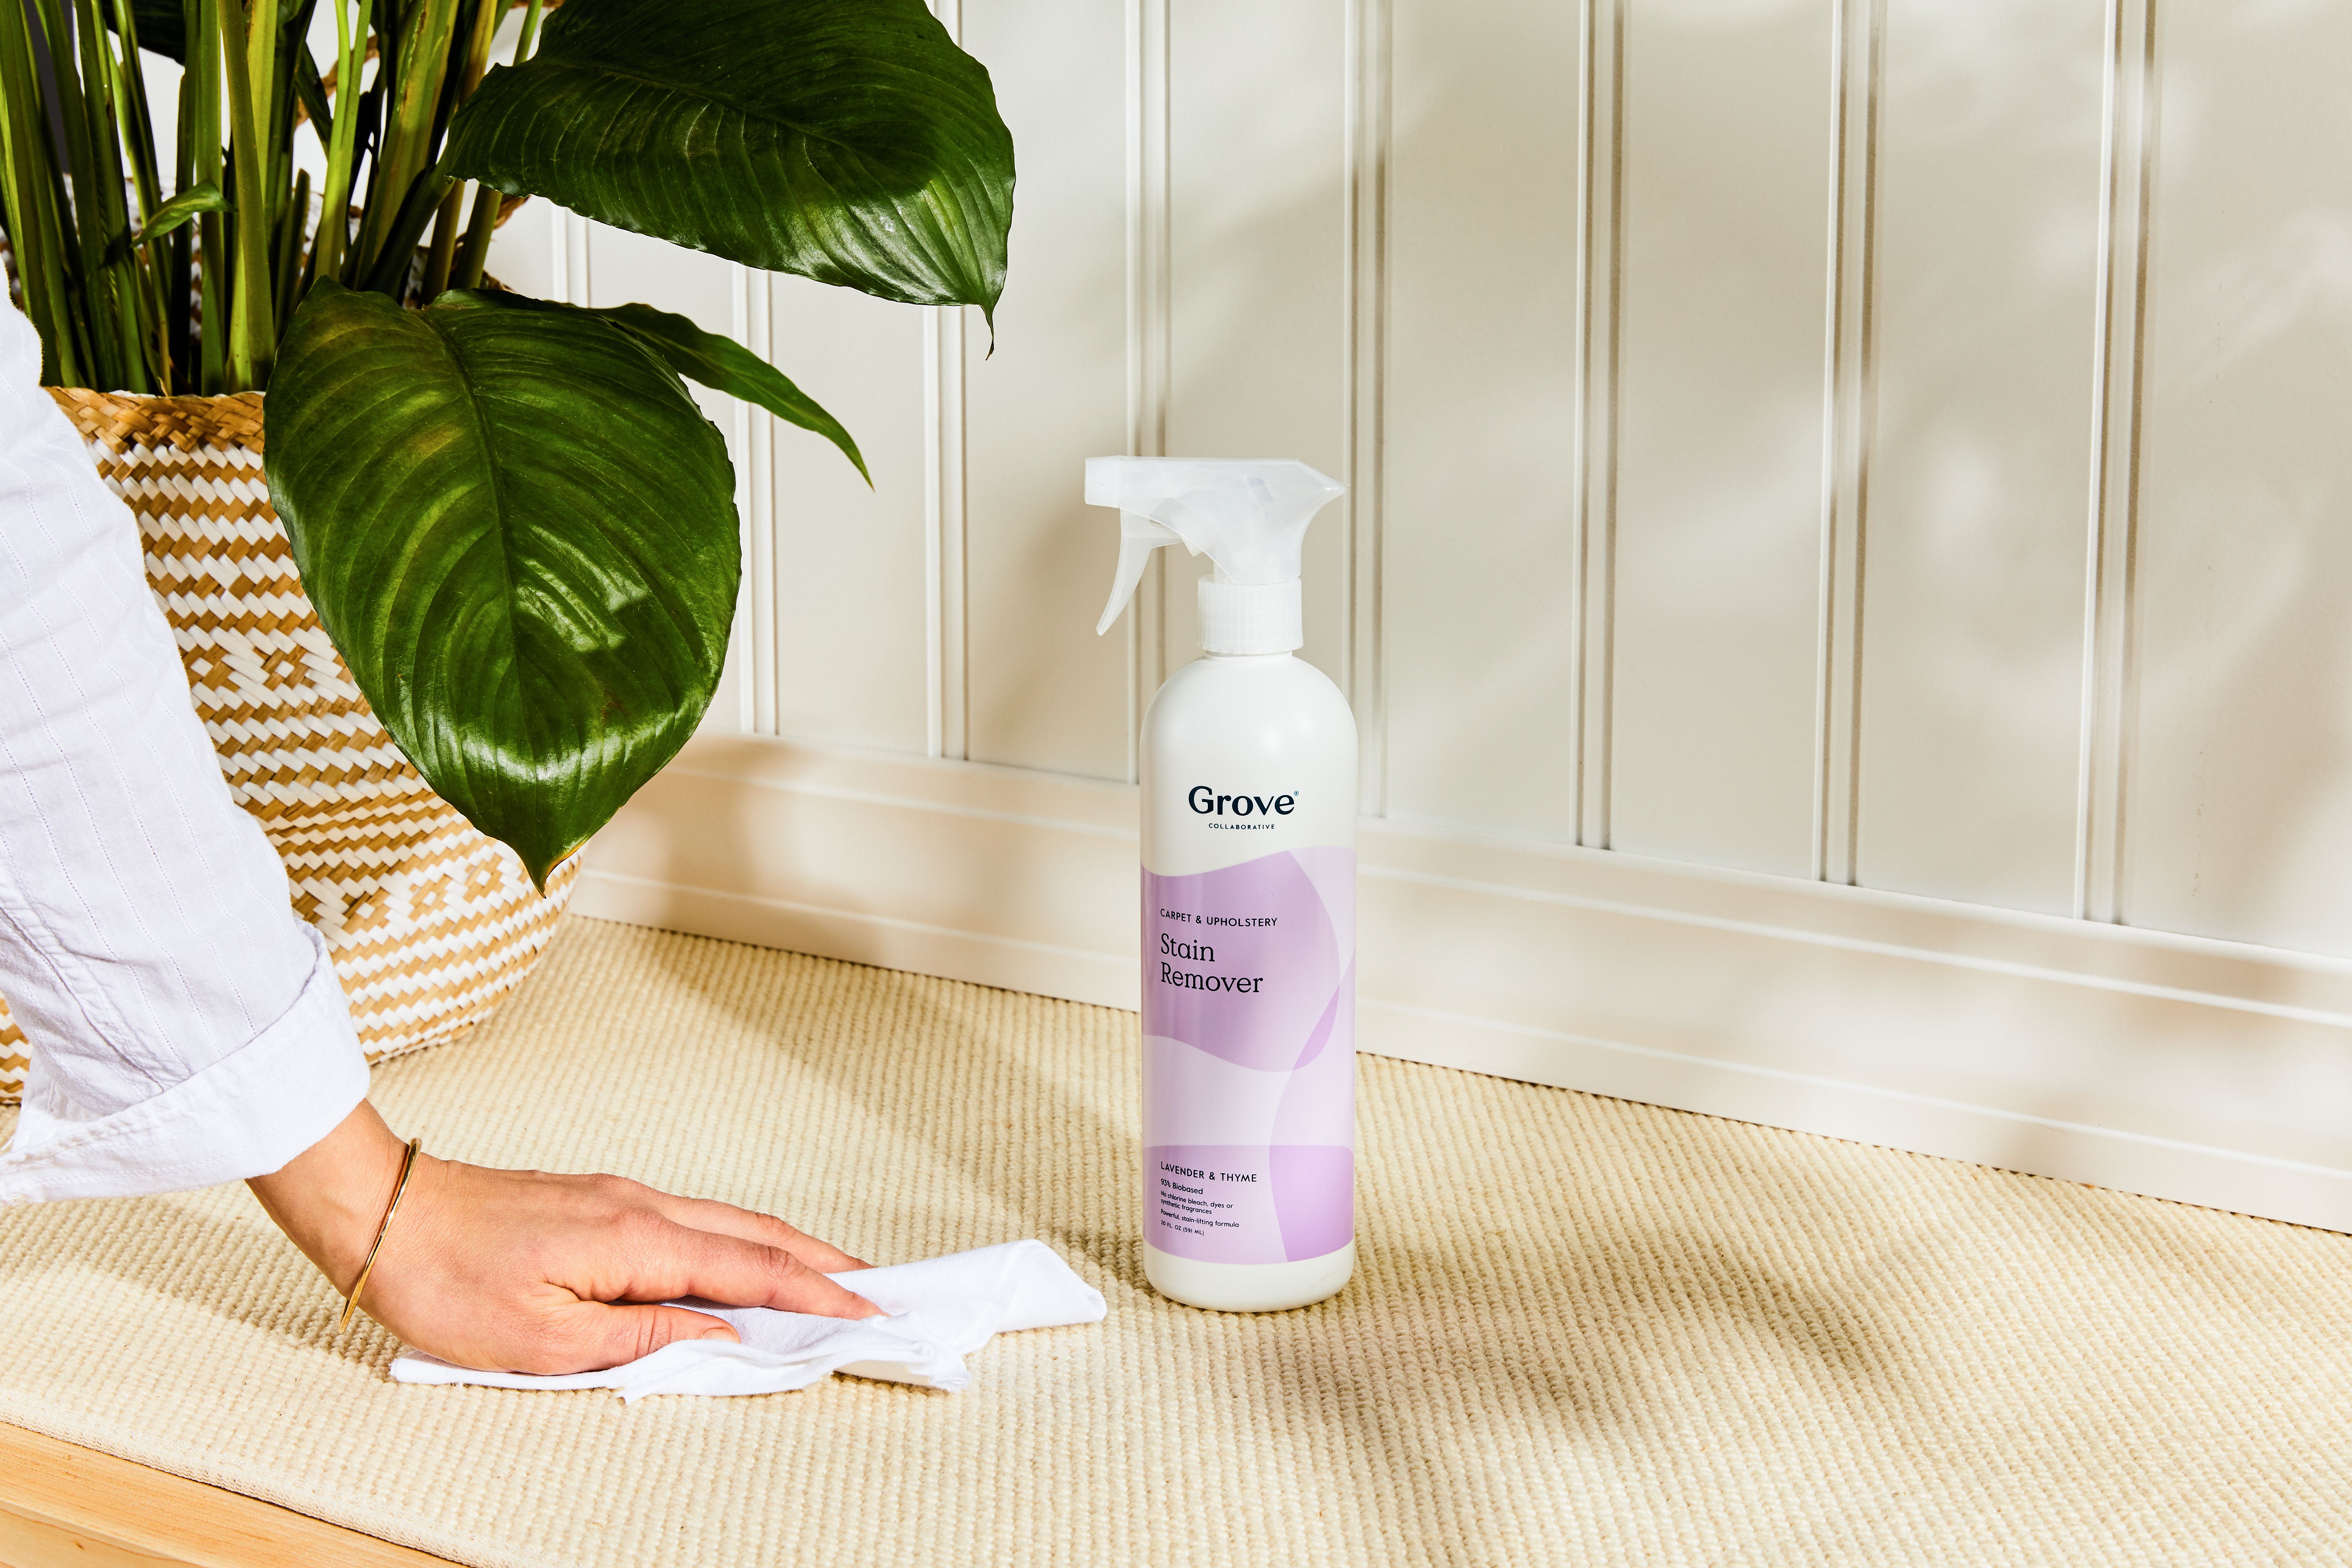
Mix a Cleaning Solution
After blotting up any excess liquid from the urine stain on your rug, it’s time to prepare a cleaning solution that will effectively break down and remove the remaining stain. Making your own cleaning solution allows you to control the ingredients and ensure it is safe for your rug.
One effective homemade cleaning solution for urine stains on rugs is a mixture of white vinegar and water. Vinegar is a natural disinfectant and has deodorizing properties that can help eliminate the urine odor.
To create the cleaning solution, you will need to mix equal parts of white vinegar and water. For example, you can mix 1 cup of vinegar with 1 cup of water in a spray bottle or a bowl. Adjust the quantities accordingly if you need more solution for a larger stain.
If you prefer a scented solution, you can add a few drops of essential oil, such as lavender or lemon, to mask the odor of the vinegar. However, be cautious with essential oils, as some can stain or damage certain rug materials. Test a small amount on an inconspicuous area first to ensure there are no adverse effects.
If you don’t have white vinegar on hand, you can substitute it with hydrogen peroxide. Mix equal parts of 3% hydrogen peroxide and water instead. Avoid using stronger concentrations of hydrogen peroxide, as they may bleach or discolor your rug.
Once you have mixed the cleaning solution, either pour it directly onto the urine stain or transfer it into a spray bottle for easier application. Ensure the stained area is thoroughly saturated with the solution, but avoid soaking the rug excessively, as this can cause damage to the backing or subfloor.
The cleaning solution will help break down the remaining urine stain, making it easier to remove. In the next steps, we’ll explore how to apply the solution and effectively scrub the stain to restore the rug’s appearance.
Test the Cleaning Solution on a Small, Inconspicuous Area of the Rug
Before applying the cleaning solution to the urine stain on your rug, it is essential to perform a patch test on a small, inconspicuous area. This step is crucial to ensure that the solution does not cause any damage or discoloration to your rug.
Choose a discreet corner or an area of the rug that is normally hidden from view, such as under a piece of furniture or along the edges. This way, if any adverse reactions occur, they will not be noticeable.
Now, apply a small amount of the cleaning solution to the test area. Use a clean cloth or sponge to gently dab or blot the solution onto the rug fibers. Allow it to sit for a few minutes, then inspect the area for any changes.
Look for signs of discoloration, bleeding, or damage to the rug. If the colors remain intact and there are no visible negative effects, it is safe to proceed with using the cleaning solution on the urine stain.
However, if you notice any adverse reactions, such as color fading, bleeding, or texture changes, do not continue with the cleaning solution. Instead, consider seeking professional help or researching alternative methods that are safer for your specific rug type.
Keep in mind that different rug materials and dyes may react differently to cleaning solutions. A patch test is an essential precautionary step to avoid causing further damage to your rug.
Once you have confirmed that the cleaning solution is safe for your rug, you can proceed with confidence to apply the solution to the urine stain and begin the stain removal process.
Apply the Cleaning Solution to the Urine Stain
Now that you have tested the cleaning solution on a small, inconspicuous area of your rug and confirmed its safety, it’s time to apply the solution to the urine stain itself. By doing so, you will effectively break down the stain and begin the process of removing it from your rug.
You can either pour the cleaning solution directly onto the stain or use a spray bottle to evenly distribute it. Ensure that the stained area is thoroughly saturated with the solution, but be mindful not to oversaturate, as excessive moisture can damage your rug’s fibers or backing.
Once the cleaning solution is applied, allow it to penetrate the urine stain for a few minutes. This will help loosen the stain and allow the solution to work effectively.
After the solution has had time to sit, it’s time to take action. Use a clean cloth or sponge to gently scrub the stain in a circular motion. Be careful not to rub too vigorously, as this can cause the stain to spread or push it further into the rug fibers.
Continue scrubbing until you feel the stain starting to break up and lift from the rug. You may notice the color of the stain transferring onto the cloth or sponge as you scrub. This is a positive sign that the cleaning solution is doing its job.
If you’re dealing with a particularly stubborn or ingrained stain, you may need to repeat the process a few times. Patience and persistence are key. Remember to always use a clean portion of the cloth or sponge for each scrubbing pass, to avoid spreading the stain or dirt.
Keep in mind that different rug materials may require varying levels of gentleness during the scrubbing process. Delicate or antique rugs should be handled with care to prevent any damage or distortion to the fibers.
By applying the cleaning solution and scrubbing the stain gently, you are well on your way to successfully eliminating the urine stain from your rug. However, the process is not yet complete. In the next steps, we’ll learn how to rinse the area, remove excess moisture, and neutralize any lingering pet odor.
Gently Scrub the Stain with a Clean Cloth or Sponge
Once the cleaning solution has been applied to the urine stain on your rug, it’s time to gently scrub the stain to break it up and remove it from the fibers. The key to successful stain removal is to approach the process with care and avoid causing any damage to the rug.
Start by selecting a clean cloth or sponge that is soft and non-abrasive. Avoid using brushes or scrubbers with stiff bristles, as they can agitate the rug fibers and potentially cause fraying or matting.
Dip the cloth or sponge into a bowl of clean water to slightly dampen it. The moisture will aid in the gentle scrubbing process. It’s important not to soak the cloth or sponge, as excessive moisture can lead to over-saturation of the rug.
With the cloth or sponge dampened, begin to gently scrub the urine stain in small, circular motions. Apply light pressure as you work, focusing on the area directly affected by the stain.
Continue scrubbing until you notice the stain breaking up and transferring onto the cloth or sponge. Be aware that you may need to switch to a clean portion of the cloth or sponge if it becomes saturated with stain or dirt.
Take your time while scrubbing and be patient. Avoid the temptation to scrub vigorously, as this can result in the spread of the stain or damage to the rug fibers.
If the stain persists after your initial scrubbing attempts, don’t fret. You may need to repeat the process a few times to completely remove the stain. Patience and persistence are key in achieving the desired results.
Once you are satisfied with the progress made in breaking up the stain, proceed to the next steps in the cleaning process, such as rinsing the area with clean water and blotting the rug to remove excess moisture.
Remember, the goal is to gently scrub the stain to lift it from the rug fibers, restoring the rug’s appearance. With the right technique and approach, you’ll be well on your way to effectively removing the urine stain from your cherished rug.
Rinse the Area with Clean Water
After gently scrubbing the urine stain on your rug, it’s important to thoroughly rinse the area with clean water. This step is crucial in removing any residual cleaning solution and loosened stain particles from the rug’s fibers.
First, prepare a basin or bucket of clean water. Make sure the water is at room temperature or slightly cooler. Avoid using hot water, as it can potentially damage certain rug materials.
Take a clean cloth or sponge and immerse it in the water. Wring out any excess moisture, leaving the cloth or sponge damp but not dripping wet.
Using the damp cloth or sponge, gently blot or dab the rinsing water onto the area where the urine stain was located. Gradually work your way over the stained area, ensuring that you cover the entire spot.
Rinsing is crucial to remove any remaining cleaning solution residue from the rug. As you apply the clean water, you’ll notice that the excess solution and stain particles transfer onto the cloth or sponge.
Remember to rinse out the cloth or sponge frequently during the process to prevent reapplying any dirt or residue back onto the rug. This helps maintain the cleanliness of the rinsing water.
Continue rinsing the area until you no longer see any traces of cleaning solution or stain on the cloth or sponge. This step is crucial in preventing any chemical residue build-up, which can attract dirt and potentially damage the rug fibers over time.
Once you’ve thoroughly rinsed the area, it’s time to remove excess moisture from the rug. This can be done by gently blotting the rug with clean, absorbent towels, as we’ll cover in the next steps.
Rinsing the urine stain with clean water ensures that your rug is free from any remaining cleaning solution and stain residue. This step sets the stage for the final steps in the cleaning process to leave your rug looking fresh and revitalized.
Blot the Rug to Remove Excess Moisture
After rinsing the urine-stained area of your rug, it’s important to remove any excess moisture to prevent it from seeping further into the fibers or causing damage. Blotting the rug is a gentle and effective method to absorb the moisture without harshly rubbing or scrubbing the fibers.
Start by grabbing a clean, absorbent towel or several paper towels. Lay the towels over the wet area and press down gently, applying light pressure. Allow the towels to soak up the moisture for a few seconds.
When the towels become damp, replace them with fresh, dry towels. Repeat this process until the towels no longer absorb any moisture from the rug. By swapping out the towels, you ensure maximum absorption and avoid spreading the moisture around.
Avoid the temptation to rub or scrub the rug vigorously with the towel, as this can damage the fibers or cause the stain to spread. Instead, focus on gentle pressing motions to draw out the moisture.
If the urine stain was particularly large or saturated, you may need to use multiple towels or repeat the blotting process several times until the rug feels only slightly damp to the touch.
It’s important to remember that different rug materials may have varying levels of absorbency. Delicate or handmade rugs may require extra care during this step to prevent any distortion or damage.
If the stain odor persists even after blotting, you can apply a pet odor neutralizer specifically designed for use on rugs and carpets. However, ensure that the neutralizer is compatible with your rug material and follow the manufacturer’s instructions for best results.
Once you have successfully removed as much moisture as possible, it’s time to allow the rug to air dry completely. This will help prevent mold and mildew growth and ensure that your rug is ready for use once again.
By gently and patiently blotting the rug to remove excess moisture, you are taking the necessary steps to dry and preserve the rug’s integrity. Next, we’ll cover how to apply a pet odor neutralizer and allow the rug to air dry completely.
Apply a Pet Odor Neutralizer
After blotting the urine-stained area and removing excess moisture from your rug, it’s important to address any lingering odor that may be present. Applying a pet odor neutralizer can effectively eliminate the smell and leave your rug smelling fresh and clean.
When selecting a pet odor neutralizer, look for one that is specifically formulated for use on rugs and carpets. These products are designed to penetrate deep into the fibers and break down the odor-causing molecules from the urine stain.
Before applying the neutralizer, refer to the manufacturer’s instructions for the proper usage and dilution ratio. It’s important to follow these guidelines to ensure effective odor removal without causing any damage to your rug.
Once you have prepared the pet odor neutralizer according to the instructions, apply it directly to the urine-stained area of the rug. Use a spray bottle or pour a small amount of the neutralizer onto the affected area, making sure to cover it completely.
Allow the pet odor neutralizer to penetrate the rug fibers and work its magic for the recommended amount of time. This will vary depending on the product you are using, so be sure to check the instructions provided.
After the specified time has elapsed, you can use a clean cloth or towel to gently blot the treated area. This helps to remove any excess neutralizer and ensure that it doesn’t leave behind any residue on the rug.
Avoid rinsing the rug after applying the pet odor neutralizer, as this can dilute its effectiveness. Instead, let the rug air dry completely, allowing the neutralizer to continue working and completely eliminate any remaining odor.
Keep in mind that some pet odor neutralizers may leave a slight scent behind. If you find the scent too strong or unpleasant, you can open windows or use a fan to aid in the air circulation while the rug dries.
By applying a pet odor neutralizer, you are addressing any lingering smells associated with the urine stain on your rug. This step ensures that your rug not only looks clean but also smells fresh and inviting.
Allow the Rug to Air Dry Completely
After treating the urine stain on your rug and applying a pet odor neutralizer, it’s crucial to allow the rug to air dry completely. Proper drying is essential to prevent mold or mildew growth and ensure that your rug is ready to be used again.
Start by finding a well-ventilated area in your home where you can lay the rug flat. If possible, choose a spot away from direct sunlight, as prolonged exposure to the sun’s rays can cause fading or discoloration of certain rug materials.
Avoid hanging the rug to dry, as this can stretch the fibers or cause them to lose their shape. It’s best to lay the rug on a clean surface that can absorb any remaining moisture.
Prop up the edges of the rug slightly to promote airflow and aid in the drying process. This helps to prevent any damp spots from developing and allows for even drying throughout the rug.
Depending on the thickness of the rug and the humidity levels in your environment, the drying time may vary. On average, it can take anywhere from a few hours to a couple of days for a rug to air dry completely.
During the drying process, avoid walking on the rug or placing any furniture or objects on it. This prevents any unnecessary pressure or movement that could potentially disrupt the drying process or leave indentations on the rug.
While the rug is drying, it’s normal to notice a slight residual odor. This is due to the moisture evaporating and the remaining cleaning solution or pet odor neutralizer finishing their work. The odor should dissipate completely once the rug is fully dry.
To facilitate the drying process, you can place fans in the room to increase air circulation. This helps to speed up the evaporation of moisture from the rug.
It’s important to exercise patience and allow the rug to dry naturally. Rushing the process by using artificial heating methods, such as heaters or hairdryers, can potentially damage the rug fibers or cause them to shrink.
Once the rug is completely dry, give it a final inspection to ensure that the urine stain has been successfully removed. Run your hand over the area to check for any lingering odor or residue.
By allowing the rug to air dry fully, you’re giving it the time it needs to regain its texture, appearance, and freshness. With proper drying, your rug will be ready to be placed back in its designated spot, free from any moisture or lingering odors.
Vacuum the Rug to Remove Any Remaining Residue
Once your rug has fully air-dried after being treated for a urine stain, it’s important to give it a thorough vacuuming. This final step helps remove any remaining residue, dirt, or particles that may have settled on the rug during the cleaning process.
Start by ensuring that your vacuum cleaner is clean and in good working condition. Check the vacuum bag or canister to ensure it has enough space to collect the debris without getting clogged.
Before you begin vacuuming, take a close look at the rug’s surface. Look out for any loose threads or fringes, and if you spot any, avoid vacuuming over them as it can cause further damage or unraveling.
Choose the appropriate attachment for your vacuum, such as a brush or beater bar attachment. These attachments work well for most types of rugs, but for delicate or antique rugs, it’s best to use a suction-only attachment to prevent any damage.
Start at one end of the rug and slowly move the vacuum cleaner across the surface, going in the direction of the rug’s pile. This ensures that the vacuum effectively lifts and removes any dirt or debris trapped within the fibers.
Be thorough in your vacuuming technique, overlapping each pass to ensure comprehensive coverage. Pay extra attention to the formerly stained area, as it may require more attention to remove any remaining residue.
If your rug has a high pile or shaggy texture, you may need to adjust the vacuum’s height setting accordingly. A higher setting allows the vacuum to glide smoothly over the fibers without becoming overly aggressive.
Take your time during the vacuuming process, especially if your rug is large or covers a significant area. Going slowly allows the vacuum to effectively pick up any particles that may have settled on the rug’s surface.
After vacuuming the entire rug, carefully check the collection bag or canister to ensure it doesn’t need to be emptied. A full bag or canister reduces the vacuum’s performance and can prevent it from effectively removing debris.
By vacuuming the rug, you are ensuring that any remaining residue, dirt, or particles are removed, leaving your rug looking clean and refreshed. This step completes the cleaning process and prepares your rug to be enjoyed once again.
Repeat the Process if Necessary
While following the previous steps should effectively remove the urine stain from your rug, there are instances where stubborn stains or odors may persist. In such cases, it may be necessary to repeat the cleaning process to achieve the desired results.
If, after the initial cleaning, you notice that the stain is still visible or the odor remains, do not get discouraged. Take a deep breath and prepare to readdress the problem area.
Start by assessing the stain once again. Determine if there are any remaining traces that need further attention. This could be discoloration, lingering odor, or any visual indications that the stain has not completely disappeared.
If necessary, repeat the steps from the beginning, starting with blotting up any excess liquid. Mix a fresh batch of cleaning solution and apply it to the stain, carefully scrubbing with a clean cloth or sponge. Rinse the area with clean water and blot the rug to remove excess moisture as before.
Applying a pet odor neutralizer during the repeat process can also help combat any persistent smells. Ensure that you follow the dilution instructions and application guidelines provided by the manufacturer.
As you go through the process again, pay attention to any changes. If there is improvement in the stain’s appearance or the odor is diminishing, you are heading in the right direction. However, if the stain or odor persists after multiple attempts, it may be beneficial to seek professional assistance or consider alternative cleaning methods.
Remember, patience and persistence are key in successfully removing tough stains and odors. It’s not uncommon for certain urine stains to require multiple cleaning sessions to be fully eradicated from your rug.
Keep in mind that different factors, such as the type of rug, the rug’s condition, and the age of the stain, can contribute to the need for repetition. Adjust your approach and cleaning solutions accordingly to match the specific requirements of your situation.
By repeating the cleaning process if necessary, you are demonstrating your commitment to achieving a clean and fresh rug. Don’t give up easily and be prepared to invest the time and effort required to achieve the desired results.