
Safety Precautions
Before embarking on the cleaning process for your bronze sculpture, it is important to prioritize safety. Taking the necessary precautions will not only protect you but also ensure the preservation of the artwork. Here are the essential safety measures to follow:
- Wear protective gear: Put on disposable gloves, safety goggles, and a dust mask to shield yourself from any potential chemical exposure or dust particles.
- Choose a well-ventilated area: Clean your bronze sculpture in a space with good air circulation to minimize inhalation of fumes from cleaning solutions.
- Test cleaning solutions: Before applying any cleaning solution to your sculpture, conduct a patch test on a small, inconspicuous area first to ensure it doesn’t cause any damage or discoloration.
- Avoid abrasive tools: Use soft brushes or cloth for cleaning and avoid abrasive tools that can scratch or damage the surface of the bronze.
- Protect the surrounding area: Cover the floor or any nearby surfaces with plastic or a drop cloth to prevent any accidental spills or damage from cleaning agents.
- Handle the sculpture with care: When moving or handling the sculpture, be cautious to avoid dropping or causing any accidental damage.
- Be mindful of electrical hazards: If your bronze sculpture has lighting elements, make sure to unplug them before cleaning to avoid any potential electrical accidents.
- Follow manufacturer’s instructions: If your sculpture has specific cleaning instructions provided by the artist or manufacturer, it is crucial to follow them to ensure proper care and preservation.
By adhering to these safety precautions, you can confidently proceed with cleaning your bronze sculpture, knowing that you are minimizing the risks and maximizing the chances of successfully restoring its beauty.
Removing Dust
Before diving into a deep cleaning process, it is essential to start by removing any dust or loose debris from the surface of your bronze sculpture. Dust can accumulate over time and diminish its overall appearance. Here’s how you can effectively remove dust from your sculpture:
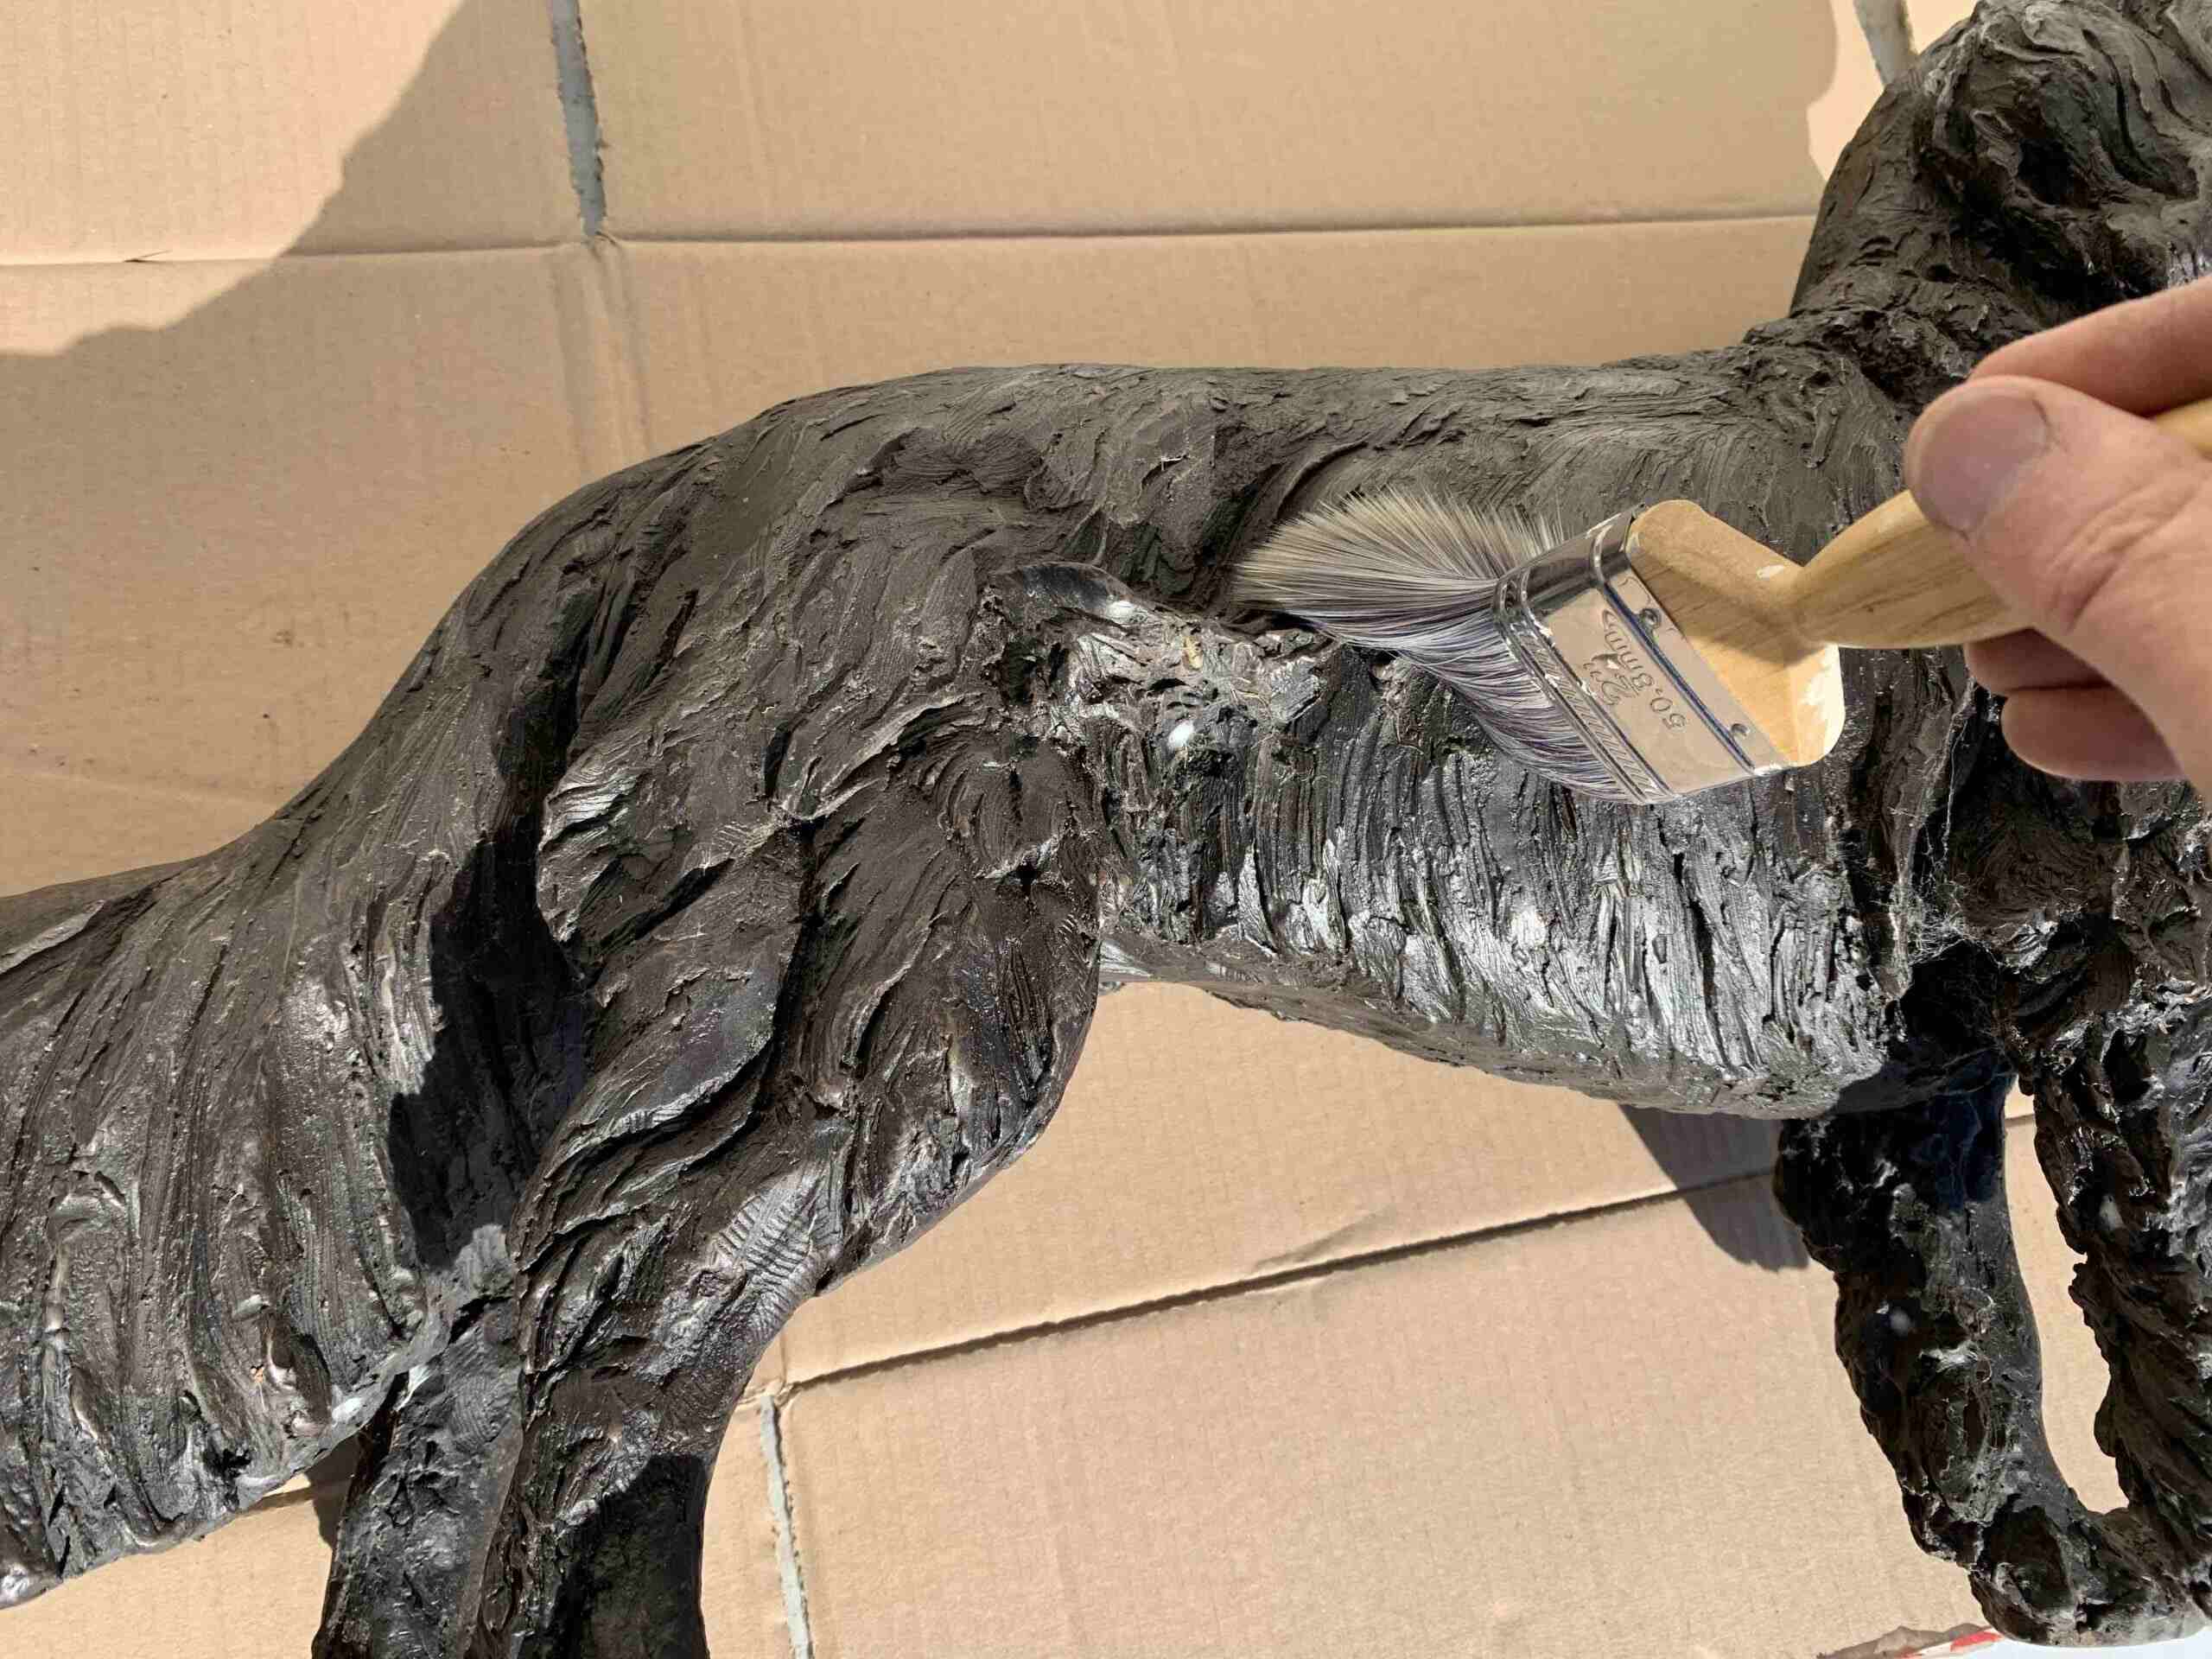
- Use a soft brush: Begin by gently brushing the surface of the sculpture with a soft-bristled brush. Opt for a brush specifically designed for delicate surfaces to avoid scratching the bronze. A paintbrush or a makeup brush can work well for this purpose.
- Start from the top: Begin brushing from the top of the sculpture and work your way down to ensure that any dislodged dust falls onto already-cleaned areas.
- Brush in different directions: Vary the direction of your brush strokes to effectively remove dust from all the crevices and textures of the sculpture’s surface.
- Pay attention to delicate areas: Be extra careful when brushing around delicate parts, such as small detailing or fragile elements, to avoid causing any damage.
- Use compressed air: If the sculpture has intricate details or hard-to-reach places, you can also use compressed air or a can of compressed air to blow away loose dust particles. Hold the can a few inches away from the sculpture and use short bursts for best results.
- Repeat as necessary: Depending on the amount of dust buildup, you may need to repeat the brushing process multiple times until the surface appears clean.
By diligently removing the dust from your bronze sculpture, you will not only improve its aesthetic appeal but also ensure that no dirt particles interfere with the cleaning process.
Preparing a Cleaning Solution
Once you have successfully removed the dust from your bronze sculpture, the next step is to prepare a cleaning solution that is safe and effective for the material. Here’s how to create a gentle yet powerful cleaning solution:
- Use mild dish soap: Fill a bucket or basin with warm water and add a small amount of mild dish soap. Avoid using harsh or abrasive cleaners that can damage the bronze surface.
- Avoid harsh chemicals: Steer clear of cleaning solutions that contain ammonia, bleach, or other strong chemicals, as they can cause discoloration or react negatively with the bronze.
- Consider a commercial bronze cleaner: If you prefer, you can use a commercial bronze cleaner specifically designed for sculptures. Follow the instructions on the product label to achieve the desired concentration.
- Adjust the concentration: Depending on the level of dirt or tarnish on your sculpture, you may need to adjust the concentration of your cleaning solution. Start with a small amount of soap and gradually increase if necessary.
- Test the solution: Before applying the cleaning solution to the entire sculpture, perform a patch test on an inconspicuous area to ensure there is no adverse reaction or damage.
- Prepare multiple buckets: If your sculpture has intricate details or different areas with varying degrees of tarnish, consider preparing separate buckets of cleaning solution with different concentrations to address specific areas effectively.
Remember, it is always better to start with a milder cleaning solution and increase the concentration gradually, if needed. This will help safeguard the integrity of the bronze and minimize the risk of any unintended damage.
Applying the Cleaning Solution
Now that you have prepared a suitable cleaning solution for your bronze sculpture, it’s time to apply it to the surface. Follow these steps to ensure the cleaning solution effectively removes dirt and tarnish without causing any harm:
- Dampen a soft cloth or sponge: Dip a soft cloth or sponge into the cleaning solution, ensuring it is thoroughly dampened but not dripping.
- Start from the top: Begin applying the cleaning solution to the sculpture from the top and work your way down. This allows any excess solution to flow downward, preventing it from pooling in one area and potentially damaging the sculpture.
- Gently rub the surface: Using gentle circular motions, rub the dampened cloth or sponge over the bronze surface. Focus on areas with visible dirt or tarnish, applying a bit more pressure if needed, but always be cautious not to scrub aggressively.
- Pay attention to crevices and intricate details: Use a soft-bristled brush or a cotton swab soaked in the cleaning solution to reach and clean any hard-to-reach areas or intricate details on the sculpture.
- Work in small sections: To ensure thorough cleaning, tackle the sculpture in small sections at a time, periodically rinsing the cloth or sponge and refreshing the cleaning solution.
- Be patient: Allow the cleaning solution to sit on stubborn stains or tarnish for a few minutes before gently rubbing them again. This helps loosen the dirt for easier removal.
Take your time and be mindful of the sculpture’s delicacy. By following these steps and applying the cleaning solution with care, you will effectively remove dirt and tarnish, revealing the true beauty of your bronze sculpture.
Brushing and Scrubbing
In order to achieve a thorough cleaning of your bronze sculpture, brushing and scrubbing can be utilized to remove stubborn grime or tarnish. However, it is essential to exercise caution and use gentle techniques to avoid causing any damage to the delicate surface. Here’s how to effectively brush and scrub your sculpture:
- Choose the right brush: Select a soft-bristled brush that is appropriate for bronze surfaces. Avoid stiff or abrasive brushes that can scratch or mar the sculpture.
- Apply mild pressure: Start by applying light pressure with the brush and gradually increase if necessary. Remember, the goal is to remove dirt, not to forcefully scrub the surface.
- Focus on stubborn areas: Pay special attention to areas with more significant dirt or tarnish. Gently brush these areas in circular motions to dislodge any stubborn particles.
- Brush along the grain: If your bronze sculpture has textured surfaces, ensure that you brush in the same direction as the grain to avoid damaging the intricate detailing.
- Use a toothbrush or cotton swab for small details: For small or intricate details that are difficult to reach with a larger brush, use a soft toothbrush or a cotton swab dipped in the cleaning solution to carefully clean those areas.
- Remove residue and dirt: Regularly rinse the brush or wipe it on a clean cloth to remove any dirt or residue that may accumulate during the scrubbing process. This will prevent spreading the grime back onto the sculpture.
- Rinse the brush periodically: Rinse the brush with water or dip it in a separate container with clean water to remove any cleaning solution before continuing to brush the sculpture.
Remember, gentle and patient brushing and scrubbing are key. Take your time to gradually clean the sculpture, paying attention to all areas, and avoid using excessive force. By following these guidelines, you can effectively remove dirt and tarnish from your bronze sculpture without causing any damage.
Rinsing the Sculpture
After brushing and scrubbing your bronze sculpture, it is crucial to thoroughly rinse off any remaining cleaning solution and residue. Rinsing not only removes any lingering dirt but also helps prevent the cleaning solution from causing discoloration or damage to the surface. Follow these steps to properly rinse your sculpture:
- Fill a bucket with clean water: Prepare a bucket or basin filled with clean, lukewarm water. Ensure that the water is at an appropriate temperature to avoid any extreme temperature changes that could potentially harm the bronze.
- Dip a soft cloth or sponge: Take a soft cloth or sponge and immerse it in the clean water. Gently squeeze to remove excess water but leave enough dampness to facilitate the rinsing process.
- Wipe the surface: Starting from the top, wipe the surface of the sculpture using the damp cloth or sponge. Be thorough and make sure to cover all areas, removing any remaining cleaning solution, dirt, or residue.
- Rinse the cloth or sponge frequently: As you proceed with rinsing, rinse out the cloth or sponge regularly in the clean water to prevent transferring dirt or residue back onto the sculpture.
- Pay attention to crevices and details: Use a soft-bristled brush, cotton swab, or toothbrush dipped in clean water to gently clean any crevices or intricate details that may require extra attention.
- Change the water if necessary: If the water becomes too soiled or if you are cleaning multiple sculptures, replace the water in the bucket to ensure a thorough rinsing process.
- Repeat the rinsing process: Depending on the initial dirtiness of the sculpture and the effectiveness of the cleaning solution, you may need to repeat the rinsing process several times to ensure all traces of the cleaning solution are gone.
Properly rinsing your bronze sculpture is crucial to remove any residual chemicals and ensure its long-term preservation. Remember to be gentle and thorough during the rinsing process to maximize the results and leave your sculpture clean and free of any cleaning solution remnants.
Drying the Sculpture
After rinsing your bronze sculpture, it is important to carefully dry it to prevent the formation of water spots and potential corrosion. Proper drying ensures that your sculpture retains its luster and prevents any moisture-related damage. Follow these steps to effectively dry your sculpture:
- Use a clean, soft cloth: Select a clean, lint-free cloth, such as a microfiber cloth or chamois, specifically designated for drying delicate surfaces.
- Gently pat the surface: Start by gently patting the surface of the sculpture with the cloth to absorb any excess water. Avoid rubbing or scrubbing, as this can potentially damage the bronze.
- Pay attention to crevices and details: Use a cotton swab or a soft-bristled brush to carefully reach and dry any hard-to-reach areas or intricate details on the sculpture.
- Air drying: Allow the sculpture to air dry naturally for a short period of time to further evaporate any remaining moisture. Ensure that the sculpture is placed in a well-ventilated area away from direct sunlight or heat sources that may cause damage.
- Avoid using heat or blow dryers: Refrain from using heat sources, such as hair dryers or heaters, to speed up the drying process. Direct heat can promote uneven drying and potentially harm the surface of the bronze.
- Inspect for water spots: Once the sculpture is dry, thoroughly inspect the surface for any water spots or residue. If necessary, lightly dampen a cloth with clean water and gently wipe away any remaining spots.
- Ensure complete dryness: Take the time to ensure that the sculpture is completely dry before proceeding with any further steps, such as polishing or applying protective coatings. Moisture trapped on the surface can lead to tarnishing or corrosion over time.
By properly drying your bronze sculpture, you will help maintain its integrity and minimize the risk of any water-related damage. Remember to handle the sculpture with care during the drying process to avoid accidental bumps or scratches. Patience and attention to detail will ensure your sculpture is ready for the next stage of the cleaning and maintenance process.
Polishing the Sculpture
Polishing your bronze sculpture adds the final touch to its appearance, enhancing its shine and bringing out its inherent beauty. Polishing can help remove any remaining tarnish, bring back the luster of the bronze, and protect the surface. Follow these steps to effectively polish your sculpture:
- Select a suitable polish: Choose a polish specifically formulated for bronze or metal surfaces. Look for a non-abrasive polish that will not damage or scratch the surface of the sculpture.
- Apply a small amount of polish: Put a small amount of the polish onto a clean, soft cloth. Be cautious not to use too much, as excessive polish can leave behind residue or make it difficult to achieve a uniform shine.
- Gently rub the surface: Using gentle circular motions, rub the polish-covered cloth onto the bronze surface. Focus on small sections at a time, working your way around the sculpture.
- Pay attention to details: Use a soft-bristled brush or a cotton swab dipped in polish to carefully clean intricate details and hard-to-reach areas. This will ensure that all parts of the sculpture receive an even polish.
- Buff to a shine: After applying the polish, use a clean portion of the cloth to buff the surface, creating a beautiful shine. Keep buffing until you achieve the desired level of luster.
- Inspect for residue: Thoroughly inspect the sculpture for any residue or streaks left behind by the polish. If necessary, gently wipe the surface with a clean cloth to remove any excess polish.
- Be mindful of protective coatings: If your sculpture has a protective coating, such as a lacquer or wax, ensure that the polish you use is compatible with the coating. Some polishes may cause damage or result in uneven finishes if used with incompatible coatings.
- Take regular breaks: Polishing a bronze sculpture can be a time-consuming task. Take regular breaks to prevent fatigue and maintain focus, ensuring a more effective and consistent polishing process.
By following these steps, you can restore the shine and beauty of your bronze sculpture. Remember to take your time, be gentle, and use the appropriate polish to achieve the best results without risking damage to the surface.
Preventing Future Tarnish
To keep your bronze sculpture looking its best and delay the onset of tarnish, taking preventative measures is essential. By implementing these practices, you can protect your artwork and minimize the frequency of intense cleaning sessions. Here’s how you can prevent future tarnish on your bronze sculpture:
- Apply a protective coating: Consider applying a protective coating, such as a clear lacquer or wax, to create a barrier between the bronze and environmental elements. Follow the manufacturer’s instructions to ensure proper application.
- Handle with care: When touching or moving the sculpture, use clean hands or wear gloves to prevent the transfer of oils and dirt. Avoid touching the surface directly, as the natural oils on your skin can contribute to tarnish.
- Avoid excessive handling: Limit unnecessary handling of the sculpture to prevent the accumulation of dirt and oils that can accelerate tarnishing.
- Display in controlled environments: Keep your bronze sculpture away from extreme temperature fluctuations, high humidity, and direct sunlight, as these can promote tarnish development. Opt for display areas with stable climate conditions.
- Dust regularly: Schedule regular dusting sessions to remove any surface particles that may contribute to tarnish. Use a soft cloth or a gentle brush to carefully remove dust from all parts of the sculpture.
- Avoid exposure to moisture: Moisture can speed up tarnishing processes. Ensure that the sculpture is not exposed to water or high humidity levels, particularly if it is displayed outdoors or in a room prone to moisture buildup.
- Keep away from acidic materials: Acidic materials, such as certain types of wood or rubber, can release corrosive substances that can tarnish bronze. Avoid placing the sculpture directly on these materials or in close proximity to them.
- Regular inspection: Frequently inspect the sculpture for any signs of tarnish or discoloration. Catching early signs of tarnish allows for prompt action to mitigate further damage.
- Periodic cleaning: Even with preventative measures, it is still necessary to periodically clean the sculpture to maintain its appearance. Follow the appropriate cleaning steps outlined earlier to remove any accumulated dirt or tarnish.
By implementing these preventative practices, you can keep your bronze sculpture looking vibrant and reduce the frequency of intensive cleaning and restoration sessions. Consistent care and attention will help preserve its beauty for years to come.
It’s a Wrap!
Congratulations! You have successfully learned how to clean and maintain your bronze sculpture. By following the steps outlined in this guide, you can ensure that your sculpture remains in pristine condition for generations to come. Here’s a quick recap of the key points to remember:
First and foremost, prioritize safety by wearing protective gear, working in a well-ventilated area, and following the manufacturer’s instructions for any cleaning products. Removing dust from the surface using a soft brush or compressed air sets the foundation for a thorough cleaning.
Preparing a gentle cleaning solution with mild dish soap or a commercial bronze cleaner helps lift dirt and tarnish effectively. Remember to test the solution on a small area and adjust the concentration if necessary.
Applying the cleaning solution with a damp cloth or sponge, gently scrubbing the surface, and paying attention to intricate details ensures a comprehensive cleaning process. Rinse the sculpture thoroughly with clean water, avoiding any residue from the cleaning solution.
After rinsing, it’s crucial to dry the sculpture completely to prevent water spots or potential damage. Use a soft cloth to pat the surface and air dry the sculpture in a well-ventilated area.
To add the finishing touch, polish the sculpture using a non-abrasive polish and gentle circular motions. Buff the surface to achieve a lustrous shine, taking care to remove any excess residue.
Lastly, adopt preventative measures to protect your bronze sculpture from future tarnish. Applying a protective coating, handling the sculpture with care, displaying it in controlled environments, and regular dusting are key to maintaining its beauty.
By following these steps and incorporating regular cleaning and preventive maintenance into your routine, your bronze sculpture will continue to be a stunning centerpiece, showcasing its timeless elegance and intricate details.
Now go ahead, share your newfound knowledge, and enjoy the beauty of your clean and well-preserved bronze sculpture!