
Choosing Your Yarn and Needles
When knitting a blanket, selecting the right yarn and needles is crucial to ensure the best results. With an overwhelming array of options available, it can be challenging to make the perfect choice. However, by considering a few key factors, you can simplify the decision-making process and set yourself up for knitting success.
Firstly, consider the fiber content of the yarn. Natural fibers like wool and cotton are popular choices for blankets due to their durability and breathability. Wool provides excellent warmth, while cotton is lightweight and perfect for warmer climates. Alternatively, acrylic yarns offer a wider range of colors and textures, making them a versatile option for blankets.
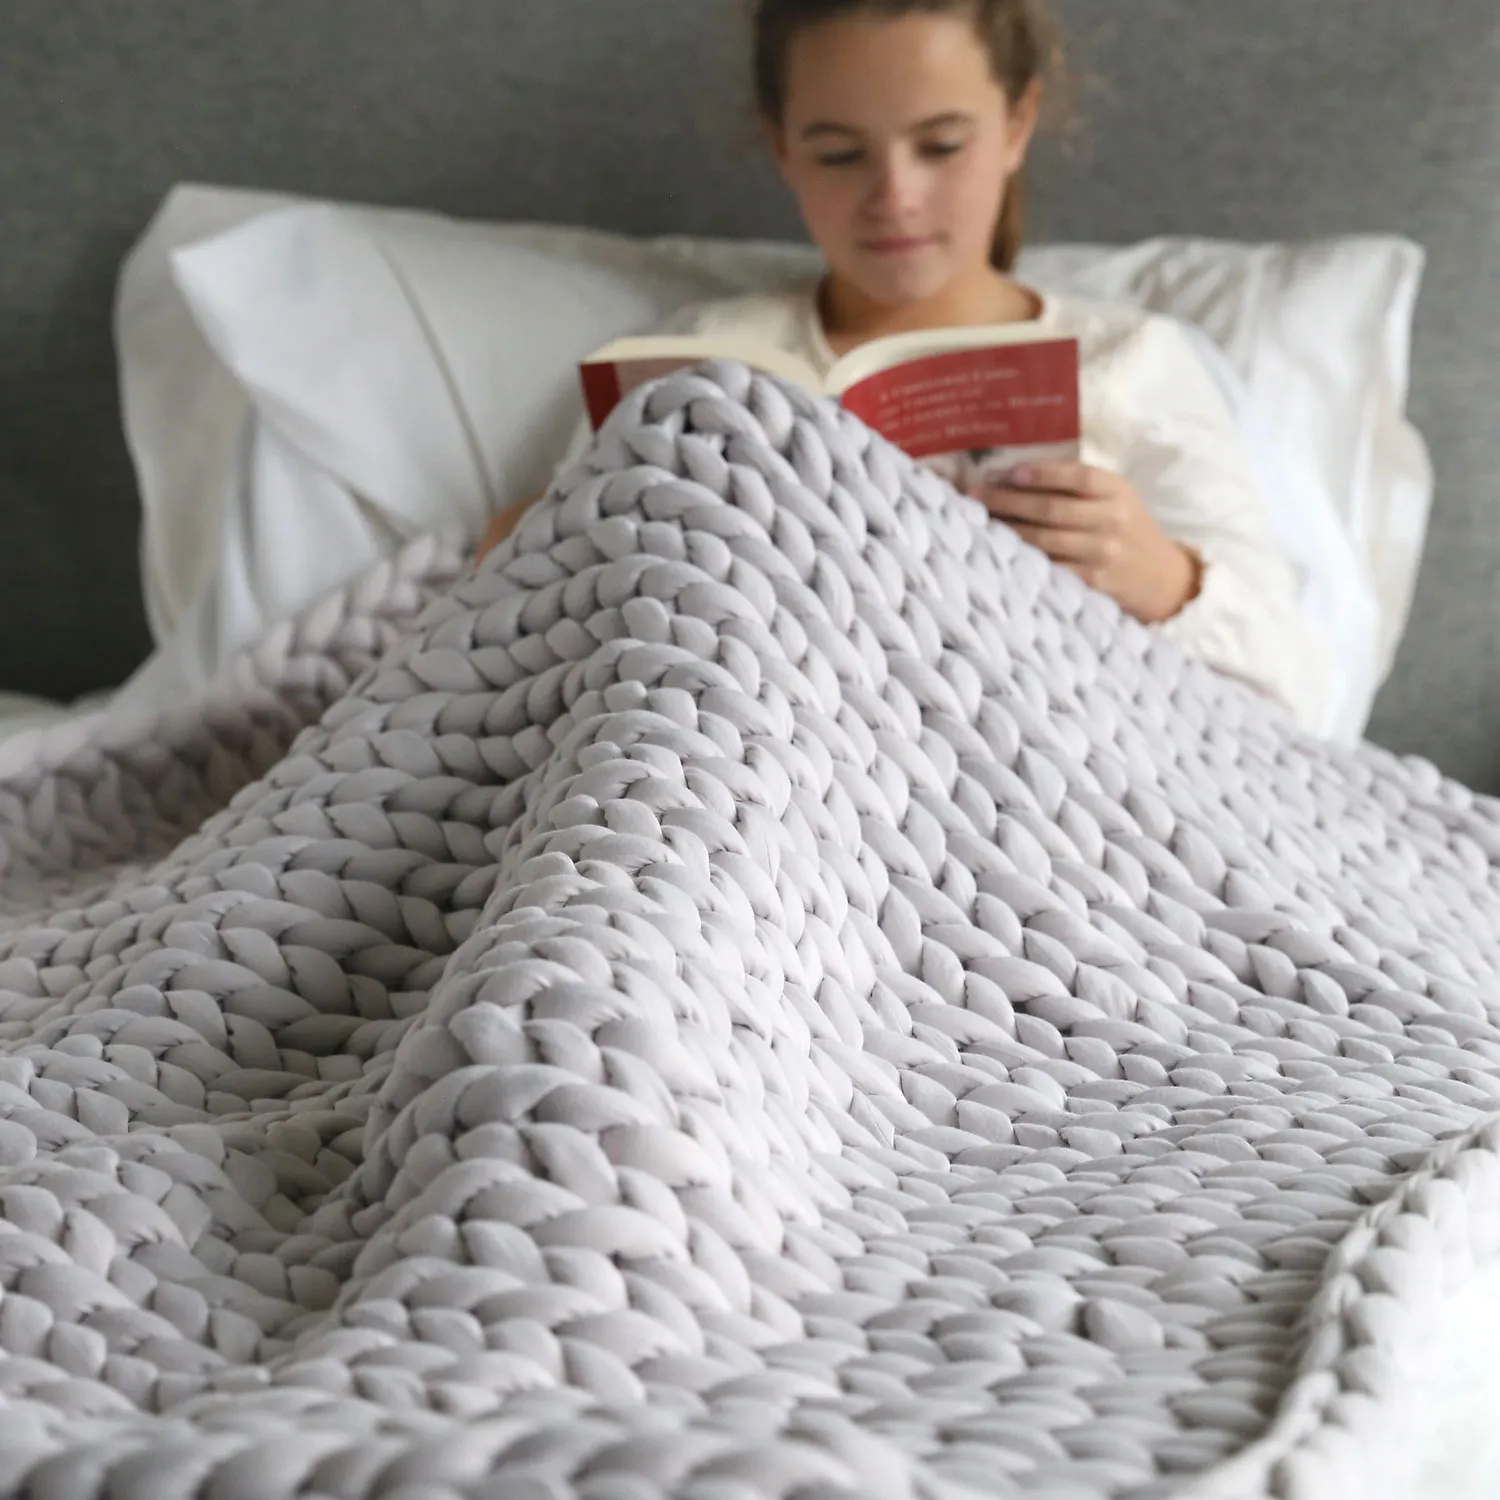
The weight or thickness of the yarn also plays a crucial role. Thicker yarns, such as bulky or chunky weight, are great for creating cozy, snuggly blankets. On the other hand, thinner yarns like fingering or sport weight produce finer, lightweight blankets. Consider the desired texture and warmth of the blanket when choosing the yarn weight.
Next, select the appropriate needles for your chosen yarn. The size of the needles will determine the stitch size and overall tension of your knitting. Be sure to check the recommended needle size for the yarn you have selected, usually indicated on the yarn label. Circular needles are often preferred for large projects like blankets as they can accommodate a large number of stitches.
Another consideration is the needle material. Metal needles like aluminum or stainless steel offer durability and smoothness, allowing for faster knitting. Wooden or bamboo needles provide a comfortable grip and are less likely to slip, making them a great option for beginners or those with hand pain.
Lastly, take into account the color and texture of the yarn. Choose colors that complement your style and the intended purpose of the blanket. Consider whether you want a solid color or a variegated yarn with multiple colors. Additionally, the texture of the yarn can add visual interest to your blanket, with options ranging from smooth and sleek to nubby and textured.
In essence, when selecting yarn and needles for your blanket knitting project, consider the fiber content, weight, and color of the yarn, as well as the size and material of the needles. By taking these factors into account, you can choose the perfect combination that suits your preferences and helps you create a beautiful and cozy blanket.
Casting On
Before you can start knitting your blanket, you’ll need to cast on the stitches. Casting on is the process of creating the foundation row of stitches on your knitting needles. Here’s a step-by-step guide to help you get started:
- Hold the yarn end in your right hand, leaving a tail of about 6 inches.
- Create a slipknot by making a loop with the yarn, passing the end through the loop, and pulling tight.
- Hold the slipknot between your thumb and index finger, insert the needle through the loop, and tighten the stitch onto the needle.
- With the needle in your right hand, use your left hand to hold the slipknot in place.
- Position the yarn over your left thumb and hold it against the needle with your other fingers.
- Bring the needle over the yarn, under it, and through the loop on your thumb.
- Gently pull the yarn, creating a new stitch on the needle.
- Repeat steps 5 to 7 until you have the desired number of stitches for your blanket.
It’s important to keep the tension of your stitches consistent, neither too tight nor too loose. Too tight of a tension can make it difficult to knit the subsequent rows, while too loose of a tension can result in a loose, uneven edge. Practice finding a tension that feels comfortable for you.
Once you have cast on all your stitches, take a moment to double-check that you have the correct number. It’s easy to miss or add stitches during this initial step, so it’s always a good idea to count them before moving on.
Now that you’ve successfully cast on your stitches, you’re ready to move on to the next step: knitting the first row of your blanket. Casting on is the foundation of your project, so take your time and ensure that each stitch is secure on the needle. With practice, you’ll become more confident and efficient in this essential knitting technique.
Knitting the First Row
Now that you have cast on your stitches, it’s time to start knitting the first row of your blanket. This initial row can set the pace and tone for the rest of your knitting project. Here’s a step-by-step guide to help you get started:
- Hold the knitting needle with the cast-on stitches in your right hand and the empty needle in your left hand.
- Insert the right needle into the first stitch on the left needle, from left to right.
- Wrap the yarn counterclockwise around the right needle, crossing over the top of the left needle.
- With your right hand, pull the right needle through the stitch, creating a new stitch on the right needle.
- Slide the original stitch off the left needle, and the new stitch is now on the right needle.
- Repeat steps 2 to 5 for each stitch on the left needle until you reach the end of the row.
- Once you have completed the row, the left needle will be empty, and the right needle will hold the newly knitted stitches.
Remember to maintain an even tension as you knit the stitches, ensuring they are not too loose or too tight. A consistent tension will help create uniform stitches and a neater-looking fabric.
As you knit the first row, take the time to appreciate the rhythm and flow of the stitches. It is a mindful and meditative process that can help you relax and unwind. Focus on each stitch as you create them, enjoying the gradual transformation of the yarn into a piece of fabric.
Once you have finished knitting the first row, take a moment to examine your work. Check for any dropped stitches or mistakes that may have occurred. If you notice any errors, you can unravel the row and start again, or you can fix the mistake by using a crochet hook to pick up the dropped stitch.
Knitting the first row is an exciting milestone in your blanket project. It marks the beginning of your creative journey and sets the stage for the rest of your knitting adventure. Remember to take your time and enjoy each stitch as you bring your blanket to life.
Knitting the Remaining Rows
With the first row complete, you’re now ready to continue knitting the remaining rows of your blanket. This repetitive yet soothing process allows you to see your project grow and evolve. Here’s a step-by-step guide to help you knit the subsequent rows:
- Hold the knitting needle with the completed row in your right hand and the empty needle in your left hand.
- Insert the right needle into the first stitch on the left needle, from left to right.
- Wrap the yarn counterclockwise around the right needle, crossing over the top of the left needle.
- With your right hand, pull the right needle through the stitch, creating a new stitch on the right needle.
- Slide the original stitch off the left needle, and the new stitch is now on the right needle.
- Repeat steps 2 to 5 for each stitch on the left needle until you reach the end of the row.
- Once you have completed the row, the left needle will be empty, and the right needle will hold the newly knitted stitches.
- Turn your work so that the needle with the completed row is now in your left hand and the empty needle is in your right hand.
- Repeat steps 2 to 8 for each subsequent row until your blanket reaches the desired length.
Continue to maintain an even tension throughout each row to ensure consistent and professional-looking stitches. Take the time to enjoy the repetitive motion of knitting and find a rhythm that is comfortable for you.
As you knit the remaining rows, periodically check your work for any mistakes or dropped stitches. Fix any errors as soon as you notice them to ensure a polished end result. It’s also a good practice to count your stitches after completing a row to ensure you haven’t accidentally added or dropped any stitches along the way.
Knitting the remaining rows requires patience and dedication, but it also provides an opportunity to relax and unwind. Work at a pace that suits you, taking breaks when needed, and savoring the process of creating something beautiful with your own hands.
As your blanket gradually takes shape with each knitted row, you’ll witness your hard work transforming into a cozy and comforting item. Stay focused, stay motivated, and enjoy the journey as you knit your way toward the completion of your blanket.
Changing Yarn Colors
Changing yarn colors can add visual interest, texture, and design to your knitted blanket. Whether you want to create stripes, intricate patterns, or a simple color transition, here are some tips to help you successfully change yarn colors:
- Plan ahead: Decide where and how often you want to change colors in your blanket. This will help you determine the number of stitches or rows you want in each color section.
- Prepare the new yarn: Before starting the color change, prepare the new yarn by leaving a tail of about 6 inches. Hold the new yarn along with the working yarn, allowing them to overlap for a few stitches.
- Switching colors: On the stitch before the color change, drop the old yarn and start knitting with the new yarn. Leave a tail of the old yarn to weave in later. Continue knitting with the new color, making sure to securely weave the yarn tails in the first few stitches to prevent unraveling.
- Carrying yarn: When switching colors within a row, you can carry the unused yarn along the back of your work, twisting the yarns together at the beginning of each color change. This technique helps minimize loose strands and makes it easier to pick up the carried yarn later for a seamless transition.
- Securing loose ends: After completing each color change, leave a long enough tail of the unused yarn and weave it into the stitches on the wrong side of the blanket to secure it. This prevents the ends from unraveling or peeking through to the right side of the fabric.
- Stranded knitting: If you’re working with multiple colors in the same row, you can use the stranded knitting technique. Hold the unused color loosely across the back of your work, catching it every few stitches to prevent long floats from forming.
- Blocking: Once your blanket is complete, block it according to the yarn recommendations. Blocking helps even out the stitches and sets the colors, giving your blanket a polished and professional look.
Remember, practice makes perfect when it comes to changing yarn colors. Experiment with different techniques and color combinations to achieve the desired effect. Don’t be afraid to unravel and start over if you’re not satisfied with the outcome. Knitting is a creative journey, and the process of learning and refining your skills is just as rewarding as the finished product.
By skillfully changing yarn colors, you can create a visually stunning and unique knitted blanket that reflects your personal style and creativity.
Adding a Border
Adding a border to your knitted blanket can give it a polished and finished look. Not only does a border provide a decorative element, but it can also help stabilize the edges and prevent curling. Here are some steps to guide you in adding a border to your blanket:
- Choose your border: Decide on the type of border you want for your blanket. There are various options to consider, such as garter stitch, ribbing, seed stitch, or a decorative lace pattern. Select a border that complements the overall design and style of your blanket.
- Calculate the stitches: Measure the width of your blanket to determine the number of stitches needed for your border. This will depend on your desired border width and the gauge of your knitting.
- Pick up stitches: With the right side of your blanket facing you, insert your knitting needle into the edge stitch on the border of your blanket. Wrap the yarn around the needle and pull it through, creating a new stitch. Continue this process, picking up stitches evenly along the entire edge of the blanket.
- Knit the border: Once you have picked up the desired number of stitches, begin knitting the border pattern according to your chosen design. Follow the instructions for the specific stitch pattern you have selected and work it for the desired length.
- Continue around the corners: When you reach a corner, pay attention to the stitch pattern and adjust accordingly. This may involve adding extra stitches or working short rows to create a smooth and visually appealing turn.
- Bind off: Once you have completed the desired length of the border, bind off the stitches. You can use a standard bind-off technique or choose a stretchier option like the picot bind-off or a sewn bind-off for a more decorative edge.
- Weave in ends: As with any knitting project, be sure to weave in all loose ends of yarn using a tapestry needle. This will give your blanket a neat and professional finish.
Adding a border allows you to customize your blanket and gives you the opportunity to showcase your creativity. Experiment with different stitch patterns, colors, or even multiple borders to create a unique and visually appealing design.
Remember to take your time and enjoy the process of adding the border. It’s the final touch that will make your knitted blanket truly stand out and become a cherished item for years to come.
Binding Off
Binding off, also known as casting off, is the final step in completing your knitted blanket. It involves securing and finishing the edge stitches, giving your blanket a clean and polished look. Here’s a step-by-step guide to help you bind off your blanket:
- Start with two stitches on your right-hand needle.
- Knit the first two stitches, just as you would in a regular knit stitch.
- Using the left-hand needle, lift the first knitted stitch over the second stitch and off the right-hand needle. You now have one stitch left on your right-hand needle.
- Knit the next stitch and repeat the process of lifting the first stitch over the second stitch. Continue this pattern until you have one stitch left on your right-hand needle.
- Cut the yarn, leaving a tail about 6 inches long.
- Thread the tail through the last stitch and pull it tight to secure the final stitch.
- Weave in the loose ends: Use a tapestry needle to weave the yarn tails into the back of the knitted fabric. This ensures that the ends are hidden and adds extra stability to the edge.
Binding off is an essential step as it prevents the stitches from unraveling and provides a finished edge to your blanket. It’s important to maintain a consistent tension while binding off, ensuring that the edge is not too tight or too loose.
If you prefer a stretchier bind-off edge, you can use a different technique such as the stretchy bind-off or the picot bind-off. These methods allow for more elasticity and are often used for projects that require a flexible or decorative edge.
Take your time when binding off, paying attention to each stitch and maintaining the same knitting rhythm that you’ve had throughout the project. The binding off process is a satisfying moment as it signifies the completion of your knitted blanket.
By properly binding off your blanket, you ensure that it will withstand regular use and maintain its shape and integrity for years to come. So take pride in your work, celebrate your achievement, and revel in the joy of a beautifully bound-off knitted blanket.
Blocking the Blanket
Blocking is the process of gently shaping and setting your completed knitted blanket to ensure it looks its best. By blocking, you can even out stitches, relax the fabric, and give your blanket a more professional finish. Here’s a step-by-step guide on how to block your knitted blanket:
- Prepare the blanket: Fill a basin or sink with lukewarm water and add a mild detergent formulated for delicate fabrics. Submerge your knitted blanket in the water, gently squeezing it to ensure it is completely saturated. Let it soak for about 20 minutes.
- Drain the water: Carefully lift the blanket out of the water, supporting its weight to prevent stretching. Gently squeeze out the excess water, being careful not to wring or twist the fabric.
- Lay out the blanket: Find a clean, flat surface where you can lay out your blanket. Place towels or an absorbent blocking mat on the surface to absorb any excess moisture.
- Shape the blanket: Carefully spread out the blanket on the prepared surface, gently adjusting and shaping it to the desired dimensions. Smooth out any wrinkles or unevenness, paying special attention to the edges and corners.
- Pin the blanket: Use rust-proof T-pins or blocking wires to secure the edges of the blanket. Start at one corner and pin along the sides, evenly spacing the pins to hold the blanket in place as it dries. Make sure the pins are inserted through the fabric but do not pull too tightly, as this can distort the knitted stitches.
- Allow the blanket to dry: Leave the pinned blanket in a well-ventilated area, away from direct sunlight, until it is completely dry. Depending on the yarn and climate, this can take anywhere from a few hours to a day or two.
- Remove the pins: Once the blanket is fully dry, carefully remove the pins or blocking wires. Take care not to catch the fabric with the pins as you remove them.
Blocking helps to enhance the drape, stitch definition, and overall appearance of your knitted blanket. It also allows the yarn to fully relax and settle into its final shape. Keep in mind that not all yarns and knitting patterns require blocking, so it’s essential to consult the yarn label and pattern instructions for specific guidance.
By blocking your knitted blanket, you are giving it the attention it deserves and ensuring that it maintains its shape and beauty. Now you can proudly display or gift your blocked blanket, knowing that you have taken the necessary steps to showcase your knitting skills and craftsmanship.