
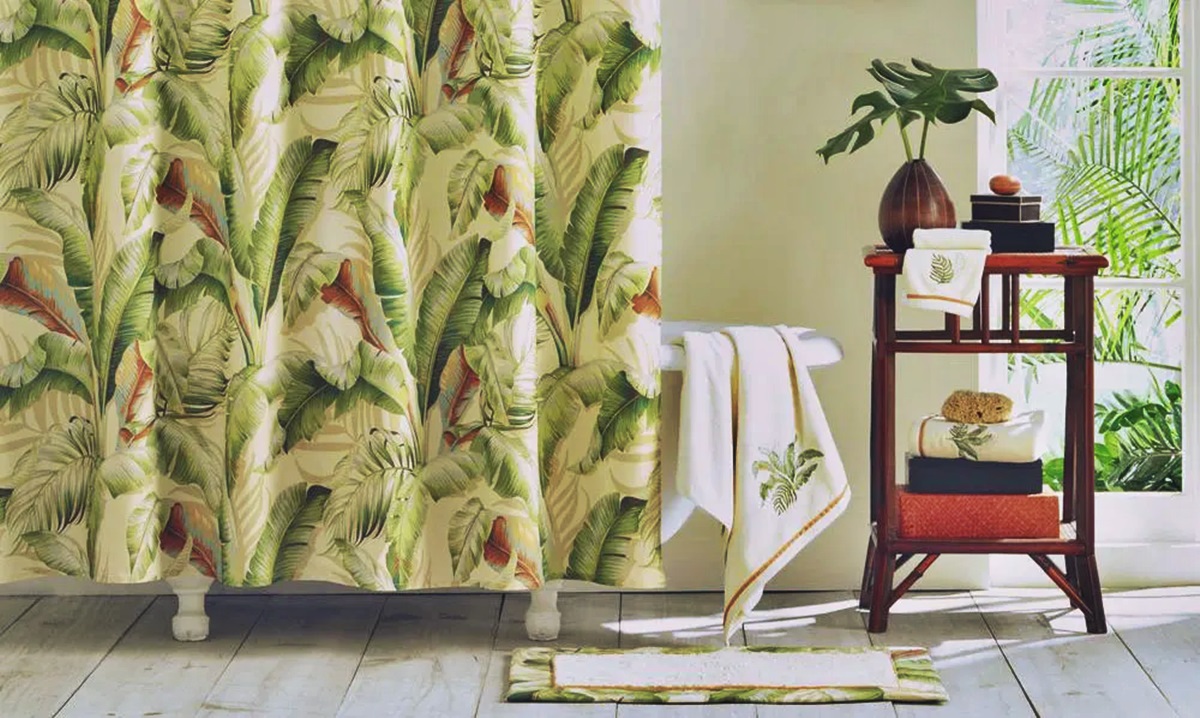
Measure the length
Before you can start shortening your shower curtain, you need to accurately measure the length that you want it to be. This will ensure that you achieve the desired result without any guesswork. Follow these steps to measure the length of your shower curtain:
- Begin by removing the shower curtain from the rings or hooks that hold it in place.
- Spread the curtain out on a flat surface, ensuring it is smooth and wrinkle-free.
- Using a measuring tape, measure the current length of the curtain from the top edge to the bottom edge. Take note of this measurement.
- Decide how much you want to shorten the curtain. This could be based on personal preference or practical considerations, such as avoiding the curtain touching the floor or bathtub.
- Subtract the desired length from the current length to determine the amount you need to cut off. Remember to account for any hems or seams that will be sewn later.
- Double-check your measurements to ensure accuracy. It’s better to be careful now than to have to repeat the process later.
By measuring the length of your shower curtain precisely, you can proceed to the next steps with confidence, knowing that you’ll achieve the perfect fit for your bathroom.
Remove the curtain rings
Once you have measured the length of your shower curtain and are ready to proceed with shortening it, the next step is to remove the curtain rings or hooks that hold it in place. Follow these simple instructions to remove the curtain rings:
- Start at one end of the curtain and locate the first curtain ring or hook.
- Gently slide the ring or hook off the edge of the curtain. Be careful not to pull too hard, as this could damage the fabric or tear the curtain.
- Continue removing each ring or hook along the length of the curtain until they are all detached.
- If your curtain has decorative attachments or tassels, remove them as well.
- Once all the rings and attachments are removed, you can set them aside for later use or keep them organized so that you can easily reattach them once the curtain is shortened.
By removing the curtain rings, you create easier access to the fabric, allowing you to work on shortening the curtain without any obstructions. Take your time and handle the rings and attachments with care to prevent any unnecessary damage.
Mark the desired length
Now that you have removed the curtain rings, it’s time to mark the desired length on the shower curtain. This step will provide a clear reference point for cutting the excess fabric. Follow these steps to mark the desired length:
- Lay the curtain flat on a clean, even surface.
- Using a measuring tape or ruler, locate and measure the distance from the top edge of the curtain to the desired length. Make sure to measure from the same point on both sides to ensure accuracy.
- Once you have determined the correct measurement, use a fabric marker or a small piece of chalk to make a clear, visible mark at the desired length on both sides of the curtain.
- For more precise accuracy, you can use a straight edge or a long, flat object to create a straight line across the width of the curtain at the marked points.
By marking the desired length on the shower curtain, you ensure that you have a clear reference point for the next step of cutting the excess fabric. Take your time to make accurate and visible marks to achieve the desired result.
Cut the excess fabric
Now that you have marked the desired length on your shower curtain, it’s time to cut the excess fabric. This step will involve carefully trimming the curtain to achieve the desired shorter length. Follow these steps to cut the excess fabric:
- Using fabric scissors, make sure the blades are sharp and clean. Dull scissors may result in jagged or uneven cuts.
- Begin by folding the curtain in half vertically, ensuring that the marked points align perfectly.
- Starting from the bottom edge of the curtain, carefully cut along the marked line towards the top edge. Use slow and steady movements to maintain control and precision.
- Continue cutting along the entire width of the curtain, ensuring that both sides are trimmed to the same length.
- Once you have completed the cut, unfold the curtain and lay it flat to inspect the length. Make any necessary minor adjustments if needed.
By cutting the excess fabric, you are bringing your shower curtain closer to the desired length. Take your time and exercise caution while cutting to achieve clean and precise results. Remember to always prioritize your safety and take breaks if needed.
Fold and sew the hem
After cutting the excess fabric from your shower curtain, the next step is to fold and sew the hem. This will not only give your shortened curtain a finished look but also prevent the fabric from fraying over time. Follow these steps to fold and sew the hem:
- Start by folding the bottom edge of the curtain up towards the wrong side (the side that won’t be visible when the curtain is hanging).
- Decide on the desired width of the hem. It is typically recommended to fold the fabric about 1 to 2 inches, but you can adjust the width to your preference.
- Once you have determined the width, use pins or fabric clips to secure the folded hem in place. Make sure the pins or clips are evenly spaced to maintain evenness in the hem.
- Now it’s time to sew the hem. You can use a sewing machine or sew by hand, depending on your skill level and available resources.
- Select a thread color that matches your curtain or choose a contrasting color for a decorative touch.
- Carefully sew along the folded edge, removing the pins or clips as you go. Take your time and maintain a straight line for a clean and professional-looking hem.
- Once you have completed sewing the hem, double-check for any loose threads and trim them for a neat finish.
By folding and sewing the hem, you add a polished touch to your shortened shower curtain while also ensuring the fabric stays intact over time. Take your time throughout the process to achieve a well-finished hem that will enhance the overall appearance of your curtain.
Reattach the curtain rings
Now that you have successfully shortened and hemmed your shower curtain, it’s time to reattach the curtain rings or hooks. Reattaching the rings will allow you to hang the curtain back in your bathroom and enjoy its new, perfect length. Follow these steps to reattach the curtain rings:
- Start at one end of the curtain and locate the first curtain ring or hook.
- Gently slide the ring or hook through the small opening or hole on the top edge of the curtain.
- Continue reattaching each ring or hook along the length of the curtain, ensuring that they are evenly spaced.
- If your curtain has decorative attachments or tassels, reattach them as well.
- Once all the rings and attachments are reattached, give the curtain a gentle shake to make sure they are secure and properly aligned.
By reattaching the curtain rings, you complete the process of shortening your shower curtain. Take a step back, admire your work, and enjoy the new, perfectly fitted curtain that adds a fresh and appealing touch to your bathroom decor.