
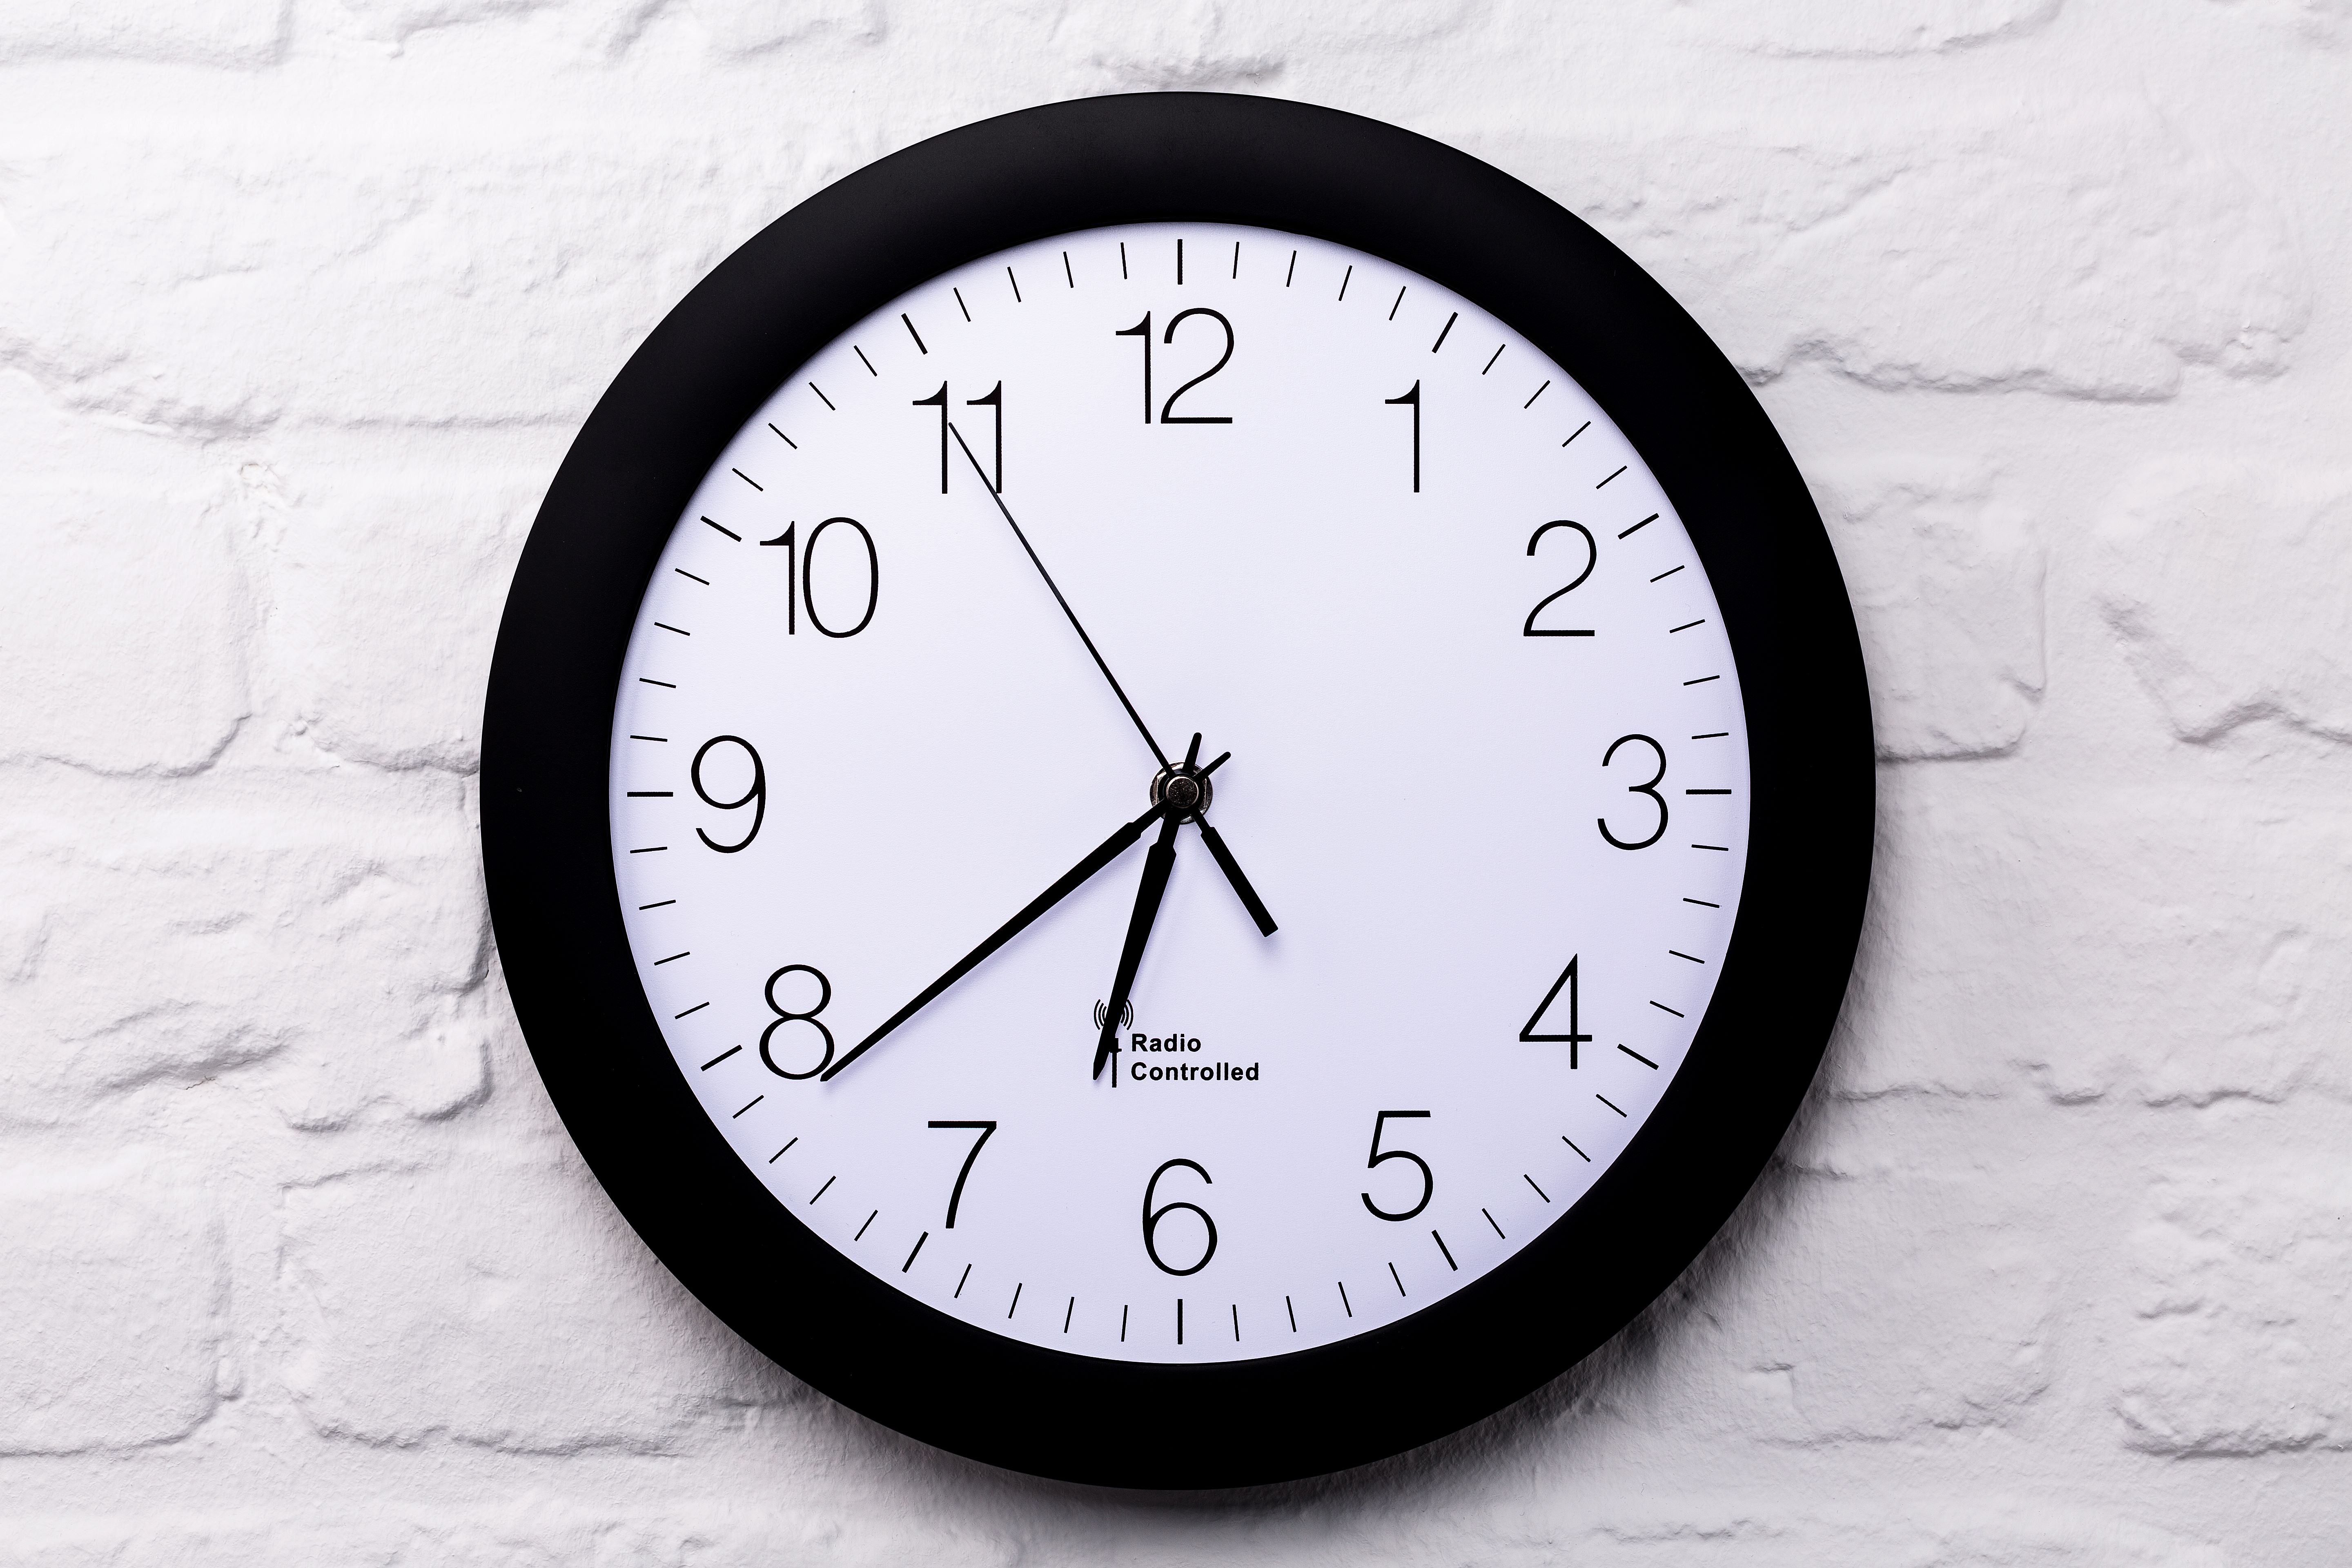
What is an Atomic Clock?
An atomic clock is a highly accurate timekeeping device that uses the vibrations of atoms to precisely measure time. Unlike traditional clocks that rely on mechanical movements or quartz crystals, atomic clocks are based on the natural oscillations of atoms, making them incredibly reliable and accurate.
The heart of an atomic clock is an ensemble of atoms, typically cesium or rubidium, that are kept in a controlled environment. These atoms oscillate at a specific frequency, which serves as the fundamental unit of time measurement. By counting these oscillations, atomic clocks can achieve accuracies of within a few billionths of a second per day.
The accuracy of atomic clocks is due to their ability to harness the behavior of atoms with extreme precision. In cesium atomic clocks, for example, a beam of cesium atoms is exposed to microwave radiation. The frequency of the microwave radiation is adjusted until it matches the resonant frequency of the cesium atoms. When the frequencies align, the atoms absorb the microwave energy, causing a change in their energy levels. This change is detected and used to regulate the movement of the clock’s hands or digital display.
Atomic clocks serve as the foundation for global timekeeping systems such as Coordinated Universal Time (UTC). UTC is used as a reference by various industries and institutions, including telecommunications, satellite navigation systems, and scientific research. It ensures that time is calibrated worldwide, allowing for precise synchronization of events and activities.
In addition to their accuracy, atomic clocks are also known for their stability. Stability refers to the consistency of the clock’s frequency over time. Atomic clocks have stable oscillation frequencies, ensuring that they maintain their accuracy over extended periods.
While atomic clocks were initially large and expensive devices found only in laboratories and research institutions, advancements in technology have led to the development of smaller, more affordable models for residential and commercial use. These compact atomic clocks still offer remarkable accuracy, allowing individuals and organizations to have precise and reliable timekeeping in their daily lives.
Benefits of Using an Atomic Clock
Using an atomic clock offers a range of benefits that go beyond simply telling time. Let’s explore some of the advantages of having an atomic clock in your life.
- Unparalleled Accuracy: Atomic clocks are renowned for their extraordinary accuracy. They provide the most precise timekeeping available, ensuring that you are always on time, whether for work, meetings, or important events. With accuracy within billionths of a second, you can have complete confidence in the time displayed by an atomic clock.
- Automatic Time Updates: One of the standout features of an atomic clock is its ability to automatically update the time. These clocks receive a radio signal that syncs them with the global atomic time standard, ensuring that they are always accurate and aligned with Coordinated Universal Time (UTC). You no longer have to manually adjust the time or worry about daylight saving time changes.
- Reliable Timekeeping: Atomic clocks use atomic oscillations, which are incredibly stable and consistent over time. This stability ensures that your clock will continue to provide accurate time readings without significant fluctuations or deviations. You can trust the reliability of an atomic clock for all your time-sensitive activities.
- Global Compatibility: Atomic clocks are designed to work seamlessly across different time zones and locations. Whether you are a frequent traveler or have international business connections, an atomic clock will adjust to the local time as soon as it receives the atomic time signal. This feature eliminates the hassle of manually setting the time when traveling or dealing with multiple time zones.
- Enhanced Productivity: Accurate timekeeping is crucial for maintaining productivity and efficiency in various aspects of life. With an atomic clock, you can stay organized and manage your schedule more effectively. It helps you stay on top of deadlines, optimize your time for tasks, and synchronize your activities with others, leading to improved productivity and better time management.
Overall, an atomic clock offers unrivaled precision, automatic time updates, reliability, global compatibility, and enhanced productivity. Whether you are a business professional, student, or simply someone who values accurate timekeeping, an atomic clock is a worthy investment that brings numerous benefits to your daily life.
Choosing the Right Atomic Clock for You
When it comes to choosing an atomic clock, there are a few factors to consider to ensure that you find the right one for your needs. Let’s explore some key considerations to help you make an informed decision.
- Display Type: Atomic clocks come in various display types, including analog and digital. Analog displays provide a classic and elegant look, while digital displays offer clear and precise readings. Consider your personal preference and the readability of the clock when choosing the display type.
- Features: Atomic clocks come with different features to suit different needs. Some clocks may have additional functions like alarm settings, temperature display, or calendar functionality. Consider what features are important to you and select a clock that offers the desired functionality.
- Size and Design: Consider the space where you plan to place the atomic clock. Determine whether you want a desk clock, wall-mounted clock, or a larger display clock that can be easily seen from a distance. Additionally, consider the design and aesthetics of the clock to ensure it complements your space.
- Power Source: Atomic clocks can be powered by batteries or by plugging into a power outlet. Battery-powered clocks offer flexibility and can be placed anywhere, while mains-powered clocks ensure uninterrupted operation. Consider your preference and the availability of power sources when selecting a clock.
- Price Range: Atomic clocks are available at various price points. Set a budget and consider the features and quality you need within that range. Remember, a higher price does not always guarantee better performance, so prioritize your requirements when making a decision.
- Brand Reputation: Look for reputable brands that have a track record of producing high-quality atomic clocks. Research customer reviews and ratings to gauge the reliability and durability of the clocks from different manufacturers.
By considering these factors, you can choose an atomic clock that meets your specific requirements and preferences. Whether you prioritize functionality, design, or price, finding the right atomic clock will ensure accurate and reliable timekeeping in your daily life.
Finding a Suitable Location for Your Atomic Clock
Finding the perfect location for your atomic clock is essential to ensure accurate timekeeping and optimal visibility. Here are some factors to consider when determining the ideal spot for your clock.
- Stability: Choose a stable surface or mounting location for your atomic clock. Avoid placing it on wobbly or vibrating surfaces that can affect its accuracy and stability. A stable location will minimize any disturbances that could potentially interfere with the clock’s performance.
- Visibility: Place your atomic clock in a location where it is easily visible and accessible. Consider the purpose of the clock – whether it’s for personal use in a home office or for a commercial setting like a classroom or office space. Ensure that the clock is positioned at a comfortable eye level, allowing you to quickly and effortlessly read the time.
- Away from Electronic Devices: Avoid placing your atomic clock near electronic devices or appliances that emit electromagnetic interference. These devices can disrupt the clock’s reception of the atomic time signal, potentially affecting its accuracy. Keep your clock away from televisions, computers, and other electronics to ensure optimal performance.
- Avoid Extreme Conditions: Atomic clocks are designed to operate within specified temperature and humidity ranges. Avoid placing your clock in areas with extreme heat, cold, or high humidity levels. Exposure to such conditions can affect the clock’s internal components and lead to inaccurate readings or malfunctioning.
- Avoid Direct Sunlight: Direct sunlight can cause glare and heat, which may affect the readability and performance of your atomic clock. Choose a location away from windows or direct sunlight to ensure the display remains clear and visible at all times. Sunlight can also impact the temperature of the clock, potentially affecting its accuracy.
- Consider Time Zone Adjustments: If you are in a location with a different time zone than your atomic clock’s default setting, consider placing it in a spot where you can easily access the clock’s settings and make necessary time zone adjustments. This will enable you to easily synchronize the clock with your local time.
By considering these factors, you can find a suitable location for your atomic clock that ensures accurate timekeeping, optimal visibility, and minimal interference. Take the time to assess your surroundings and create a perfect spot for your atomic clock to serve as a reliable timekeeping companion.
Unpacking and Setting Up Your Atomic Clock
Once you have chosen and purchased your atomic clock, it’s time to unpack and set it up. Follow these step-by-step instructions to ensure a smooth installation process.
- Unpack Carefully: Carefully remove the atomic clock from its packaging, taking care not to damage any delicate parts or components. Keep the packaging and any accompanying instructions or accessories for future reference.
- Read the Instruction Manual: Familiarize yourself with the instruction manual provided by the manufacturer. The manual will provide specific guidance on setting up your particular atomic clock model.
- Insert Batteries or Connect to Power: If your atomic clock is battery-powered, locate the battery compartment and insert the appropriate batteries as indicated in the instruction manual. Alternatively, if your clock uses a power adaptor, connect it to a power source.
- Choose a Location: Refer to the earlier section on finding a suitable location for your atomic clock. Select a stable surface or mounting location based on the guidelines provided. Ensure the clock is easily accessible for time adjustments and visibility.
- Set the Time Zone: Most atomic clocks have an automatic time zone setting that adjusts based on the radio signal received. However, if your clock requires manual time zone setting, consult the instruction manual for specific steps on how to set the correct time zone.
- Search for the Atomic Time Signal: Most atomic clocks have a “sync” or “search” function to connect to the atomic time signal. Activate this function according to the instructions provided in the manual. The clock will begin searching for the signal and adjust the time accordingly once it is received.
- Adjust the Time and Date (if needed): If your atomic clock does not pick up the atomic time signal or needs additional adjustments, consult the manual for instructions on manually setting the time and date. Follow the steps carefully to ensure accurate timekeeping.
- Personalize Additional Clock Settings: Explore any additional settings or features offered by your atomic clock. This may include alarm settings, temperature display, or language preferences. Customize these settings according to your preferences.
- Perform a Functionality Check: After setting up the basic functions, perform a quick functionality check to ensure that the clock is displaying the correct time and any additional features are working correctly. If you encounter any issues, refer to the troubleshooting section in the instruction manual or contact the manufacturer for assistance.
By following these steps, you can efficiently unpack and set up your atomic clock, ensuring accurate and reliable timekeeping from the moment you start using it.
Setting the Time Zone and Daylight Saving Time (DST)
Setting the correct time zone and adjusting for Daylight Saving Time (DST) is crucial to ensure that your atomic clock displays the accurate local time. Follow these steps to set the time zone and DST settings on your atomic clock.
- Consult the Instruction Manual: Refer to the instruction manual that came with your atomic clock to determine the specific steps for adjusting the time zone and DST settings. Different models may have different procedures.
- Access the Clock’s Settings: Most atomic clocks have a designated button or menu option to access the settings. Locate the appropriate button and press it to enter the settings mode.
- Select the Time Zone: Use the navigation buttons or dial on your atomic clock to scroll through the available time zone options. Select the correct time zone based on your location.
- Adjust for Daylight Saving Time: If your region observes Daylight Saving Time, check if your atomic clock has an automatic DST adjustment feature. If so, enable it according to the instructions in the manual. This allows the clock to automatically change the time by one hour when DST begins or ends.
- Manual DST Adjustment: If your atomic clock does not have an automatic DST adjustment feature, you will need to manually adjust the time when DST starts or ends. Refer to the manual to find out how to manually change the time by an hour during these transitions.
- Verify Accuracy: After setting the time zone and DST settings, double-check that your atomic clock is displaying the correct local time. Check against a reliable external time source, such as a smartphone or computer, to ensure accuracy.
- Ongoing Maintenance: Keep in mind that as time zones or DST rules change, you may need to revisit the settings on your atomic clock to ensure ongoing accuracy. Stay updated with any changes in your local time zone regulations and adjust your atomic clock accordingly.
By correctly setting the time zone and DST settings on your atomic clock, you can ensure that it accurately reflects the local time, including any adjustments made for Daylight Saving Time. This enables you to have a reliable and convenient source of timekeeping throughout the year.
Connecting Your Atomic Clock to a Power Source
To ensure your atomic clock remains powered and functional, it is important to connect it to a suitable power source. Follow these steps to connect your atomic clock to a power source and keep it running smoothly.
- Identify the Power Source: Determine the power requirements for your atomic clock. Check the instruction manual or the labeling on the clock itself to find out if it needs batteries or if it can be plugged into a power outlet.
- Battery-Powered: If your atomic clock requires batteries, open the battery compartment usually located on the back or bottom of the clock. Insert the recommended type and quantity of batteries, ensuring proper alignment of the positive (+) and negative (-) terminals. Follow the polarity indicators inside the battery compartment.
- AC-Powered: If your atomic clock can be plugged into a power outlet, locate the power cord or adapter that came with the clock. Connect the power cord to the clock and make sure the other end is securely inserted into a working power outlet. Check that the voltage specified on the adapter matches the voltage in your region.
- Backup Power: Some atomic clocks have backup power options to maintain functionality during power outages or when disconnected from the main power source. If your clock has this feature, refer to the instruction manual to find out how to activate and use it.
- Verify Power Connection: Once the clock is connected to the power source, confirm that it is receiving power. Check for any indication lights, LCD displays, or other signs that the clock is functioning and receiving power as intended.
- Regular Maintenance: If your atomic clock is battery-powered, periodically check the battery level to ensure optimal performance. Replace the batteries as needed to prevent interruptions in timekeeping. If using AC power, occasionally inspect the power cord and connector for any damage, and replace if necessary.
By successfully connecting your atomic clock to a power source and performing regular maintenance, you can enjoy uninterrupted timekeeping and ensure that your clock remains powered for accurate and reliable time displays.
Synchronizing Your Atomic Clock with the Atomic Time Signal
One of the key features of an atomic clock is its ability to synchronize with the atomic time signal, ensuring that it displays the most accurate and precise time. Follow these steps to synchronize your atomic clock with the atomic time signal.
- Ensure Reception: Check that your atomic clock is placed in a suitable location that allows it to receive the atomic time signal without interference. Avoid placing it near large objects, electronic devices, or dense walls that may hinder the reception.
- Activate the Sync Function: Look for a sync or search button on your atomic clock. Press this button to initiate the synchronization process. The clock will attempt to connect with the atomic time signal.
- Allow Sufficient Time for Signal Reception: Atomic clocks typically require a few minutes to receive and process the atomic time signal. During this time, the clock compensates for any time discrepancies and adjusts its time accordingly.
- Monitor Signal Reception Status: Many atomic clocks have indicator lights or display messages to indicate the status of signal reception. These indicators may include text such as “syncing,” “searching,” or “received.” Monitor these indicators to ensure that the clock is successfully synchronizing with the atomic time signal.
- Confirm Synchronization: Once the atomic clock successfully synchronizes with the atomic time signal, verify that the displayed time matches the most accurate time available. Compare it with another reliable time source, such as an internet-synced clock or a radio station that broadcasts atomic time. Minor differences in time are normal due to signal processing and transmission delays.
- Regular Signal Update: Atomic clocks automatically update and resynchronize with the atomic time signal at regular intervals, typically every 24 hours. This ensures that the displayed time remains accurate and precise. However, if your clock is not updating as expected, consult the instruction manual for troubleshooting tips or contact the manufacturer for assistance.
By synchronizing your atomic clock with the atomic time signal, you can enjoy the highest level of accuracy and precision in your timekeeping. It ensures that your clock remains up to date without manual adjustments and provides you with confidence in the accuracy of the displayed time.
Adjusting the Time and Date Manually (if applicable)
While atomic clocks are designed to automatically synchronize with the atomic time signal, there may be instances where manual adjustments are necessary. Follow these steps to manually adjust the time and date on your atomic clock, if applicable.
- Access the Settings: Determine how to access the settings menu on your atomic clock. Refer to the instruction manual to find the specific button or sequence of buttons required to enter the settings mode.
- Time Adjustment: Locate the option to adjust the time. Depending on your clock, you may have dedicated buttons or a multifunctional button to navigate through the settings. Use the appropriate buttons to increment or decrement the hour, minute, and second values as needed until you reach the desired time.
- Date Adjustment: If your atomic clock also displays the date, locate the option to adjust the date in the settings menu. Follow similar steps to adjust the month, day, and year values as required until the correct date is displayed.
- AM/PM or 24-Hour Format: Some atomic clocks allow you to switch between the 12-hour (AM/PM) and 24-hour time formats. If applicable, adjust this setting to your preference using the instructions provided in the manual.
- Confirmation: After making the necessary adjustments, exit the settings mode to return to the clock display. Verify that the updated time and date are accurately reflected on the clock’s face or digital display.
- Verification: Compare the adjusted time and date with a reliable external reference, such as a computer or smartphone, to ensure accuracy. Fine-tune the adjustments if needed until your atomic clock matches the correct time and date.
- Regular Maintenance: Depending on the clock’s functionality and accuracy, you may need to manually adjust the time and date periodically, such as during daylight saving time changes or if the clock loses synchronization with the atomic time signal. Stay attentive to such circumstances and adjust accordingly to maintain accurate timekeeping.
By following these steps, you can manually adjust the time and date on your atomic clock when necessary, ensuring that it accurately reflects the desired settings for your timekeeping needs.
Personalizing Additional Clock Settings
In addition to setting the time and date, many atomic clocks offer additional settings that allow you to personalize and customize its features. Consider the following options to enhance your clock’s functionality and align it with your preferences.
- Alarm Settings: Most atomic clocks come with an alarm feature. Use the settings menu to adjust the alarm time and set it to your desired wake-up time or reminder. Some clocks allow you to choose alarm sounds or adjust the volume to suit your preferences.
- Temperature Display: If your atomic clock includes a temperature sensor, you can activate the temperature display feature. Access the settings and enable the temperature option to view the current room temperature directly on the clock’s display.
- Backlight and Brightness: Many atomic clocks have a backlight or adjustable display brightness. Access the settings to customize the backlight duration or brightness level to your liking. This feature allows you to easily view the clock’s display in low-light conditions or at night without disturbing your sleep.
- Language Preferences: Check if your atomic clock offers language options. If so, navigate to the settings menu and select the preferred language from the available options. This feature allows you to use the clock in a language that is most comfortable and familiar to you.
- DST Override: Some atomic clocks provide the option to override the automatic Daylight Saving Time (DST) adjustment. If you live in an area that does not observe DST or have specific requirements, you can disable the automatic DST adjustment and manually adjust the time when needed.
- Display Format: Depending on your preference, you may have the option to customize the display format, such as choosing between a 12-hour or 24-hour format, displaying seconds, or showing the date in different formats. Explore the settings menu to select the display format that suits your preferences.
- Reset and Factory Settings: In case you want to start fresh or encounter issues with your clock’s settings, you may find a factory reset or default settings option in the settings menu. Be mindful that performing a reset will erase any personalized settings and restore the clock to its original default settings.
By personalizing these additional clock settings, you can tailor your atomic clock to suit your specific preferences and needs. Take advantage of the customization options available to enhance your clock’s functionality and make it a personalized timekeeping companion.
Maintaining and Troubleshooting Your Atomic Clock
To ensure the optimal performance and longevity of your atomic clock, regular maintenance and troubleshooting are essential. Here are some tips to help you maintain and troubleshoot your atomic clock effectively.
- Keep Your Clock Clean: Regularly clean the surface of your atomic clock with a soft, lint-free cloth. Remove any dust or debris that may accumulate on the display or around the buttons. Avoid using harsh chemicals or abrasive cleaners that can damage the clock’s surface.
- Replace Batteries Promptly: If your atomic clock is battery-powered, monitor the battery level regularly. Replace the batteries promptly when they are low to prevent interruptions in timekeeping. Refer to the instruction manual for recommended battery types and replacement procedures.
- Check Signal Reception: Periodically verify that your atomic clock is receiving the atomic time signal properly. If you notice consistent issues with signal reception, check the clock’s positioning, antenna, and surrounding objects that may interfere with signal reception. Adjust the clock’s location as needed to optimize signal strength.
- Verify Time Accuracy: Compare your atomic clock to a reliable external time source, such as an internet-synced clock or radio time signals, to ensure accurate timekeeping. If you notice significant discrepancies in time, check the clock’s synchronization status, signal reception, and adjust the time manually if necessary.
- Refer to the Instruction Manual: Consult the instruction manual for troubleshooting guidance specific to your atomic clock model. The manual will provide troubleshooting steps for common issues like signal reception problems, display errors, or alarms not functioning correctly. Follow the instructions provided to diagnose and resolve any issues.
- Check for Software Updates: Some atomic clocks may have companion apps or software updates available from the manufacturer. Regularly check for software updates to ensure that your clock is running on the latest firmware. Follow the manufacturer’s instructions to install any available updates and enhancements.
- Contact Customer Support: If you have tried troubleshooting your atomic clock and are still experiencing issues, reach out to the manufacturer’s customer support for further assistance. They can provide specialized guidance and solutions to address any problems you may encounter.
- Follow Manufacturer’s Guidelines: Always follow the recommended guidelines and instructions provided by the manufacturer. This includes maintenance routines, battery replacement, signal reception tips, and any other specific recommendations for your atomic clock model. Adhering to these guidelines will help ensure the best performance and reliability of your clock.
By maintaining your atomic clock and effectively troubleshooting any issues that arise, you can enjoy accurate and reliable timekeeping for years to come. Regular care and attention will help ensure that your atomic clock remains a dependable and indispensable part of your daily routine.