
Materials Needed
Before you begin making a valance curtain, it’s important to gather all the necessary materials. Here is a list of items you will need:
- Fabric of your choice
- Measuring tape
- Fabric scissors
- Sewing machine or needle and thread
- Pins
- Iron and ironing board
- Decorative trim (optional)
- Rod or curtain hardware
When selecting the fabric for your valance curtain, consider the overall theme and color scheme of your room. You can choose from a variety of materials such as cotton, linen, or even a patterned fabric to add a touch of personality. Ensure that you have enough fabric to create the desired width and length of the valance.
A measuring tape is essential for determining the dimensions of your valance curtain. Measure the width of your window and decide on the desired width of the valance. Additionally, measure the height from the top of the window frame to where you want the valance to hang.
Fabric scissors will be needed to accurately cut the fabric to the appropriate size. It is important to have sharp scissors to ensure clean and precise cuts.
Having a sewing machine or needle and thread is necessary for sewing the fabric together. If you don’t have a sewing machine, you can still create a valance using a needle and thread. However, using a sewing machine will make the process quicker and more efficient.
Pins are crucial for securing the fabric in place while sewing. They will help to ensure that the fabric stays aligned and doesn’t shift as you sew.
An iron and ironing board are necessary for pressing the fabric and creating crisp hems. This step is crucial for achieving a polished and professional-looking valance curtain.
If you want to add an extra decorative touch to your valance, consider using decorative trim. This can be ribbon, lace, or any other trim of your choice. The trim can be sewn onto the fabric during the sewing process, enhancing the overall appearance.
Finally, you will need a rod or curtain hardware to hang the valance curtain. Ensure that you have the appropriate hardware for your window, whether it’s a tension rod, standard curtain rod, or any other required hardware.
Now that you have gathered all the necessary materials, you are ready to move on to the next steps of creating your own valance curtain.
Step 1: Measure and Cut Fabric
The first step in making a valance curtain is to measure and cut the fabric according to your desired dimensions. This is an important step as it ensures that your valance will fit perfectly on your window. Follow these instructions to measure and cut the fabric:
- Start by using a measuring tape to measure the width of your window. Determine how wide you want your valance to be and add a few extra inches on each side for hemming.
- Next, measure the height from the top of the window frame to where you want the valance to hang. Decide on the desired length of the valance curtain, keeping in mind any decorative elements or trim that you plan to add.
- Using fabric scissors, carefully cut the fabric according to the measurements you have taken. Ensure that your cuts are straight and even.
When cutting the fabric, it is always a good idea to add a few extra inches to the width and length measurements. This will allow for any adjustments or alterations that may be needed during the sewing process.
Remember to take into account the pattern or design on your fabric when cutting. Ensure that the pattern aligns properly and that important elements are not cut off or distorted.
If you are using a patterned fabric and want to match the pattern at the seams, make sure to cut multiple pieces with the same alignment. This will create a more cohesive and visually appealing valance curtain.
Once you have cut the fabric to the appropriate size, it is time to move on to the next step of sewing the top hem. This will help to create a clean and finished look for your valance curtain.
Step 2: Sew the Top Hem
After you have measured and cut the fabric for your valance curtain, the next step is to sew the top hem. This hem will provide a neat and finished edge to the top of the valance. Follow these instructions to sew the top hem:
- Begin by folding down the top edge of the fabric about ½ inch towards the wrong side. Use your fingers to press the fold or use an iron on a low heat setting to create a crisp crease.
- Once the fold is in place, fold down the top edge again, this time about 1 inch. This will create a double-folded hem that conceals the raw edge of the fabric.
- Pin the double-folded hem in place to hold it securely while you sew. Place pins approximately every few inches along the length of the hem.
- Using a sewing machine or a needle and thread, sew a straight stitch along the bottom edge of the hem, ensuring that you catch both folds of the fabric. Remove the pins as you sew.
When sewing the top hem, it is essential to use a straight stitch and to sew as close to the folded edge as possible. This will create a strong and secure hem that will withstand regular use.
If using a sewing machine, set it to a medium stitch length and sew slowly and carefully along the hem. Backstitch at the beginning and end of the seam to secure the stitches.
If hand-sewing, use a backstitch or a running stitch to sew along the hem. Make small and even stitches for durability.
Once you have sewn the top hem, remove any remaining pins and give the valance a final press with an iron to ensure that the hem lies flat and looks crisp.
With the top hem sewn, your valance curtain is starting to take shape. The next step is to create the rod pocket, which will allow you to hang the valance on a curtain rod or other hardware.
Step 3: Create the Rod Pocket
One of the key elements of a valance curtain is the rod pocket, which allows you to hang the valance on a curtain rod or other hardware. Follow these instructions to create the rod pocket for your valance:
- Start by folding down the top edge of the valance, measuring approximately 3 to 4 inches. This measurement will depend on the size of your curtain rod or hardware.
- Use your fingers to press the fold or use an iron on a low heat setting to create a crisp crease. Ensure that the fold is even and straight along the entire width of the valance.
- Next, fold down the top edge again, this time about 1 inch. This will create a double-folded hem that will form the rod pocket.
- Pin the rod pocket in place to hold it securely while you sew. Place pins approximately every few inches along the width of the valance.
- Using a sewing machine or a needle and thread, sew a straight stitch along the bottom edge of the rod pocket, ensuring that you catch both folds of the fabric. Remove the pins as you sew.
When creating the rod pocket, it is crucial to ensure that it is wide enough to accommodate your curtain rod or hardware. Measure the diameter or width of your rod and adjust the width of the rod pocket accordingly.
If using a sewing machine, set it to a medium stitch length and sew slowly and carefully along the rod pocket. Backstitch at the beginning and end of the seam to secure the stitches.
If hand-sewing, use a backstitch or a running stitch to sew along the rod pocket. Make small and even stitches for durability.
Once you have sewn the rod pocket, remove any remaining pins and give the valance a final press with an iron to ensure that the rod pocket lies flat and looks neat.
With the rod pocket created, your valance curtain is nearly complete. The next step is to add any desired decorative trim to enhance the appearance of your valance.
Step 4: Add Decorative Trim (Optional)
Adding decorative trim to your valance curtain can elevate its overall look and make it more visually appealing. While this step is optional, it can add a touch of personality and style to your valance. Follow these instructions to add decorative trim to your valance:
- Choose the desired decorative trim for your valance curtain. This can be ribbon, lace, pom-poms, tassels, or any other trim of your choice. Ensure that the trim complements the fabric and the overall theme of the room.
- Measure the length of the valance curtain and cut the trim to the same length, adding a few extra inches for overlap and adjustments.
- Place the trim along the bottom edge of the valance, positioning it where you want it to be attached. You can pin it in place temporarily to get an idea of the final look.
- If using a sewing machine, sew the trim onto the valance by stitching along the top edge of the trim. Alternatively, if hand-sewing, you can use a needle and thread to sew the trim onto the valance.
- Remove any temporary pins or basting stitches once the trim is securely attached. Give the valance a final press with an iron to ensure that the trim lies flat and looks neat.
When attaching the decorative trim, it is important to sew it securely to ensure that it withstands everyday use and handling. Reinforce the stitching by backstitching at the beginning and end of the trim to prevent it from coming loose.
Take your time when attaching the trim, ensuring that it is positioned straight and aligns evenly along the bottom edge of the valance. Smooth out any wrinkles or folds in the trim as you sew.
If desired, you can also add additional decorative trims along the sides or top of the valance for a more elaborate look. Be creative and experiment with different trim designs to achieve the desired aesthetic.
Once you have added the decorative trim, step back and admire your valance curtain. With the decorative trim in place, it’s time to move on to the next step of attaching the rod pocket to complete your valance curtain.
Step 5: Attach the Rod Pocket
Attaching the rod pocket is a crucial step in completing your valance curtain. The rod pocket ensures that your valance can be easily hung on a curtain rod or other hardware. Follow these instructions to attach the rod pocket:
- Begin by turning your valance curtain to the wrong side, with the rod pocket facing up.
- Fold the rod pocket in half lengthwise, bringing the top edge down to meet the bottom edge. This will create a crease in the center of the rod pocket.
- Pin the folded rod pocket in place along the sides, ensuring that it is even and straight. Use enough pins to secure the fabric, making sure it doesn’t shift while sewing.
- Using a sewing machine or a needle and thread, sew a straight stitch along the sides of the rod pocket, securing the folded edges together. Start at one end and sew all the way to the other end.
- Remove the pins as you sew, and reinforce the stitching by backstitching at the beginning and end of the seam.
When sewing the rod pocket, it is important to sew close to the folded edges without catching the rest of the valance fabric. This will ensure that the rod can easily slide into the pocket without any obstructions.
If using a sewing machine, set it to a medium stitch length and sew slowly and carefully along the sides of the rod pocket. Backstitch at the beginning and end of the seam to secure the stitches.
If hand-sewing, use a backstitch or a running stitch to sew along the sides of the rod pocket. Make small and even stitches to ensure durability.
Once you have sewn the rod pocket, remove any remaining pins and give the valance a final press with an iron to ensure that the rod pocket lies flat and looks neat.
With the rod pocket attached, your valance curtain is nearly ready to be hung. The final step is to learn how to properly hang the valance curtain on a curtain rod or other hardware.
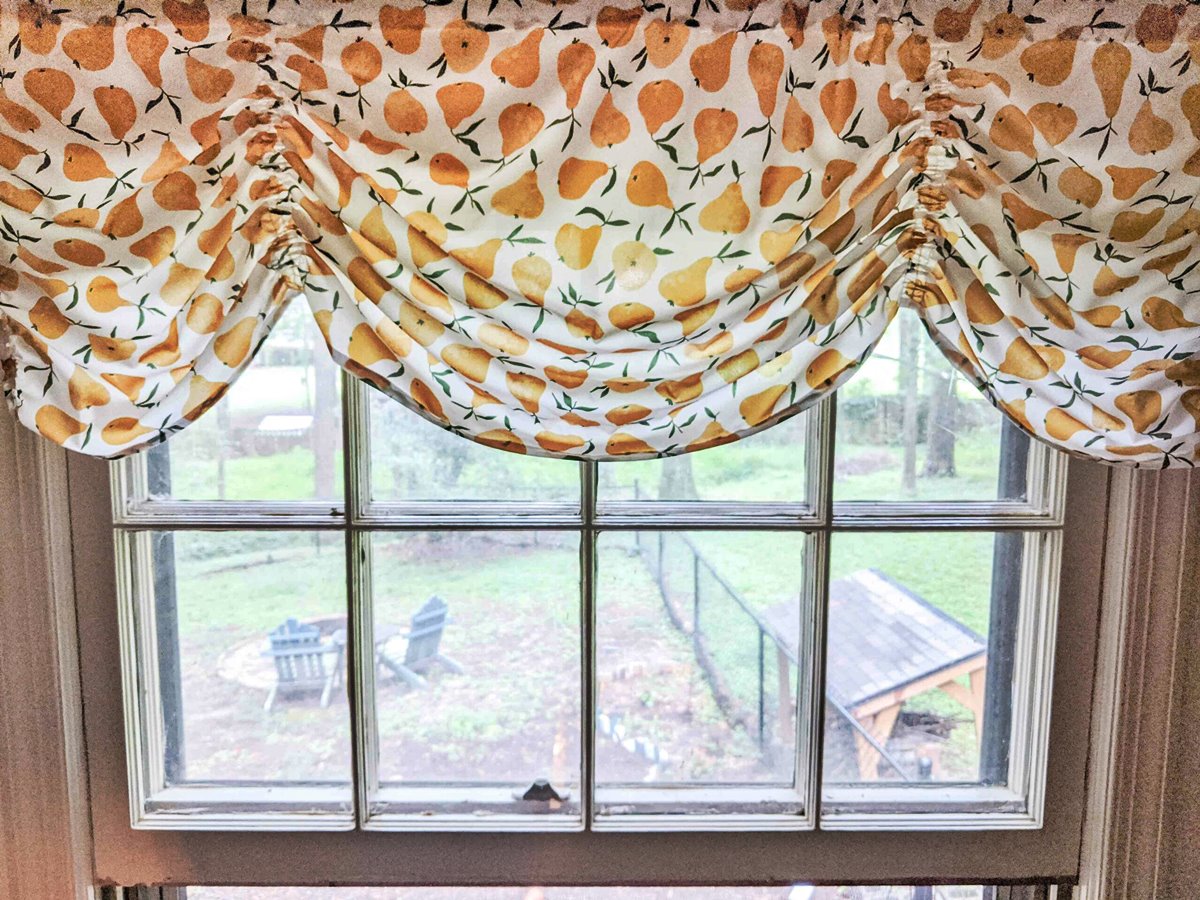
Step 6: Hang the Valance Curtain
Now that you have completed all the necessary steps to make your valance curtain, it’s time to hang it and enjoy the finished look. Follow these instructions to hang your valance curtain:
- Start by gathering the necessary curtain rod or hardware to hang your valance. Ensure that you have the appropriate rod or hardware for your window size and style.
- If using a tension rod, extend it slightly wider than the window frame and insert it into the rod pocket at the top of your valance curtain. Adjust the rod as needed to fit securely within the window frame.
- If using a standard curtain rod, slide it through the rod pocket, positioning it evenly along the width of the valance. Secure the curtain rod to the wall or window frame using the appropriate brackets or hardware.
- If using any other type of curtain hardware, follow the manufacturer’s instructions to properly install and secure it to the wall or window frame. Attach the valance to the hardware according to its configuration.
- Once the valance curtain is securely hung, step back and adjust it as necessary. Ensure that it hangs evenly and straight, making any final adjustments to the position or drape of the valance.
Remember to take into account the desired length and fullness of your valance curtain when hanging it. If you prefer a more gathered or voluminous look, you can adjust the width of the valance or the amount of fabric used to create a fuller appearance.
Take the time to arrange and style your valance curtain to your liking. You can experiment with different draping styles or accessories to further enhance the overall look.
Now that your valance curtain is beautifully hanging, step back and admire your handiwork. You have successfully created a stylish and functional addition to your window treatment, adding personality and charm to your space.
Remember, the process of making a valance curtain may require some patience and practice. Don’t be discouraged if you don’t achieve perfection on your first attempt. With each project, you will gain more confidence and expertise in creating custom valance curtains that complement your home decor.
Enjoy your newly hung valance curtain and the warmth and beauty it brings to your space!