
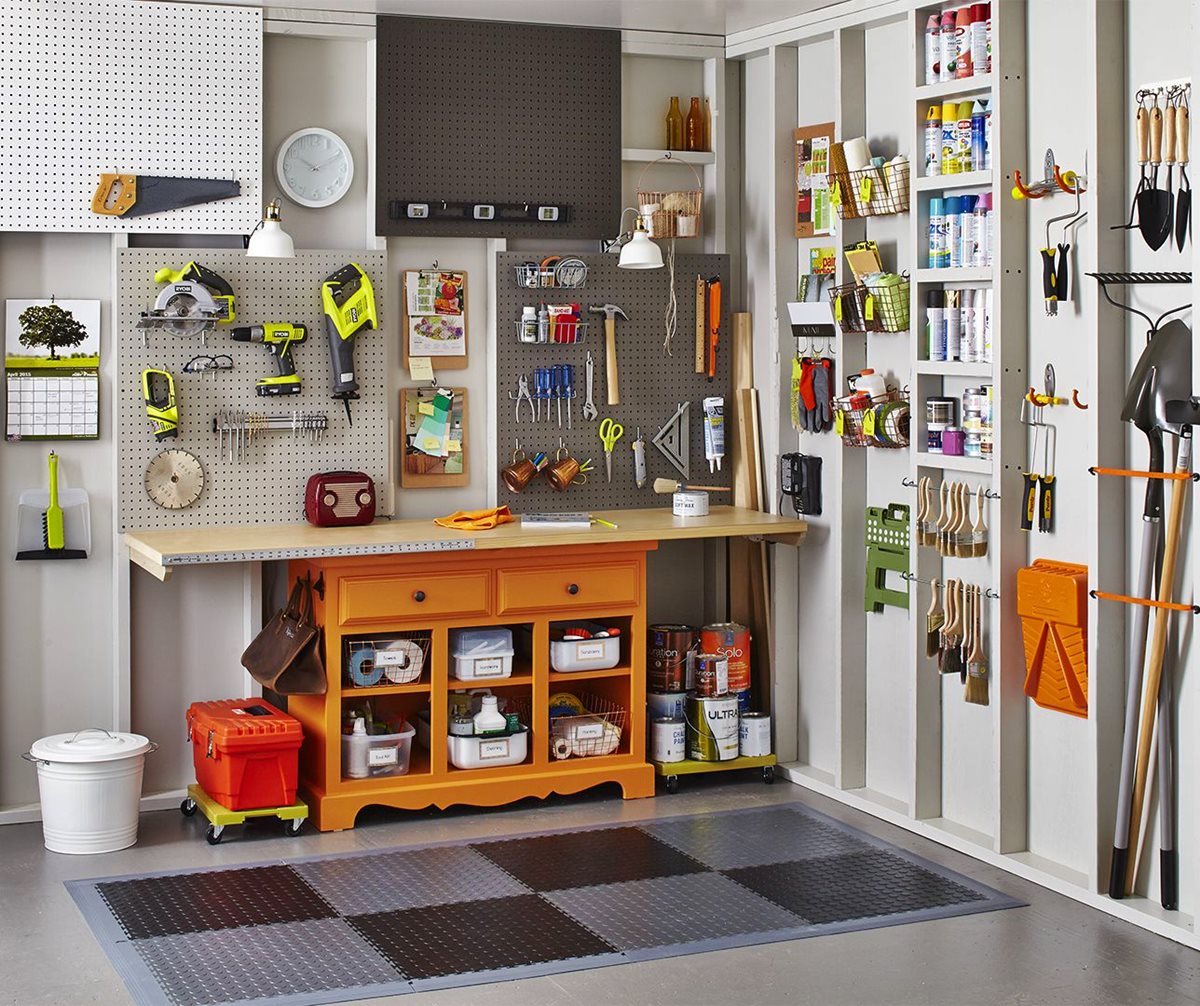
Tools and Materials Needed
To create a tool storage rack, you will need a few essential tools and materials. Gathering the necessary items beforehand will ensure a smooth and efficient project. Here is a list of what you will need:
- Saw
- Tape measure
- Drill
- Screwdriver
- Level
- Hammer
- Nails
- Screws
- Wood glue
- Plywood
- 2×4 lumber
- Sandpaper
- Paint or stain
- Paintbrush
- Hooks and clips
These tools and materials will provide you with a solid foundation to create a sturdy and functional tool storage rack. Ensure that you have all the necessary items before proceeding with the project to avoid any delays or interruptions.
Step 1: Measure and Plan
Before getting started on building your tool storage rack, it’s crucial to measure your available space and plan out the design. Follow these steps to ensure a precise and well-thought-out project:
- Measure the area: Use a tape measure to determine the height, width, and depth of the space where you plan to install the tool storage rack. Take note of any obstructions or limitations that may affect the dimensions.
- Create a layout: Sketch a rough layout of your desired rack design. Consider the number and size of tools you need to store and how you want to arrange them. This will help you determine the number of shelves and hooks needed.
- Make a materials list: Based on your measurements and design, make a comprehensive list of the materials required for your tool storage rack. This will include the plywood, 2×4 lumber, and any additional hardware like screws or nails.
- Consider accessibility: Think about the accessibility of your tools when planning the rack’s layout. Arrange the shelves and hooks in a way that allows easy access to frequently used items while maximizing space efficiency.
- Double-check measurements: Before cutting any wood or assembling the rack, double-check your measurements to ensure accuracy. This will prevent any unnecessary adjustments or rework later on.
By taking the time to measure and plan your tool storage rack, you will have a solid foundation for a well-organized and functional workspace. This step is crucial in ensuring that your rack fits perfectly, maximizes storage capacity, and meets your specific needs.
Step 2: Cut the Wood
Now that you have measured and planned your tool storage rack, it’s time to move on to the next step: cutting the wood. Follow these guidelines to ensure accurate cuts and proper fit:
- Gather the materials: Retrieve the plywood and 2×4 lumber specified in your materials list. Arrange them in a well-ventilated work area along with your saw and safety gear.
- Measure and mark: Using your tape measure and pencil, measure and mark the dimensions for each piece of wood according to your plan. Take into account the height, width, and depth of the rack, as well as any additional shelving or support pieces.
- Cut the plywood: Carefully cut the plywood sheets according to your markings using a saw. Take your time to ensure straight and accurate cuts. Remember to use proper safety precautions, such as wearing goggles and gloves.
- Cut the 2×4 lumber: With the plywood cut to size, proceed to cut the 2×4 lumber pieces for the frame and support structures. Use the appropriate measurements and angles as determined in your plan. Double-check each cut before moving on.
- Label the pieces: To avoid confusion during assembly, label each cut piece of wood with a corresponding letter or number. This will make it easier to assemble the rack later on.
By carefully cutting the wood according to your measurements, you’ll ensure that each piece fits together seamlessly during the assembly stage. Take your time and pay attention to detail to achieve a clean and professional-looking tool storage rack.
Step 3: Assemble the Frame
With the wood pieces cut to size, it’s time to assemble the frame of your tool storage rack. Follow these steps to ensure a sturdy and secure structure:
- Arrange the pieces: Lay out the cut plywood and 2×4 lumber pieces according to your plan. Take note of which pieces will form the uprights, crossbars, and support structures.
- Attach the uprights: Begin by attaching the upright pieces to the base of the rack. Use wood screws or nails to securely fasten them, ensuring that they are plumb and level.
- Install the crossbars: Insert the crossbars between the uprights at the desired intervals. Secure them with screws or nails, ensuring they are level and parallel to the base. These crossbars will provide stability and support for the shelves.
- Add support structures: Depending on the design of your tool storage rack, you may need to add additional support structures such as diagonal braces or corner brackets. Attach these accordingly to reinforce the frame.
- Check for stability: Once the frame is assembled, check for any wobbling or instability. Make any necessary adjustments or reinforce weak spots to ensure a sturdy structure.
Assembling the frame is a critical step in creating a durable and functional tool storage rack. Take your time to ensure the pieces are properly aligned and securely fastened. This will provide a solid foundation for the shelves and hooks that will be added in the next steps.
Step 4: Attach the Back Panel
Now that the frame is assembled, it’s time to add the back panel to your tool storage rack. This step will add stability and help keep your tools securely in place. Follow these guidelines to attach the back panel effectively:
- Pick the right material: Choose a suitable material for the back panel, such as plywood or pegboard. Measure and cut it to the appropriate size, ensuring it matches the dimensions of the rack frame.
- Position the back panel: Place the cut back panel against the back of the frame. Ensure it aligns properly with the edges of the frame.
- Secure the back panel: Use nails or screws to attach the back panel to the frame. Start from one corner and gradually work your way across, spacing them evenly and ensuring a secure attachment.
- Check for stability: Once the back panel is attached, check for any movement or instability. Make any necessary adjustments to ensure a tight fit and solid structure.
Attaching the back panel is an essential step in creating a sturdy tool storage rack. It provides added support and prevents tools from falling off the back. Take your time to ensure the panel is securely fastened, as this will contribute to the overall stability and functionality of your rack.
Step 5: Install the Shelves
With the frame and back panel in place, it’s time to install the shelves on your tool storage rack. Follow these steps to add functional storage space:
- Determine shelf placement: Based on your design and intended use, decide on the desired placement and spacing for your shelves. Consider the size and quantity of tools you need to accommodate.
- Measure and mark: Use a tape measure and pencil to measure and mark the locations for the shelves on the uprights of the rack. Ensure the measurements are accurate for a level and even installation.
- Install shelf supports: Utilize brackets or strips of wood as shelf supports. Attach them to the uprights at the marked locations using screws or nails, ensuring they are level and secure.
- Place the shelves: Rest the cut plywood or pre-made shelves onto the shelf supports. Make sure they fit snugly and are level. Adjust the supports if needed to achieve a balanced and stable placement.
- Secure the shelves: Once the shelves are properly positioned, secure them to the supports using screws or nails. Make sure they are secure and can hold the weight of your tools without sagging.
Installing the shelves is a crucial step in maximizing the storage capacity of your tool storage rack. Take your time to ensure each shelf is level and sturdy, as this will help keep your tools organized and easily accessible.
Step 6: Add Hooks and Clips
To further optimize the storage capacity of your tool storage rack, it’s time to add hooks and clips. These accessories will allow you to hang and organize your tools efficiently. Follow these steps to incorporate hooks and clips:
- Select appropriate hooks and clips: Determine the types and sizes of hooks and clips that will best accommodate your tools. Consider the weight and shape of each tool to ensure a secure fit.
- Plan your layout: Visualize the arrangement of your tools and plan where each hook or clip will go. Be mindful of spacing, accessibility, and the overall balance of the rack.
- Mark the locations: Use a pencil to mark the positions for each hook or clip on the uprights, crossbars, or backing panel. Take measurements and ensure proper alignment.
- Attach the hooks and clips: Use screws or nails to firmly attach the hooks and clips to their designated locations. Ensure they are securely fastened and can support the weight of your tools.
- Test the functionality: Hang your tools on the installed hooks and clips to test their stability and accessibility. Make any necessary adjustments to ensure a well-organized and efficient tool storage system.
Adding hooks and clips to your tool storage rack is a practical and space-saving solution. By utilizing these accessories, you can easily hang your tools, keeping them within reach and minimizing clutter. Take the time to plan and arrange them thoughtfully for maximum efficiency.
Step 7: Sand and Paint
Now that the main structure and functionality of your tool storage rack are complete, it’s time to add the finishing touches. Sanding and painting the rack not only enhances its appearance but also provides a protective layer. Follow these steps to achieve a polished and professional-looking finish:
- Sand the surfaces: Use sandpaper to smooth out any rough edges, splinters, or imperfections on the wood. Start with a coarse grit and gradually work your way to a finer grit for a smooth finish.
- Remove dust: After sanding, wipe down the rack with a damp cloth to remove any dust or debris. This will ensure a clean surface for painting.
- Choose your paint: Select a paint color that complements your workspace or matches your personal preference. Opt for a durable paint that will withstand the wear and tear of daily use.
- Apply primer (optional): If desired, apply a coat of primer before painting to enhance the paint’s adhesion and improve color vibrancy. Allow the primer to dry according to the manufacturer’s instructions.
- Paint the rack: Use a brush or roller to apply an even coat of paint to the rack, working in smooth and consistent strokes. Allow the paint to dry completely before applying additional coats.
- Apply additional coats (if required): Depending on the desired finish, apply additional coats of paint, allowing adequate drying time between each coat. This will ensure a solid and uniform color.
Sanding and painting your tool storage rack not only improves its aesthetics but also protects the wood from moisture, dirt, and general wear. The finished result will be a visually appealing and fully functional rack that enhances your workspace.
Step 8: Mount the Tool Storage Rack
After completing the construction and finishing of your tool storage rack, the final step is to mount it securely in your desired location. Follow these steps to ensure a safe and stable installation:
- Choose the mounting location: Select a wall or area that can accommodate the size and weight of the rack. Consider the accessibility and convenience of the tools when choosing the location.
- Locate wall studs: Use a stud finder to locate the wall studs in the chosen area. Mounting the rack directly onto the studs will provide the most secure attachment.
- Mark the mounting points: Hold the rack against the wall at the desired height and level it. Use a pencil to mark the locations of the wall studs on the rack’s back panel.
- Drill pilot holes: With the marks in place, use a drill to carefully drill pilot holes into the marked locations on the back panel. Ensure that the holes align with the wall studs.
- Secure the rack: Position the rack against the wall again, aligning the pilot holes with the wall studs. Use screws or nails to securely attach the rack to the wall, driving them through the pilot holes.
- Check for stability: Once the rack is mounted, give it a gentle shake to ensure it is securely fastened and stable. Make any necessary adjustments or tighten the screws if needed.
Mounting your tool storage rack is crucial to ensure its stability and longevity. By securely attaching it to the wall studs, you can confidently store and access your tools without the risk of the rack falling or becoming damaged.