
Choosing the Right Material for Your Custom Ornament
When it comes to making a custom ornament, choosing the right material is key. The material will not only determine the durability of the ornament but also its overall appearance. With so many options to choose from, it’s important to consider a few factors to ensure the best outcome for your project.
One popular choice for custom ornaments is wood. Wood offers a natural and rustic look, perfect for adding warmth and charm to your holiday decor. It can be easily carved, painted, or stained to create intricate designs and patterns. Additionally, wood ornaments are durable and can withstand years of use.
If you’re looking for a more elegant and luxurious option, metal is a great choice. Brass, silver, or gold alloys can be used to create stunning ornaments that will catch the light and add a touch of glamour to your tree. Metal ornaments can be engraved, embossed, or etched for a personalized and sophisticated touch.
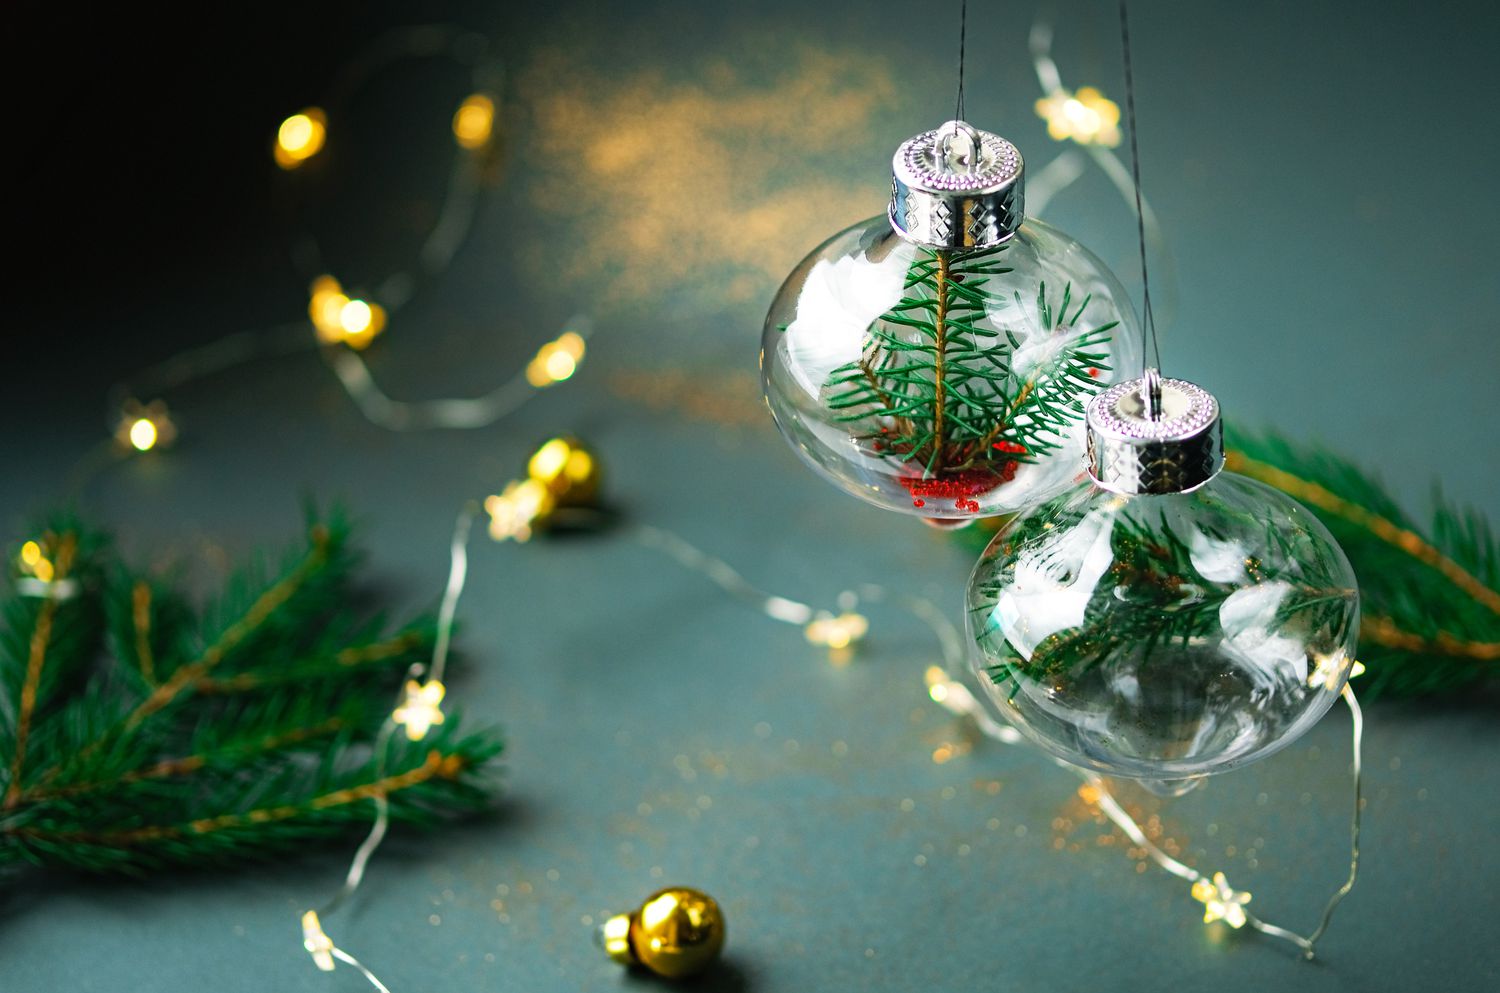
For a modern and contemporary feel, consider using acrylic or glass. These materials offer a sleek and transparent look, allowing you to create unique and eye-catching designs. Acrylic and glass ornaments can be painted, filled with colorful elements, or adorned with decals to reflect your personal style.
If you prefer a more eco-friendly option, consider using natural materials such as fabric or paper. Fabric ornaments can be sewn, stuffed, or embroidered with intricate designs, while paper ornaments can be folded, cut, or quilled to create stunning shapes and patterns. These materials also allow for endless customization options and can be easily recycled.
When choosing the material for your custom ornament, it’s important to consider the intended use and environment. If you plan to hang the ornament outdoors, opt for a material that is weather-resistant and can withstand the elements. If you’re making ornaments for young children, choose a material that is non-toxic and child-friendly.
Gathering the Necessary Tools and Supplies
Before diving into the process of making your custom ornament, it’s important to gather all the necessary tools and supplies. Having everything prepared in advance will ensure a smooth and efficient crafting experience. Here are some essential items you’ll need:
- Scissors or a craft knife: These tools will be used for cutting and shaping the material.
- Adhesive: Depending on the material and design, you may need glue, tape, or a hot glue gun to assemble the ornament.
- Paints and brushes: If you plan to add color to your ornament, gather paints, brushes, and any other desired painting supplies.
- Decorative elements: Consider collecting ribbons, beads, sequins, or other decorative elements that will enhance the overall design of your custom ornament.
- Templates and stencils: If you’re not comfortable with freehand designs, print or create templates and stencils to guide your cutting and shaping process.
- Protective gear: Depending on the materials and tools you’re using, consider wearing protective gloves, goggles, or a mask to ensure your safety.
In addition to these basic tools and supplies, it’s also a good idea to have a clean workspace, with a flat surface and good lighting. This will make it easier to work on your ornament and help prevent any accidents.
It’s important to note that the specific tools and supplies required may vary depending on the chosen material and design of your custom ornament. Be sure to plan ahead and gather any additional items that might be needed based on your specific project.
By having all the necessary tools and supplies readily available, you’ll be able to fully immerse yourself in the creative process and bring your vision to life.
Designing Your Custom Ornament
Designing your custom ornament is an exciting part of the process that allows your creativity to shine. Whether you have a specific theme in mind or you’re open to experimentation, here are some tips to help you create a stunning and unique design:
- Brainstorm ideas: Take some time to brainstorm different design concepts and themes. Consider the overall aesthetic you want to achieve and any specific elements you’d like to incorporate.
- Research and gather inspiration: Look for inspiration online, in magazines, or even in nature. Explore different ornament designs and techniques that resonate with your style.
- Sketch your design: Once you have some ideas, start sketching out your design on paper. This will help you visualize the layout and composition of your ornament.
- Consider the shape: Determine the shape of your ornament, whether it’s traditional round, heart-shaped, or something more unique. The shape will influence the overall design and the placement of your chosen elements.
- Personalize it: Think about incorporating personal touches into your ornament. You can add initials, names, or special dates to make it even more meaningful.
- Experiment with colors and textures: Choose a color scheme that complements your design. Consider using different textures or materials to add depth and interest to your ornament.
- Balance the design: Pay attention to the overall balance of your ornament’s elements. Ensure that all components harmonize and create a visually pleasing composition.
- Stay open to adjustments: As you work on your design, be open to making adjustments and modifications along the way. Sometimes, changes and unexpected ideas can lead to the best results.
Remember, designing your custom ornament should be a joyful and creative process. Allow your imagination to roam freely and have fun exploring different possibilities. This is your opportunity to create something truly unique and special.
Preparing the Material
Before you can start crafting your custom ornament, it’s essential to properly prepare the chosen material. The preparation process may vary depending on the material you’re working with, so here are some general guidelines:
Wood: If you’ve opted for a wooden ornament, begin by sanding the surface to remove any rough edges or imperfections. This will create a smooth and even base for your design. Wipe away any dust or debris with a clean cloth.
Metal: For metal ornaments, clean the surface using a mild soap and water solution to remove any dirt or grease. Dry it thoroughly to prevent rusting. If the metal has any sharp edges, file them down carefully.
Acrylic or Glass: Clean acrylic or glass ornaments using a soft cloth and a gentle glass cleaner. This will remove any fingerprints or smudges and ensure a clear surface for your design.
Fabric or Paper: If you’re working with fabric or paper, iron it beforehand to remove any wrinkles. This will make it easier to work with and create a polished final result.
Additionally, consider applying a primer or sealer to your material to enhance its durability and adhesion. This is particularly important if you plan to paint or decorate the ornament.
Remember to take proper safety precautions when handling your chosen material. Use protective gear when necessary, such as gloves or a mask, and ensure you’re working in a well-ventilated area.
By taking the time to prepare your material, you’ll create a solid foundation for your custom ornament and ensure that the final product is visually appealing and long-lasting.
Cutting and Shaping the Material
Once you have prepared the material for your custom ornament, it’s time to unleash your creativity and start cutting and shaping it. This step is crucial as it determines the form and structure of your ornament. Here are some guidelines to follow:
Wood: Use a pencil to outline your desired shape and design on the wood surface. Depending on the complexity of your design, you can use a craft knife or a scroll saw to carefully cut along the outline. Take your time and make precise cuts to achieve the desired shape. Use sandpaper to smooth any rough edges.
Metal: Trace the desired shape or design on the metal surface using a pencil or marker. Use metal cutting tools such as metal shears, tin snips, or a jeweler’s saw to carefully cut along the traced lines. Be cautious and take breaks if needed to avoid accidental slips or injuries. File the edges to ensure they are smooth and safe to handle.
Acrylic or Glass: If working with acrylic or glass, trace your design onto the surface using a washable marker or a stencil. Use a glass cutter or a scoring tool to carefully cut along the lines. Apply consistent pressure and make sure to score deep enough without applying excessive force. Once scored, gently snap the material along the line. File or sand any sharp edges for a smooth finish.
Fabric or Paper: Use fabric scissors or a craft knife to cut along your outlined design on the fabric or paper. Take your time to make precise cuts, especially for intricate shapes or details. If needed, use pinking shears to give fabric edges a decorative finish. For paper ornaments, consider using decorative-edge scissors for added flair.
Remember to always follow safety guidelines when cutting and shaping your material. Work in a well-lit area and use proper tools for each material to ensure accurate and safe cuts. Take breaks as needed to avoid fatigue and maintain focus on your design.
By carefully cutting and shaping your material, you’ll be able to bring your custom ornament design to life, creating a beautiful and unique piece for your holiday decor.
Adding Personalization to Your Custom Ornament
Personalizing your custom ornament is an opportunity to make it even more special and meaningful. Adding personal touches can turn a beautiful ornament into a cherished keepsake that holds sentimental value. Here are some ideas to consider when adding personalization:
Initials or Monogram: Incorporate your initials or create a monogram design on your ornament to make it uniquely yours. You can paint or engrave your initials onto the surface, or use small letter stickers or decals for a simpler option.
Names: Include names of loved ones or family members on your ornament. You can use paint, markers, or adhesive letters to write out their names, or opt for personalized ornament embellishments that can be attached to the ornament.
Special Dates: Commemorate significant dates such as birthdays, anniversaries, or other memorable occasions by adding them to your ornament. This can be done by writing the dates with paint or markers, using number stickers, or incorporating small charms or tags with the dates engraved.
Photographs: For a truly personalized touch, consider adding a small photograph to your ornament. Laminate the photo and attach it to the ornament’s surface, or create a photo transfer onto fabric or wood for a more artistic look.
Handprints or Footprints: Capture the precious memories of little ones by incorporating their handprints or footprints onto the ornament. Use non-toxic paint to create the prints directly on the ornament surface or make imprints on clay or salt dough ornaments.
Quotes or Messages: Add a meaningful quote, saying, or message that holds significance for you or the recipient of the ornament. This can be done through hand-lettering, using stickers or decals, or even engraving the message onto the ornament.
When personalizing your ornament, it’s important to choose techniques and materials that are suitable for your chosen material. Make sure to consider the size and style of the ornament when deciding on the most effective way to add personalization.
By adding personalization to your custom ornament, you create a unique piece that is not only aesthetically pleasing but also holds emotional value for you or the intended recipient.
Assembling the Pieces
Once you have prepared and personalized the individual components of your custom ornament, it’s time to bring them together and assemble the final piece. Assembling your ornament requires careful attention to detail and precision. Here are some steps to follow for a successful assembly:
Layout: Lay out all the pieces of your ornament and arrange them in the desired configuration. Take a moment to visualize how they will fit together and ensure that the design is visually pleasing.
Adhesive: Depending on the material and components used, choose the appropriate adhesive to attach the pieces securely. Options may include glue, hot glue, adhesive tape, or even sewing for fabric ornaments. Apply the adhesive sparingly and evenly for a clean finish.
Layering: If your ornament has multiple layers or stacked elements, assemble them in a logical and secure manner. Make sure to align the edges properly and press firmly to ensure a strong bond.
Reinforcement: For added durability, consider reinforcing the connection points or vulnerable areas of your ornament. This can be done by adding additional adhesive, stitching, or using reinforcement materials such as wire or small brads.
Drying or Setting: Allow the adhesive to fully dry or set as per the instructions provided. This will ensure that the pieces are securely held together and avoid any accidental disassembly.
Trimming or Cleanup: After assembling the pieces, carefully trim off any excess adhesive or protruding edges that may affect the overall appearance of the ornament. Take your time to achieve a neat and polished final result.
Final Inspection: Once the ornament is fully assembled, inspect it closely for any loose components or imperfections. Make any necessary adjustments or touch-ups to ensure a flawless final product.
Remember to handle the assembled ornament with care to avoid any accidental damage. Store it in a safe place where it won’t get crushed or damaged before it can be displayed.
By following these steps and taking your time to assemble the pieces, you’ll create a beautiful and sturdy custom ornament that is ready to be showcased and admired.
Adding Final Touches and Finishing
After assembling the pieces of your custom ornament, it’s time to add those final touches that will truly bring your creation to life. These finishing touches will give your ornament that extra flair and polish. Here are some ideas to consider:
Painting or Coloring: Use paints, markers, or other coloring materials to add depth and vibrancy to your ornament. Whether you want to add intricate designs, gradients, or subtle accents, painting can take your ornament to the next level.
Embellishments: Consider adding decorative elements such as ribbons, beads, sequins, or crystals to enhance the overall look of your ornament. These embellishments can be glued on strategically to draw attention to specific areas or to add texture and sparkle.
Sealing or Varnishing: If your ornament is made of wood or another porous material, applying a sealant or varnish can help protect the surface and enhance its longevity. Choose a suitable product for your material and follow the instructions for application.
Glitter or Sparkle: Adding a touch of glitter or sparkle can instantly make your ornament stand out. Use glitter glue, adhesive spray, or even sprinkle loose glitter onto the ornament’s surface to create a festive and eye-catching effect.
Ribbon or String: Attach a ribbon, string, or wire loop to the top of your ornament for hanging. Choose a color that complements your design and ensures that it’s securely attached to the ornament for safe display.
Personalized Tags or Labels: Consider attaching a small tag or label to your ornament with a handwritten message or a printed sentiment. This can add a thoughtful touch and make the ornament feel even more personalized.
Final Inspection: Before considering your ornament complete, give it a thorough final inspection. Check for any loose components, smudges, or imperfections and make any necessary touch-ups or adjustments to ensure a polished final product.
Remember, the final touches you add to your custom ornament should reflect your personal style and vision. Take your time, experiment, and have fun with the process. You’ll be rewarded with a beautifully finished ornament that showcases your creativity and craftsmanship.