
Materials Needed
Before you begin making your own curtain rod, it’s important to gather all the necessary materials. Here’s a list of items you’ll need to complete the project:
- Dowel: Choose a dowel that matches the length you need for your window. It should be sturdy enough to support the weight of your curtains.
- Finials: These decorative end pieces will give your curtain rod a polished look. Select finials that complement your decor style.
- Saw: You’ll need a saw to cut the dowel to the desired length. Ensure that you choose a saw appropriate for cutting wood.
- Sandpaper: To create a smooth surface, you’ll need sandpaper to smooth down any rough edges or imperfections on the dowel.
- Paint or Stain: If you want to add a pop of color or a touch of elegance to your curtain rod, select a paint or stain that matches your decor.
- Paintbrush: A paintbrush is essential if you choose to paint or stain your curtain rod. It will help you achieve an even and smooth finish.
- Mounting Brackets: These brackets will hold your curtain rod securely in place. Choose brackets that fit the diameter of your dowel.
- Screws: You’ll need screws to attach the mounting brackets to the wall. Ensure they are the appropriate size for your brackets and suitable for your wall type.
- Level: This tool will help you ensure that your curtain rod is installed straight and level.
Once you have gathered all the materials listed above, you’re ready to move on to the next step: measuring the window.
Step 1: Measure the Window
Before you start making your curtain rod, it’s important to measure your window to determine the appropriate length for your rod. Here’s how you can do it:
- Width Measurement: Measure the width of your window frame. Decide whether you want your curtains to hang inside or outside of the frame.
- Inside Mount: If you prefer an inside mount, measure the width inside the window frame from one side to the other. Deduct about 1 inch to allow the curtains to move freely.
- Outside Mount: For an outside mount, measure the width from one outside edge of the window frame to the other. Add a few extra inches on each side for a more decorative look.
- Height Measurement: Next, measure the height from the top of the window frame to the desired length of your curtains.
Once you have determined the width and height measurements, consider adding a few extra inches to account for any gathered or draped fabric that adds to the overall length of the curtains.
Take note of your measurements to ensure accurate sizing for your curtain rod. Remember to double-check the measurements for accuracy before proceeding to the next step. This will ensure that your DIY curtain rod fits perfectly.
Now that you have measured your window, it’s time to gather all the necessary supplies for the project. In the next step, we will discuss the materials needed to make your own curtain rod.
Step 2: Gather Supplies
Now that you have measured your window, it’s important to gather all the necessary supplies before you start making your DIY curtain rod. Here’s a list of items you’ll need:
- Dowel: You’ll need a dowel that matches the length you measured in Step 1. Choose a dowel made of wood or metal, depending on your preference and the weight of your curtains.
- Saw: Use a saw to cut the dowel to your desired length. Make sure to choose a saw that is appropriate for cutting through the material of your dowel.
- Sandpaper: Smooth down any rough edges or imperfections on the dowel using sandpaper. This will create a polished and finished look.
- Finials: Select decorative finials that will be attached to the ends of your curtain rod. Find finials that match your decor style and complements the overall look of your curtains.
- Paint or Stain: If you want to add some color or enhance the natural look of the dowel, choose a paint or stain that matches your desired aesthetic.
- Paintbrush: You’ll need a paintbrush to apply the paint or stain to the dowel. Ensure that the paintbrush is suitable for the type of paint or stain you are using.
- Mounting Brackets: These brackets will be used to secure the curtain rod to the wall. Choose brackets that are sturdy enough to hold the weight of your curtains and fit the diameter of your dowel.
- Screws and Wall Anchors: Select screws and wall anchors that are appropriate for the type of wall you have. These will be used to attach the mounting brackets securely.
- Level: Use a level to ensure that your curtain rod is installed straight and level.
Once you have gathered all the necessary supplies, you’re ready to move on to the next step: choosing a curtain rod style.
Step 3: Choose a Curtain Rod Style
Choosing the right curtain rod style is an important step in the DIY curtain rod project. The style you choose will depend on your personal taste and the overall aesthetic of your space. Here are some popular curtain rod styles to consider:
- Standard Curtain Rod: This is the most common type of curtain rod, with a simple design that extends straight across the window. It is typically made of metal or wood and can be easily customized with different finishes and finials.
- Cafe-style Curtain Rod: Cafe rods are shorter in length and designed to hold lightweight curtains or valances. They are often used in kitchens or small windows to create a charming and casual look.
- Decorative Curtain Rod: If you want to make a statement with your curtain rod, opt for a decorative style. These rods feature intricate finials, decorative brackets, and unique designs that add a touch of elegance to your window treatments.
- Tension Rod: Tension rods are a popular choice for those who want a hassle-free installation. They can be easily adjusted to fit inside the window frame without the need for screws or brackets.
- Double Curtain Rod: If you plan on hanging sheer curtains along with thicker drapes, a double curtain rod is a great option. This allows you to have two layers of curtains for added privacy and light control.
Consider the style of your curtains and the overall theme of your room when choosing a curtain rod style. Take some time to browse through different options and find the rod that best suits your needs and preferences.
Once you have chosen the curtain rod style, you can proceed to the next step: cutting the dowel to size.
Step 4: Cut the Dowel to Size
Now that you have chosen the curtain rod style, it’s time to cut the dowel to the appropriate length. Follow these steps to ensure an accurate and clean cut:
- Measure Twice: Double-check the measurements you made in Step 1 to ensure accuracy. Use a measuring tape to measure the length needed for your curtain rod.
- Mark the Dowel: Use a pencil or marker to mark the spot where you will cut the dowel. Make sure the mark is visible and accurate.
- Secure the Dowel: Place the dowel securely on a stable surface, such as a workbench or table. Ensure that it is steady and won’t move during the cutting process.
- Wear Safety Gear: Put on protective gloves and safety goggles to protect yourself while cutting the dowel.
- Use a Saw: Choose a saw appropriate for cutting through the material of the dowel. A hand saw or a miter saw can be used for this task. Make sure to follow the manufacturer’s instructions for the specific saw you are using.
- Make the Cut: Align the saw blade with the marked spot on the dowel. Begin cutting with slow and steady strokes, being careful to keep the saw blade perpendicular to the dowel. Take your time to ensure a straight and smooth cut.
- Check the Cut: Once the cut is made, examine the dowel to ensure that it matches the desired length. If needed, use sandpaper to smooth down any rough edges or uneven surfaces.
Remember to exercise caution and take your time while cutting the dowel to avoid accidents or mistakes. Once the dowel is cut to size, proceed to the next step: sanding the dowel.
Step 5: Sand the Dowel
After cutting the dowel to the desired length, the next step is to sand the dowel to create a smooth and polished surface. Follow these steps to ensure a professional finish:
- Select Sandpaper: Choose a sandpaper with a medium grit, such as 120 or 150. This will help remove any rough edges or imperfections on the dowel.
- Secure the Dowel: Place the dowel on a stable surface, such as a workbench or table. Make sure it is held securely so that it does not move during the sanding process.
- Sand the Dowel: Hold the sandpaper firmly with one hand and grip the dowel with the other. Begin sanding the surface of the dowel, moving the sandpaper back and forth in a smooth and even motion. Continue sanding until the entire surface of the dowel feels smooth to the touch.
- Check for Rough Spots: After sanding, run your hand along the length of the dowel to check for any remaining rough spots or uneven areas. If necessary, continue sanding those areas until they are smooth.
- Clean Up: Once you are satisfied with the smoothness of the dowel, use a cloth or brush to remove any dust or debris resulting from the sanding process.
Sanding the dowel not only creates a pleasing texture but also prepares the surface for any further treatment, such as painting or staining. A smooth dowel will ensure that your finished curtain rod looks professional and polished.
Now that you have sanded the dowel, you’re ready to move on to the next step: attaching the finials.
Step 6: Attach Finials
Adding finials to your DIY curtain rod is a great way to give it a finished and decorative touch. Follow these steps to attach the finials:
- Prepare the Dowel: Ensure that the dowel is clean and free from any dust or debris. This will help in securing the finials properly.
- Apply Adhesive: Depending on the type of finials you have, you may need to use adhesive to attach them. Apply a small amount of adhesive to the inside of the finials or the ends of the dowel.
- Align the Finials: Place the finials onto the ends of the dowel, aligning them properly. Ensure that they are centered and symmetrical.
- Secure the Finials: Press the finials firmly onto the dowel, making sure they are securely attached. If the adhesive you are using requires any additional steps, follow the instructions provided.
- Allow Time to Dry: If you are using adhesive, let the finials dry and set according to the recommended drying time indicated on the adhesive label.
Finials come in various shapes, sizes, and materials, allowing you to customize your curtain rod to match your decor style. Whether you choose decorative finials, simple end caps, or any other design, attaching finials will give your curtain rod a polished and finished look.
Once the finials are securely attached, you can move on to the next step: painting or staining the rod, if desired.
Step 7: Paint or Stain the Rod
Painting or staining the rod is an optional step but can enhance the overall look of your DIY curtain rod. Follow these steps to paint or stain the rod:
- Prepare the Rod: Ensure that the rod is clean and free from any dust or debris. Use a cloth or brush to remove any dirt or particles.
- Choose the Finish: Decide whether you want to paint the rod with a specific color or stain it to highlight the natural wood grain. Consider your room’s decor and style when making this decision.
- Apply Primer (if painting): If you choose to paint the rod, apply a coat of primer to create an even base. This will help the paint adhere better and provide a smoother finish. Allow the primer to dry completely before proceeding.
- Apply Paint or Stain: Using a paintbrush or a cloth, apply the paint or stain to the rod. Make sure to brush or wipe in the direction of the grain for even coverage. Apply multiple coats if needed, allowing each coat to dry before applying the next.
- Finishing Touches: Once the paint or stain is dry, you may choose to apply a clear sealant to protect the finish and add durability. This step is optional but recommended for long-lasting results.
Painting or staining the rod allows you to customize the look of your curtain rod and coordinate it with the color scheme of your room. It also helps protect the rod from moisture, wear, and tear.
Once the paint or stain has fully dried, you can proceed to the next step: installing the mounting brackets.
Step 8: Install Mounting Brackets
Now that your DIY curtain rod is ready, it’s time to install the mounting brackets to securely hold the rod in place. Follow these steps to install the brackets:
- Measure and Mark: Start by measuring the desired distance from the edge of the window frame where you want to mount the brackets. Use a pencil to mark the placement of the brackets.
- Use a Level: Place a level against the marked spot to ensure that the brackets will be installed straight and level. Make any necessary adjustments to the markings.
- Locate Wall Studs (if applicable): If you are installing the brackets on a wall with wood studs, use a stud finder to locate the studs behind the wall. Mounting the brackets on studs will provide extra support and stability.
- Position the Brackets: Hold the first bracket against the marked spot on the wall and align it with the level. Use a pencil to mark the spots where the screws will go.
- Pre-drill Holes (if needed): If you are mounting the brackets on a harder or thicker wall surface, it may be necessary to pre-drill pilot holes to make screwing in the brackets easier.
- Attach the Brackets: Place the bracket against the wall, aligning it with the marked spots. Use a screwdriver or drill to securely attach the brackets to the wall. Repeat this step for the remaining brackets.
- Double-check Levelness: Use a level to ensure that all the brackets are installed straight and level. Make any adjustments if needed.
Installing the mounting brackets correctly is crucial for the stability and functionality of your curtain rod. Take your time and ensure that the brackets are securely attached and level.
Once the brackets are installed, you’re ready for the final step: hanging the rod and adding your curtains!
Step 9: Hang the Rod
With the mounting brackets in place, it’s time to hang your DIY curtain rod. Follow these steps to ensure a successful installation:
- Prepare the Rod: Ensure that the rod is clean and ready to be installed. Remove any protective coverings or packaging.
- Insert the Rod into the Brackets: Hold the rod horizontally and position it on top of the mounted brackets. Gently slide the rod into the brackets, making sure it is securely seated.
- Check for Levelness: Use a level to ensure that the rod is level. Adjust the positioning of the brackets if necessary.
- Ensure Stability: Give the rod a gentle shake or tug to ensure that it is securely held in place by the brackets. Make any adjustments as needed to ensure stability.
Once the rod is hung securely, you have successfully installed your DIY curtain rod. Now, it’s time for the final step: adding your curtains!
Remember to follow any specific instructions that come with your curtain rod or curtains, such as attaching curtain rings or threading the curtains onto the rod. Once your curtains are in place, step back and admire your handiwork!
By following these steps, you have not only saved money by creating your own curtain rod but also added a personal touch to your window treatments. Enjoy the beautiful and functional addition to your home!
Step 10: Add Curtains
With your DIY curtain rod successfully installed, it’s time to complete the look by adding your curtains. Follow these steps to hang your curtains:
- Prepare the Curtains: If your curtains have been folded or packaged, give them a gentle shake or iron out any wrinkles before hanging them.
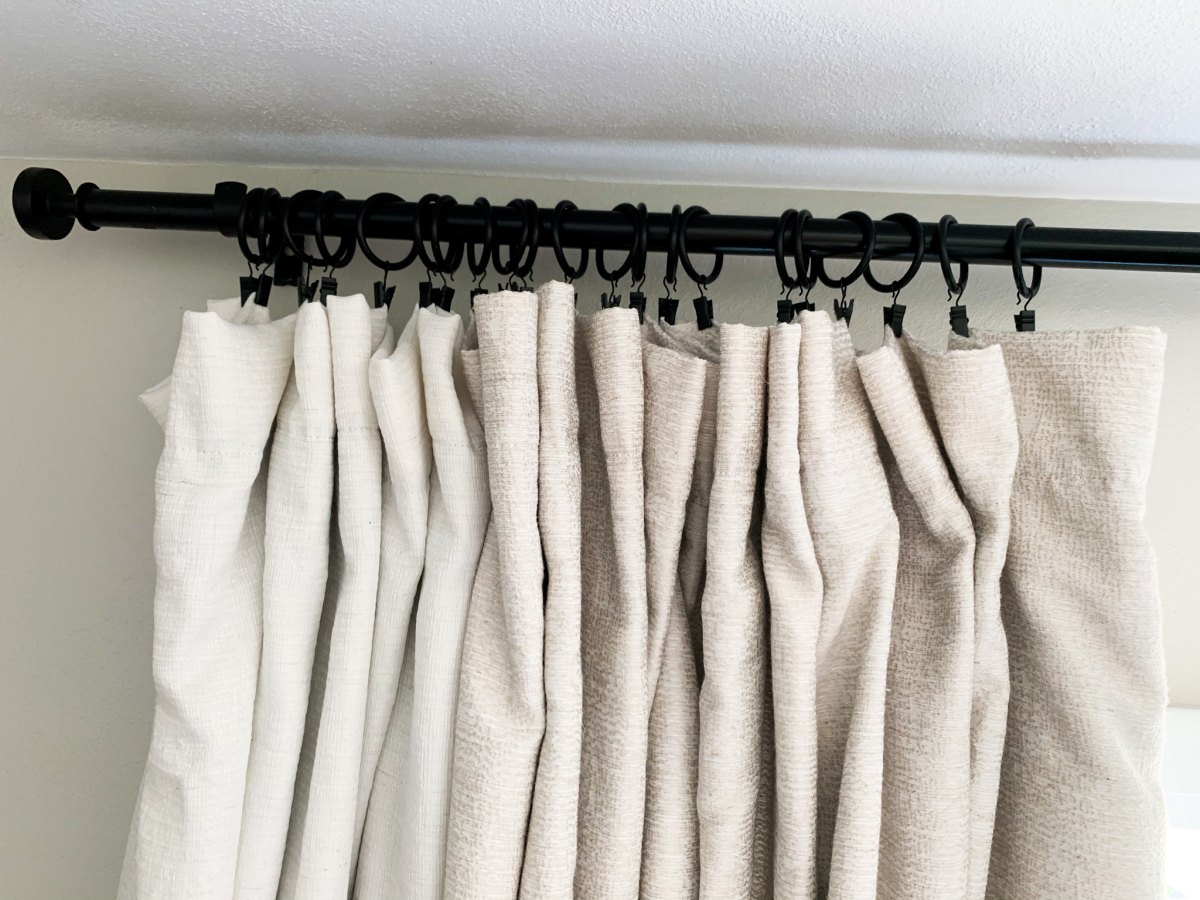
- Attach Curtain Rings (if applicable): If you are using curtain rings, slide them onto the rod before hanging the curtains. Make sure the rings are evenly distributed along the rod.
- Hang the Curtain: Hold one end of the curtain and gently slide it onto the rod. If you’re using curtain rings, simply clip the rings onto the top edge of the curtain and then slide them onto the rod.
- Adjust the Length: Depending on the desired look, adjust the height of the curtain by pulling it up or down. You can also use curtain clips or hooks to create a gathered or pleated effect.
- Dress the Curtains: Arrange the curtains evenly along the rod, making sure they hang straight and have a uniform appearance. Smooth out any wrinkles or creases, if necessary.
- Step Back and Evaluate: Once the curtains are hung, step back and assess the overall appearance. Make any necessary adjustments to ensure that they hang evenly and complement the window and room.
Adding curtains to your DIY curtain rod not only provides privacy but also adds a touch of warmth and style to your space. It’s the final step that brings the entire look together.
Now that you’ve completed all the steps, stand back and admire your beautifully crafted DIY curtain rod with your chosen curtains. You’ve successfully created a unique window treatment that perfectly suits your style and decor!
Congratulations on your successful curtain rod project, and enjoy the beauty and functionality it brings to your home!