
Choosing the Right Materials and Tools
When it comes to making a cuckoo clock, selecting the right materials and tools is essential for a successful project. Here are some tips to help you choose the best materials and tools:
- Wood: Start by selecting a suitable type of wood for your clock. Hardwoods, such as oak or walnut, are commonly used for their durability and aesthetic appeal. Remember to choose wood that is free from knots and defects, as this will ensure a smooth and professional-looking finish.
- Clock Mechanism: Invest in a high-quality clock mechanism to ensure accurate timekeeping and a long-lasting cuckoo clock. Look for a mechanism that suits the size and weight of your clock hands and pendulum.
- Clock Face: Consider using a pre-made clock face or opt for customizing your own. If you prefer the latter, you can use materials such as brass or acrylic and engrave or print the numbers and designs onto the face.
- Carving Tools: To create intricate wood carvings for the embellishments on your clock, you’ll need a good set of carving tools. Choose tools that allow for precise cuts and are comfortable to hold during long carving sessions.
- Paints and Stains: Decide on the color scheme and finish for your cuckoo clock. Acrylic paints are commonly used for vibrant colors, while wood stains can enhance the natural beauty of the wood. Consider using non-toxic options for a safer and eco-friendly choice.
Remember to take measurements and consider any specific requirements for your chosen materials and tools. Having the right materials and tools from the start will make the clock-making process smoother and increase the chances of crafting a beautiful and functional cuckoo clock you can proudly display in your home.
Creating the Clock Case
The clock case is the frame that houses the intricate workings of your cuckoo clock. It not only provides structural support but also adds to the overall aesthetic appeal. Here’s a step-by-step guide on how to create the clock case for your cuckoo clock:
- Design: Start by sketching out your desired shape and dimensions for the clock case. Consider the traditional chalet-style design or get creative with your own unique design.
- Select the Wood: Choose a high-quality hardwood, such as oak or maple, for the clock case. Make sure the wood is free from defects and knots for a smooth and professional-looking finish.
- Cut the Pieces: Use a miter saw or a handheld saw to carefully cut the pieces according to your design. Take precise measurements and ensure the pieces fit together snugly.
- Join the Pieces: Use wood glue and clamps to join the pieces together. Reinforce the joints with wood screws for added stability.
- Sand and Finish: Once the glue has dried, use sandpaper to smooth out any rough edges or imperfections. Apply a wood finish of your choice, such as varnish or lacquer, to protect the wood and enhance its natural beauty.
- Assembly: Install the clock mechanism in the case according to the manufacturer’s instructions. Secure it in place using screws or brackets. Make sure the mechanism is aligned properly for accurate timekeeping.
- Mounting: Attach the clock case to the wall or a sturdy surface using screws or brackets. Ensure that the case is level and secure.
Creating the clock case requires careful planning, precise measurements, and attention to detail. Take your time to ensure that all the pieces fit together perfectly and that the case is sturdy and well-finished. A well-crafted clock case will provide a beautiful showcase for the intricate workings of your cuckoo clock.
Designing and Cutting the Clock Face
The clock face of your cuckoo clock is not only functional but also serves as a decorative element. Designing and cutting the clock face requires attention to detail and precision. Here’s how you can create a unique and visually appealing clock face for your cuckoo clock:
- Measurements: Start by determining the size and shape of the clock face. Measure the diameter or dimensions of the space available on the clock case to ensure a proper fit.
- Materials: Decide on the material for your clock face. Popular options include brass, acrylic, or wood. Each material offers different possibilities in terms of design and finish.
- Design: Use design software or sketch out your desired clock face design. Consider elements such as the placement of numbers, decorative motifs, or a space for the cuckoo bird to emerge.
- Cutting: Transfer your clock face design onto the chosen material. For wood or acrylic, use a scroll saw or a laser cutter to cut out the shape. If using brass, consider outsourcing the cutting to a professional metalworker.
- Engraving or Printing: Depending on the material, you can choose to engrave the numbers and designs onto the clock face or print them using specialized ink or paints. Ensure the markings are clear and legible.
- Finishing: Sand the edges of the clock face to smooth out any roughness. Apply a clear sealant or varnish to protect the clock face from moisture or damage.
Designing and cutting the clock face is an opportunity to showcase your creativity and personal style. Take your time to plan the design and choose the right materials and tools. A well-executed clock face will add a touch of elegance and charm to your cuckoo clock.
Assembling the Clock Mechanism
The clock mechanism is the heart of your cuckoo clock, responsible for keeping time and coordinating the movements of the hands and the cuckoo bird. Assembling the clock mechanism requires careful attention to detail and following the manufacturer’s instructions. Here’s a step-by-step guide on how to assemble the clock mechanism:
- Read the Instructions: Start by thoroughly reading and understanding the manufacturer’s instructions for the clock mechanism. Pay attention to any specific requirements or recommendations.
- Organize the Components: Lay out all the components of the clock mechanism in front of you. Sort them according to size and function to make the assembly process more efficient.
- Install the Hands: Begin by attaching the hour and minute hands to the clock mechanism spindle. Follow the instructions for aligning and securing the hands properly.
- Mount the Movement: Place the clock movement onto the back of the clock face, aligning it with the pre-drilled holes or mounting brackets. Secure the movement in place, ensuring it is centered and level.
- Connect the Pendulum: Attach the pendulum to the pendulum leader, ensuring it hangs freely and swings in a straight line. Adjust the length of the pendulum according to the manufacturer’s instructions for accurate timekeeping.
- Install the Cuckoo Bird: If your cuckoo clock includes a cuckoo bird that emerges on the hour, carefully install the bird mechanism according to the instructions provided. Ensure that the bird pops out smoothly and aligns with the designated hole.
- Test the Mechanism: Before closing up the clock case, test the clock mechanism to make sure everything is functioning properly. Check the movement of the hands, the swinging of the pendulum, and the emergence of the cuckoo bird. Make any necessary adjustments.
Assembling the clock mechanism requires patience and precision. Take your time to understand the instructions and follow each step carefully. A properly assembled mechanism will ensure that your cuckoo clock keeps accurate time and operates smoothly.
Adding the Pendulum and Weights
The pendulum and weights are crucial components of a cuckoo clock, responsible for the rhythmic swinging motion and powering the clock mechanism. Adding the pendulum and weights requires careful installation and adjustment to ensure accurate timekeeping. Here’s how you can properly add the pendulum and weights to your cuckoo clock:
- Pendulum Length: Determine the optimal length for the pendulum based on the manufacturer’s recommendations or the specific requirements of your clock mechanism. Longer pendulums typically result in slower ticking, while shorter pendulums create a faster tempo.
- Pendulum Installation: Attach the pendulum to the pendulum leader, ensuring that it hangs freely from the center of the clock movement. Adjust the pendulum length by moving the pendulum bob up or down along the pendulum rod until it reaches the desired length.
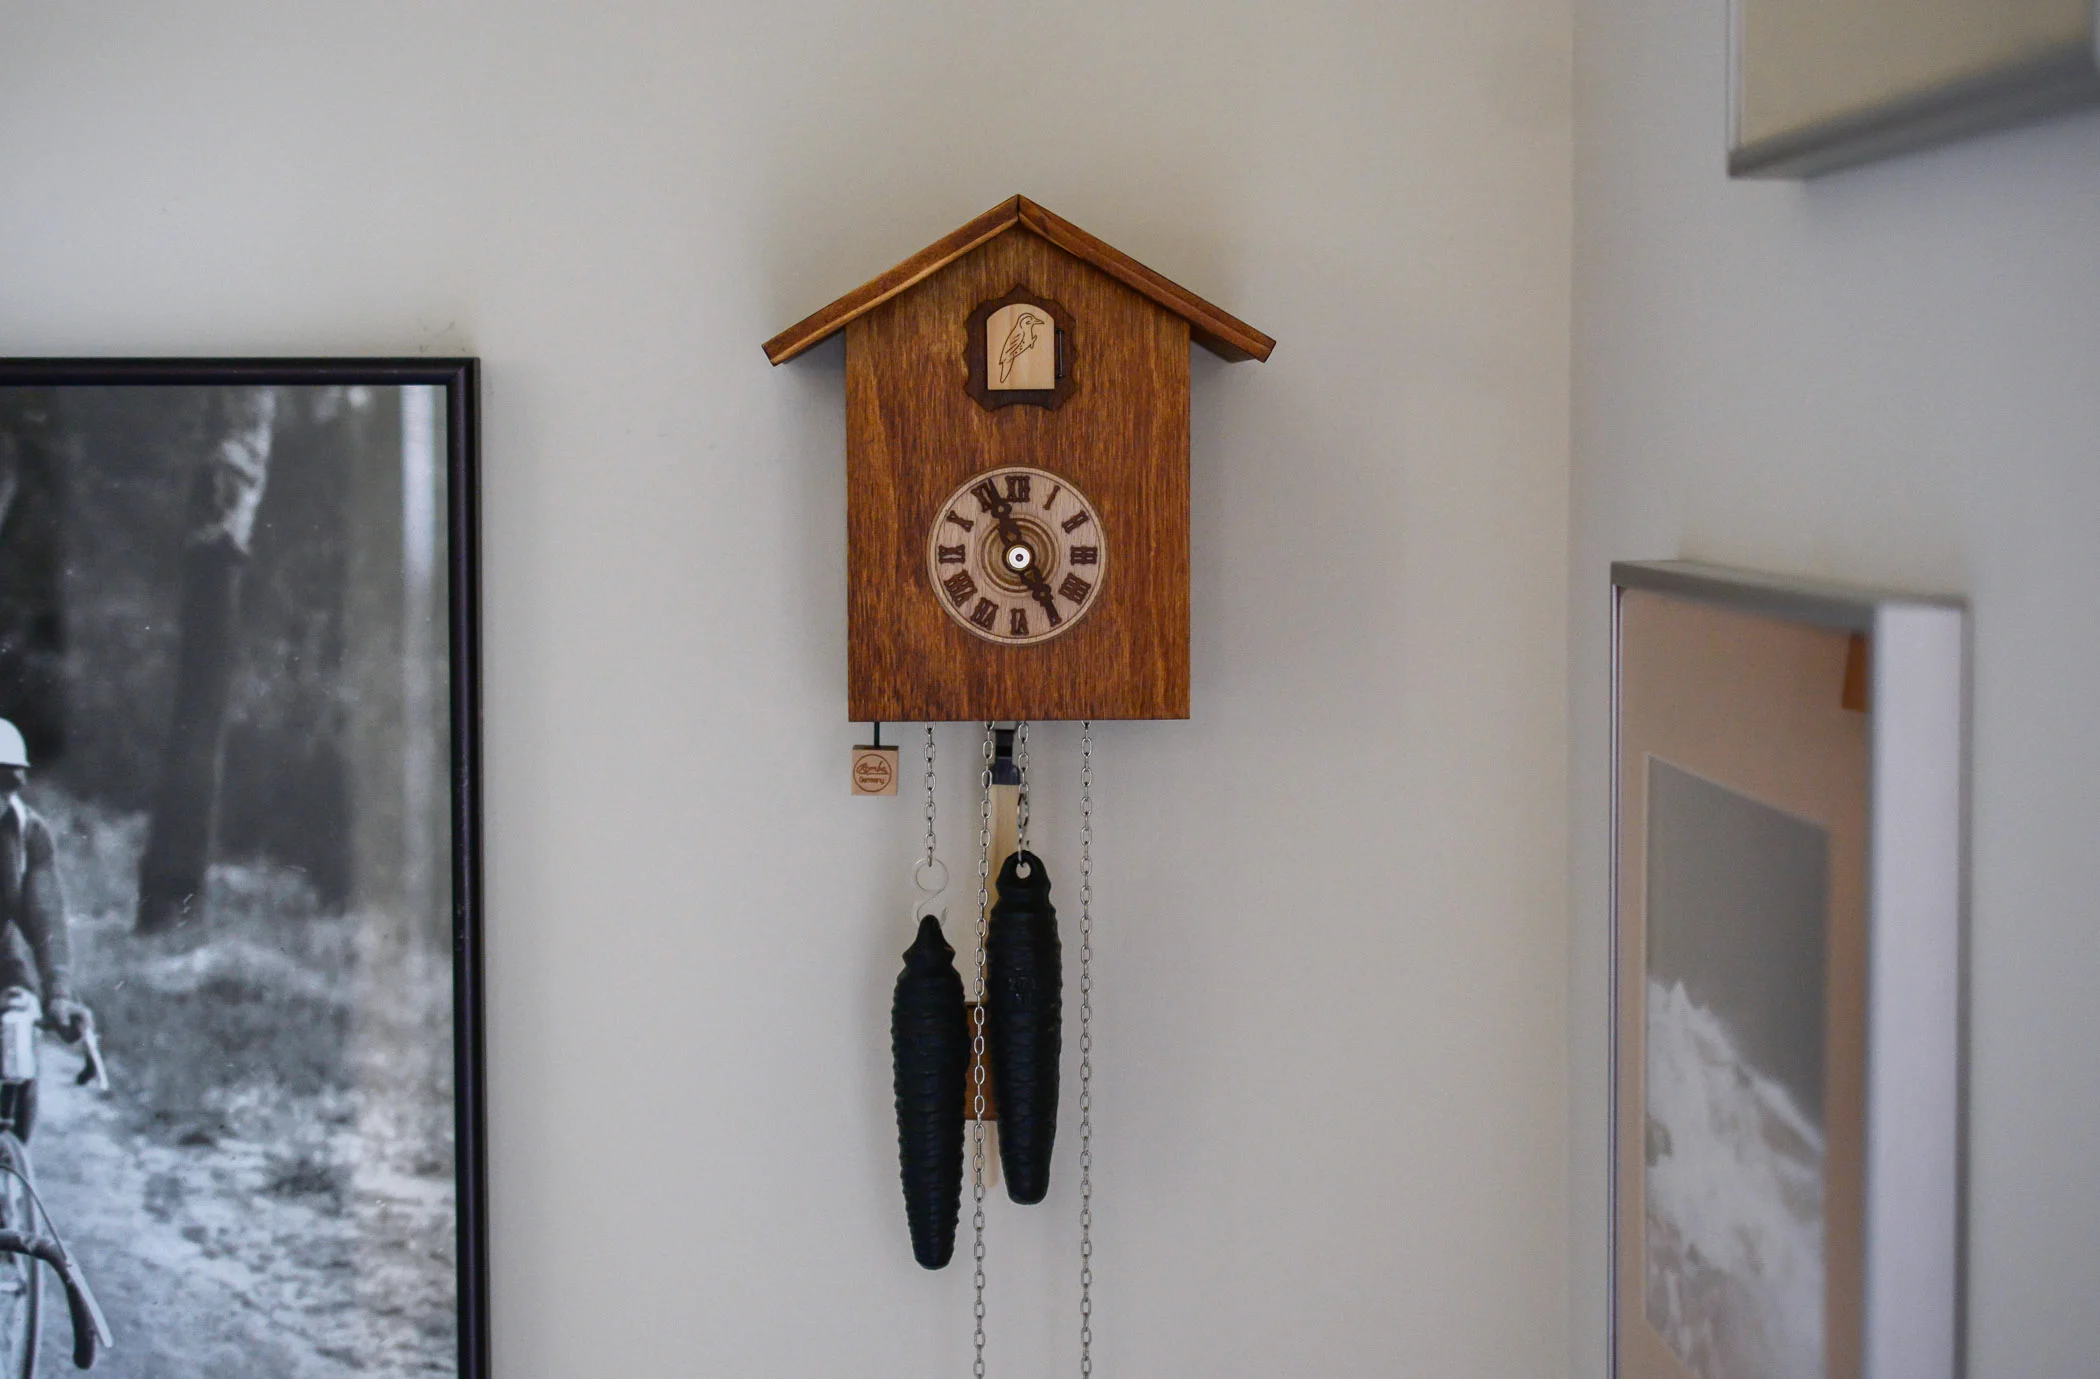
- Weight Types: Cuckoo clocks typically require two types of weights: the time weight and the strike weight. The time weight powers the clock movement, while the strike weight controls the cuckoo bird’s call and any additional chimes or melodies.
- Weight Installation: Install each weight onto its corresponding chain or cable. The time weight should be attached to the left chain or cable, while the strike weight goes on the right chain or cable. Ensure that the weights hang freely and do not touch the clock case or any surrounding objects.
- Weight Adjustment: Adjust the position of the weights to regulate the timekeeping of the clock. Lowering the time weight slightly can slow down the clock, while raising it can speed it up. Use trial and error to achieve the desired accuracy.
- Test and Fine-Tune: Once the pendulum and weights are installed, test the clock for accurate timekeeping and proper movement. Listen for the tick-tock rhythm and ensure that the cuckoo bird emerges and calls at the correct intervals. Make any necessary adjustments to the pendulum length or weight positions for optimal performance.
Adding the pendulum and weights is a crucial step in bringing your cuckoo clock to life. By following the manufacturer’s instructions and taking the time to fine-tune the settings, you can ensure that your clock keeps accurate time and provides a charming and rhythmic presence in your home.
Decorating the Clock with Wood Carvings
Wood carvings are a defining feature of traditional cuckoo clocks, adding a touch of intricacy and charm to the overall design. Decorating your clock with wood carvings requires skill and patience, but the end result is a unique and visually captivating piece. Here’s how you can add wood carvings to your cuckoo clock:
- Design Planning: Begin by planning the design of your wood carvings. Consider traditional motifs such as leaves, flowers, or animals like deer or birds. Sketch out your design on paper, ensuring it fits well with the overall shape and style of your cuckoo clock.
- Choosing the Wood: Select a suitable type of wood for your carvings. Basswood is commonly used due to its soft and fine-grained nature, making it easier to carve intricate details. Other options include cherry, mahogany, or walnut, depending on your desired aesthetics.
- Tools and Safety: Invest in quality carving tools such as gouges, chisels, and carving knives. Ensure that your tools are sharp and properly maintained. Wear protective goggles and gloves to protect yourself from any potential injuries.
- Carving Process: Transfer your design onto the wood surface using carbon paper or by tracing it with a pencil. Begin carving, starting with the larger shapes and gradually working your way towards the finer details. Take your time with each cut, ensuring precision and depth control.
- Finishing Touches: Once the carving is complete, sand the surfaces to smooth out any roughness. Apply a finish of your choice, such as varnish or oil, to protect the wood and enhance its natural beauty.
- Installation: Attach the wood carvings to the appropriate locations on your cuckoo clock. Use wood glue or small screws to secure the carvings in place. Ensure that the carvings are aligned properly and enhance the overall aesthetic appeal of the clock.
Wood carvings are a labor of love that can truly elevate the beauty of a cuckoo clock. Whether you choose to carve intricate scenes or simple embellishments, the addition of wood carvings will give your clock a unique and personal touch.
Painting and Staining the Clock
Painting and staining the clock is an important step in enhancing the aesthetic appeal and adding a personal touch to your cuckoo clock. By carefully selecting colors and finishes, you can bring out the beauty of the wood and complement the overall design. Here’s how you can paint and stain your clock:
- Surface Preparation: Before painting or staining, ensure that the clock surface is clean and free from any dust or debris. Lightly sand the surface to create a smooth and even base for the paint or stain.
- Choosing the Right Method: Decide whether you want to paint or stain the clock. Paint provides more color options and can be used to create intricate designs or patterns. Stain, on the other hand, enhances the natural beauty of the wood grain and provides a more rustic or traditional look.
- Painting Process: If you choose to paint, start by applying a primer coat to create a good base for the paint to adhere to. Once the primer is dry, apply thin coats of the desired paint color, allowing each coat to dry before applying the next. Use a fine brush or a small roller for more precise application.
- Staining Process: If you prefer the natural wood look, stain can be applied directly to the wood surface. Use a brush or a rag to apply the stain evenly, following the direction of the wood grain. Allow the stain to penetrate the wood for the recommended time, then wipe off any excess stain with a clean cloth.
- Finishing Touches: Once the paint or stain has dried completely, consider adding a protective topcoat such as varnish or lacquer. This will help seal the surface and protect it from scratches or damage.
- Personalizing the Design: If desired, you can add additional decorative elements, such as hand-painted designs or decals, to make your cuckoo clock even more unique and personalized.
Painting and staining the clock allows you to infuse your personal style and creativity into the final product. Whether you choose to go for bold and vibrant colors or a more subtle and natural look, the painting and staining process will bring your cuckoo clock to life.
Installing the Cuckoo Bird and Door
The cuckoo bird and door are iconic features of a cuckoo clock, adding a delightful touch to the overall design. Installing them correctly ensures smooth and accurate functionality. Here’s a step-by-step guide on how to install the cuckoo bird and door:
- Preparation: Ensure the clock case is open and accessible. Move any clock hands or decorative elements out of the way to make room for the cuckoo bird and door installation.
- Cuckoo Bird Placement: Identify the designated hole or opening for the cuckoo bird on the front of the clock case. Insert the cuckoo bird mechanism into the hole, ensuring it is securely fastened and aligned correctly.
- Testing: Gently press the mechanism to simulate the cuckoo bird’s call. Make sure the bird emerges and returns smoothly, without any obstructions or misalignment.
- Door Installation: Attach the cuckoo clock door onto the front of the clock case, making sure it aligns with the cuckoo bird mechanism. Secure the door using hinges or screws provided with the clock kit.
- Opening and Closing Functionality: Test the door by manually opening and closing it. Ensure that it opens fully to allow the cuckoo bird to emerge, and closes securely without any gaps or misalignment.
- Adjustments: If needed, make any necessary adjustments to the cuckoo bird or door mechanism to ensure smooth operation. Pay attention to the alignment and tightness of the mechanisms to avoid any unnecessary friction or obstruction.
- Decorative Touches: Consider adding additional decorative elements around the cuckoo bird and door, such as foliage, flowers, or other figurines, to enhance the overall aesthetic appeal of the clock.
Installing the cuckoo bird and door requires careful attention to detail and alignment. Take your time to ensure that both components are securely attached and properly aligned for smooth operation. With the cuckoo bird and door installed, your cuckoo clock will come alive with the charm and character it is known for.
Adjusting and Setting the Clock
Once you have assembled your cuckoo clock, it’s important to adjust and set it properly to ensure accurate timekeeping and smooth functionality. Here’s a guide on how to adjust and set your cuckoo clock:
- Pendulum Adjustment: Check that the pendulum swings freely and in a regular motion. If the clock is running too fast, raise the pendulum bob slightly. If it is running too slow, lower the bob. Make small adjustments until the clock maintains the correct time.
- Hands Alignment: Ensure that the hour and minute hands are properly aligned and pointing to the correct hour markers on the clock face. Use gentle pressure to adjust their positioning, if needed.
- Chime Setting: If your cuckoo clock has additional chimes or melodies, refer to the manufacturer’s instructions for setting the desired chime sequence or mode. Adjust the chime selector to the appropriate setting and listen for the sounds produced.
- Nighttime Silencer: Some cuckoo clocks have a nighttime silence feature to mute the chimes during specific hours. Set the silencer according to your preference, ensuring it is activated or deactivated at the desired times.
- Leveling the Clock: To ensure proper operation and prevent any swinging or movement issues, make sure your clock is level. Use a bubble level to check the alignment and adjust the positioning as needed.
- Weight Chains: Check that the weight chains hang freely without any tangles or obstructions. If any chains are stuck or not moving smoothly, untangle them or clear any obstacles to ensure proper weight distribution.
- Regulating the Time: If your cuckoo clock is still not keeping accurate time after making adjustments, refer to the manufacturer’s instructions or consult a professional clockmaker for more advanced adjustments or regulation.
Remember, adjusting a cuckoo clock may require some trial and error to achieve optimal accuracy. Take your time and make gradual adjustments to ensure the clock is running smoothly and keeping reliable time. With proper adjustments and setting, your cuckoo clock will bring joy and charm to your home for many years.
Maintenance Tips for Your Cuckoo Clock
Maintaining your cuckoo clock is essential to ensure its longevity and reliable performance. With proper care and regular maintenance, you can enjoy your cuckoo clock for years to come. Here are some tips to help you maintain your cuckoo clock:
- Dust Regularly: Dust can accumulate on the clock case and mechanism, affecting its performance. Use a soft, dry cloth or a feather duster to gently remove dust from the clock. Avoid using any liquid or abrasive cleaners that can damage the wood or delicate components.
- Oil the Mechanism: Lubricating the clock mechanism with clock oil helps prevent friction and extends its lifespan. Consult the manufacturer’s instructions or seek professional advice on the appropriate type and frequency of oiling your clock requires. Only use clock-specific oil, as other types of oil may damage the mechanism.
- Check the Pendulum: Regularly check the pendulum to ensure it is still hanging securely and swinging freely. If the clock starts to lose time or the pendulum stops swinging, it may need adjusting or leveling to ensure proper operation.
- Keep It Safe from Extreme Conditions: Cuckoo clocks are sensitive to drastic changes in temperature and humidity. Avoid placing your clock near sources of direct heat or in areas with high humidity, as these conditions can cause the wood to warp or the mechanism to malfunction.
- Wind the Clock Regularly: If your cuckoo clock operates using weights, remember to wind the clock regularly according to the manufacturer’s instructions. This helps maintain consistent power and ensures accurate timekeeping. Avoid overwinding, as this can strain the mechanism.
- Professional Servicing: Consider having your cuckoo clock professionally serviced every few years, especially if you notice any issues with the clock’s performance or if it has been in use for an extended period of time. Professional maintenance can help identify and resolve any underlying problems.
- Battery Replacement: If your cuckoo clock operates using batteries, regularly check and replace the batteries as needed. Pay attention to any indicators that signal low battery power, such as dimming or irregular movement of the pendulum or cuckoo bird.
- Handle with Care: When moving or handling your cuckoo clock, do so with care. Hold the clock firmly and avoid shaking it or swinging the pendulum excessively. This helps prevent damage to the delicate components and ensures the overall integrity of the clock.
By following these maintenance tips, you can keep your cuckoo clock in excellent condition and enjoy its enchanting presence for many years. Remember to always refer to the manufacturer’s instructions for specific maintenance guidelines and seek professional help when needed.