
Choosing the Right Fabric
When it comes to making blackout curtains, selecting the right fabric is essential. The fabric you choose will determine how well the curtains block out light and provide privacy. Here are a few factors to consider when choosing the fabric for your blackout curtains.
- Light Blocking Capability: Look for fabrics specifically designed for blackout curtains. These are usually made with special coatings or multiple layers that effectively block out sunlight. Opt for fabrics with a high opacity rating to ensure maximum light blocking.
- Weight and Thickness: Thicker and heavier fabrics tend to provide better light blocking and insulation. Consider using fabrics like velvet, suede, or tightly woven polyester to keep out unwanted light and maintain a cozy atmosphere.
- Color and Pattern: Dark-colored fabrics, such as black or navy, work best for blackout curtains as they absorb light. Avoid light-colored fabrics, which may allow light to pass through. Additionally, patterns with intricate designs or bold prints can add visual interest to your curtains while still providing the desired blackout effect.
- Durability and Maintenance: Choose a fabric that is durable and easy to maintain, as your blackout curtains will likely be exposed to regular use and cleaning. Look for fabrics that are machine washable and can withstand repeated washing without losing their light-blocking properties.
Ultimately, the fabric you choose for your blackout curtains should align with your preferences and needs. Consider factors such as the room’s decor, the level of light control required, and your personal style when making the final decision. By choosing the right fabric, you can create blackout curtains that not only block out light effectively but also enhance the overall aesthetic of your space.
Measuring the Window
Accurate measurements are crucial when making blackout curtains to ensure a proper fit and optimal light blocking. Follow these steps to measure your window correctly before proceeding with the curtain-making process.
- Width Measurement: Using a metal measuring tape, measure the width of your window from one side to the other, taking note of the measurement in inches or centimeters. For a more full and luxurious look, add an extra 4-6 inches to the overall width measurement.
- Height Measurement: Measure the height of the window from the top to the bottom, again using a metal measuring tape. If you want the curtains to reach the floor, measure from the top of the window frame to the desired length. Add an extra 2-4 inches to the height measurement for the curtain rod placement.
- Considerations for Curtain Styles: Depending on the style of curtains you have in mind, additional measurements may be required. For example, if you’re planning to have pleated curtains, measure the circumference of the curtain rod and add a few inches for the pleats.
- Multiple Windows: If you have multiple windows in the same room that you want to cover with blackout curtains, measure each window individually, as sizes may vary. However, if you want a seamless look, consider measuring the combined width of all the windows and ordering a single curtain panel.
It’s essential to measure your windows accurately to ensure the blackout curtains fit perfectly and effectively block out light. Double-check your measurements before proceeding to the next steps of the curtain-making process. Remember, precision is key when it comes to achieving the desired level of light control and creating a beautiful and functional window treatment.
Calculating the Fabric Needed
Before purchasing fabric for your blackout curtains, it’s essential to calculate the amount needed to ensure you have enough material to cover your windows adequately. Here’s a simple guide to help you determine the fabric yardage required for your project.
- Measurements: Refer to the measurements you took earlier for the width and height of the window. Convert the measurements from inches to yards by dividing each measurement by 36.
- Additions for Fullness: To create a fuller appearance, add an additional 20-30% to the width measurement. This extra fabric will allow the curtains to gather nicely when closed and provide better light blocking.
- Calculating Total Yardage: Multiply the adjusted width measurement by the height measurement to get the total square yards needed for each curtain panel. If you plan to make multiple panels, multiply this number by the number of panels required.
- Consider Pattern Repeat: If you are using a fabric with a pattern that requires matching, consider the pattern repeat. You may need to purchase extra fabric to ensure the pattern aligns correctly on each panel.
It’s always a good idea to add a little extra fabric to your calculations to account for any mistakes, pattern matching, or future alterations. It’s better to have a surplus of fabric than to find yourself short and unable to complete your blackout curtains.
Once you have calculated the fabric yardage needed, you can purchase the appropriate amount from a fabric store or online retailer. Remember to check the width of the fabric you plan to buy and account for any variations in width when determining the yardage required.
Preparing the Fabric
Before you begin cutting and sewing your blackout curtains, it’s crucial to properly prepare the fabric. This step ensures that your curtains will look their best and have a professional finish. Follow these guidelines to prepare the fabric before proceeding with the curtain-making process.
- Wash and Dry: Start by washing the fabric according to the manufacturer’s instructions. This step helps remove any dirt, dust, or sizing agents from the fabric, allowing it to drape and hang properly once the curtains are completed. Once washed, dry the fabric in a dryer or line-dry it, depending on the fabric’s care instructions.
- Ironing: After washing and drying, iron the fabric to remove any creases or wrinkles. Set the iron to the appropriate temperature for the fabric you are using, ensuring that you don’t burn or damage it. Ironing the fabric will create a smooth surface and make it easier to cut and sew later on.
- Stabilizing the Edges: It’s a good idea to stabilize the fabric’s edges to prevent fraying during the sewing process. You can use a serger or a zigzag stitch on a sewing machine to finish the edges. Alternatively, you can use pinking shears to cut along the edges, creating a zigzag pattern that helps minimize fraying.
By properly preparing the fabric, you will ensure that your blackout curtains have a polished and professional appearance. Washing, ironing, and stabilizing the fabric will allow for easier handling and sewing, making the rest of the curtain-making process more straightforward and accurate.
Cutting the Fabric
Now that you have prepared the fabric, it’s time to cut it into the appropriate size and shape for your blackout curtains. Follow these steps to ensure accurate cutting and a precise fit for your curtains.
- Fold the Fabric: Start by folding your fabric in half lengthwise, with the right sides facing each other. This ensures that you can cut two curtain panels simultaneously, saving time and ensuring uniformity.
- Align the Measurements: Using your measurements from earlier, mark the width and height measurements on the folded fabric. Make sure the fabric is flat and smooth, and the edges are aligned for accurate cutting. Use a fabric marker or chalk to make the markings.
- Cut along the Markings: Carefully cut along the markings you made, following a straight line to ensure even curtain panels. Take your time and use sharp fabric scissors to achieve clean and precise cuts.
- Check for Accuracy: After cutting, unfold the fabric to reveal your two curtain panels. Double-check the measurements and make any necessary adjustments if needed. Trim any uneven edges for a neater appearance.
It’s important to take your time and be precise when cutting the fabric for your blackout curtains. Accurate cutting will ensure that the panels fit well and hang evenly. Remember to keep the fabric smooth and flat throughout the cutting process to avoid any distortions or unevenness in the final product.
Sewing the Panels
Once you have cut the fabric into the desired panels, it’s time to sew them together to create your blackout curtains. Follow these steps to sew the panels and bring your curtains to life.
- Prepare the Sewing Machine: Set up your sewing machine with the appropriate thread color and needle. Refer to the fabric type and weight for guidance on the correct needle size. Thread the machine and ensure it is in good working order.
- Pin the Panels: Place the panels together with their right sides facing each other. Align the edges and corners, and secure them in place using sewing pins. Pin along the sides and bottom, leaving the top open for the curtain rod pocket.
- Sew the Panels: Using a straight stitch, sew along the pinned edges, backstitching at the beginning and end to reinforce the seams. Remove the pins as you go to avoid breaking the sewing machine needle.
- Finish the Seams: Trim any excess fabric from the seams, leaving a small seam allowance. You can also use a serger or zigzag stitch to finish the raw edges and prevent fraying.
- Press the Seams: After sewing, open the panels flat and press the seams with an iron. Pressing helps the seams lie flat and gives a polished look to your curtains.
Sewing the panels together requires accuracy and attention to detail. Take your time to ensure straight stitches and secure seams. Finish the edges to prevent fraying and press the seams for a professional finish. Once you have completed sewing the panels, you are one step closer to having your finished blackout curtains.
Adding Linings
Adding linings to your blackout curtains is an essential step that enhances their light-blocking capabilities and provides a finished look. The lining not only adds an extra layer of fabric but also helps to insulate the room. Follow these steps to add linings to your blackout curtains.
- Choose the Lining Fabric: Select a lining fabric that complements your chosen curtain fabric. Opt for a lining fabric that is lightweight and tightly woven to maximize light blocking. Light-colored linings may also help reflect sunlight and prevent heat absorption.
- Measure and Cut the Lining: Measure the width and height of your curtain panels and cut the lining fabric to match these measurements. Remember to account for the seam allowances when cutting the lining.
- Align and Pin: With the right side of the lining fabric facing the wrong side of the curtain fabric, align the edges of the curtain panel and lining. Pin them together along the sides and bottom to secure them in place.
- Sew the Lining: Using a sewing machine, stitch along the pinned edges of the lining and curtain fabric. Backstitch at the beginning and end to reinforce the seams. Remove the pins as you go to avoid damaging the sewing machine or needle.
- Finish the Seams: Trim any excess lining fabric and finish the raw edges with a serger or zigzag stitch to prevent fraying. Press the seams to ensure they lie flat and give a neat appearance.
Adding linings to your blackout curtains not only enhances their light-blocking capabilities but also provides a luxurious and finished look to your window treatment. It’s an important step to ensure optimal privacy, insulation, and sunlight control in your space.
Attaching Hooks or Rings
Attaching hooks or rings to your blackout curtains is the next step in the process of creating functional and stylish window treatments. These hardware additions allow you to hang the curtains and easily open or close them as desired. Follow these steps to attach hooks or rings to your curtains.
- Determine the Hanging Method: Decide whether you want to use hooks or rings to hang your curtains. Hooks are attached directly to the curtains and loop onto a curtain rod, while rings are attached to curtain clips or grommets and slide onto the rod.
- Measure and Mark: Measure the desired distance from the top of the curtain panel to the location where you want the hardware to be installed. Use a measuring tape and make small marks on the curtain fabric to indicate the placement of the hooks or rings.
- Attach the Hooks or Rings: If using hooks, carefully sew them onto the back of the curtain panel at the marked locations. Ensure they are securely attached. If using rings, insert them through the curtain clips or grommets and position them evenly along the top of the panel.
- Test and Adjust: Once the hooks or rings are attached, hang the curtains on the curtain rod and test their movement. Make any necessary adjustments to ensure that the curtains glide smoothly and hang evenly.
Attaching hooks or rings to your blackout curtains is an important step that allows for easy hanging and operation. Whether you choose hooks or rings, ensure that they are securely attached and evenly spaced for a professional and functional finish.
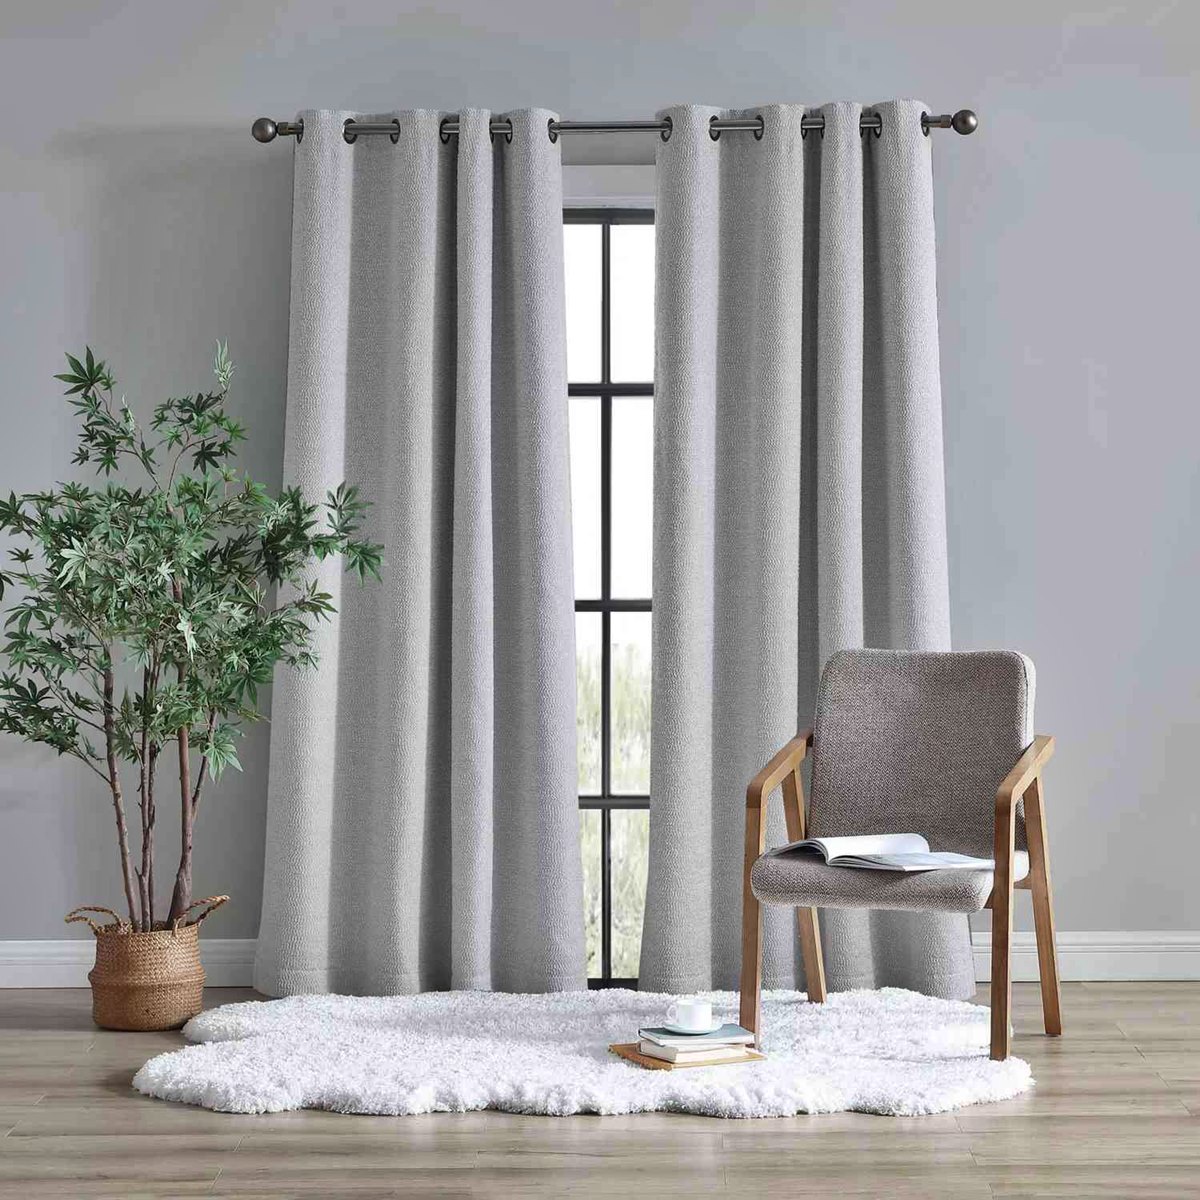
Hanging the Curtains
Now that your blackout curtains are ready, it’s time to hang them and transform your space. Hanging the curtains correctly ensures they fit properly and provide the desired light-blocking effects. Follow these steps to hang your blackout curtains like a pro.
- Prepare the Curtain Rod: Install the curtain rod according to the manufacturer’s instructions. Make sure it is level and securely mounted to the wall.
- Attach the Curtains to the Rod: If you are using hooks, loop them onto the curtain rod by sliding them over the rod. If you are using rings, slide them onto the rod through the clips or grommets.
- Arrange the Curtains: Once the curtains are on the rod, evenly distribute the fabric along the rod to create a pleasing and balanced look. Adjust the pleats or folds for a neat and uniform appearance.
- Test the Movement: Open and close the curtains to ensure they glide smoothly along the rod. Make any necessary adjustments to the curtain placement or hardware if needed.
Properly hanging your blackout curtains is the final step in the process. Take your time to ensure that they are hung straight, evenly spaced, and free of wrinkles or bunching. When done correctly, your blackout curtains will not only serve their purpose in blocking out light but will also enhance the overall aesthetic of your space.
Adding any Finishing Touches
To complete your blackout curtains and give them a polished look, consider adding some finishing touches. These small details can elevate the overall aesthetics of your curtains and enhance their functionality. Here are a few ideas to consider.
- Tiebacks: If you want the option to tie your curtains back during the day, consider adding tiebacks. These can be fabric loops, decorative ropes, or even magnetic tiebacks. They allow you to hold the curtains open while still maintaining the sleek appearance.
- Embroidery or Trim: Adding embroidery or trim to the edges of your curtains can bring a touch of elegance and personality. Choose a contrasting or coordinating thread color, or opt for decorative trim such as tassels, lace, or pom-pom fringe.
- Curtain Hooks or Holdbacks: Install decorative hooks or holdbacks on the wall adjacent to the curtains. These fixtures allow you to hold the curtains open and add a stylish element to the overall window treatment.
- Valances or Cornices: If you desire a layered look or want to conceal the curtain rod, consider adding a valance or cornice board above the blackout curtains. These treatments can be made from coordinating or complementary fabric and provide an extra element of style.
- Consider Tie Top or Tab Top: Instead of using hooks or rings, you can opt for a tie top or tab top style. These curtains have fabric ties or tabs sewn directly onto the top of the panel for easy hanging. They add a charming and casual touch to the curtains.
These finishing touches are an opportunity to personalize your blackout curtains and make them unique to your space. Consider your overall decor style and the ambiance you want to create in the room when selecting and adding these final accents.