
Measuring and Planning
Before you begin framing your bathroom mirror, it’s essential to take accurate measurements and carefully plan out the project. This will ensure that your frame fits perfectly and enhances the overall aesthetic of your bathroom.
Here is a step-by-step guide to help you with the measuring and planning process:
- Measure the mirror: Start by measuring the width and height of your mirror. Use a tape measure to get precise measurements. Make sure to account for any beveled or angled edges on the mirror as this will affect the final dimensions of your frame.
- Decide on the frame size: Consider the style and design of your bathroom when choosing the width and depth of your frame. A wider frame will create a bold and dramatic look, while a narrower frame will be more subtle and understated.
- Select the frame material: There are various options to choose from when it comes to frame materials, such as wood, metal, or even composite materials. Consider the moisture levels in your bathroom and choose a material that is resistant to humidity and will withstand the test of time.
- Choose a frame style: Determine the overall aesthetic you want to achieve with your bathroom mirror frame. Whether you prefer a modern and sleek look or a rustic and traditional feel, there are countless frame styles available to complement your bathroom decor.
- Consider additional features: Think about any additional features you may want to incorporate into your mirror frame. This could include shelving, lighting, or even decorative accents. Make sure to plan for these features during the framing process.
By taking accurate measurements and carefully planning out your frame, you can ensure a smooth and successful installation process. This will ultimately result in a beautiful and customized bathroom mirror that enhances the overall design of your space.
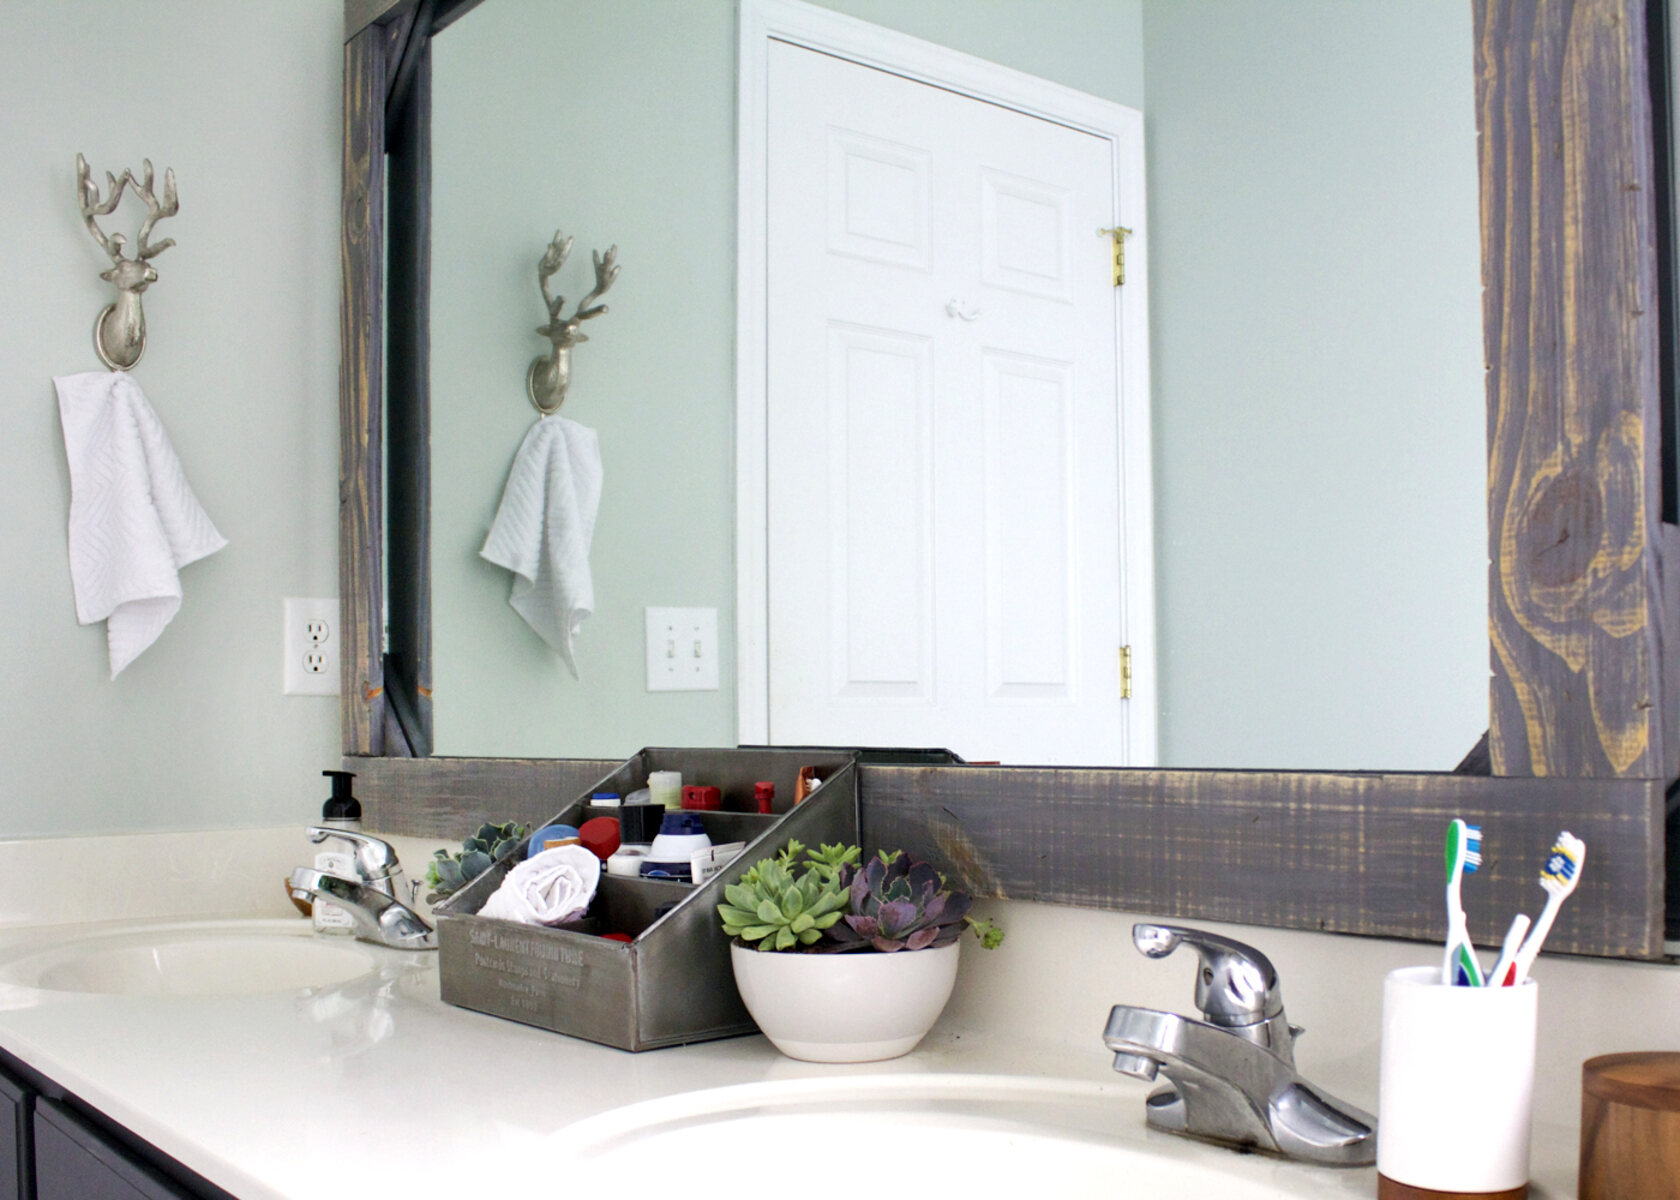
Choosing the Right Frame
When it comes to framing your bathroom mirror, selecting the right frame is crucial as it can greatly impact the overall look and feel of your space. Here are some important factors to consider when choosing the perfect frame:
- Style and Design: Take into account the style and design of your bathroom. Are you aiming for a modern, traditional, or rustic look? Choose a frame that complements the existing decor and enhances the overall aesthetic of the space.
- Material: Select a frame material that not only matches your style preference but also offers durability and longevity in a high-moisture environment. Wood, metal, and composite materials are common options, each with its unique characteristics.
- Finish: Consider the desired finish of your frame. Whether you want a natural wood finish, a painted frame to match your existing color scheme, or a metallic finish for a sleek look, choose a finish that complements your bathroom’s overall theme.
- Budget: Determine your budget for the project and look for frame options that fit within your financial constraints. Remember, there are a variety of frame materials and styles available at different price points, allowing you to find an option that suits your needs.
- Maintenance: Think about the upkeep of the frame material you choose. Some materials may require more maintenance and regular cleaning than others. Consider the time and effort you are willing to invest in maintaining the frame’s appearance.
- Personal Preference: Ultimately, choose a frame that resonates with your personal style and preferences. It’s important that you love the frame you choose, as it will be a prominent feature in your bathroom.
By carefully considering these factors, you can select a frame that not only enhances the visual appeal of your bathroom mirror but also complements the overall style of your space. Remember to take your time and explore various options before making a final decision.
Removing the Mirror from the Wall
Before you can frame your bathroom mirror, you’ll need to remove it from the wall. Follow these steps to safely detach the mirror:
- Gather your materials: Start by gathering all the necessary tools and materials for the removal process. This may include safety goggles, gloves, a putty knife, a screwdriver, and adhesive remover.
- Turn off the power: If your bathroom mirror has built-in lighting, be sure to turn off the power supply to avoid any electrical accidents during the removal process.
- Protect the surrounding area: Lay down a drop cloth or old towels to protect the floor or vanity from any potential damage or debris during the mirror removal.
- Inspect the mirror attachment: Carefully examine how the mirror is attached to the wall. It may be secured with adhesive, clips, brackets, or screws. Understanding the attachment will help you plan the removal process.
- Loosen any adhesive: If the mirror is attached with adhesive, use a putty knife to gently loosen the edges. Be careful not to apply excessive force, as it may crack or damage the mirror.
- Remove any clips or brackets: If the mirror is held in place with clips or brackets, use a screwdriver to remove them. Take care to support the mirror while removing these attachments to prevent it from falling.
- Have a helper: Enlist the help of a friend or family member to assist you in safely removing the mirror from the wall. They can hold the mirror steady while you detach any remaining attachments.
- Detach the mirror: Once all attachments have been removed, slowly and carefully lift the mirror away from the wall. It’s essential to have a firm grip and maintain control to prevent any accidents.
Remember, removing a bathroom mirror requires caution and attention to detail. Take your time and work slowly to avoid damage to both the mirror and the surrounding area. If you are unsure or uncomfortable with the removal process, it’s always a good idea to seek professional assistance.
Preparing the Mirror and Wall
Once you have successfully removed the mirror from the wall, it’s time to prepare both the mirror and the wall for the framing process. Follow these steps to ensure a smooth and secure installation:
- Clean the mirror: Thoroughly clean the surface of the mirror using a glass cleaner or a mixture of vinegar and water. Remove any dirt, dust, or residue to create a clean and smooth surface for the frame to adhere to.
- Repair any damage: Inspect the mirror for any cracks, chips, or damage. If necessary, repair or replace the mirror before proceeding with the framing process to ensure a seamless and stable installation.
- Prepare the wall: Clean and prepare the wall where the mirror will be reinstalled. Remove any adhesive residue or debris left behind from the old mirror. Use a patching compound or spackle to fill any holes or imperfections and sand them down until the wall is smooth.
- Paint or wallpaper: If you plan to paint or wallpaper the wall behind the mirror, now is the time to do it. Allow sufficient drying time before moving on to the next step.
- Apply primer: If you are installing a wooden frame, it’s recommended to apply a primer on the wall to ensure proper adhesion of the frame and to prevent any moisture damage.
- Mark the frame placement: Measure and mark the desired location of the frame on the wall. Using a level, ensure that the markings are straight and even to achieve a professional-looking installation.
- Protect the mirror: To prevent any accidental damage to the mirror during the installation process, cover it with a protective sheet or masking tape. This will keep it safe from scratches or paint splatters.
By properly preparing the mirror and the wall, you will create a solid foundation for the framing process. Taking the time to clean, repair, and prime will ensure a flawless installation and a beautiful end result.
Installing the Frame
Now that you’ve prepared the mirror and the wall, it’s time to install the frame. Follow these steps to securely attach the frame to the mirror:
- Apply adhesive: Depending on the type of frame you have chosen, apply a strong adhesive or construction-grade glue to the backside of the frame. Ensure that you apply the adhesive evenly along the entire length of the frame.
- Align the frame: Carefully align the frame with the marked placement on the wall. Make sure the frame is level and centered on the mirror. Apply gentle pressure to hold it in place against the wall.
- Secure the frame: If your frame has brackets or clips, use a screwdriver to attach them securely to the wall. Ensure that the frame remains level and aligned as you secure the brackets or clips.
- Double-check the alignment: Once the frame is secured, double-check the alignment and make any necessary adjustments. It’s important to ensure that the frame is straight and level for a polished and professional finish.
- Allow the adhesive to dry: Follow the manufacturer’s instructions on the adhesive packaging for drying time. Allow the adhesive to fully cure before moving on to the next steps.
- Remove protective coverings: After the adhesive has dried, carefully remove any protective coverings or masking tape from the mirror and frame. Be cautious not to damage the frame or leave any residue behind.
By following these steps, you will be able to install the frame securely and precisely on your bathroom mirror. Take your time during the installation process to ensure a seamless and professional-looking result.
Securing the Mirror and Frame to the Wall
Once the frame is securely attached to the mirror, the next step is to secure the mirror and frame to the wall. Follow these steps to ensure a stable and reliable installation:
- Locate wall studs: Use a stud finder to locate the wall studs behind the mirror. This step is crucial for providing adequate support and stability to the mirror and frame.
- Mark stud positions: Mark the positions of the studs on the wall using a pencil or masking tape. This will help guide you during the installation process.
- Drill pilot holes: With the help of a drill, create pilot holes in the backside of the frame at the marked stud positions. Make sure the holes are deep enough to accommodate the screws.
- Insert screws: Place screws into the pilot holes and carefully tighten them, making sure not to over-tighten and damage the frame. Confirm that the frame and mirror are securely held against the wall.
- Check for stability: Gently shake the mirror to test its stability. If it feels loose or wobbly, tighten the screws further or consider adding additional screws for added support.
- Trim excess screw length: If the screws protrude from the back of the frame, use a hacksaw or a saw with a metal-cutting blade to trim any excess length. This will ensure a neat and flush finish.
Securing the mirror and frame to the wall properly is crucial to prevent accidents or damage. Take the necessary precautions and double-check the stability of the installation to ensure a secure and long-lasting result.
Finishing Touches: Caulking and Painting
Once the mirror and frame are securely installed, it’s time to add the finishing touches to complete the look. Caulking and painting are important steps that will enhance the overall appearance of your framed bathroom mirror:
- Caulking: Using a caulk gun, apply a thin and even line of caulk between the frame and the mirror, as well as along the edges of the frame where it meets the wall. Smooth the caulk using a caulk smoothing tool or your finger to create a clean and seamless seal. This will protect the frame from moisture and give it a polished look.
- Painting: If desired, you can paint the frame to match your bathroom decor. Choose a paint color that complements the overall color scheme and style of your bathroom. Before painting, make sure to remove any dust or debris from the frame’s surface and apply a primer if necessary. Use a paintbrush or foam roller to apply an even coat of paint, allowing sufficient drying time between coats.
- Touch-ups: After the paint has dried, inspect the frame for any imperfections or areas that may require touch-ups. Use a fine-grit sandpaper to smooth out any rough spots or paint drips, and then carefully apply a small amount of touch-up paint to achieve a seamless finish.
- Clean and polish: Once the caulking and painting are complete, clean the mirror and frame to remove any dust or smudges. Use a glass cleaner for the mirror and a mild soap solution for the frame, drying thoroughly with a soft cloth. This will give your framed bathroom mirror a final polished and pristine look.
By paying attention to these finishing touches, you can elevate the appearance of your framed bathroom mirror and achieve a professional and cohesive look in your space. Make sure to take your time and be diligent in your caulking and painting process for the best results.
Maintenance and Care Tips
To ensure the longevity and beauty of your framed bathroom mirror, it’s important to follow some maintenance and care tips:
- Regular cleaning: Clean the mirror and frame regularly using a non-abrasive glass cleaner and a mild soap solution. Avoid using harsh chemicals or abrasive cleaners that may damage the frame or mirror surface.
- Avoid excessive moisture: Keep the bathroom well-ventilated to minimize moisture buildup, as excessive moisture can cause damage to the frame material. Use exhaust fans or open windows during showers or baths to reduce humidity levels.
- Inspect for damage: Periodically inspect the frame and mirror for any signs of damage, such as cracks, chips, or loose screws. Promptly repair any issues to prevent further damage and ensure the stability of the mirror.
- Protect against scratching: Avoid using abrasive materials or rough sponges when cleaning the mirror or frame. Instead, use soft, lint-free cloths or microfiber towels to gently wipe away dirt and smudges.
- Keep away from direct heat: Avoid placing the mirror near sources of direct heat, such as radiators or heat vents, as extreme temperatures can cause the frame to warp or the mirror to crack.
- Prevent impact: Be cautious when placing or moving objects near the mirror to prevent accidental impacts. A sudden impact can lead to cracks or damage to the mirror and frame.
- Regular maintenance: Tighten any loose screws or brackets on the frame to maintain its stability. Periodically check the caulking to ensure it remains intact and reapply as needed.
- Protective coverings: If performing any renovations or painting projects in the bathroom, cover the mirror and frame with protective coverings to prevent damage from dust, debris, or splatters.
By following these maintenance and care tips, you can preserve the beauty and functionality of your framed bathroom mirror for years to come. Regular upkeep will help keep it looking pristine and enhance the overall aesthetics of your bathroom.