Common Causes of Cracked Mirrors
Cracked mirrors can be a frustrating and unsightly problem in any home or commercial space. Understanding the common causes of mirror cracks can help you prevent them in the future and take necessary precautions to keep your mirrors intact. Here are some of the main culprits behind cracked mirrors:
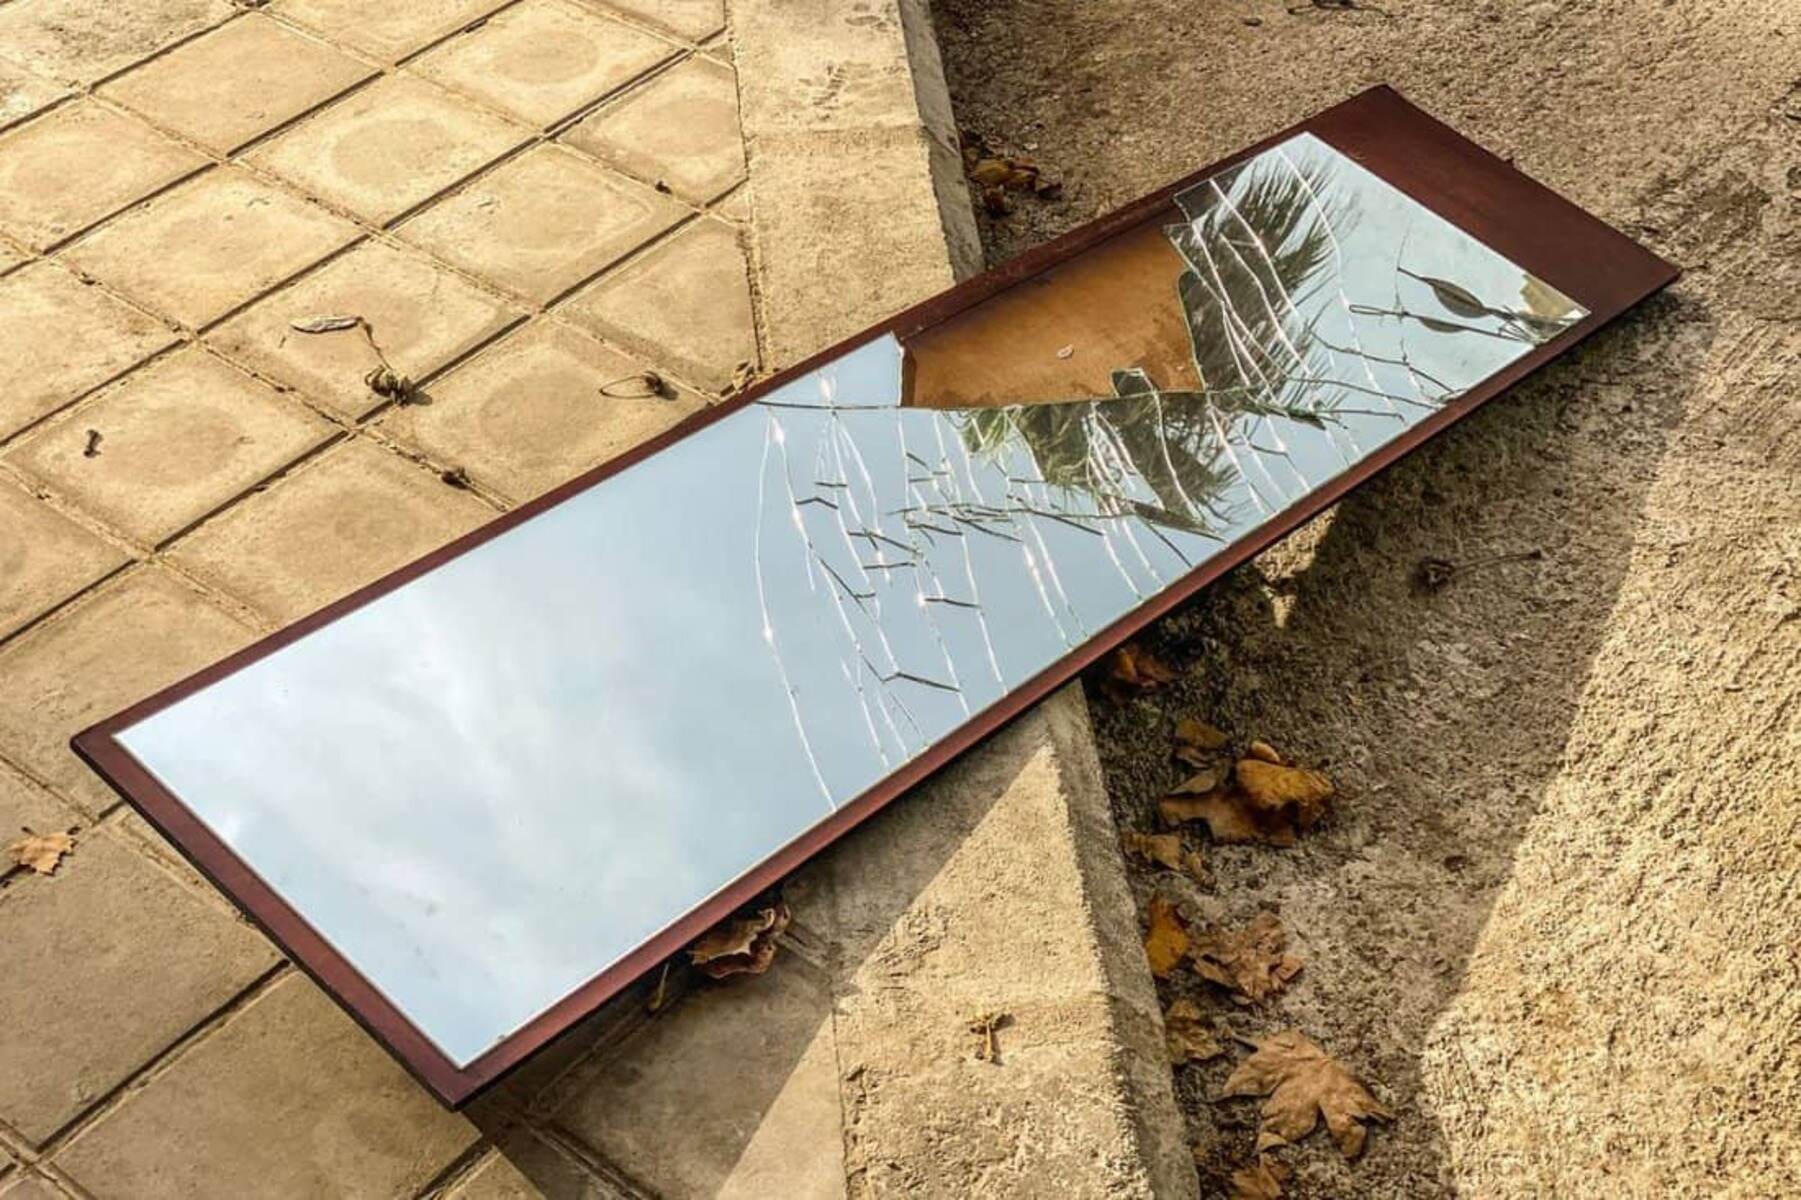
- Impact: The most common cause of mirror cracks is direct impact. This can happen when a heavy object falls onto the mirror, or when it is accidentally struck with force. Mirrors in high-traffic areas or those located near children’s play areas are particularly susceptible to accidental impacts.
- Temperature Changes: Extreme temperature fluctuations can cause mirrors to crack. When a mirror is exposed to rapid changes in temperature, such as moving from a cold room to a hot one, the glass expands and contracts, leading to stress on the surface and potential cracks.
- Age and Wear: Over time, mirrors can become more fragile and susceptible to cracks. The adhesive holding the mirror to its backing may weaken, or the glass itself may become brittle. Mirrors that are older or have undergone significant wear and tear are more likely to develop cracks.
- Incorrect Installation: Improper installation can put undue pressure on the mirror, leading to cracks. If the mirror is not securely fastened or the installation materials are not suitable for the weight of the mirror, it can result in stress points that cause cracks to form.
- Mirror Defects: In some cases, mirrors may develop cracks due to manufacturing defects. These defects can include inconsistencies in the glass thickness or flaws in the reflective coating. While rare, defective mirrors can crack even under normal use.
By being aware of these common causes, you can take measures to prevent your mirrors from cracking. Regular inspection, careful handling, and proper installation can significantly reduce the risk of mirror damage and extend the lifespan of your mirrors.
Assessing the Damage: Is Repair Possible?
When faced with a cracked mirror, the first step is to assess the extent of the damage to determine if repair is possible. Here are some factors to consider:
- Size and Location of the Crack: The size and location of the crack play a crucial role in determining repairability. Small cracks that are limited to a corner or edge of the mirror may be repairable, while large cracks that run through the center of the mirror may require professional replacement.
- Type of Mirror: The type of mirror also affects repair options. Common mirrors, such as those found in bathrooms or dressers, can often be repaired. However, antique or specialty mirrors may require more specialized restoration techniques.
- Depth of the Damage: If the crack is superficial and doesn’t penetrate through the entire layer of glass, it may be possible to repair the mirror. However, if the crack is deep and extends through the glass, repair may not be feasible, and replacement may be necessary.
- Personal Skill and Experience: Repairing a cracked mirror requires some level of skill and experience. If you are confident in your DIY abilities and have the necessary tools, you may be able to tackle the repair yourself. However, if you are unsure or don’t have the right expertise, it’s best to seek the help of a professional.
It’s important to be realistic about the damage and consider the cost and effort involved in the repair process. In some cases, it may be more practical and cost-effective to replace the mirror instead of attempting repairs.
Remember, safety is paramount when dealing with cracked mirrors. If the crack has resulted in sharp edges or shards of glass, take precautions to avoid any injury. Wear gloves and use protective eyewear when handling the broken mirror, and dispose of any broken glass properly.
By carefully assessing the damage and considering these factors, you can determine if repair is a viable option for your cracked mirror.
Tools and Materials Needed for Mirror Repair
Repairing a cracked mirror requires the right tools and materials to ensure a successful outcome. Before you begin the repair process, gather the following items:
- Safety Gear: Safety should be your top priority. Wear gloves and protective eyewear to prevent any injuries from shattered glass or sharp edges.
- Tape: Masking tape or painter’s tape will come in handy for securing the cracked mirror and preventing further damage as you work on it.
- Epoxy or Mirror Adhesive: Depending on the type of crack and the material of your mirror, you will need an epoxy or mirror adhesive to bond and seal the cracked area.
- Putty Knife or Scraper: A putty knife or scraper can be used to gently remove any old adhesive or debris from the crack before applying the epoxy.
- Cleaners and Cloths: Preparing the surface is crucial for a successful repair. Use a glass cleaner specifically formulated for mirrors, along with soft cloths or paper towels, to clean the cracked area and remove any dirt or residues.
- Razor Blade or Glass Cutter (optional): If the crack is extensive and requires cutting or trimming, a razor blade or glass cutter may be necessary for precision work.
- Caulk Gun (if using adhesive): A caulk gun will facilitate the controlled application of the mirror adhesive or epoxy, ensuring even coverage along the crack.
- Clamps or Pressure Tools: Clamps or pressure tools may be needed to hold the cracked mirror together while the adhesive or epoxy cures.
It’s important to note that the specific tools and materials needed may vary depending on the severity and location of the crack, as well as the type of mirror being repaired. Assess the damage and consult with professionals or experts if you are unsure about the appropriate tools and materials for your specific situation.
Having the right tools and materials on hand will streamline the repair process and increase the chances of a successful restoration of your cracked mirror.
Preparing the Work Area and Ensuring Safety
Before you begin repairing a cracked mirror, it’s essential to prepare the work area and ensure safety for yourself and those around you. Taking these precautions will help prevent accidents and create an optimal environment for a successful repair:
- Clean and Clear the Area: Remove any objects or clutter near the mirror to create a clean and unobstructed workspace. This will minimize the risk of accidentally knocking something over or causing further damage to the mirror.
- Protect Surfaces: Cover the surrounding surfaces with drop cloths or old newspapers to catch any debris or adhesive that may drip during the repair process. This will make cleanup easier and prevent damage to countertops, floors, or furniture.
- Secure the Mirror: If the mirror is still attached to a frame or wall, use masking tape or painter’s tape to secure the cracked area. This will help prevent further movement or damage to the mirror as you work on it.
- Work in a Well-Ventilated Area: Repairing a cracked mirror may involve the use of chemicals or adhesives that can produce strong odors. Ensure that you are working in a well-ventilated area to avoid inhalation of fumes.
- Wear Protective Gear: As mentioned before, wearing gloves and protective eyewear is crucial when handling broken glass or working with adhesives. This will help protect your hands and eyes from injury and reduce the risk of accidents.
- Follow Manufacturer’s Instructions: If using specific products or adhesives, carefully read and follow the manufacturer’s instructions. Different adhesives may have varying curing times, application methods, and safety precautions. Adhering to these guidelines will ensure the best results and safety.
- Keep Children and Pets Away: During the repair process, it is essential to keep children and pets away from the work area. Broken glass and adhesives can be hazardous, and it’s best to avoid any potential accidents or injuries.
By preparing the work area and prioritizing safety measures, you can focus on the mirror repair process with peace of mind. Remember to proceed with caution and take your time to ensure a safe and successful outcome.
Removing the Cracked Mirror from its Frame
Before you can begin repairing a cracked mirror, you’ll need to safely remove it from its frame. This process requires careful handling and attention to detail to avoid further damage. Here’s a step-by-step guide to help you:
- Prepare the Work Area: Clear the surrounding area and lay down a protective covering to catch any debris or glass that may fall during the removal process. Wear gloves and protective eyewear for added safety.
- Assess the Frame: Examine the mirror’s frame and identify any screws, clips, or brackets holding it in place. Take note of their location and any specific instructions provided by the manufacturer or installer.
- Remove the Frame: Using the appropriate tools, carefully unscrew or unfasten the frame from the mirror. Start from one corner and work your way around, ensuring you apply even pressure to avoid placing stress on the cracked area.
- Support the Mirror: Once the frame is removed, support the mirror using your hands to prevent it from falling or slipping out of your grasp. If necessary, ask for assistance to ensure a secure hold on the mirror.
- Inspect the Backing: Take a moment to inspect the backing of the mirror. Look for any damage, such as loose or damaged mounting brackets or adhesive. If there are any issues with the backing, address them before proceeding with the repair.
- Set up a Stable Work Surface: Place the mirror on a stable and clean work surface, such as a table or workbench, with a soft cloth or towel to protect the front surface from scratches or damage.
- Store the Frame Safely: Set aside the mirror frame in a safe and secure location, away from the work area. Take care not to stack anything on top of it or expose it to potential damage.
Remember, removing a cracked mirror from its frame can be delicate work. Take your time, be cautious, and consider seeking professional assistance if you are uncertain or uncomfortable with the process. Mishandling the mirror during removal can lead to further cracks or injuries.
Once you have successfully removed the mirror from its frame, you can proceed with the repair process and work towards restoring the mirror to its original condition.
Repair Options for Cracked Mirrors
When dealing with a cracked mirror, you have several options for repair, depending on the severity of the damage and your skill level. Here are some common repair options to consider:
- DIY Repair with Mirror Adhesive: For small cracks or chips, you can attempt a DIY repair using mirror adhesive. Clean the cracked area thoroughly, apply the adhesive according to the manufacturer’s instructions, and carefully align the cracked edges. Use clamps or pressure tools to hold the pieces together while the adhesive sets. This option is best for minor cracks and requires some skill and precision.
- Professional Mirror Repair Services: If the crack is extensive or complex, or if you lack confidence in your repair abilities, it may be best to seek professional mirror repair services. Professionals have the expertise and specialized tools to assess the damage, determine the best course of action, and execute the repair skilfully. They can often restore the mirror to its original condition or recommend a suitable replacement if necessary.
- Mirror Replacement: In some cases, the extent or location of the crack may make repair impractical or unviable. In such instances, replacing the mirror entirely may be the best solution. Consult with professionals to find a suitable replacement that matches your style and budget.
It is important to consider the cost, time, and skill involved in each repair option before making a decision. For minor cracks, attempting a DIY repair can be cost-effective and rewarding. However, for larger or more complex cracks, professional assistance may deliver a more reliable and aesthetically pleasing result.
Remember to weigh the pros and cons of each repair option and consider the value of the mirror itself. Antique or sentimental mirrors may warrant professional repair efforts, while easily replaceable mirrors may be more suitable for DIY repairs or replacement.
Ultimately, the chosen repair option should prioritize the long-term durability and visual appeal of the mirror while aligning with your budget and personal preferences.
Step-by-Step Guide to Repairing a Cracked Mirror
Repairing a cracked mirror can be a DIY project if you have the right tools and materials. Follow this step-by-step guide to restore your cracked mirror:
- Gather the necessary tools and materials: Collect all the tools and materials needed for the repair, such as safety gloves, mirror adhesive, putty knife, cleaner, and soft cloths.
- Prepare the work area: Clear the work area and protect the surrounding surfaces with drop cloths or newspapers to catch any drips or debris.
- Clean the cracked area: Use a glass cleaner and a soft cloth to thoroughly clean the cracked area, ensuring it is free from dirt, dust, and residues.
- Apply the mirror adhesive: Follow the manufacturer’s instructions to apply the mirror adhesive along the crack. Use a putty knife to spread the adhesive evenly and fill any gaps in the crack. Be careful not to apply too much pressure, as it can further damage the mirror.
- Align the cracked edges: Gently align the cracked edges of the mirror, ensuring they fit closely together. Use clamps or pressure tools to hold the pieces in place while the adhesive sets, but take care not to overtighten and break the glass.
- Allow the adhesive to cure: Follow the recommended curing time provided by the manufacturer. Do not disturb or move the mirror during this time to allow the adhesive to fully bond and strengthen.
- Inspect and clean the repaired area: Once the adhesive has cured, inspect the repaired area for any remaining imperfections. If necessary, use a razor blade or glass cleaner to remove excess adhesive or residue. Clean the mirror’s surface with a glass cleaner to restore its shine.
- Reinstall the mirror: If you removed the mirror from its frame, carefully reinstall it following the manufacturer’s instructions or seek professional assistance for secure mounting.
It’s important to note that DIY mirror repair may not always be suitable for extensive or complex cracks. If you’re unsure about your abilities or the severity of the damage, it’s wise to consult with professionals who specialize in mirror repair.
By following these steps and taking your time, you can repair small cracks in your mirror, saving you money and prolonging the lifespan of your cherished mirror.
Sealing and Protecting the Repaired Mirror
After successfully repairing a cracked mirror, it’s important to take steps to seal and protect the repaired area to ensure its longevity and maintain its visual appeal. Here’s what you need to do:
- Inspect the repair: Carefully examine the repaired area to ensure that the crack is fully sealed and there are no visible gaps or imperfections.
- Apply a sealant (optional): Depending on the type of mirror and adhesive used for the repair, you may consider applying a sealant over the repaired area. This will provide an extra layer of protection and help prevent moisture or dirt from seeping into the crack.
- Protective coating (for the mirror’s surface): Consider applying a protective coating to the entire surface of the mirror. There are specialized mirror coatings available that can help reduce the risk of future scratches and damage caused by cleaning or everyday use.
- Clean and maintain the mirror: Regularly clean the repaired mirror using a gentle glass cleaner to keep it free from dust, fingerprints, and smudges. Avoid using abrasive materials or harsh chemicals that could damage the repaired area or the mirror’s surface.
- Avoid excess stress or pressure: Be cautious when handling or cleaning the repaired mirror to prevent placing unnecessary stress or pressure on the repaired area. Treat the mirror with care to avoid re-damaging the crack or causing new cracks to form.
- Regular inspection: Periodically inspect the repaired mirror to ensure that the crack remains sealed and there are no signs of further damage. Address any issues promptly to prevent the crack from worsening.
- Consider professional restoration: If the crack is extensive or the mirror holds significant value, it may be worth considering professional restoration services. Professionals have the expertise and equipment to ensure a high-quality and durable repair that will stand the test of time.
Remember, the longevity of the repaired mirror depends on proper care and maintenance. By sealing the repaired area, applying protective coatings, and practicing gentle handling, you can help ensure the longevity and aesthetics of your mirror for years to come.
Tips for Preventing Mirror Damage in the Future
Preventing mirror damage is essential to maintain their functionality and aesthetic appeal. By following these tips, you can prolong the lifespan of your mirrors and minimize the risk of cracks or other damages:
- Handle with care: Always handle mirrors with care, especially when moving or installing them. Avoid placing excessive pressure or dropping them, as this can lead to cracks or breakages.
- Avoid impacts: Prevent accidental impacts by keeping heavy objects away from mirrors and ensuring they are positioned in safe locations. Take extra precautions in high-traffic areas or if there are children or pets present.
- Secure mirrors properly: When mounting or hanging mirrors, ensure they are securely fastened using suitable hardware and following proper installation techniques. This will reduce the risk of the mirror falling or shifting, potentially causing damage.
- Protect against temperature fluctuations: Avoid exposing mirrors to extreme temperature changes, as this can cause stress on the glass and lead to cracks. Keep mirrors away from direct sunlight or drafts, if possible.
- Use appropriate cleaning methods: Clean mirrors using non-abrasive materials and gentle glass cleaners specifically designed for mirrors. Avoid using harsh chemicals or abrasive tools that can scratch or damage the surface.
- Regularly inspect and maintain: Periodically inspect your mirrors for any signs of damage, such as cracks or loose fittings. Address any issues promptly to prevent further damage and consider professional repair or restoration if necessary.
- Protect edges of frameless mirrors: Frameless mirrors are more vulnerable to chips and cracks along the edges. Consider applying protective edging or setting them in a secure frame to minimize the risk of edge damage.
- Avoid hanging heavy items on mirrors: Do not hang heavy objects or place excessive weight on mirrors, as this can cause stress on the glass and potentially lead to cracks.
- Store and transport mirrors carefully: When storing or moving mirrors, use appropriate padded packaging or protective coverings to prevent them from getting scratched or cracked during transportation.
- Invest in high-quality mirrors: Opt for mirrors made from quality materials and manufactured by reputable brands. High-quality mirrors are often more durable and less prone to damage.
By following these preventative measures, you can significantly reduce the risk of mirror damage and enjoy their functionality and beauty for a long time. Remember, proper handling, installation, cleaning, and regular maintenance are key to keeping your mirrors in the best possible condition.