
Choosing the Right Calla Lilies for a Vase
When it comes to selecting calla lilies for a vase, there are a few things to keep in mind to ensure that you choose the right ones. Here are some helpful tips:
- Variety: Calla lilies come in a variety of colors, including white, yellow, pink, orange, and even black. Consider the color scheme and overall aesthetic you want to achieve with your vase arrangement.
- Size: Calla lilies come in different sizes, from miniature to large. Consider the size of your vase and choose calla lilies that will fit proportionally.
- Condition: Look for calla lilies that are in good condition when selecting them for your vase. Check for any signs of damage or wilting leaves, as these can indicate that the flowers may not last as long.
- Stage of Blooming: Consider the stage of blooming you prefer for your vase arrangement. Some people like fully opened flowers, while others prefer calla lilies that are partially open. Choose according to your personal preference.
- Quality: Inspect the overall quality of the calla lilies, including the stems and leaves. Ensure that they are firm and healthy-looking, without any signs of discoloration or blemishes.
By considering these factors, you can ensure that you choose the right calla lilies for your vase arrangement. Remember to handle them with care and maintain their freshness to enjoy their beauty for as long as possible.
Preparing the Calla Lilies for a Vase
Proper preparation of calla lilies before placing them in a vase is essential to help them stay fresh for longer. Follow these steps to ensure optimal vase longevity:
- Trimming the Stems: Start by trimming the calla lily stems at an angle, using a sharp pair of scissors or floral clippers. A diagonal cut will increase the surface area for water absorption, allowing the flowers to hydrate more effectively.
- Removing Excess Leaves: Remove any leaves that will be submerged in water in the vase. These submerged leaves can quickly decay and contaminate the water, shortening the lifespan of the calla lilies.
- Hydrating the Stems: After trimming, place the calla lily stems in a container with clean water. Allow them to soak for about 30 minutes, enabling the flowers to rehydrate and regain their vitality.
- Inspecting for Pests: Before transferring the calla lilies to the vase, inspect them for any signs of pests or insects. If you notice any unwanted visitors, gently remove them to prevent damage to the flowers.
- Securing with Floral Foam: Consider using floral foam to hold the calla lilies in place within the vase. This will help maintain the desired arrangement and prevent the stems from shifting or clustering together.
By following these preparation steps, you can ensure that your calla lilies are ready to be placed in the vase. Taking the time to properly prepare the flowers will contribute to their longevity and enhance the overall beauty of your arrangement.
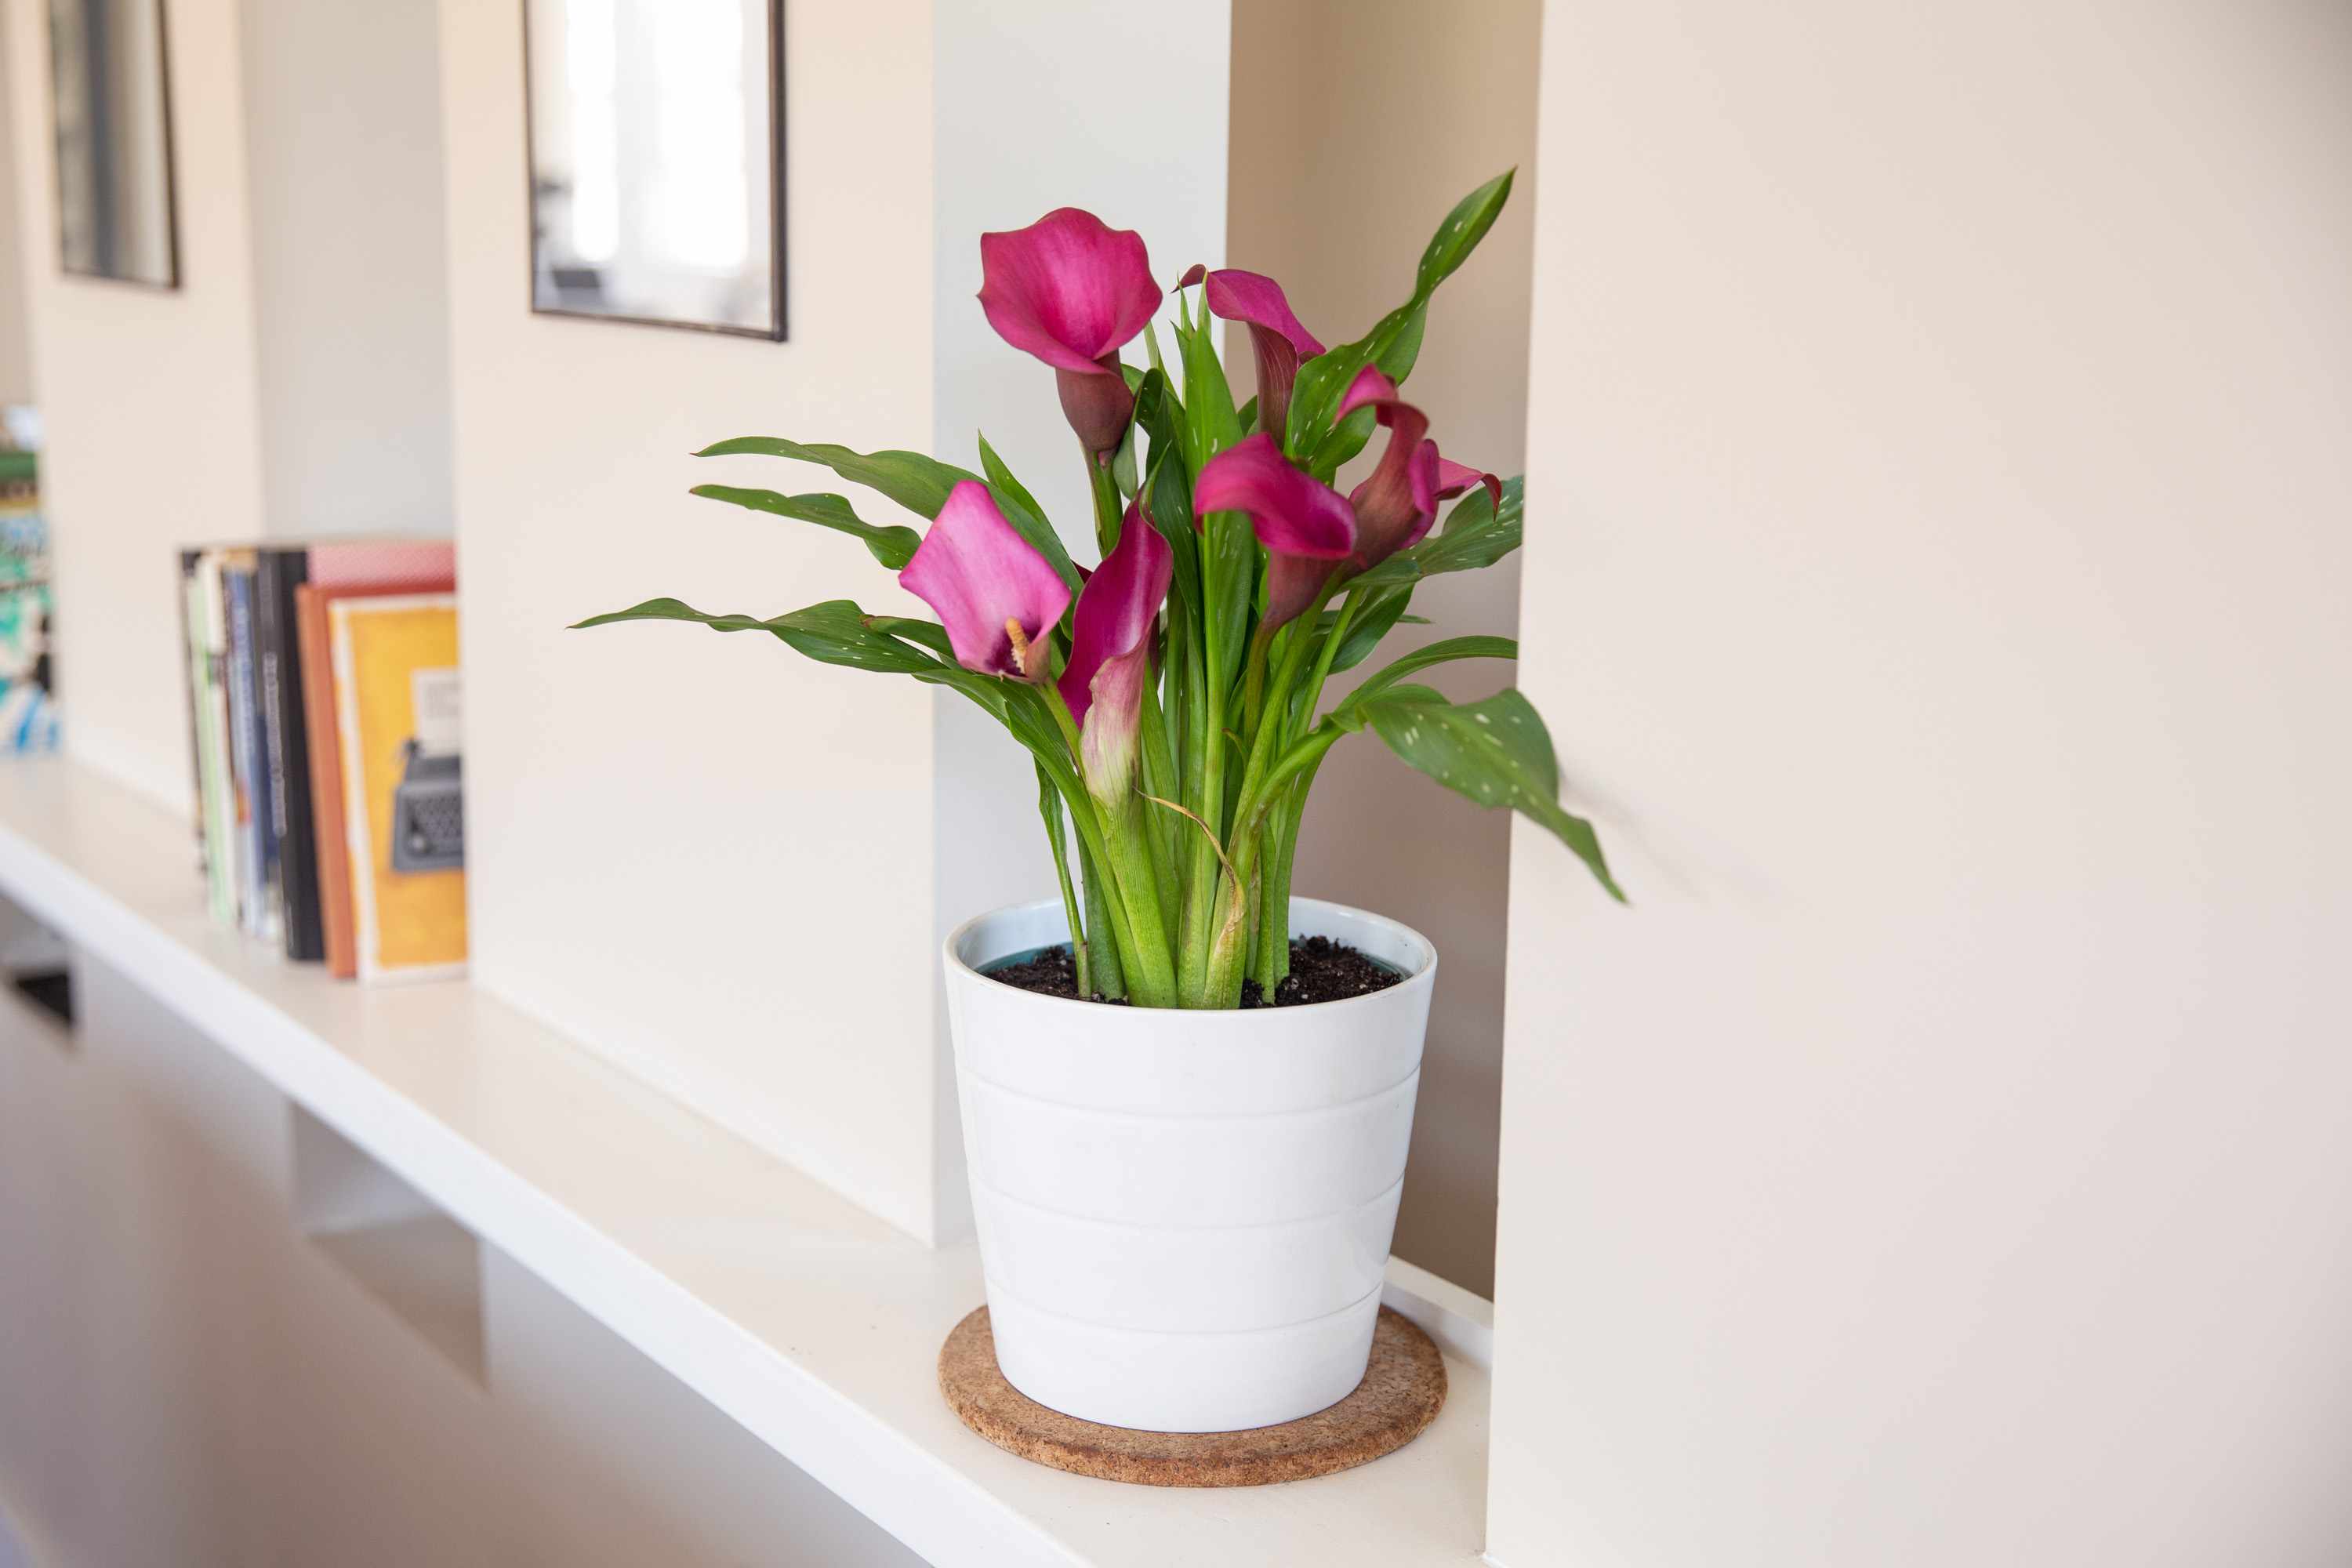
Choosing the Right Vase for Calla Lilies
When selecting a vase for your calla lilies, it’s important to choose one that not only complements the beauty of the flowers but also provides the necessary support and space for their stems. Here are some tips to help you choose the right vase:
- Size: Consider the size of the calla lily bouquet or arrangement you have in mind. Choose a vase that is tall enough to accommodate the length of the stems and wide enough to allow for a natural spread of the flowers.
- Shape: Opt for a vase with a narrow neck and a wider base. This shape will help support the calla lilies, preventing them from drooping while allowing for better water circulation.
- Material: Select a vase made of glass or transparent material. This will not only showcase the elegance of the calla lilies but also allow you to monitor the water level and the condition of the stems.
- Color: Consider the color of the vase in relation to the calla lilies you have chosen. A neutral or clear vase will provide a versatile backdrop for any colored flowers, while a matching or contrasting color can create a visually striking display.
- Cleanliness: Ensure that the vase you choose is clean and free from any residue or debris. A clean vase will help maintain the freshness of the calla lilies and prevent bacterial growth.
Remember, the right vase will not only enhance the overall aesthetics of your calla lilies but also provide the necessary support and space for the flowers to thrive. Take your time to choose a vase that complements your arrangement and allows the calla lilies to shine in all their beauty.
Adding Water and Floral Preservative to the Vase
Once you have chosen the perfect vase for your calla lilies, it’s time to fill it with water and add a floral preservative to help prolong the life of the flowers. Follow these steps to ensure proper hydration and nourishment:
- Fill the Vase: Fill the vase with clean, lukewarm water, leaving enough space to accommodate the calla lily stems without overflowing.
- Add the Floral Preservative: Follow the instructions on the floral preservative packet and add the appropriate amount to the water in the vase. Floral preservatives contain nutrients and antimicrobial agents that help prolong the life of the flowers and keep the water clean.
- Stir Gently: Use a long spoon or a gentle swirling motion to mix the water and floral preservative, ensuring that the preservative is dissolved and evenly distributed.
- Consider Natural Alternatives: If you prefer to use a natural alternative to floral preservatives, you can add a few drops of lemon juice or a teaspoon of sugar to the water. These ingredients can provide some nourishment to the calla lilies.
- Monitor Water Level: Keep a close eye on the water level in the vase and replenish it as needed. Calla lilies have a high water requirement, so it’s important to ensure that they have enough water to stay hydrated.
By adding water and floral preservative to the vase, you are providing the calla lilies with the essential hydration and nutrients they need to stay fresh and vibrant for a longer period of time. Remember to check the water levels regularly and make necessary adjustments to ensure the longevity of your beautiful calla lilies.
Arranging Calla Lilies in the Vase
Arranging calla lilies in a vase is an art in itself. With a few simple techniques, you can create a stunning display that showcases the elegance of these beautiful flowers. Here are some tips for arranging calla lilies in a vase:
- Prepare the Stems: Before arranging the calla lilies, make sure the stems are clean and free from excess foliage. Trim the stems at an angle to the desired length, based on the height of your vase and the look you want to achieve.
- Create a Focal Point: Start by placing one or two calla lilies at the center of the vase, slightly taller than the surrounding flowers. This will create a focal point and serve as the anchor for the arrangement.
- Build Depth and Volume: Gradually add more calla lilies, placing them around the focal point at varying heights and angles. This will help create depth and volume in the arrangement, giving it a more dynamic and visually appealing look.
- Vary the Orientation: To add a natural and organic feel to the arrangement, position some calla lilies with their blooms facing upward, while others can be angled or gently curved. This variation will add visual interest and make the arrangement look more lively.
- Fill in with Foliage: If desired, you can add some fresh foliage, such as eucalyptus or ferns, to complement the calla lilies. Place them strategically around the base of the arrangement or tuck them in between the flowers to add texture and a touch of greenery.
- Check for Balance and Symmetry: Step back and take a look at the arrangement from different angles. Ensure that it is balanced and symmetrical, with an even distribution of calla lilies and foliage. Make any necessary adjustments to achieve the desired visual effect.
By following these tips, you can create a visually stunning arrangement of calla lilies that will serve as a centerpiece or an eye-catching display in any room. Let your creativity shine and experiment with different variations to find the arrangement style that best complements your taste and the overall aesthetic of your space.
Displaying Calla Lilies in the Right Location
The location where you choose to display your calla lilies can greatly impact their longevity and visual appeal. Follow these tips to find the perfect spot and maximize the enjoyment of your gorgeous flowers:
- Avoid Direct Sunlight: Calla lilies are sensitive to direct sunlight and excessive heat, which can cause them to wilt prematurely. Choose a location away from direct sunlight, such as a shaded area or a room with filtered natural light.
- Optimal Temperature: Calla lilies prefer cooler temperatures around 65-75°F (18-24°C). Avoid placing them near heat sources, drafts, or air conditioning vents, as extreme temperature changes can shorten their lifespan.
- Keep Away from Fruit: Ripening fruits release ethylene gas, which can cause flowers to age and wilt faster. Avoid placing calla lilies near fruit bowls or areas with ethylene-producing fruits.
- Avoid Drafts: Calla lilies are sensitive to drafts, such as those from open windows or air conditioning units. Keep them away from areas with strong air movement to prevent dehydration and wilting.
- Consider Humidity: While calla lilies prefer moderate humidity, they can also tolerate drier conditions. However, dry air may cause the flowers to dry out more quickly. Consider using a humidifier or placing a water-filled tray near the arrangement to increase humidity levels.
- Showcase as a Centerpiece: Displaying calla lilies as a centerpiece on a dining table or a prominent place in your living room can add elegance and beauty to the space. Choose a vase that matches your decor and create a focal point that draws attention.
- Change the Water Regularly: To maintain the freshness of the calla lilies, change the water every two to three days. This helps prevent the growth of bacteria and keeps the flowers hydrated and vibrant.
By considering these factors and implementing these tips, you can ensure that your calla lilies are displayed in an optimal location, allowing them to thrive and bring beauty to your surroundings for as long as possible.
Extending the Lifespan of Calla Lilies in a Vase
To enjoy the beauty of calla lilies for as long as possible, it’s important to take certain steps to extend their lifespan in a vase. By following these tips, you can maximize the longevity of your calla lilies:
- Trim the Stems Regularly: Every few days, trim a small portion off the bottom of the calla lily stems. This helps promote better water absorption and keeps the stems fresh.
- Change the Water Frequently: Regularly change the water in the vase, ideally every two to three days. This prevents the build-up of bacteria and keeps the water clean and fresh.
- Maintain Proper Water Level: Ensure that the calla lily stems are immersed in enough water to stay hydrated. Check the water level daily and add more water as needed.
- Keep the Vase Clean: Clean the vase regularly to prevent the accumulation of bacteria or algae. Wash it with warm soapy water and rinse thoroughly before refilling with fresh water.
- Avoid Excessive Handling: Limit the amount of handling or touching of the calla lilies, as oils from your hands can transfer to the flowers and accelerate their decay.
- Place Away from Ethylene-Producing Items: Keep the calla lilies away from ethylene-producing fruits, such as bananas or apples, as this gas can cause the flowers to age and wilt faster.
- Avoid Extreme Temperatures: Protect the calla lilies from extreme temperatures and drafts, as these can cause the flowers to deteriorate quickly. Keep them in a cool and stable environment.
- Display in a Cool Spot at Night: To extend the lifespan of calla lilies, consider placing them in a cool spot, such as a basement or refrigerator, overnight. This helps slow down the blooming process and preserves their freshness.
- Remove Wilting Flowers: Regularly inspect the calla lilies and remove any wilting flowers or deteriorating foliage. Removing these will maintain the overall aesthetic and prevent the spread of decay.
- Consider Flower Food: If available, use a commercial flower food or make your own homemade preservative solution to nourish the calla lilies and prolong their lifespan. Follow the instructions carefully for the best results.
By following these tips and implementing proper care practices, you can extend the lifespan of calla lilies in a vase, enjoying their beauty and elegance for an extended period of time.
Signs that Calla Lilies are About to Wilt
Understanding the signs that calla lilies are about to wilt can help you take immediate action to revive them or make necessary arrangements to dispose of them. Here are some common signs to look out for:
- Drooping Stems: One of the first signs of wilting calla lilies is the drooping or bending of their stems. When the stems become weak and lose their rigidity, it indicates a lack of water and nutrients.
- Wrinkled or Shriveled Blooms: Wilting calla lilies may have wrinkled or shriveled blooms. The petals might appear limp and lose their vibrant color, indicating dehydration and loss of freshness.
- Browning or Yellowing Leaves: Another sign of wilting is the browning or yellowing of the leaves. When calla lilies start to wilt, the leaves may become discolored and show signs of decay.
- Foul Odor: As calla lilies begin to wilt, they may emit a foul odor. This odor usually results from bacterial growth caused by stagnant water and decaying plant material.
- Loss of Turgidity: When calla lilies are healthy, their stems and leaves are firm and upright. As they begin to wilt, you may notice a loss of turgidity, where the plant parts become soft and droopy.
- Accelerated Petal Drop: Wilting calla lilies may experience accelerated petal drop, where the petals fall off more quickly than normal. This occurs as a result of dehydration and deterioration of the blooms.
- Increased Transparency: The petals of wilting calla lilies may become translucent or appear thinner than usual. This indicates that the flowers are losing their moisture content and becoming delicate.
When you notice these signs, it’s important to take action promptly. Reviving wilting calla lilies can be challenging, but you can try trimming the stems, changing the water, and providing the flowers with necessary nourishment. If the calla lilies cannot be revived, it’s best to dispose of them properly to prevent any further decay or spread of bacteria.
By being aware of these signs and closely monitoring the condition of your calla lilies, you can take the appropriate measures to ensure their longevity and enjoy their beauty for as long as possible.
Reviving Wilting Calla Lilies in a Vase
Reviving wilting calla lilies in a vase can be a challenging task, but with some care and attention, you may be able to bring them back to their former beauty. Here are some steps you can take to revive wilting calla lilies:
- Trim the Stems: Start by trimming the calla lily stems at a sharp angle, removing about an inch of the bottom. This will create a fresh cut and increase the surface area for water absorption.
- Change the Water: Replace the water in the vase with fresh, lukewarm water. Make sure the water is at room temperature to prevent shocking the flowers. This will provide the calla lilies with clean hydration and help replenish their moisture levels.
- Add Floral Preservative: Consider adding a floral preservative or homemade solution to the vase water. These contain nutrients that can help rejuvenate the calla lilies and prolong their lifespan. Follow the instructions on the preservative package or use a homemade mixture, such as a combination of sugar, lemon juice, and bleach.
- Hydrate Overnight: Place the wilting calla lilies in the vase with the fresh water and preservative solution, and let them hydrate overnight. This extended hydration period can help reinvigorate the flowers and restore their vitality.
- Adjust the Environment: Create an optimal environment for the calla lilies by placing them in a cool and shaded location. Avoid direct sunlight or extreme temperatures, as these can further stress the flowers.
- Mist the Flowers: Mist the calla lilies gently with water using a spray bottle. This can help increase humidity and provide additional moisture to the petals, reviving their wilted appearance.
- Remove Wilted Flowers: As you revive the calla lilies, carefully remove any severely wilted or decaying flowers. This will allow the remaining blooms to receive more nutrients and improve the overall appearance of the arrangement.
Keep in mind that not all wilting calla lilies can be fully revived, especially if they have been severely dehydrated or damaged. However, by following these steps and providing the necessary care, you may be able to restore some of their beauty and prolong their lifespan in the vase.
If your efforts to revive the calla lilies are unsuccessful, it may be time to consider disposing of them and enjoying a fresh bouquet to brighten your space.
Disposing of Calla Lilies After They Wilt
Once calla lilies have wilted beyond the point of revival, it is important to dispose of them properly to prevent any further decay or unpleasant odors. Here are some steps to follow when disposing of wilted calla lilies:
- Remove from the Vase: Carefully remove the wilted calla lilies from the vase, taking care not to spill any water or debris.
- Trim the Stems: Trim the stems of the wilted calla lilies to make them shorter and more manageable.
- Separate Organic Waste: Place the wilted calla lilies in a separate bag or container designated for organic waste. This prevents the spread of bacteria and helps keep your disposal area clean.
- Dispose of Properly: Check with your local waste management regulations to determine the best method of disposal for organic waste. You may be able to compost the wilted calla lilies or dispose of them in a green waste bin.
- Clean the Vase: After disposing of the wilted calla lilies, thoroughly clean the vase to remove any residue or bacteria. Wash it with warm soapy water and rinse it thoroughly before using it for another flower arrangement.
Proper disposal of wilted calla lilies is important to maintain a clean and healthy environment. By following these steps, you can ensure that the flowers are disposed of in an environmentally friendly manner while keeping your space fresh and free from potential odors or bacterial growth.
Remember to take the opportunity to reflect on the beauty that calla lilies brought to your space during their vibrant stage, and look forward to the next opportunity to enjoy these stunning flowers in full bloom.