
Consider the Function of the Mirror
When determining the height at which to hang a mirror, it is essential to consider the function and purpose of the mirror within the space. Different rooms may have different requirements regarding the height placement of a mirror.
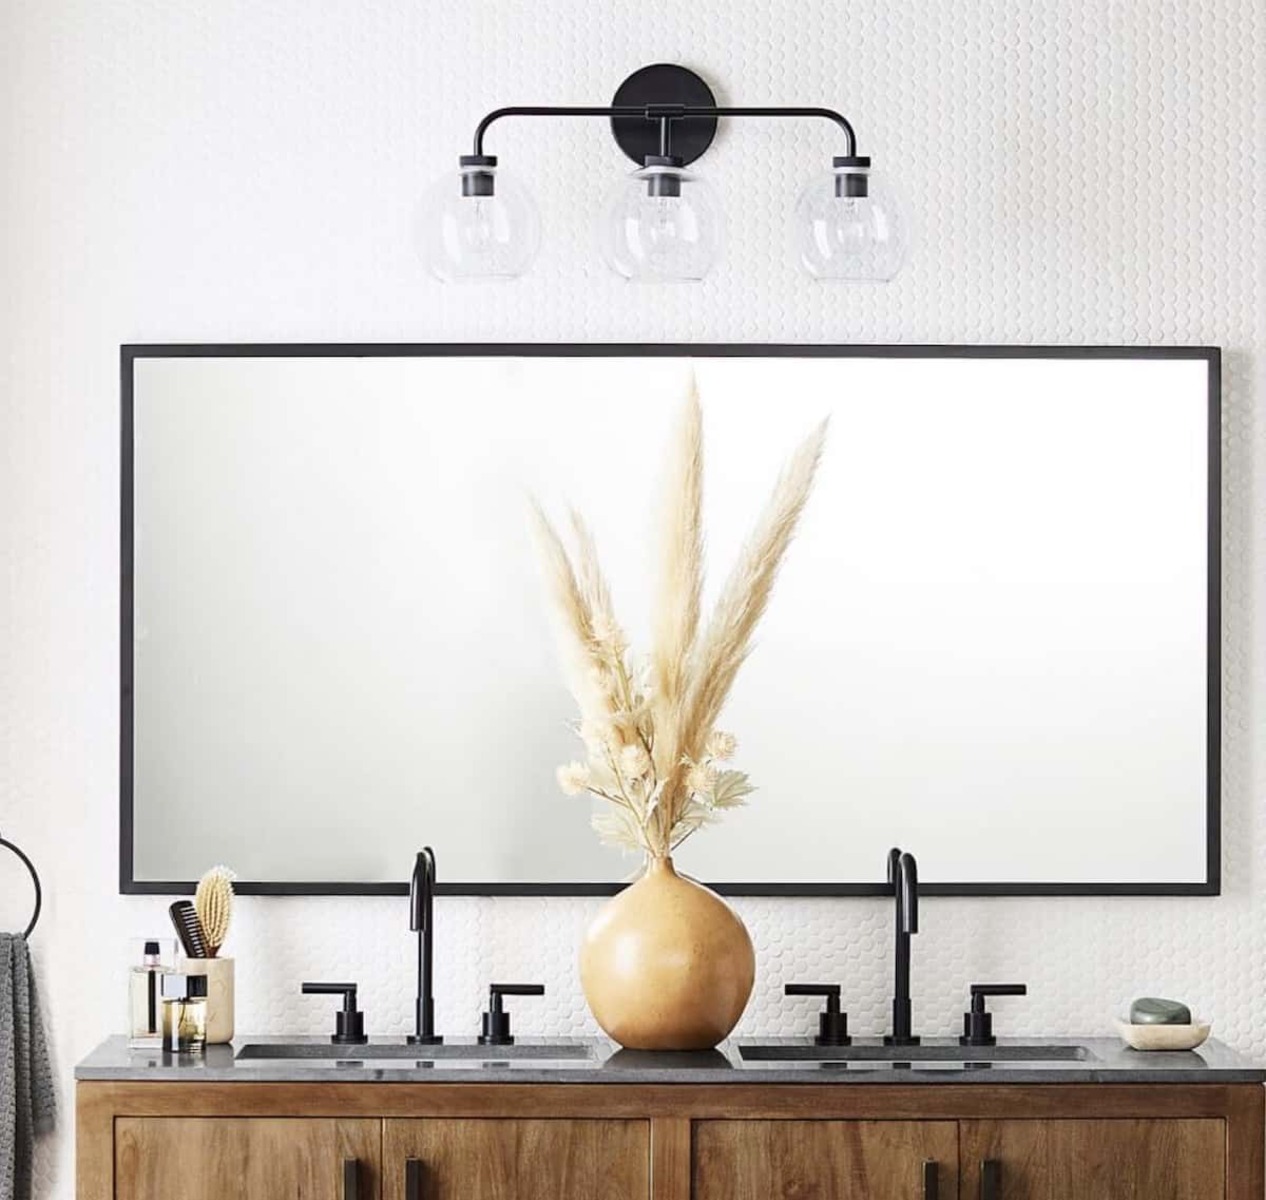
For example, in a bathroom, where you primarily use the mirror for personal grooming, it is crucial to hang it at a height that allows you to comfortably see your face and upper body. A common guideline is to position the center of the mirror at about eye level, which typically falls within the range of 60 to 66 inches from the floor. This ensures that you can easily view yourself without straining or crouching.
Similarly, in a bedroom or dressing area, where you may use the mirror for getting dressed or styling your hair, consider hanging it at a height that allows you to see your entire body. A full-length mirror is often mounted on the wall or placed on a stand, ensuring that it covers your height from head to toe for easy visual access. In this case, you can adjust the height of the mirror as needed to suit your preferences and proportions.
On the other hand, a decorative mirror may serve a different purpose, such as adding visual interest or creating the illusion of space. In this case, you have more flexibility in determining the height for installation. You can experiment with hanging the mirror at various heights to find the optimum placement that complements the surrounding decor and enhances the overall aesthetic appeal of the room.
Ultimately, the function of the mirror should guide your decision-making process. Take into account the intended use of the mirror, the activities performed in the space, and the desired visual impact when determining the appropriate height for hanging a mirror.
Determine the Appropriate Height for Eye Level
When it comes to hanging a mirror, finding the right height for eye level is crucial for both functionality and aesthetics. The goal is to position the mirror at a height that allows for comfortable and convenient use.
One common guideline is to hang the mirror with its center at eye level. This ensures that the reflection is at a comfortable height for most people. The average eye level for adults is typically around 57 to 65 inches from the floor. However, it’s important to consider the specific needs of the individuals who will be utilizing the mirror.
If you share the space with others who have different height ranges, it may be beneficial to find a compromise or adjust the height accordingly. For example, if you have children in the house, you may want to consider placing the mirror at a lower height to accommodate their line of sight.
In some cases, you may have to deviate from the typical eye level height. For example, in certain spaces, such as hallways or entryways, you may opt for hanging the mirror slightly higher to create the illusion of height and open up the space. On the other hand, in areas where you primarily sit, such as a vanity area, you may prefer to lower the mirror to ensure a clear and unobstructed view while seated.
Keep in mind that factors such as the height of the individuals using the mirror, the purpose of the mirror, and the overall design of the room can influence the appropriate eye-level height. It’s important to consider all these elements to find the perfect balance between functionality and aesthetic appeal.
Take into account your own height and preferences, as well as the heights of other household members or frequent users of the mirror. By finding the right height for eye level, you can ensure that the mirror is not only functional but also visually pleasing and harmonious with the rest of the space.
Measure Your Wall Space
Before hanging a mirror, it’s essential to measure your wall space to ensure the proper fit. By accurately measuring the available area, you can determine the size and position of the mirror within the given space.
To begin, gather a measuring tape and start by measuring the width and height of the wall space where you plan to hang the mirror. Take note of any architectural features or obstacles that could affect the placement, such as windows, doors, or electrical outlets.
When measuring the width, consider the surrounding elements and furniture. Ideally, the mirror should be centered on the wall or balanced with other decorative elements or furniture. If you have a large wall, you may choose to hang multiple mirrors in a symmetrical or asymmetrical arrangement to create visual interest and balance.
For the height measurement, consider the overall proportions of the wall and the adjacent furnishings. It’s important to leave enough space above and below the mirror for an aesthetically pleasing look. Additionally, if you plan to hang the mirror above a piece of furniture, ensure that there is enough clearance between the furniture and the mirror to avoid any visual or physical obstructions.
Another factor to consider is the size of the mirror relative to the wall and the overall room. A small mirror on a large wall may feel disproportionate, while a large mirror in a small space can overwhelm the room. Strive for a balance that complements the room’s size, the wall’s proportions, and the overall design aesthetic.
It’s important to measure accurately to avoid any surprises or disappointments when it’s time to hang the mirror. Take your time and double-check your measurements to ensure that the mirror you choose fits perfectly within the available wall space.
Factor in Furniture Placement
When determining the height at which to hang a mirror, it’s crucial to consider the placement of furniture in the room. The mirror should harmonize with the surrounding furniture and enhance the overall visual appeal of the space.
First, assess the furniture that will be placed near the mirror. For example, if you plan to hang a mirror above a console table or dresser, consider the height and dimensions of the furniture. The mirror should ideally be centered above the furniture piece or positioned in a way that complements its size and shape.
Take into account the visual balance and proportionality between the mirror and the furniture. A general guideline is to leave some space between the furniture and the mirror, creating a cohesive and visually pleasing arrangement. This empty space allows the mirror to stand out and be a focal point on its own.
Consider the function of the furniture as well. For example, if the mirror is placed near a seating area, ensure that it doesn’t obstruct the line of sight for those seated. Adjust the height and placement to allow for comfortable and unobstructed viewing angles.
In some cases, the mirror may be the focal point of the room, and the furniture placement should revolve around it. For instance, in a living room, you may position the mirror above a fireplace, with the furniture arranged to complement the mirror and enhance its visual impact.
It’s important to assess the furniture’s size and dimensions in relation to the mirror. A small mirror may get lost if placed next to oversized furniture, while a large mirror may overpower smaller furnishings. Strive for a cohesive and balanced look by considering the scale and proportion of both the mirror and the furniture.
By factoring in furniture placement, you can create a harmonious and visually appealing arrangement that combines the functionality of the mirror and the aesthetic appeal of the surrounding furniture.
Consider the Height of Other Decorative Elements
When deciding on the height at which to hang a mirror, it is important to consider the height of other decorative elements in the room. Harmonizing the mirror’s placement with other design elements can create a visually cohesive and balanced space.
First, take note of any existing elements on the wall, such as artwork, shelves, or wall sconces. Consider positioning the mirror in relation to these elements to create a cohesive composition. For example, if you have a gallery wall with multiple pieces of artwork, you may choose to hang the mirror at a similar height to maintain a consistent visual flow.
It’s also essential to consider the height of any architectural features in the room. For instance, if you have high ceilings with crown molding, you may want to hang the mirror higher to accentuate the height of the room. On the other hand, if the ceiling is lower or if you have a chair rail, consider how the mirror’s height interacts with these architectural details.
Another aspect to consider is the height of any adjacent furniture, such as a sofa, bed, or console table. The mirror should be positioned in a way that complements the height of the furniture, creating a balanced and visually appealing arrangement. Err on the side of slightly higher placement to avoid any visual crowding or obstruction.
Additionally, consider the overall design style of the room. If the room has a minimalistic or modern aesthetic, you may prefer a slightly higher placement for the mirror to create a clean and streamlined look. In contrast, if the room has a more traditional or eclectic style, you may opt for a lower position to enhance the cozy and intimate atmosphere.
By considering the height of other decorative elements, you can ensure that the mirror’s placement complements the overall design scheme and creates a cohesive and visually pleasing arrangement in the room.
Decide on a Hanging Technique
When it comes to hanging a mirror, there are various techniques to choose from depending on the weight, size, and type of mirror you have. The hanging technique you decide on will play a crucial role in ensuring the mirror is securely and safely mounted on the wall.
One common hanging technique is to use picture hooks or D-ring hangers. Picture hooks are ideal for lightweight mirrors and provide a secure way to hang them on the wall. D-ring hangers, on the other hand, offer even weight distribution and stability for larger or heavier mirrors. Make sure to choose hooks or hangers that can support the weight of your mirror.
If you have a frameless mirror or want a seamless look, consider using adhesive hooks or mirror mounting tapes. These options allow you to hang the mirror without visible hardware, creating a clean and minimalist appearance. However, be sure to select adhesive hooks specifically designed for mirrors to ensure they can securely hold the weight.
For extra security, you can also consider using mirror clips or J-channel mounting systems. Mirror clips help secure the mirror along the edges, while J-channel mounts provide additional stability by supporting the mirror from the bottom. These options are suitable for larger, framed mirrors or when you want to avoid any movement or tilting.
When deciding on a hanging technique, consider the wall material as well. For drywall or plaster walls, it’s important to use appropriate anchors or wall plugs to ensure a secure hold. If you’re unsure about the wall’s strength or stability, consult a professional or use a stud finder to locate and hang the mirror on a wall stud for added support.
Ultimately, the choice of hanging technique depends on the specific requirements of your mirror and the desired aesthetic outcome. Consider the weight and size of the mirror, the type of wall material, and your personal preferences when deciding on the best method to securely hang your mirror.
Use Proper Tools and Materials
When hanging a mirror, using the proper tools and materials is essential to ensure a secure and successful installation. Having the right equipment on hand will make the process easier and help prevent any damage or accidents.
First and foremost, ensure that you have a sturdy step ladder or a stable platform to safely reach the desired hanging height. Using the correct ladder height is crucial to prevent any stretching or overreaching, which can be unsafe and increase the risk of accidents.
You will also need a measuring tape to accurately measure the wall space and determine the placement of the mirror. Be sure to check your measurements multiple times to ensure they are accurate and double-check them against the mirror’s dimensions.
Additionally, consider the type of wall you are working with. For drywall or plaster walls, you may need wall anchors or wall plugs to provide extra support and prevent the mirror from pulling away from the wall. It’s important to select anchors or plugs that are appropriate for the weight of the mirror.
Depending on the hanging technique you choose, you may need various hardware such as picture hooks, D-ring hangers, adhesive hooks, or mirror clips. Ensure that you have the necessary hardware and that it is suitable for the type and weight of the mirror.
Using a level is crucial to ensure that the mirror is properly aligned and not crooked on the wall. A bubble or laser level can help you achieve a straight and balanced installation. Take your time to check the levelness multiple times during the hanging process.
Lastly, have a pencil or marker on hand to mark the exact spots where you will be placing the hardware or making any adjustments. This will help ensure accuracy and prevent the need for guesswork or potential mistakes.
By using the proper tools and materials, you can ensure a secure and successful installation while minimizing the risk of damage to the mirror or the wall. Taking the time to gather the necessary equipment before starting the hanging process will make the entire experience smoother and more efficient.
Utilize Templates or Guides for Accuracy
When it comes to hanging a mirror, utilizing templates or guides can greatly assist in achieving accurate and precise placement. Templates and guides can help ensure that the mirror is level, centered, and positioned exactly where you want it on the wall.
One option is to create a paper template of the mirror’s dimensions. Start by measuring the width and height of the mirror, then transfer those measurements onto a large piece of craft paper or newspaper. Cut out the paper according to the dimensions to create a template that matches the size and shape of the mirror.
Once you have the paper template, you can easily experiment with different placement options by taping it to the wall. This allows you to visualize how the mirror will look in different positions and make any necessary adjustments without putting any holes in the wall.
Alternatively, you can purchase or make use of pre-made hanging templates or guides specifically designed for mirrors. These templates usually have various measurements and guidelines marked on them, allowing you to position the mirror accurately and consistently. Simply align the template with the desired location on the wall and follow the instructions for drilling or mounting the mirror.
Another useful tool is a laser level with a built-in guide. These devices emit a straight laser beam that can be projected onto the wall, providing a visual guide for aligning the mirror. By marking the desired height and position based on the laser level, you can ensure the mirror is hung accurately and evenly.
Using templates or guides not only simplifies the hanging process but also helps eliminate guesswork and potential mistakes. They allow you to visualize the mirror’s placement and make any necessary adjustments before committing to drilling or mounting.
Whether you choose to create your own template or utilize a pre-made guide or laser level, taking advantage of these tools will greatly enhance the accuracy and precision of hanging your mirror.
Double-check and Make Adjustments as Needed
After you have hung the mirror, it is crucial to double-check your work and make any necessary adjustments to ensure that it is perfectly aligned and securely mounted on the wall. Taking the time to review your installation will result in a polished and professional look.
Start by stepping back and assessing the mirror from a distance. Look for any visual imperfections, such as a tilted or crooked appearance. Use a level to confirm that the mirror is perfectly horizontal and not leaning to one side.
Check the spacing around the mirror to ensure it is balanced and visually appealing. If the mirror feels too crowded or too isolated on the wall, adjust its position accordingly. Consider the surrounding elements and furniture, and make sure the mirror complements the overall aesthetic of the space.
Inspect the mirror’s reflections to ensure they are clear and unobstructed. Double-check for any obstructions or distractions, such as light fixtures or furniture reflections, that may interfere with the mirror’s functionality or visual appeal. Adjust the mirror’s placement as necessary.
If you notice any issues or concerns with the mirror’s stability, reinforce the hanging mechanism or make any necessary changes. This may involve tightening screws or adding additional support, depending on the hanging technique used. Safety should always be a top priority when it comes to hanging a mirror.
Take the time to step back and view the mirror from different angles, considering how it interacts with the overall room. Look for any areas that may need touch-ups or adjustments, such as paint or wallpaper around the edges of the mirror.
Remember, hanging a mirror is not a one-time process. It is perfectly normal to make adjustments and refinements to achieve the desired result. Take the necessary time to review your work and make any needed modifications.
By double-checking and making adjustments as needed, you can ensure that your mirror is properly installed, visually appealing, and functional for its intended purpose. Taking this extra step will result in a finished look that enhances the overall aesthetic of your space.