
System Requirements
To watch DVDs on your MacBook Pro, you need to ensure that your system meets the necessary requirements. Here are the system requirements to consider:
- MacBook Pro: You will need a MacBook Pro or any other Mac computer with a built-in DVD drive or an external DVD drive connected to your device.
- Operating System: Make sure your MacBook Pro is running on macOS, ideally the latest version available, to ensure compatibility with DVD playback software.
- DVD Player Software: Your MacBook Pro should have the DVD Player software pre-installed. You can find it in the Applications folder or through Spotlight search.
- Memory and Storage: It is recommended to have sufficient free memory and storage space on your MacBook Pro to ensure smooth DVD playback. This is especially important if you are watching high-definition DVDs.
- Internet Connection: An internet connection is not mandatory for DVD playback, but it may be required for certain features like online DVD menus or bonus content.
- Display and Audio: Your MacBook Pro should have a screen and audio capabilities that meet your viewing preferences. Consider the resolution, size, and audio output for an optimal DVD watching experience.
By meeting these system requirements, you can ensure that your MacBook Pro is ready to play DVDs without any issues. Now that you have checked the requirements, let’s move on to the step-by-step process of watching DVDs on your MacBook Pro.
Step 1: Insert the DVD
To start watching a DVD on your MacBook Pro, you need to insert the DVD into the built-in DVD drive or connect an external DVD drive if you don’t have one integrated. Follow these simple steps:
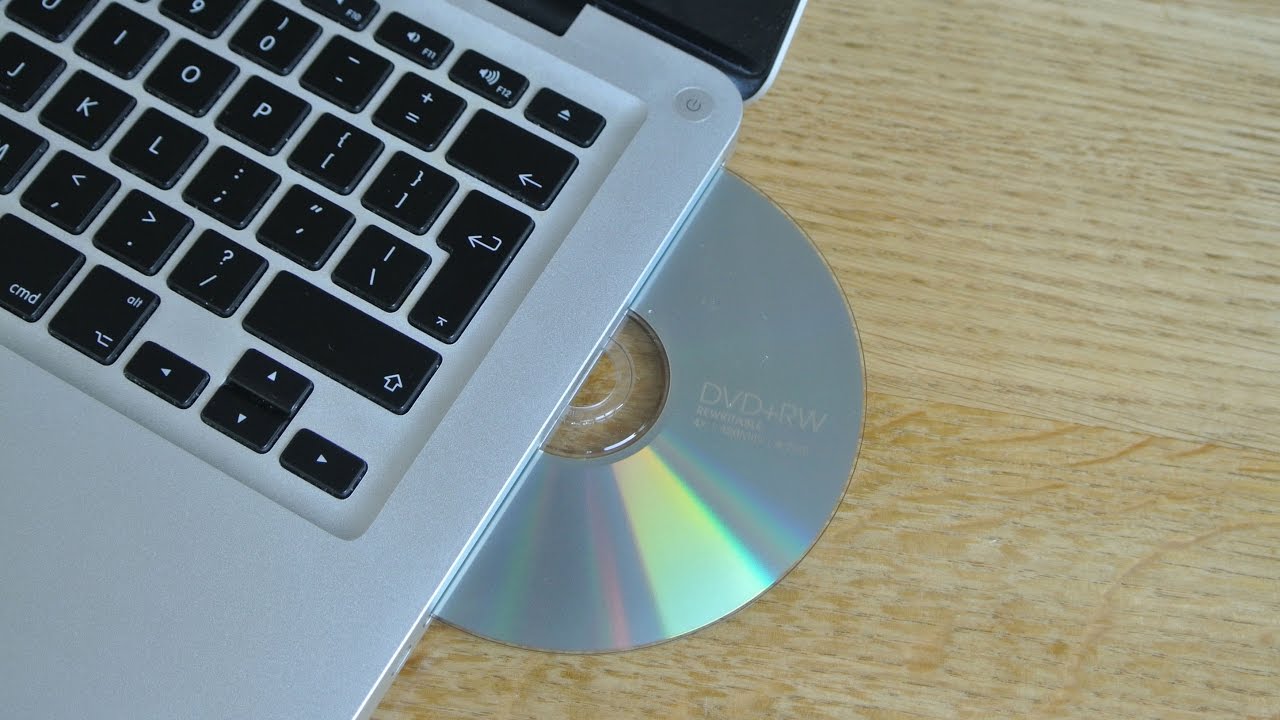
- Locate the DVD drive on your MacBook Pro. If you have a newer model without a built-in DVD drive, you can use an external DVD drive connected via USB-C or Thunderbolt ports.
- Gently push the DVD into the drive until it clicks and is securely inserted.
- Wait for your MacBook Pro to recognize the DVD. It may take a few moments for the DVD to be detected by the system.
- If the DVD doesn’t automatically launch, navigate to the Applications folder and open the DVD Player software. You can also use Spotlight search to quickly find and open the DVD Player.
Once the DVD is inserted and recognized by your MacBook Pro, you are ready to enjoy your favorite movies, TV shows, or any other content stored on the DVD. Follow the next step to learn how to navigate the DVD menu.
Step 2: Open DVD Player
After inserting the DVD into your MacBook Pro, the next step is to open the DVD Player software, which allows you to play and control the DVD playback. Here’s how to do it:
- Locate the DVD Player software on your MacBook Pro. It is usually found in the Applications folder. Alternatively, you can use Spotlight search to quickly find and open the DVD Player.
- Once you’ve located the DVD Player, click on its icon to launch it.
- The DVD Player interface will appear, and the inserted DVD should be automatically recognized and displayed as the source.
- Click on the “Play” button to start playing the DVD. If the DVD has an autoplay feature, it may start playing automatically.
With the DVD Player software open and the DVD playing, you can now proceed to the next step to learn how to navigate the DVD menu and access different scenes or chapters on the DVD.
Step 3: Navigating the DVD Menu
Once you have opened the DVD Player software and started playing the DVD on your MacBook Pro, you may encounter a DVD menu. The DVD menu allows you to access different scenes, chapters, or bonus features available on the DVD. Here is how you can navigate the DVD menu:
- Look for the DVD menu displayed on your MacBook Pro screen. It typically appears shortly after the DVD starts playing.
- Use your mouse or trackpad to navigate through the menu options. Move the cursor over the desired option and click on it to select.
- If the DVD menu has submenus, navigate through them by clicking on the corresponding submenu options.
- To play a specific scene or chapter, select it from the DVD menu, and the DVD Player will automatically start playing from that point.
Keep in mind that not all DVDs have interactive menus. Some DVDs may start playing directly without a menu, while others may have limited menu options. Additionally, the menu and navigation options may vary depending on the DVD and its content.
By successfully navigating the DVD menu, you can easily select the desired scenes, chapters, or bonus features to enhance your viewing experience. In the next step, we will explore how to adjust playback settings on the DVD Player.
Step 4: Adjusting Playback Settings
While watching a DVD on your MacBook Pro with the DVD Player software, you have the option to adjust various playback settings to customize your viewing experience. Here’s how you can adjust the playback settings:
- During DVD playback, locate the control panel at the bottom of the DVD Player interface.
- Use the play/pause button to pause the DVD playback if needed.
- Adjust the volume by dragging the volume slider or using the volume buttons on your MacBook Pro.
- Control the playback speed by clicking on the speed options, such as slow motion or fast forward, available on the control panel.
- Enable or disable subtitles and choose subtitle options, such as language or style, by clicking on the “Subtitles” button and selecting the desired settings.
- Change the aspect ratio or screen size by clicking on the “Screen” button and selecting the appropriate option.
- Access additional playback settings, such as audio tracks, angle, or audio effects, by clicking on the “Settings” or “Options” button, typically represented by a gear icon.
By adjusting these playback settings, you can enhance your viewing experience and optimize the audio, visual, and subtitle elements according to your preferences. Experiment with different settings to find the combination that best suits your needs.
Next, we will explore how to bookmark scenes on the DVD Player for quick access.
Step 5: Bookmarking Scenes
Bookmarking scenes on the DVD Player allows you to mark specific moments in a DVD so you can easily return to them later. Here’s how you can bookmark scenes while watching a DVD on your MacBook Pro:
- While the DVD is playing, navigate to the scene or moment you want to bookmark.
- Pause the DVD playback at the desired scene by clicking on the pause button.
- Click on the “Bookmark” button in the control panel of the DVD Player. It is usually represented by a bookmark or star icon.
- A bookmark icon will appear on the screen to indicate that the scene has been successfully bookmarked.
- To access the bookmarked scenes, click on the “Bookmarks” button in the control panel. You will be presented with a list of all the scenes you have bookmarked.
- Select a bookmarked scene from the list to quickly jump to that specific moment in the DVD.
- You can add, delete, or organize your bookmarks by using the bookmark management options available within the DVD Player.
Bookmarking scenes is a handy feature that allows you to easily revisit your favorite or important moments in a DVD without having to manually search for them each time. Make use of this feature to enhance your DVD watching experience.
In the next step, we will explore some useful DVD Player shortcuts that can make navigating through the DVD even more convenient.
Step 6: Using DVD Player Shortcuts
Navigating through a DVD on your MacBook Pro can be even more efficient and streamlined by utilizing DVD Player shortcuts. These keyboard shortcuts will allow you to perform common functions quickly and easily. Here are some useful DVD Player shortcuts:
- Spacebar: Press the spacebar to toggle between play and pause.
- Arrow keys: Use the arrow keys to navigate through DVD menus, control playback, and adjust volume.
- M: Press “M” to mute or unmute the audio.
- F: Press “F” to toggle between full screen and windowed mode.
- Command + Right Arrow: Press Command and the right arrow key to jump to the next chapter.
- Command + Left Arrow: Press Command and the left arrow key to jump to the previous chapter.
- Command + Up Arrow: Press Command and the up arrow key to increase volume.
- Command + Down Arrow: Press Command and the down arrow key to decrease volume.
Using these shortcuts can save you time and make your DVD viewing experience more convenient. They provide quick access to essential functions without the need to navigate through menus or use the mouse.
Now that you have learned how to watch DVDs on your MacBook Pro using the DVD Player software and utilize various features and shortcuts, you can enjoy your favorite movies and shows with ease.
In case you encounter any issues, read the next section for troubleshooting common problems.
Troubleshooting Common Issues
While watching DVDs on your MacBook Pro, you may encounter certain difficulties or issues. Here are some common problems and their possible solutions:
- DVD not playing: If the DVD is not playing or not recognized by your MacBook Pro, make sure it is inserted correctly into the DVD drive. If using an external DVD drive, check the connection and ensure it is properly connected.
- Skipping or freezing: If the DVD playback is skipping, freezing, or experiencing playback issues, try cleaning the DVD disc with a soft cloth. Additionally, restarting the DVD Player software or your MacBook Pro might resolve the issue.
- No audio or video: If you’re experiencing a lack of audio or video when playing a DVD, check the volume settings on your MacBook Pro and make sure it’s not muted. Also, verify that the appropriate audio and video output options are selected in the DVD Player settings.
- Intermittent playback: If the DVD playback is choppy or plays intermittently, it could be due to insufficient system resources or a slow disc reading speed. Close any unnecessary apps and try playing the DVD again. If the problem persists, consider cleaning the DVD or using a different DVD disc.
- Incompatible region code or format: If the DVD is from a different region code or format, it may not be playable on your MacBook Pro’s DVD Player. Ensure that the DVD is compatible with your region or try using a region-free DVD player software.
If you continue to experience issues with DVD playback on your MacBook Pro, consider updating your macOS to the latest version or seeking further assistance from Apple support.
Now that you’re aware of some common troubleshooting measures, you should be able to overcome any hurdles and enjoy uninterrupted DVD playback on your MacBook Pro.
In the next section, we will explore alternative methods for watching DVDs on your MacBook Pro.
Alternative Methods for Watching DVDs on MacBook Pro
While the DVD Player software is the standard method for watching DVDs on a MacBook Pro, there are alternative methods available for playing DVD content. Here are a few options to consider:
- External DVD Drive: If your MacBook Pro does not have a built-in DVD drive, you can connect an external DVD drive via USB-C or Thunderbolt ports. Ensure that the external DVD drive is compatible with macOS and follow the same steps outlined in the previous sections to play DVDs.
- Digital Video Conversion: Convert your DVD content into a digital format and store it on your MacBook Pro. There are various software applications available that allow you to convert DVDs into digital files, such as MP4 or MKV, which can be played using media players like VLC or QuickTime Player.
- External Media Player: Consider using external media players or streaming devices that support DVD playback. Connect the media player to your MacBook Pro and use its interface to play DVDs. Examples of external media players include Apple TV, Roku, or Blu-ray players with DVD playback capabilities.
- Online Streaming Services: Subscribe to online streaming services that offer a library of movies and TV shows. While these platforms may not offer the exact DVD content, they provide a wide range of digital alternatives that can be streamed directly on your MacBook Pro.
These alternative methods offer flexibility and convenience when it comes to watching DVDs on your MacBook Pro. Choose the method that best suits your needs and preferences.
Remember, it’s always a good idea to ensure that any content you watch, whether through DVDs or digital formats, is obtained legally and respects the intellectual property rights of the content creators.
With these alternative methods in mind, you can explore various options to enjoy your favorite content on your MacBook Pro without limitations.