
Back up your data
Before proceeding with a factory reset on your Galaxy Watch 3, it is important to back up your data to ensure that you don’t lose any important information or settings. Here’s how you can back up your data:
- Step 1: Open the Galaxy Wearable app on your connected smartphone.
- Step 2: Go to the “Settings” tab.
- Step 3: Scroll down and tap on “Backup and restore”.
- Step 4: Toggle on the “Back up settings” option.
- Step 5: Wait for the backup process to complete. This may take a few minutes depending on the amount of data to be backed up.
By following these steps, you can ensure that your watch’s settings, apps, and other data are safely backed up. This will allow you to easily restore your watch to its previous state after the factory reset.
Remember to keep your backup safe and secure, preferably on an external storage device or cloud storage service. This will enable you to retrieve your data effortlessly in case anything goes wrong during the factory reset process.
Once you have successfully backed up your data, you can proceed with the next steps to disconnect your Galaxy Watch 3 from your phone and initiate the factory reset process.
Disconnect your Galaxy Watch 3 from your phone
Before you perform a factory reset on your Galaxy Watch 3, it is essential to disconnect it from your phone. This ensures a smooth and uninterrupted reset process. Follow these steps to disconnect your watch:
- Step 1: Open the Galaxy Wearable app on your connected smartphone.
- Step 2: Tap on the “Disconnect and reset” option.
- Step 3: Confirm that you want to disconnect your watch by selecting “Yes”.
By disconnecting your Galaxy Watch 3 from your phone, you are ensuring that no data is being transmitted between the devices during the reset. This prevents any potential issues that may arise if the devices are still connected.
It’s important to note that disconnecting your watch from your phone will temporarily disable certain features that rely on the connection, such as notifications and remote control features. However, once you have completed the factory reset and reconnected your watch, these features will be restored.
Now that you have successfully disconnected your Galaxy Watch 3 from your phone, you can proceed to the next step and access the Settings menu on your watch to initiate the factory reset process.
Access the Settings menu on your watch
To perform a factory reset on your Galaxy Watch 3, you need to access the Settings menu on your watch. Here’s how you can do it:
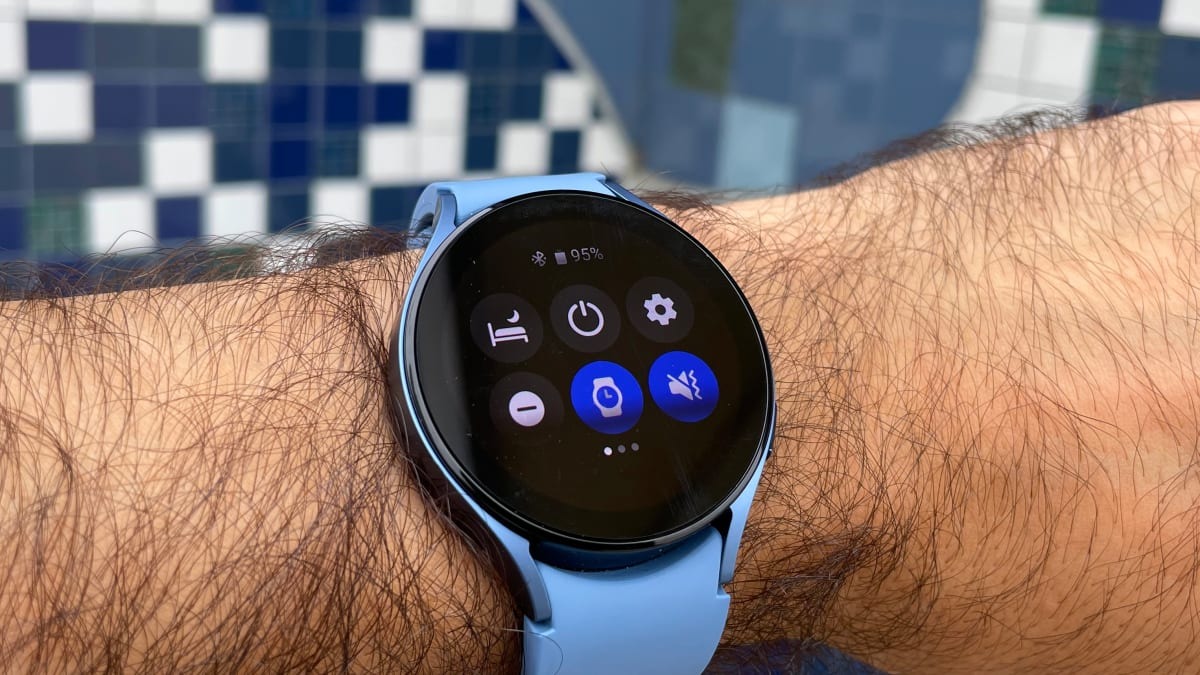
- Step 1: On your Galaxy Watch 3, swipe down from the top of the screen to access the quick settings panel.
- Step 2: Tap on the gear icon to open the Settings menu.
- Step 3: Scroll down and locate the “General” option.
- Step 4: Tap on “General” to enter the General settings.
By accessing the Settings menu on your Galaxy Watch 3, you gain control over various settings and options. This allows you to customize your watch according to your preferences. However, for now, we will focus on the factory reset process, so let’s move on to the next step.
With the Settings menu open, you are now ready to proceed to step 4 and select the “Reset” option. This will lead you to the necessary settings to initiate the factory reset process.
Select “General”
After accessing the Settings menu on your Galaxy Watch 3, the next step in the factory reset process is to select the “General” option. Follow these instructions:
- Step 1: Within the Settings menu, scroll down until you find the “General” option. It is typically located towards the bottom of the menu.
- Step 2: Tap on “General” to enter the General settings.
By selecting the “General” option, you are accessing a range of general settings for your Galaxy Watch 3. These settings include features like language, time, date, and other system-related options.
It’s important to ensure that you have reached the correct menu before proceeding further. Double-check the menu label to ensure that you are on the right track.
Now that you have successfully selected the “General” option, you are ready to move on to the next step and tap on “Reset”. This will bring you closer to initiating the factory reset on your Galaxy Watch 3.
Tap on “Reset”
Once you have accessed the “General” settings on your Galaxy Watch 3, the next step in the factory reset process is to tap on the “Reset” option. Follow these instructions:
- Step 1: Within the General settings menu, scroll down until you find the “Reset” option.
- Step 2: Tap on “Reset” to enter the Reset settings.
By tapping on the “Reset” option, you are accessing the necessary settings to initiate the factory reset on your Galaxy Watch 3. These settings include various reset options that will restore your watch to its original factory settings.
It’s important to note that by choosing the reset option, you will be deleting all data and settings on your Galaxy Watch 3. Make sure you have backed up your data, as mentioned in the previous step, to avoid losing any important information.
Before proceeding to the next step, take a moment to ensure that you have located and tapped on the correct “Reset” option within the menu. Double-checking will help you avoid any undesired actions.
With the “Reset” option selected, you are now ready to move on to the next step and choose the “Factory data reset” option to initiate the factory reset process.
Choose “Factory data reset”
After tapping on the “Reset” option on your Galaxy Watch 3, you will need to choose the “Factory data reset” option to proceed with the reset process. Follow these steps:
- Step 1: Within the Reset settings menu, locate the “Factory data reset” option.
- Step 2: Tap on “Factory data reset” to select it.
Choosing the “Factory data reset” option will initiate the process of resetting your Galaxy Watch 3 to its original factory settings. This means that all data, settings, and installed apps on your watch will be permanently deleted.
Before continuing, ensure that you have backed up any data or settings that you want to retain. Once the factory data reset is initiated, it cannot be undone, and all data will be irretrievable.
Double-check that you have selected the correct option before proceeding. This step is crucial to ensure that you are initiating the desired reset process on your Galaxy Watch 3.
Now that you have chosen the “Factory data reset” option, you are ready to move forward and confirm the reset by entering your PIN or pattern.
Enter your PIN or pattern
Once you have chosen the “Factory data reset” option on your Galaxy Watch 3, the next step is to enter your PIN or pattern to confirm the reset process. Here’s how you can do it:
- Step 1: On the screen that appears after selecting “Factory data reset”, you will be prompted to enter your PIN or draw your unlock pattern.
- Step 2: If you have set a PIN, use the on-screen keyboard to enter the correct PIN. If you have set an unlock pattern, use your finger to draw the pattern on the screen.
Entering your PIN or pattern serves as an additional security measure to ensure that only the authorized user can proceed with the factory data reset. This step prevents accidental resets and unauthorized access to your watch’s data.
Take your time to enter the correct PIN or draw the correct pattern to proceed. If you have forgotten your PIN or pattern, refer to the necessary documentation or contact Samsung support for assistance.
Once you have successfully entered your PIN or pattern, you are one step closer to initiating the factory reset process on your Galaxy Watch 3. The next step is to confirm the reset.
Confirm the reset
After entering your PIN or pattern to initiate the factory data reset on your Galaxy Watch 3, the final step is to confirm the reset. Follow these instructions:
- Step 1: On the screen that appears after entering your PIN or pattern, you will see a confirmation message detailing the actions that will be taken during the reset process.
- Step 2: Read the message carefully to ensure that you understand the consequences of the reset.
- Step 3: If you still wish to proceed with the factory reset, tap on the “Confirm” or “Reset” button.
Confirming the reset is a crucial step as it is the final acknowledgment that all data and settings on your Galaxy Watch 3 will be permanently erased. It is essential to have a backup of any important data before proceeding.
Take a moment to review the confirmation message and ensure that you are fully prepared to proceed with the reset. Once you confirm, the reset process will begin, and there is no turning back.
After confirming the reset, wait patiently for the process to complete. The duration may vary depending on the amount of data on your watch. Do not interrupt the process or remove your watch from its charging dock until the reset is finished.
Once the reset is complete, your Galaxy Watch 3 will restart and be restored to its original factory settings. You can then proceed to set up your watch again and customize it according to your preferences.
Wait for the reset process to complete
After confirming the factory reset on your Galaxy Watch 3, the reset process will begin. This step emphasizes the importance of patiently waiting for the process to complete. Here’s what you need to know:
- Step 1: Your watch will start the reset process automatically after you confirm the reset.
- Step 2: The duration of the reset process may vary depending on the amount of data on your watch. It could take several minutes to complete.
- Step 3: It is crucial not to interrupt the reset process or try to use your watch during this time.
During the reset process, your Galaxy Watch 3 will delete all the data and settings, restoring it to its original factory state. This ensures a clean slate and resolves any software issues or glitches that you may have been experiencing.
While waiting for the reset process to complete, make sure your watch stays connected to its charging dock. This will ensure that the watch has sufficient power throughout the reset process.
It’s essential to exercise patience during this time. Trying to use your watch or interrupting the reset process can cause undesired results or prevent the reset from completing successfully.
Once the reset process is finished, your Galaxy Watch 3 will automatically restart. At this point, you can proceed with setting up your watch again and customizing it to your preferences.
Set up your watch again
After the factory reset process is complete on your Galaxy Watch 3, the final step is to set up your watch again. Follow these instructions to get started:
- Step 1: Your watch will automatically restart after the reset process. Follow the on-screen prompts to select your language, agree to the terms and conditions, and connect to a Wi-Fi network, if necessary.
- Step 2: Once connected to Wi-Fi, you may be prompted to sign in to your Samsung account or Google account. Follow the instructions to sign in or set up a new account.
- Step 3: Customize your watch settings, including the date and time, watch face, and notifications. These settings can be adjusted according to your preferences.
- Step 4: If you have backed up your data, you can now restore it to your watch. Follow the instructions to restore your settings, apps, and other data from the backup.
- Step 5: Once you have completed the setup process, take a moment to explore your newly reset Galaxy Watch 3 and ensure that everything is functioning as expected.
Setting up your watch again allows you to personalize it according to your preferences and restore any important data or settings that you had backed up. This ensures that your watch is ready for use with your desired configurations.
If you encounter any issues during the setup process, refer to the user manual or contact Samsung support for further assistance.
With your Galaxy Watch 3 set up again, you can now enjoy its features and functionalities with a fresh start.