
Choosing the Right Tools
When it comes to closing a watch back, having the right tools is essential. The tools you choose will depend on the type of watch and the specific closure mechanism it has. Here are some common tools that are often used:
- Watch Case Opener: This tool is designed to open the back of the watch without causing any damage. There are different types of case openers available, such as adjustable wrench-style or case opener knives. Choose the one that is suitable for your watch.
- Tweezers: Tweezers are useful for holding small parts, especially when you need to remove or insert the gasket.
- Loupe: A magnifying loupe will help you inspect the gasket and ensure it is in good condition.
- Cleaning Solution: It’s important to use a watch-friendly cleaning solution to clean the watch back and gasket. Avoid harsh chemicals that can damage the watch.
- Gasket Grease: If the gasket needs to be replaced, gasket grease can help create a water-resistant seal.
- Soft Cloth: Use a soft cloth to clean and dry the watch back.
It’s important to note that not all watches have the option to close the watch back. Some watches, like screw-down case backs, require a special tool that matches the shape of the slots on the watch back. Make sure to check the specific requirements for your watch before attempting to close the back.
Once you have gathered the necessary tools, you are ready to proceed with closing the watch back. The next section will guide you through the step-by-step process of removing the watch back.
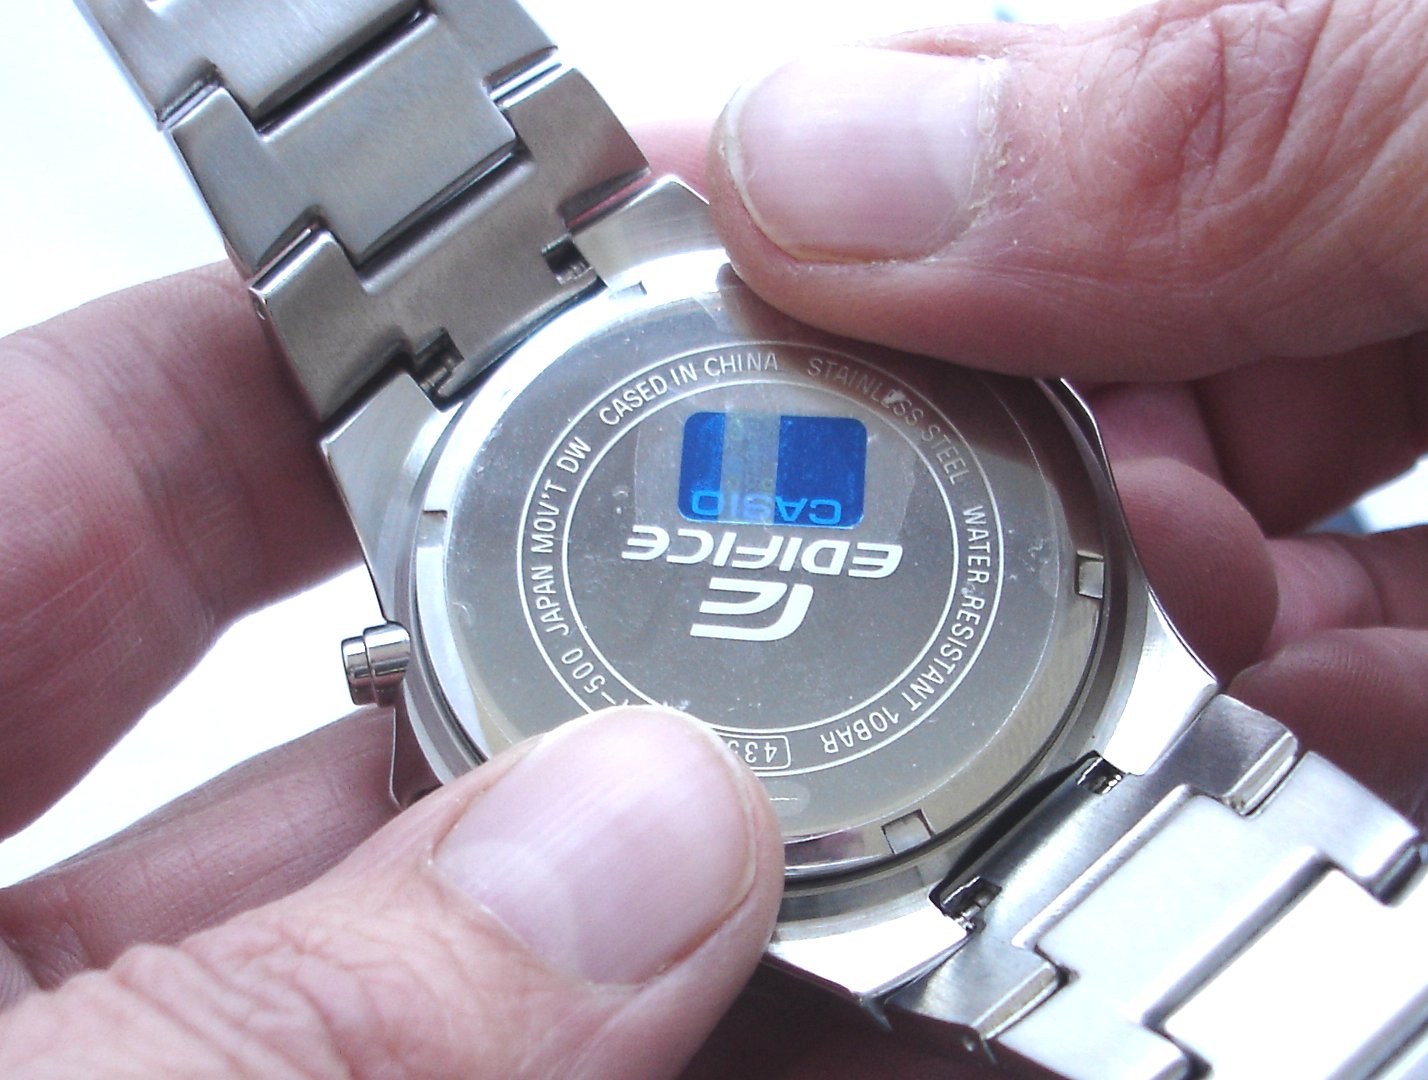
Removing the Watch Back
Before you can close the watch back, you first need to remove it. Here’s a step-by-step guide on how to remove the watch back:
- Prepare the watch: Lay the watch on a soft cloth or watch mat to protect it from scratches. Ensure that the watch is stable and won’t move around.
- Select the appropriate tool: Depending on the type of watch back, choose the appropriate tool. For screw-down case backs, use a case opener with matching slots or a case opener knife. For snap-off case backs, a case opener knife or adjustable wrench-style case opener will be suitable.
- Position the tool: Position the tool’s prongs or blade into the notches or slots on the watch back. Apply gentle pressure to engage the tool securely.
- Turn counter-clockwise: If you’re using a case opener with slots, rotate it counterclockwise to unscrew the watch back. If you’re using a case opener knife, gently twist it to pop off the snap-off back.
- Remove the watch back: Once you feel the watch back becoming loose, continue turning or twisting until it is completely removed. Be careful not to drop the watch back or damage any internal components.
- Set aside the watch back: Place the watch back on a clean, soft surface, facing downward to prevent any dirt or debris from entering the watch.
Once you have successfully removed the watch back, inspect the gasket to ensure it is intact and in good condition. The next section will guide you through the process of inspecting the gasket.
Inspecting the Gasket
After removing the watch back, it’s important to inspect the gasket. The gasket is a flexible, rubber or silicone ring that creates a water-resistant seal between the watch case and the back cover. Here’s how to inspect the gasket:
- Remove the gasket: Carefully remove the gasket from the watch back using tweezers. Be gentle to avoid damaging the gasket or stretching it excessively.
- Observe for damage: Inspect the gasket for any signs of damage, such as cracks, tears, or deformities. If you notice any damage, the gasket should be replaced with a new one to maintain the watch’s water resistance.
- Check for wear: Even if there are no visible signs of damage, check for wear by feeling the gasket. If it feels brittle or hardened, it may no longer provide an effective seal and should be replaced.
- Clean the gasket: If the gasket appears to be in good condition, clean it using a mild soap solution and a soft cloth. Gently wipe away any dirt, debris, or oil residue. Rinse it thoroughly and allow it to dry completely before proceeding.
- Inspect the gasket seat: While the gasket is removed, inspect the gasket seat on the watch case. Ensure that it is free of dirt, debris, or any damage that may affect the gasket’s ability to create a seal.
Properly inspecting the gasket is crucial for maintaining the watch’s water resistance. If the gasket shows any signs of damage or wear, it’s recommended to replace it with a new one. The next section will cover the process of cleaning the watch back and gasket.
Cleaning the Watch Back and Gasket
Once you have inspected the gasket, it’s time to clean both the watch back and the gasket to ensure they are free from dirt and grime. Follow these steps to clean the watch back and gasket:
- Prepare a cleaning solution: Mix a small amount of mild soap or watch cleaning solution with warm water in a bowl. Avoid using harsh chemicals or abrasive cleaners that can damage the watch back or gasket.
- Submerge the watch back: Carefully place the watch back into the cleaning solution and let it soak for a few minutes. This will help loosen any dirt or oil buildup on the surface.
- Clean with a soft brush: Gently scrub the watch back using a soft-bristled brush. Pay attention to hard-to-reach areas and crevices where dirt may accumulate. Be careful not to apply excessive pressure or scrub too vigorously.
- Rinse with clean water: Once you’ve thoroughly scrubbed the watch back, rinse it under clean running water to remove any leftover soap residue. Ensure that all the soap is washed away to prevent any potential damage.
- Dry the watch back: Pat dry the watch back using a soft cloth or let it air dry. Do not use heat or direct sunlight to speed up the drying process as it can cause damage or discoloration.
- Clean the gasket: While the watch back is drying, you can clean the gasket separately. Gently scrub the gasket with a soft brush dipped in the cleaning solution. Rinse it thoroughly and dry it with a soft cloth.
By properly cleaning the watch back and gasket, you’ll ensure that there is no debris or residue that could interfere with the watch’s functionality or compromise its water resistance. The next section will address the process of applying a new gasket, if needed.
Applying a New Gasket (If Needed)
If the gasket on your watch shows signs of damage, wear, or if you have removed it for cleaning and notice any issues, it’s important to replace it with a new one. Here’s how to apply a new gasket:
- Select the correct gasket: Use the specifications of your watch model to identify the appropriate gasket size and material. You can purchase replacement gaskets from watch parts suppliers or authorized service centers.
- Clean the gasket seat: Before applying the new gasket, ensure that the gasket seat on the watch case is clean and free from dirt, debris, or old adhesive. Use a soft brush or cloth to clean the area.
- Position the gasket: Carefully place the new gasket onto the gasket seat, ensuring that it is aligned properly and fits securely. Use tweezers to position and adjust the gasket as needed.
- Seal if necessary: Some gaskets may require a sealing agent or gasket grease to provide an effective water-resistant seal. Follow the manufacturer’s instructions and apply the appropriate sealant to the gasket if necessary.
- Press down gently: Once the gasket is in place and any required sealant is applied, use gentle pressure to press down on the gasket to ensure it is properly seated.
It’s important to note that not all watches require a new gasket during the closing process. If your watch doesn’t have a removable gasket or if the gasket is still in good condition, you can skip this step. However, always inspect the gasket carefully before making that determination.
Once the new gasket is applied, follow the steps in the next section to reattach the watch back securely and check the water resistance of the watch.
Reattaching the Watch Back
With the gasket inspected and, if necessary, replaced, it’s time to reattach the watch back to its original position. Here are the steps to follow:
- Align the watch back: Position the watch back over the case, ensuring that any alignment marks or indentations match up with the corresponding marks on the case. This ensures a proper fit and alignment.
- Apply gentle pressure: Press down on the watch back with your fingers, applying gentle and even pressure. Make sure the watch back is seated properly and sits flush against the case.
- Secure the watch back: If you have a screw-down case back, use a case opener tool to securely tighten the screws in a clockwise direction. For snap-off case backs, ensure a firm push until you hear or feel it click into place.
- Check alignment: Once the watch back is attached, visually inspect the alignment to confirm that it is properly aligned with the case. This ensures a professional and polished appearance.
It’s important to be cautious and avoid using excessive force when reattaching the watch back to prevent any damage to the case or internal components. If you encounter resistance or if the watch back doesn’t fit properly, double-check the alignment and ensure you are using the correct tools.
Now that the watch back is securely reattached, it’s essential to check the water resistance of the watch to ensure its functionality and protection against water damage. The next section will guide you through the process of checking the watch’s water resistance.
Checking the Water Resistance
After reattaching the watch back, it’s crucial to check the water resistance of the watch to ensure its protection against water damage. Here’s how to perform a water resistance check:
- Verify the watch’s water resistance rating: Refer to the watch’s specifications or user manual to determine its water resistance rating. Different watches have different levels of water resistance, ranging from basic splash resistance to diving depths.
- Prepare a water resistance testing method: There are various methods to test water resistance, including the dry test method or the controlled water pressure method. Choose a method that is suitable for your watch and follow the instructions carefully.
- Perform the water resistance test: If you are conducting a dry test, examine the watch under a bright light or use a magnifying loupe to check for any signs of moisture or condensation inside the watch. If you are using a controlled water pressure method, follow the instructions provided to expose the watch to the specified water pressure for the appropriate duration.
- Observe the results: After performing the water resistance test, inspect the watch for any signs of water intrusion. Look for any moisture, fogging, or condensation inside the watch case.
- Take appropriate action: If there are signs of water intrusion or if the watch fails the water resistance test, it is recommended to seek professional assistance from an authorized watch service center. They can diagnose and address any issues with the watch’s water resistance.
It’s important to note that even watches with high water resistance ratings may still deteriorate over time or experience degradation of their gaskets. Regular water resistance checks are essential to ensure the watch’s longevity and protection against water damage.
Once you have confirmed the watch’s water resistance, you can move on to the finishing touches and additional tips in the next section.
Finishing Touches and Tips
Now that you have successfully closed the watch back and checked its water resistance, here are some finishing touches and additional tips to consider:
- Wipe down the watch: Use a soft cloth to wipe down the entire watch, including the case and the watch back. This will remove any fingerprints or smudges, leaving the watch looking clean and polished.
- Keep the watch in a safe place: Store the watch in a dry and secure location, away from excessive heat, moisture, or direct sunlight. This helps to preserve its quality and prevent any potential damage.
- Keep track of water resistance maintenance: Regularly check the water resistance of your watch, especially if you frequently expose it to water or harsh conditions. Follow the manufacturer’s recommendations for water resistance maintenance and servicing intervals.
- Consider professional servicing: If you are unsure or uncomfortable performing watch maintenance yourself, it’s always best to seek the assistance of a professional watchmaker or authorized service center. They have the knowledge and expertise to ensure proper care and maintenance of your watch.
- Ensure the watch is secured: Double-check that the watch strap or bracelet is securely fastened after closing the watch back. This prevents any accidental loss or damage to the watch while wearing it.
By paying attention to these finishing touches and following these tips, you can maintain the integrity and functionality of your watch for years to come. Regular maintenance and care are key in prolonging the lifespan and performance of your timepiece.
With the watch back now closed and the important steps completed, you can confidently enjoy wearing your watch, knowing that it is protected and properly maintained.